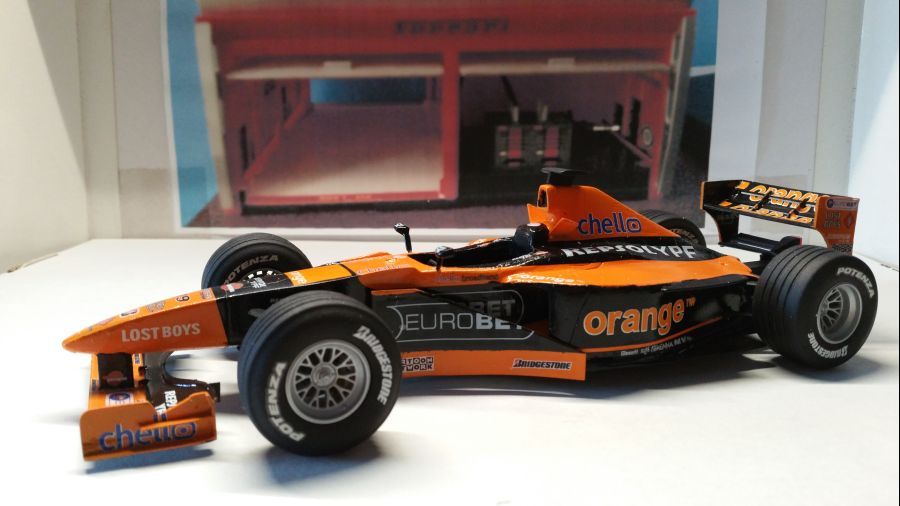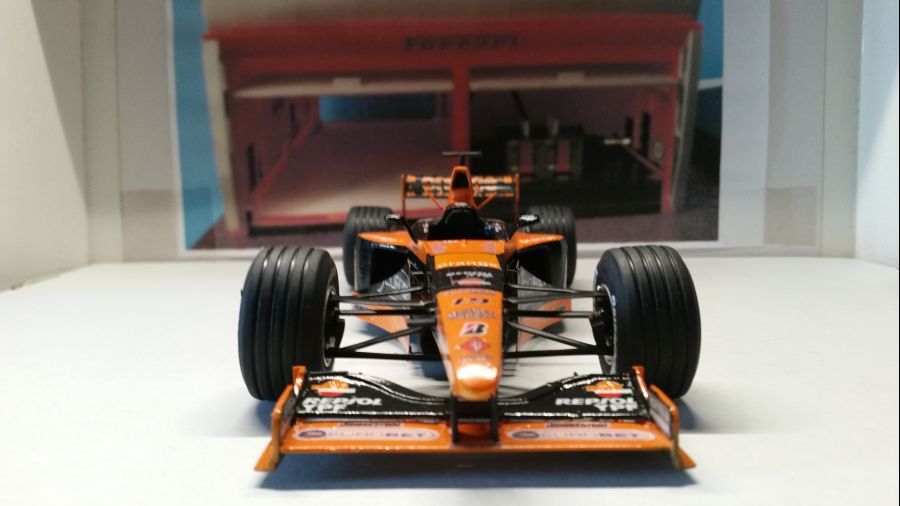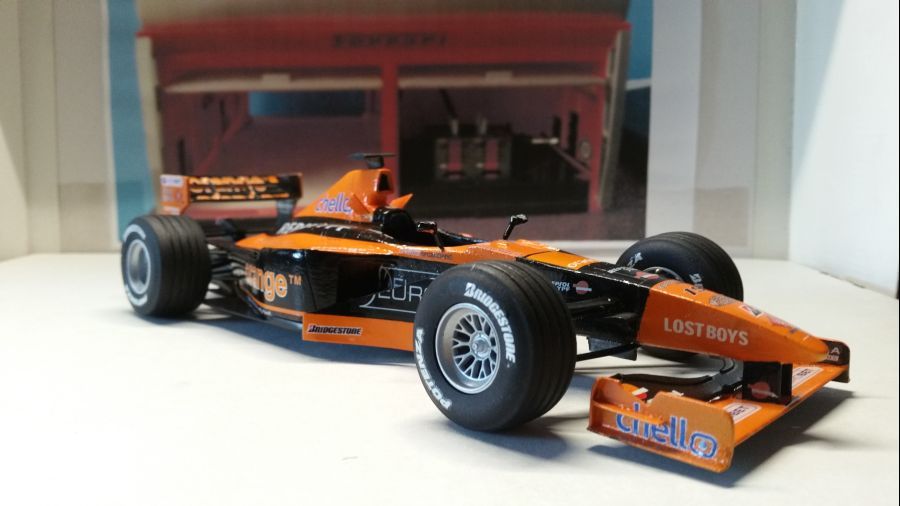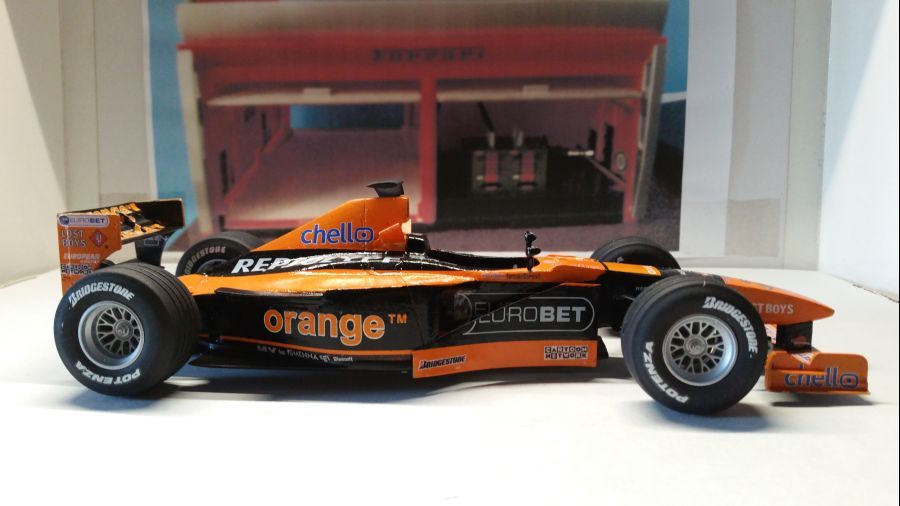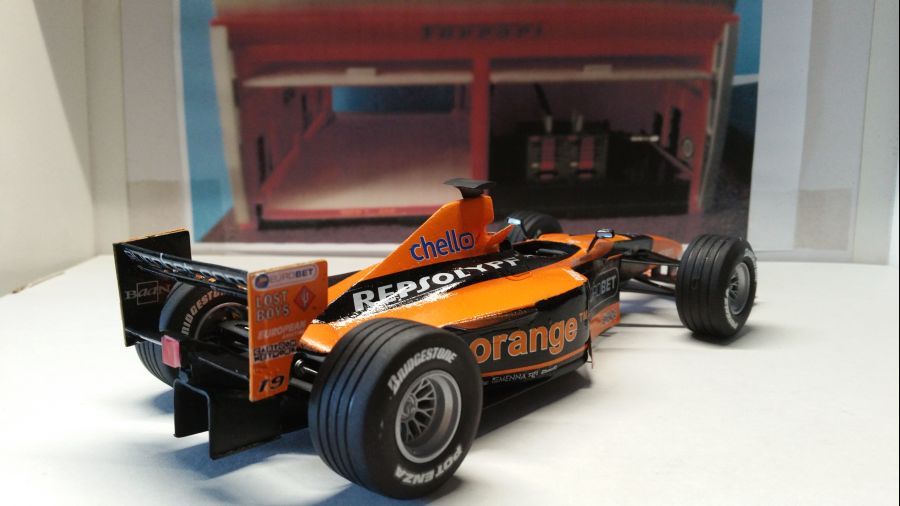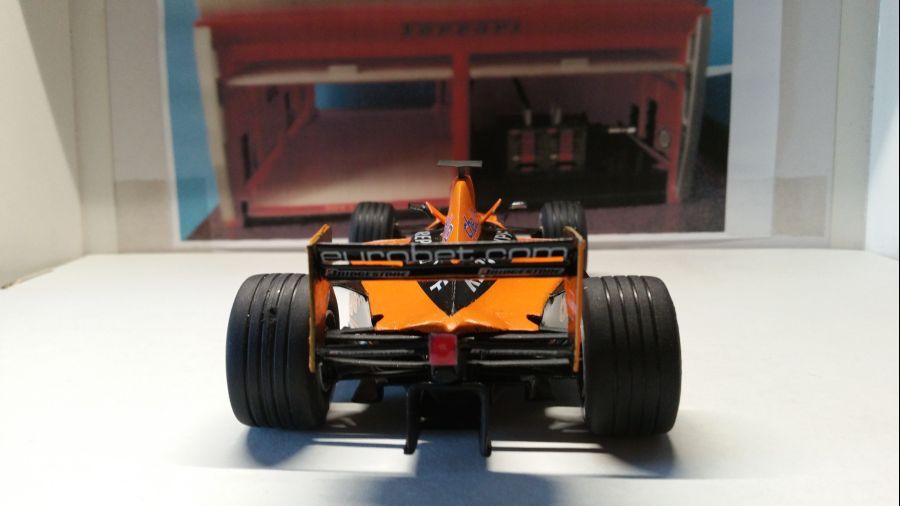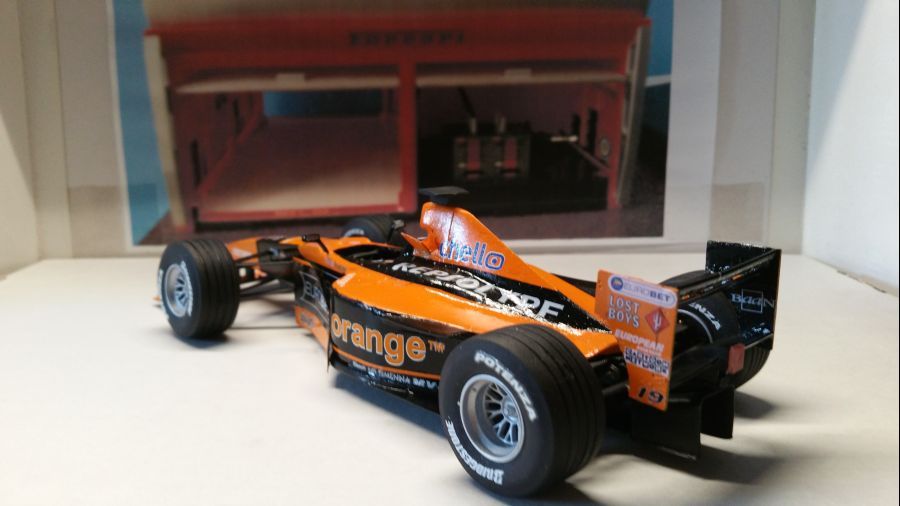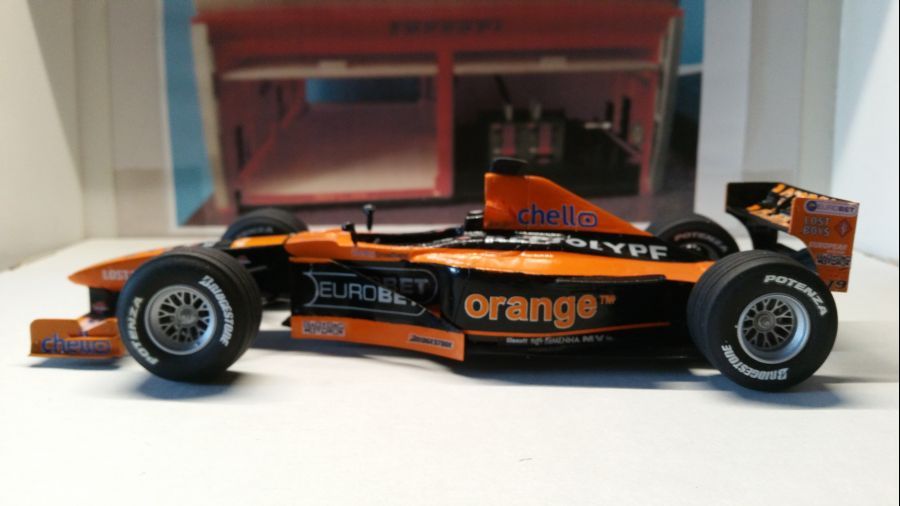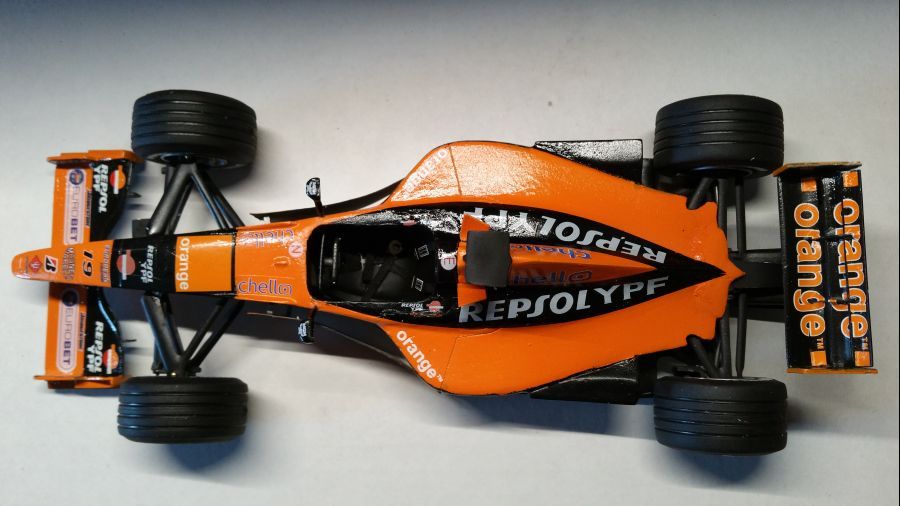
Nu op de bank een kit van MRM in schaal 1/20. Het is de Arrows A21 zoals deze in 2000 werd gereden door Jos Verstappen. Ik maak de versie zoals deze werd gereden tijdens de GP van Canada waar Jos 5e werd met deze wagen. Ik heb de kit 2e hands op Ebay gekocht. Een Arrows A21 is moeilijk te vinden. Deze is door de vorige eigenaar al voor een deel in elkaar gezet. Helaas met een verkeerde kleur (Tamiya) oranje gespoten. Ik ga alles proberen schoon te maken en er nog iets leuks van te bouwen. Ik heb 2 van deze kits. Wat bij de ene goed is, is bij de andere fout, en andersom. De onderdelen worden dus een beetje gecombineerd. De kit heeft ook een extra blad met decals van Finisher's. Daaraan dus geen gebrek. Eerst maar weer wat foto's. De eerste foto toont de oude situatie.
Now on the bench is a kit from MRM in scale 1/20. It's the Arrows A21 as it was driven by Jos Verstappen in 2000. I will make the Canadian version during which GP Jos ended up 5th. I bought this car second hand on Ebay. An Arrows A21 is hard to find. This one was partly assembled by it's previous owner. It was painted with the incorrect (Tamiya) orange. I will try to clean everything and make something nice of it. Now i own 2 of these kits. What's o.k. with the first, is wrong with the second, and the other way around. So i will combine a bit. The kit also contains decals from Finisher's. So that will be no problem. First some pictures. The first photo shows the old situation.
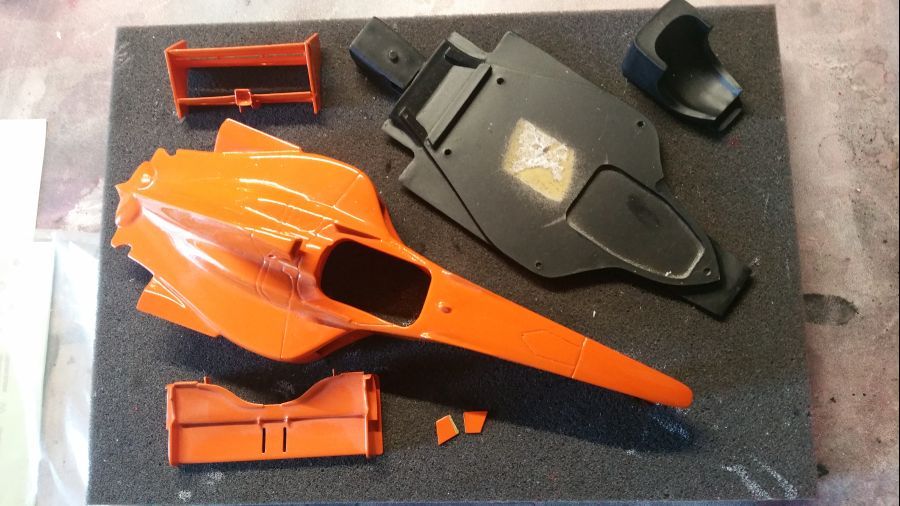
Na het verwijderen van de verf.
After cleaning the paint.
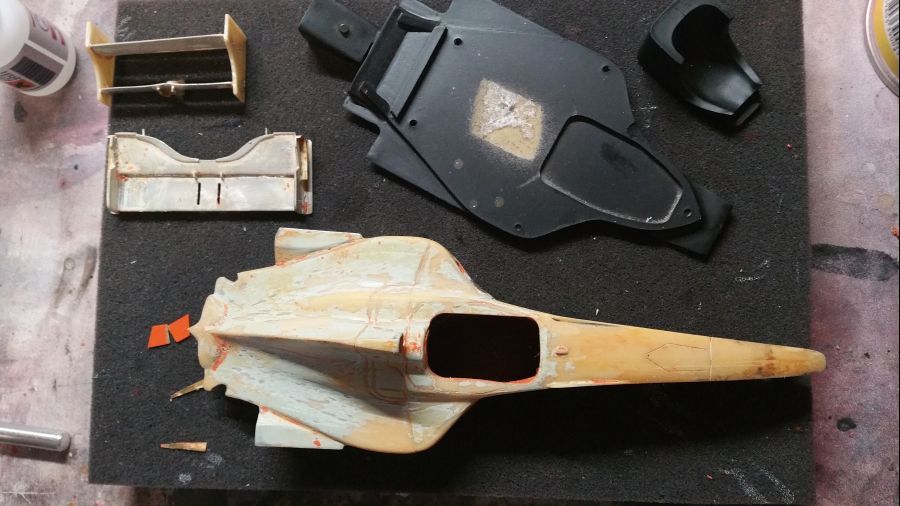
Na meer schuren en een nieuwe laag primer...
After sanding and a new coat of primer...
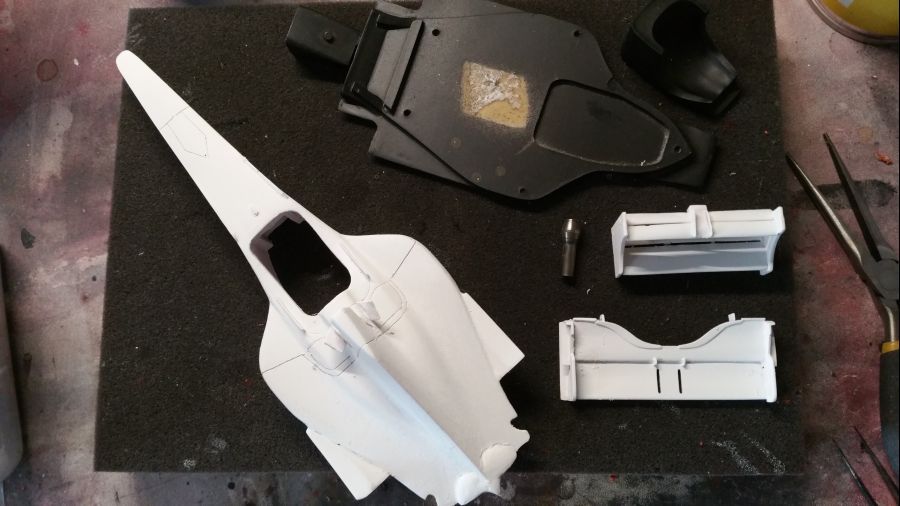
De oude achtervleugel is beroerd in elkaar gezet. Alles schots en scheef. Daar gebruik ik dus de vleugel uit de 2e kit voor.
The old rear wing has been assembled very bad. Everything is completely out of line. So i will use the wing of the 2nd kit.
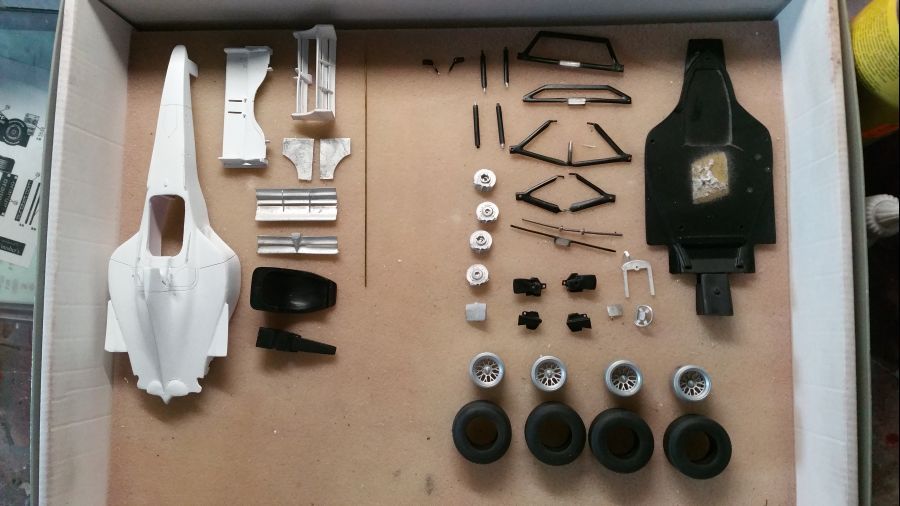
Dit is nu de inhoud van de kit.
This is the content of the kit.
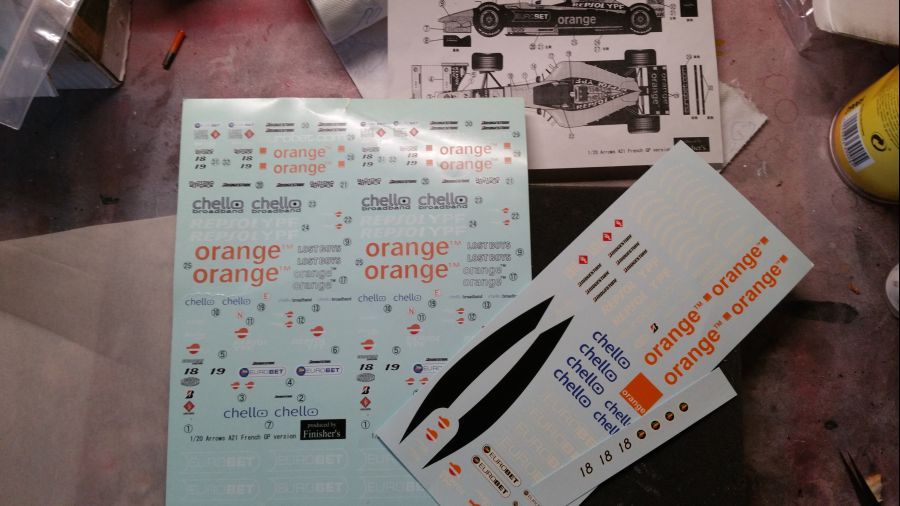
En dus een groot vel extra decals van Finisher's van een Arrows A21.
And a large piece of extra decals from Finisher's of an Arrows A21.
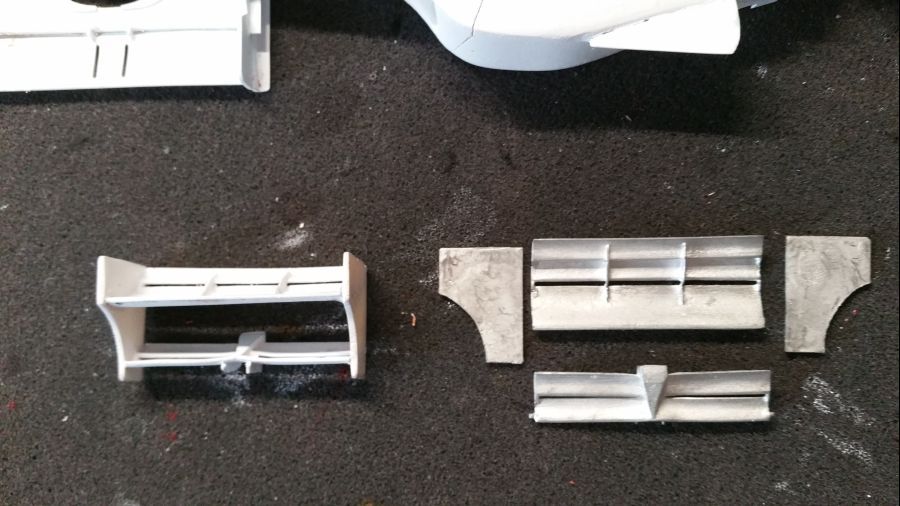
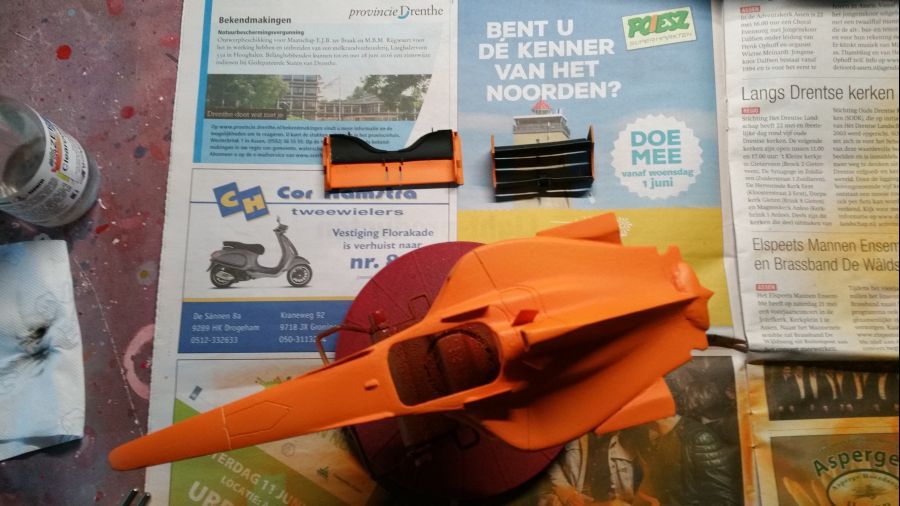
Nieuwe achtervleugel en nieuw oranje (Zero Paints ZP-1217 Arrows A21 Orange)... Op de foto misschien iets minder duidelijk, maar een groot verschil.
New rear wing and new orange (Zero Paints ZP-1217 Arrows A21 Orange)... Maybe not so clear on the picture, but a huge difference.
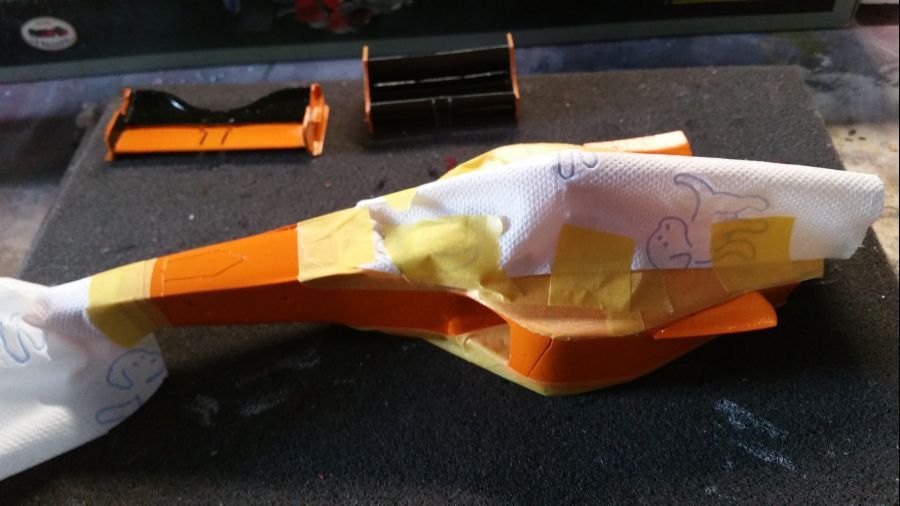
De body wordt gemaskeerd voor het spuiten van het zwart...
The body gets it's masking for the painting of the black...
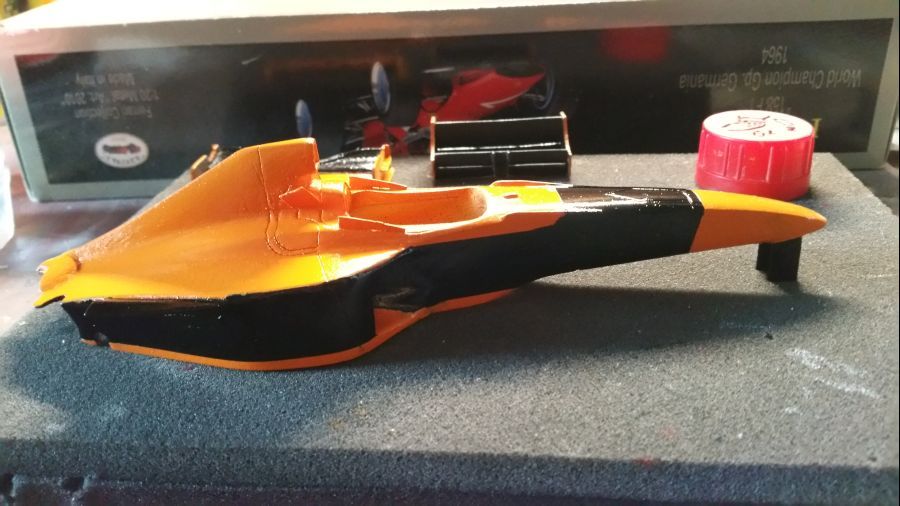
De eerste decals...
The first decals...
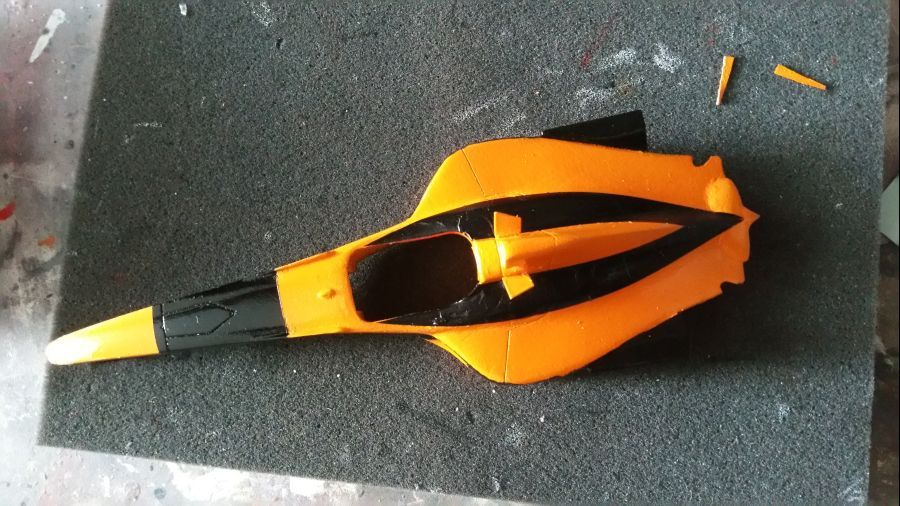
Het proces van decals aanbrengen verloopt zeer moeizaam. Vele decals vallen uit elkaar...
The proces of decalling is very tough. Many decals fall apart...
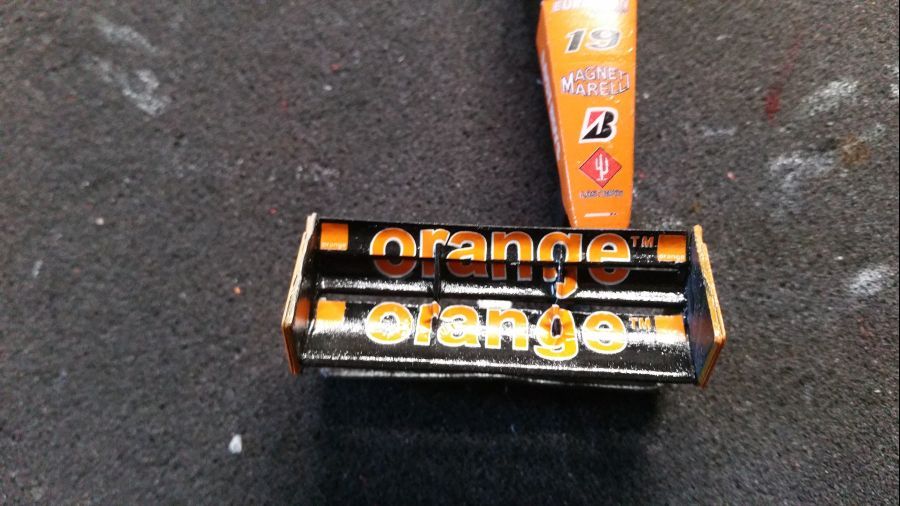

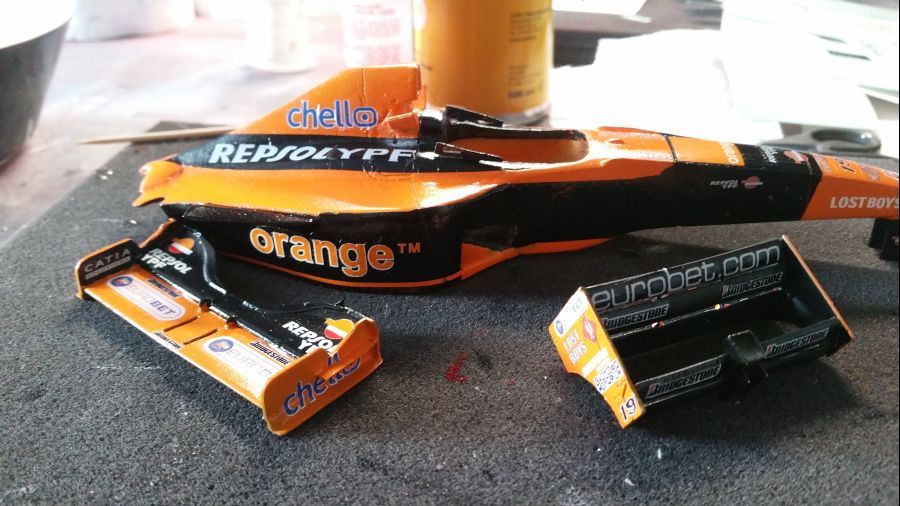
De heldere glanslak is weer gespoten in verschillende lagen. Nu goed laten drogen.
The gloss clear has been sprayed in several coats. Now let it dry thoroughly.
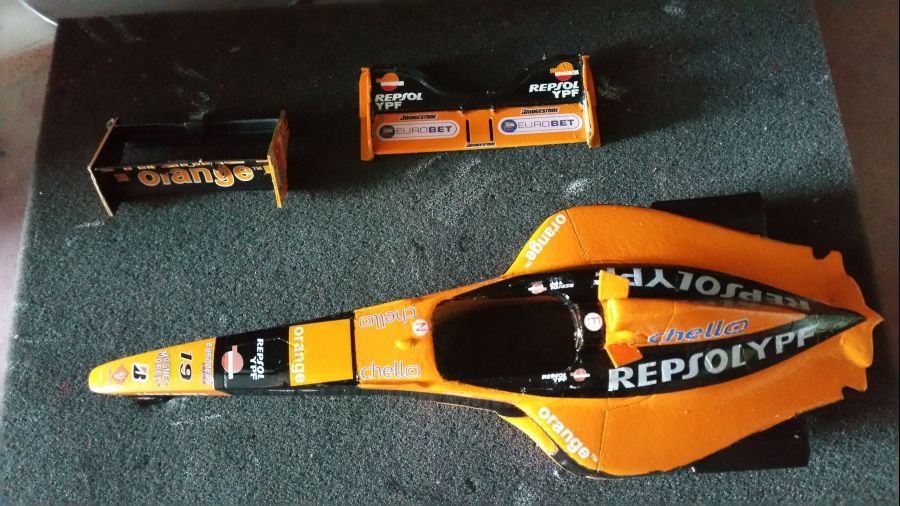
Verder met de achterwielophanging...
Next is the rear wheel suspension...
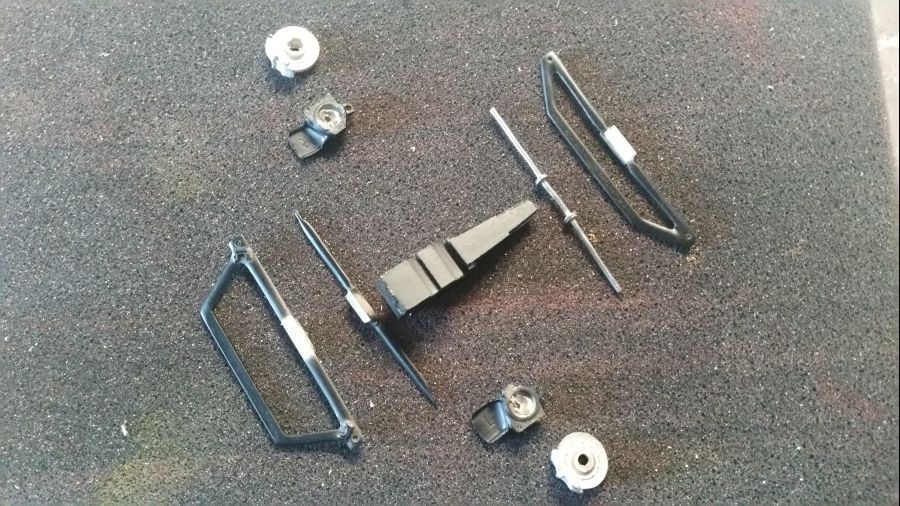
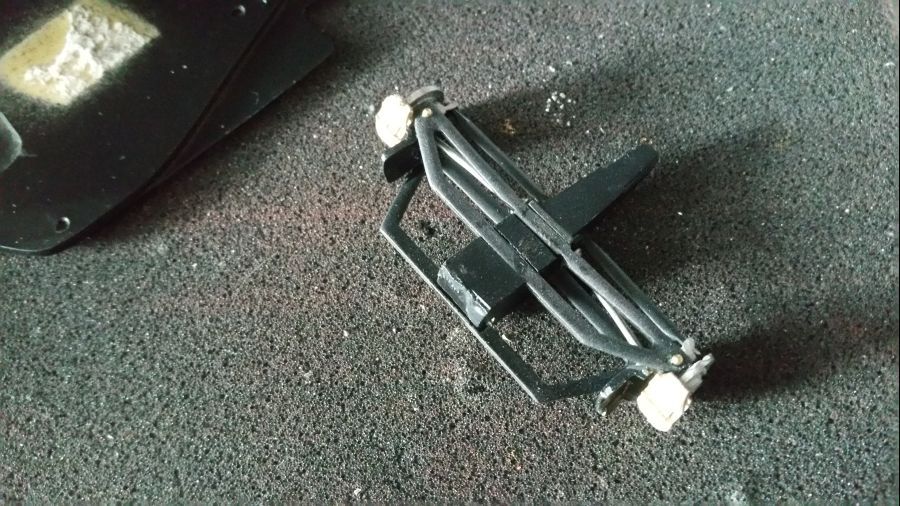
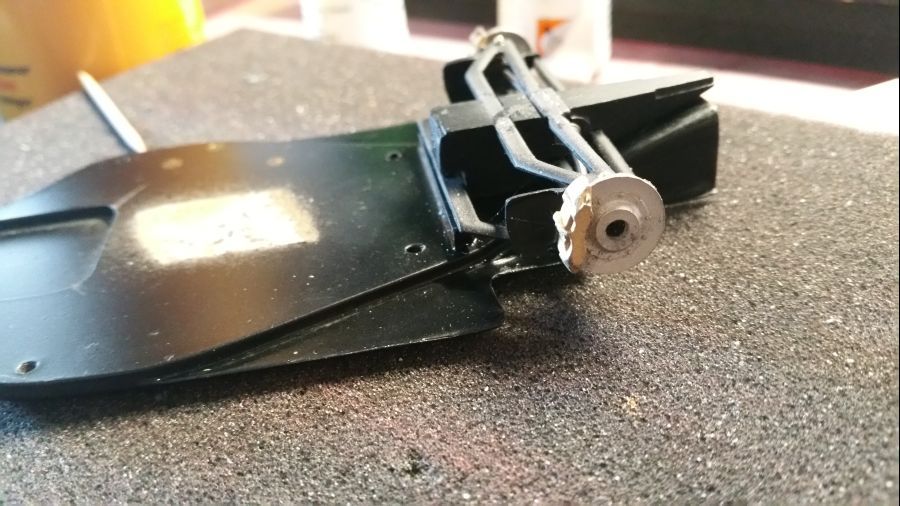
Dan de gordels..
Then the belts..
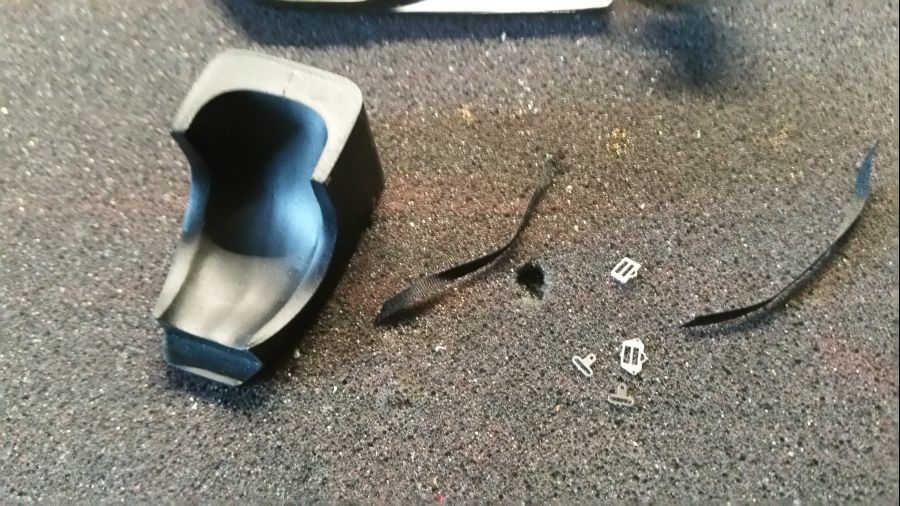
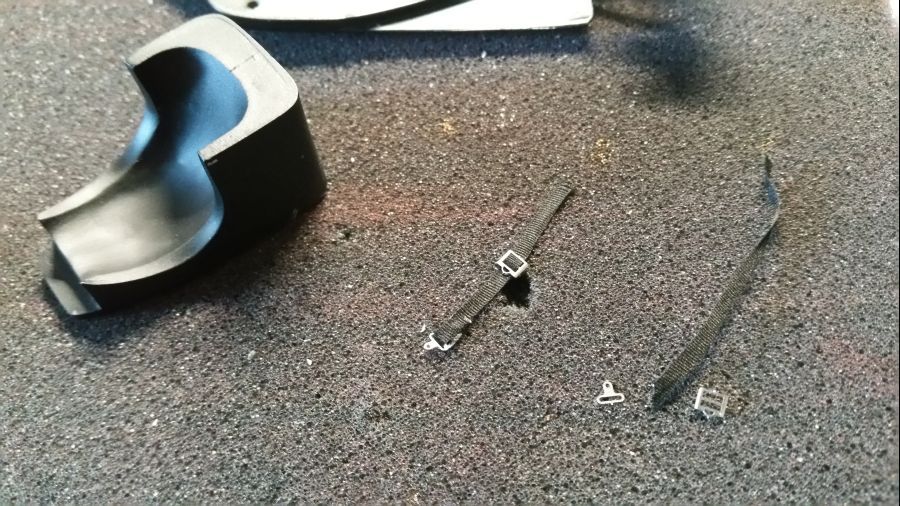
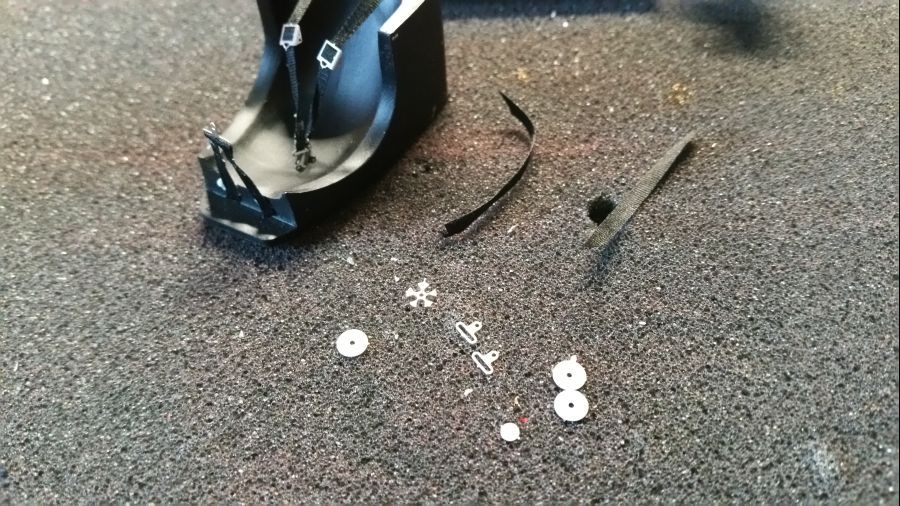
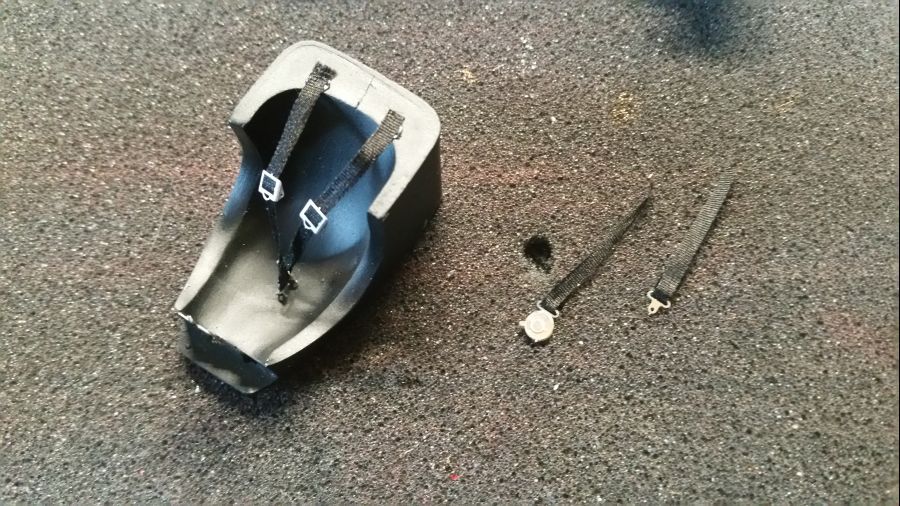
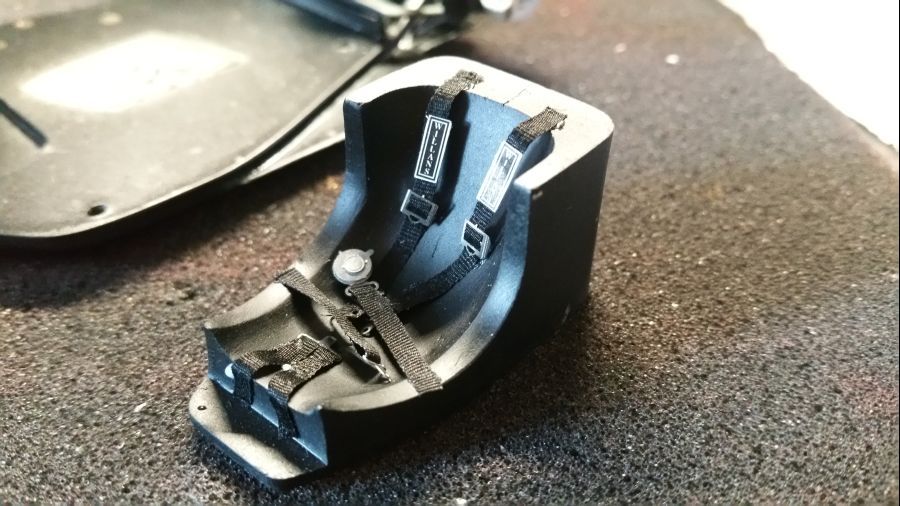
Alles wordt aan de vloer bevestigd...
Everything gets mounted to the floor...
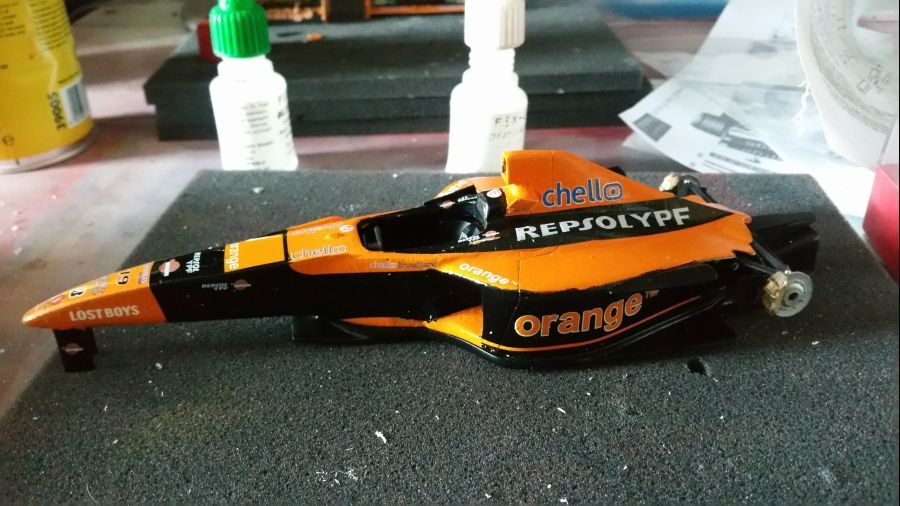
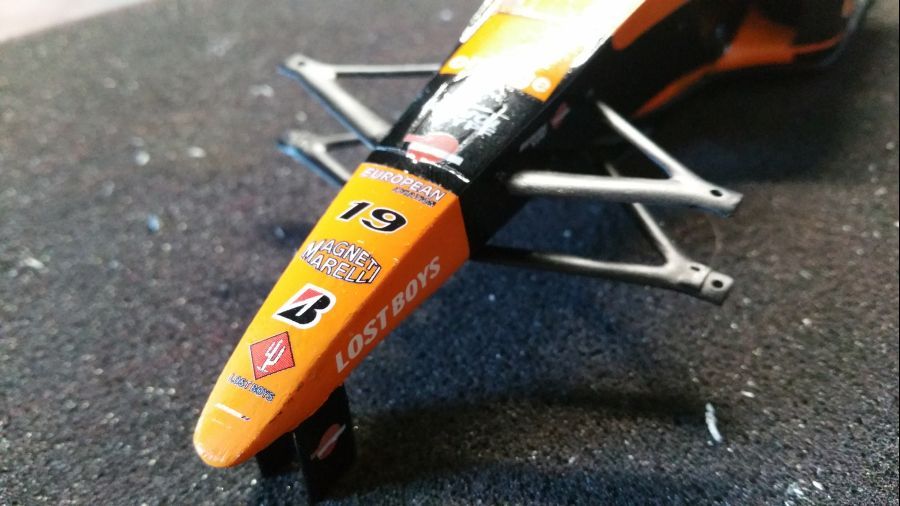
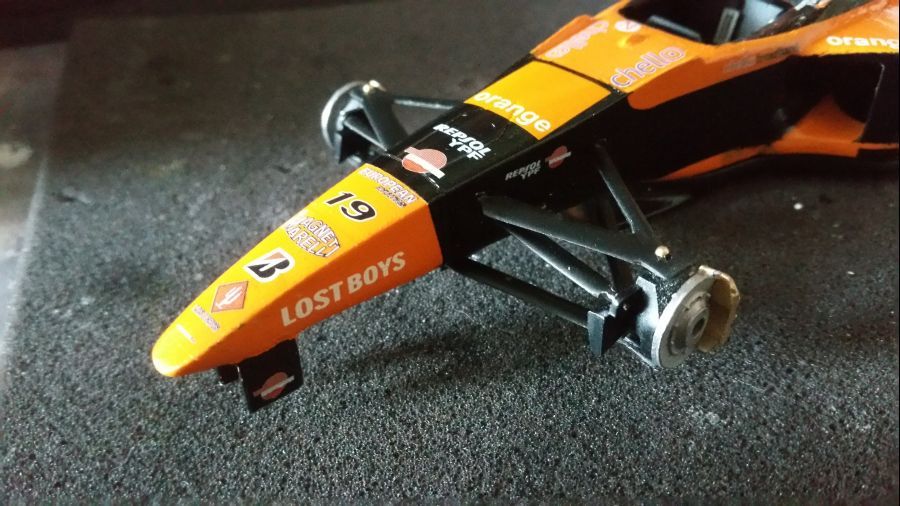
Vervolgens verder met de voorwielophanging. De steun voor de voorvleugel is wat ingekort om te voorkomen dat de vleugel op de grond hangt.
Next is to continue with the front wheel suspension. The support for the front wing has been shortened a bit to prevent the wing touches the ground.
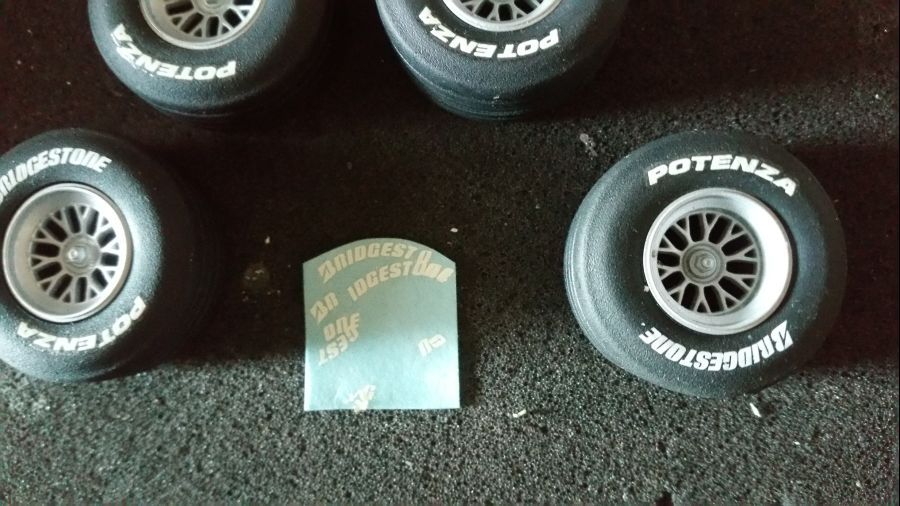
Dan de decals op de banden. Wat een ramp! Ze vallen aan alle kanten uit elkaar. Iedere letter is los. En soms valt een letter nog in 4 stukken uit elkaar. Gelukkig heb ik nog wat in mijn rommeldoos.
Next are the decals on the tires. What a disaster! They fall completely apart. Every letter is separate. And sometimes a letter falls apart into 4 pieces. I am lucky to have some decals in my drawer.
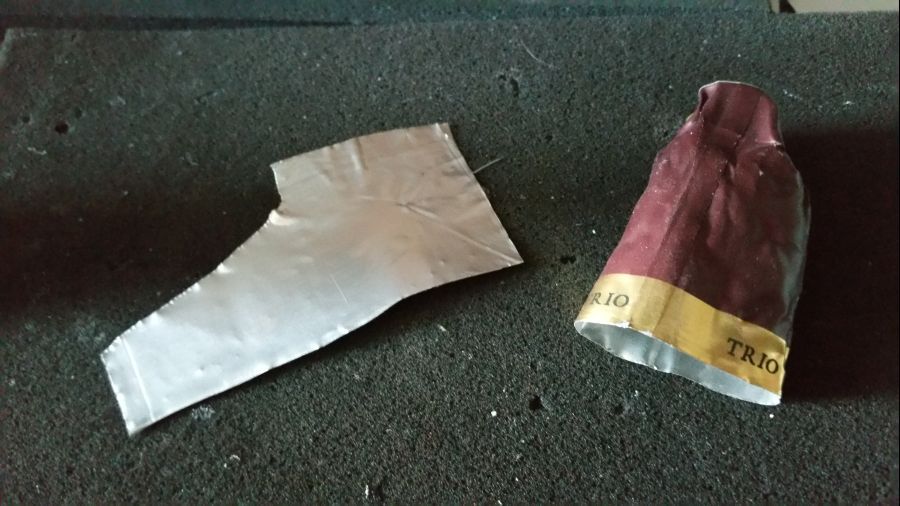
Nu moet er gewerkt worden aan de bargeborads... deze zitten niet in de kit, maar moeten zelf gemaakt worden. Men adviseert plasticard....ik heb daar niet veel vertrouwen in. Ik ben bang dat dat iedere keer weer recht zal buigen. Ik ga het proberen met de hulzen op wijnflessen. Dit is een soort materiaal dat keurig in de vorm blijft staan dat je eraan geeft.
Now it's time for the barge boards... These are not included, but need to be created by yourself. The advice is to use plastic card... I am not very confident in using thes kind of material. I am afraid it will go back to it's original shape. I will try to use these caps on wine bottles. This kind of material keeps it's shape you are giving it.
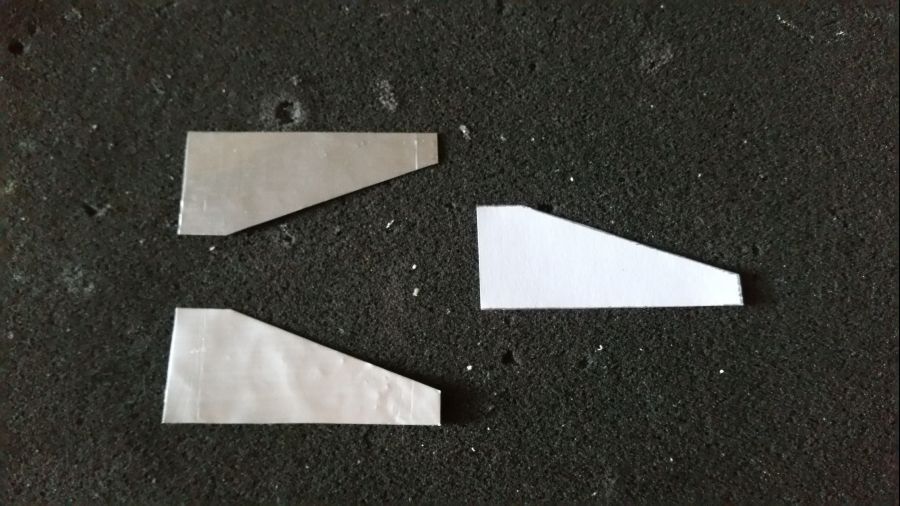
Ik gebruik een papier template om de barge boards te knippen.
I use a paper template to cut the barge boards.
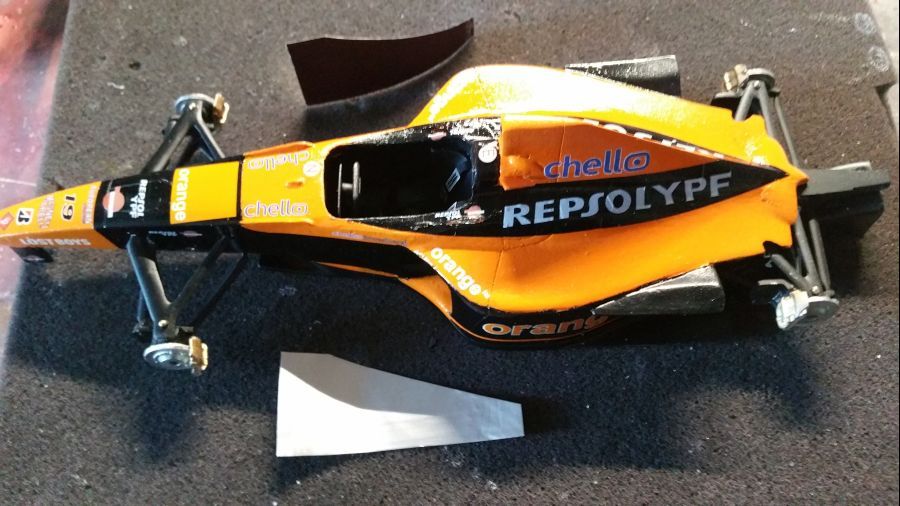
De boards worden wat gebogen in de juiste vorm.
The boards are being bent to the correct shape.
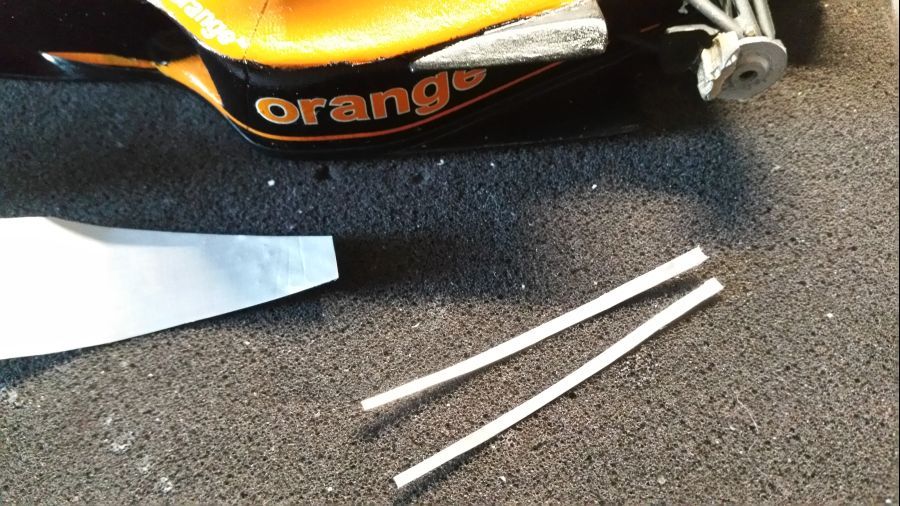
Voor het maken van de steunen gebruik ik kleine strepen van hetzelfde materiaal.
To create the mountings i use small stripes of the same material.
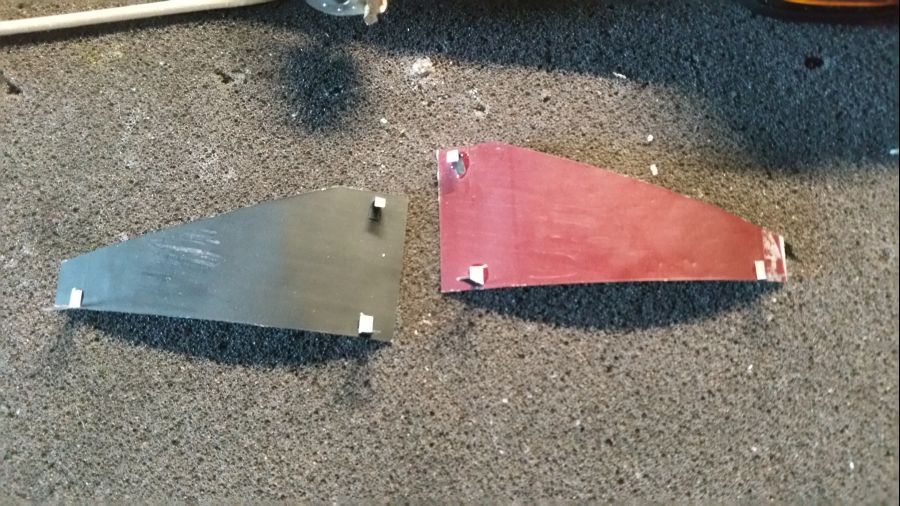
Dan de eerste verf erop...
Next is the first paint...
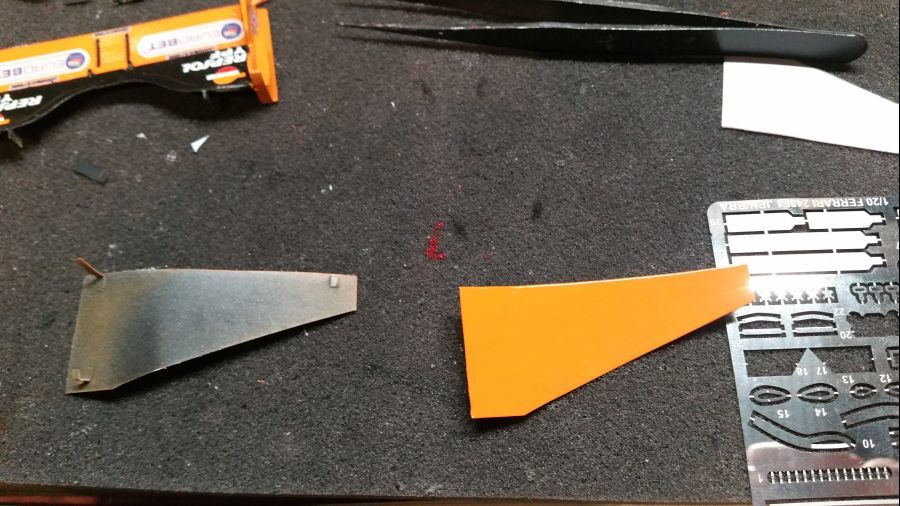
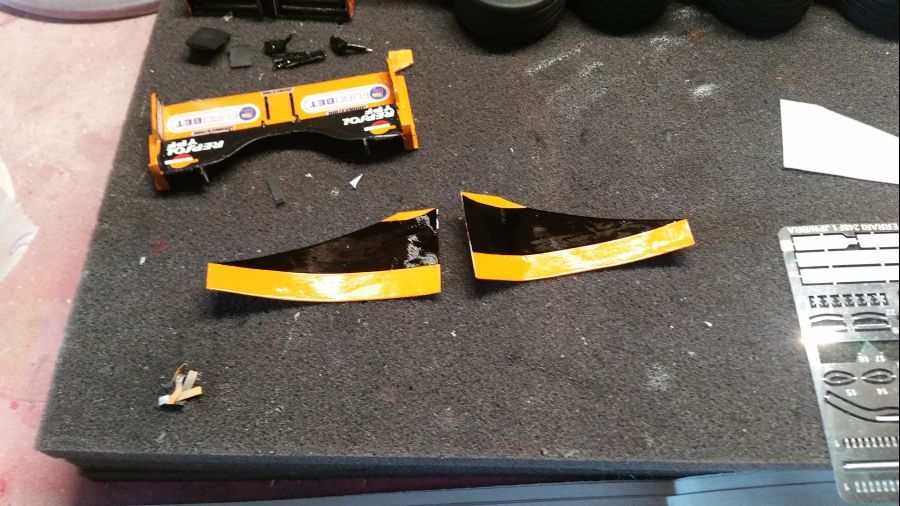
Ik ga de steunen weer overdoen. Bij het verfproces blijkt dat ze te zwak zijn. Nu doe ik ze met wat etched restmateriaal uit de rommelkist.
I am going to redo the supports. During the paint process it is clear they are too weak. I will redo them with some etched parts from the scrap box.
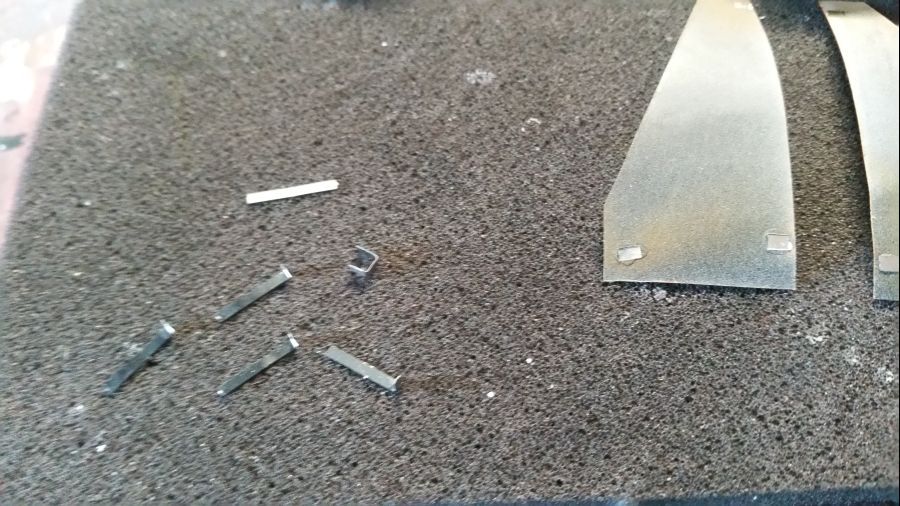
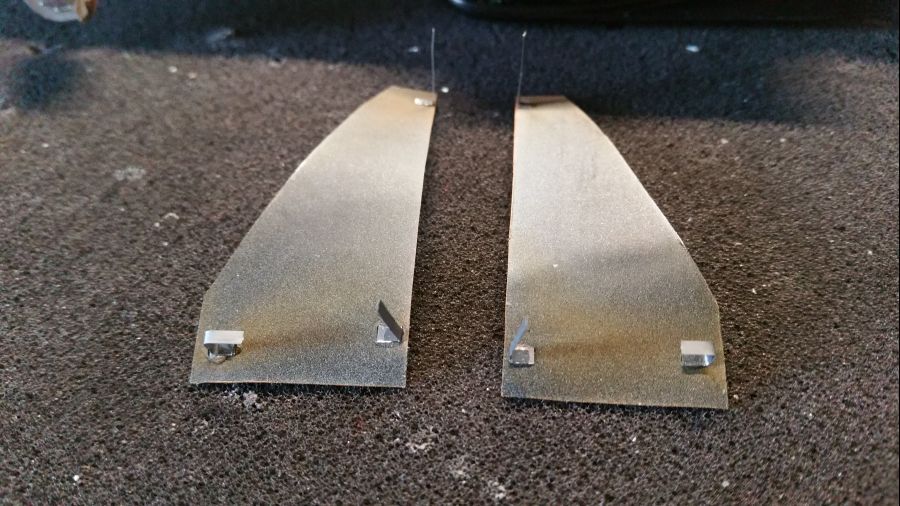
Dan worden ze gemonteerd. Voor de veiligheid zet ik de wagen nu nog even tijdelijk op de wielen.
Then they get mounted. For safety measures i am putting the wheels on temporarily.
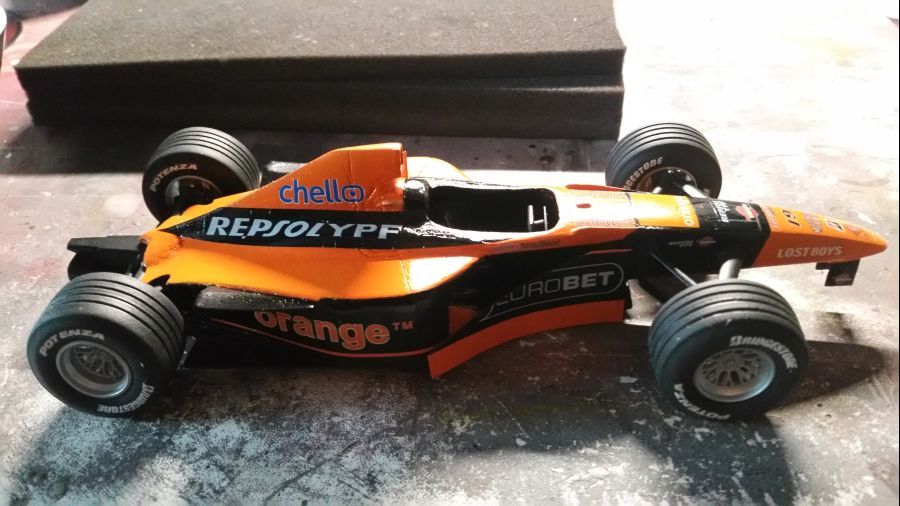
Dan krijgen de wielen hun definitieve positie.
Then the wheels get their definitive position.
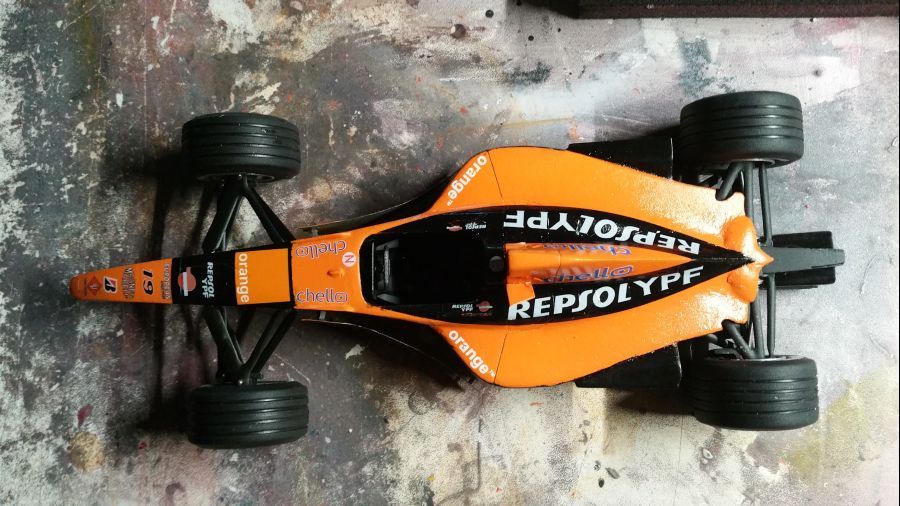
Tijd om de decal te plaatsen achter de barge boards. Dit moet in feite in elkaar overvloeien.
Time to apply the decal behind the barge boards. These need to be lined up.
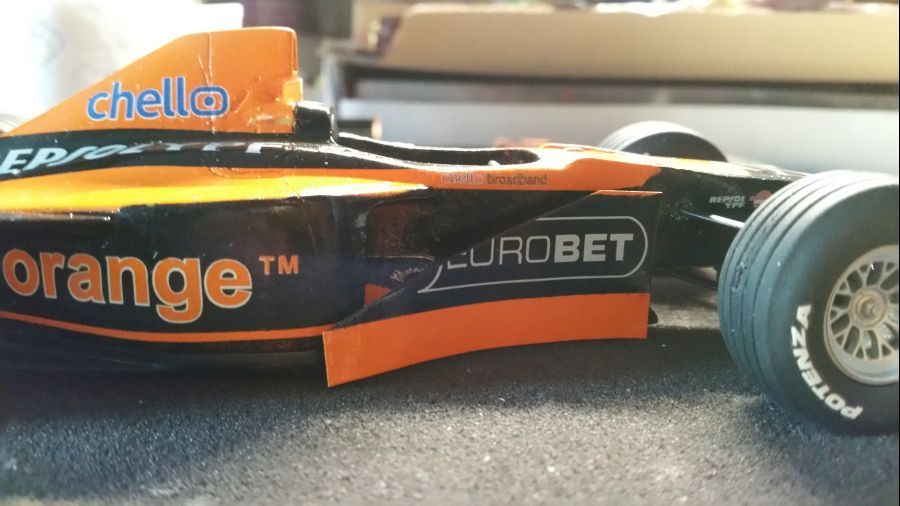
Dan kan de voorvleugel erop.
Then the front wing can be mounted.
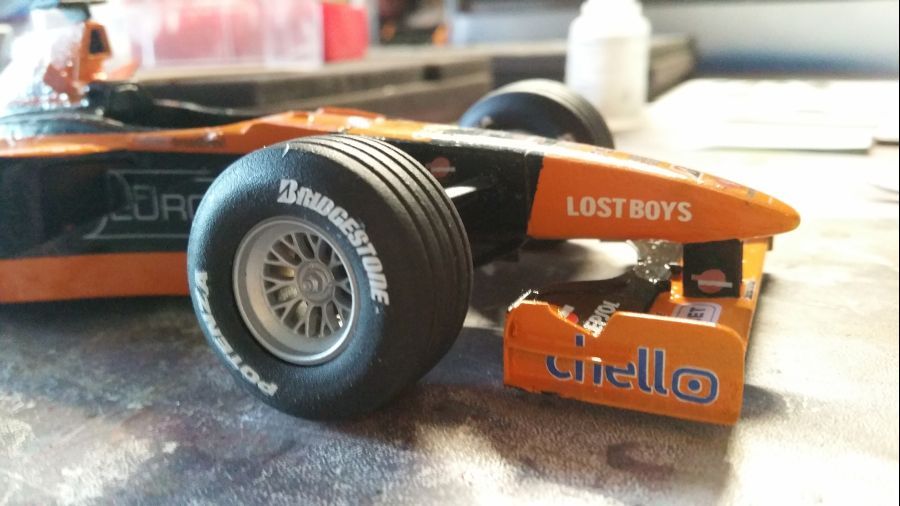
Nog wat decals op de barge borads en de onderkant van de body...
Some more decals to the barge boards and lower side of the body...
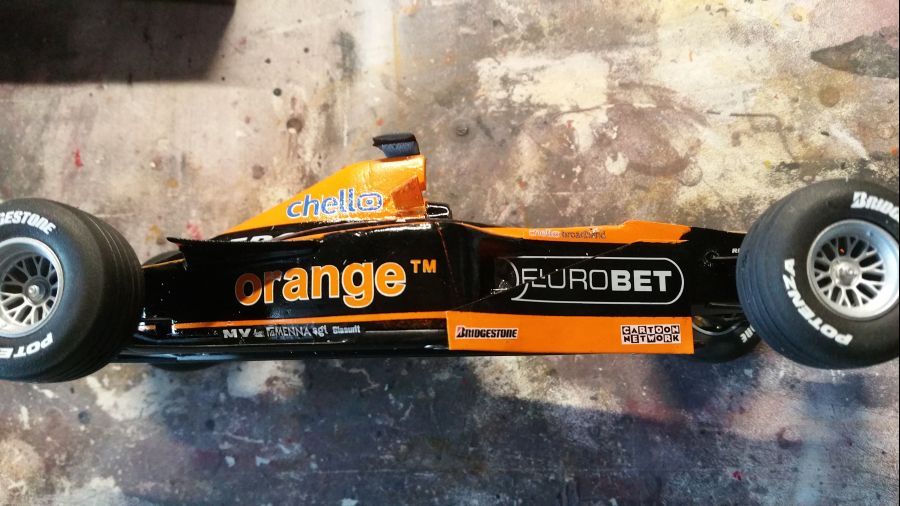
De achtervleugel en spiegels.
The rear wing and mirrors.
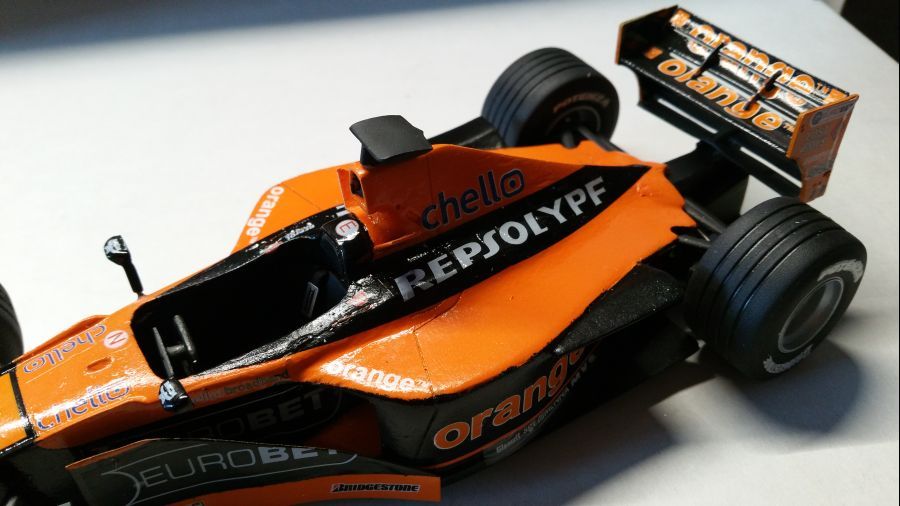
En weer 1 klaar. Niet mijn beste werk, maar dat was te verwachten. De kwaliteit is niet gelijk aan bijvoorbeeld Studio27. En er was al aan gewerkt. Altijd lastig om dat op te knappen. Toch blij dat ik deze aan mijn verzameling Nederlandse coureurs kan toevoegen.
And another 1 finished. Not my best, but it was to be expected. The quality is not equal to that of Studio27. And there has been worked on. Always a problem to make the best of it. But i am glad i can add this to my collection of Dutch drivers.
