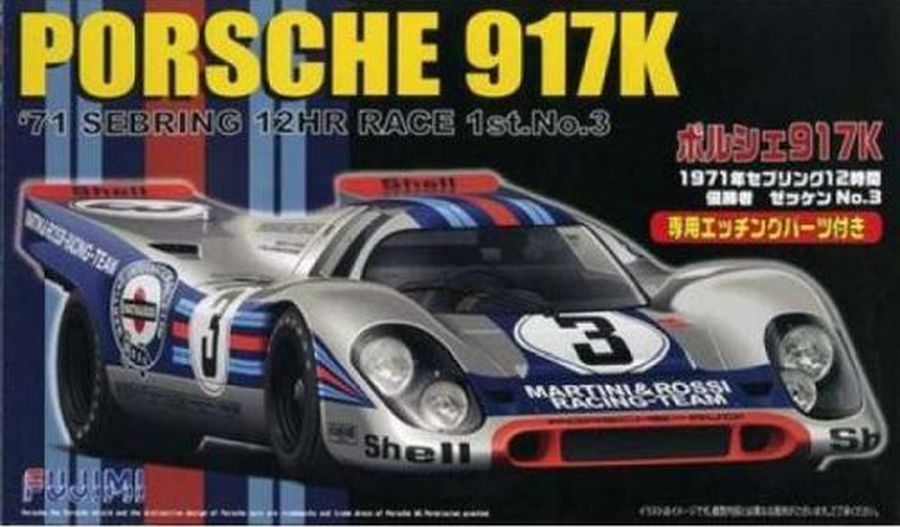
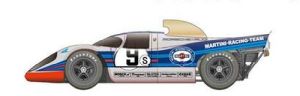
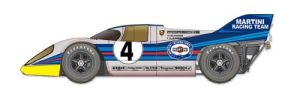

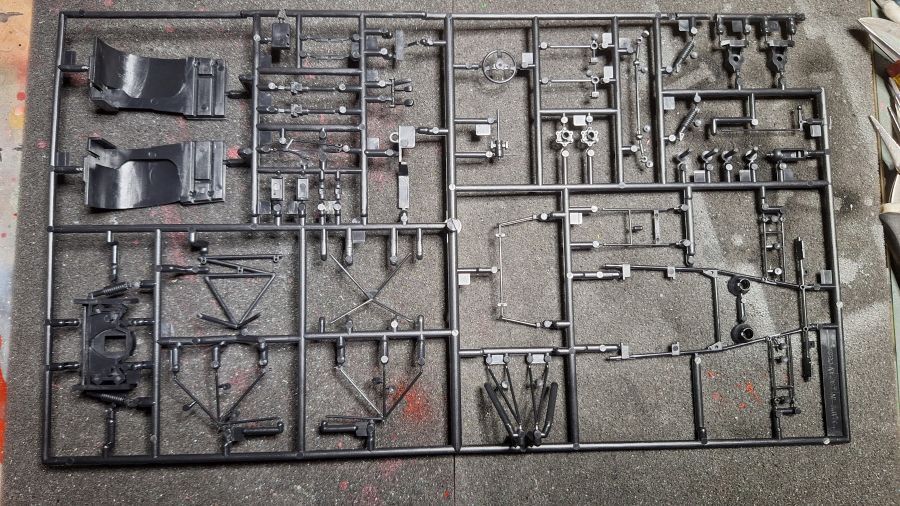
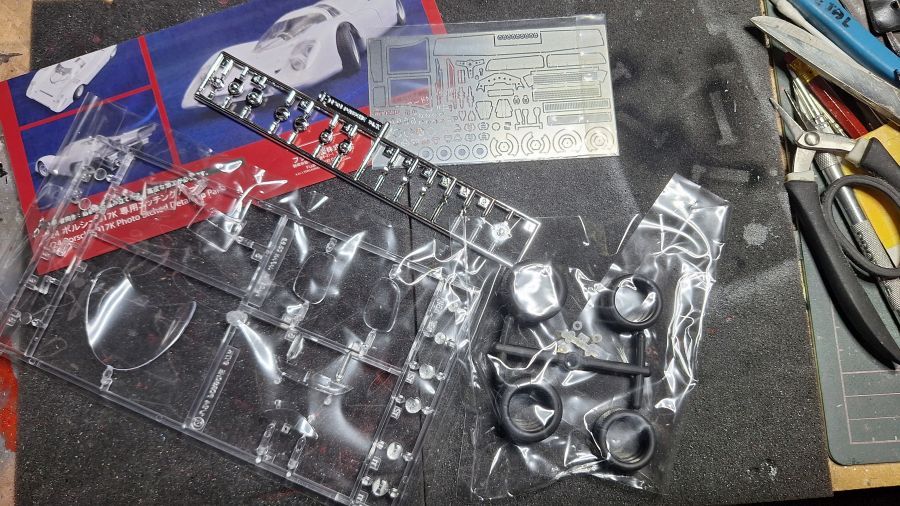
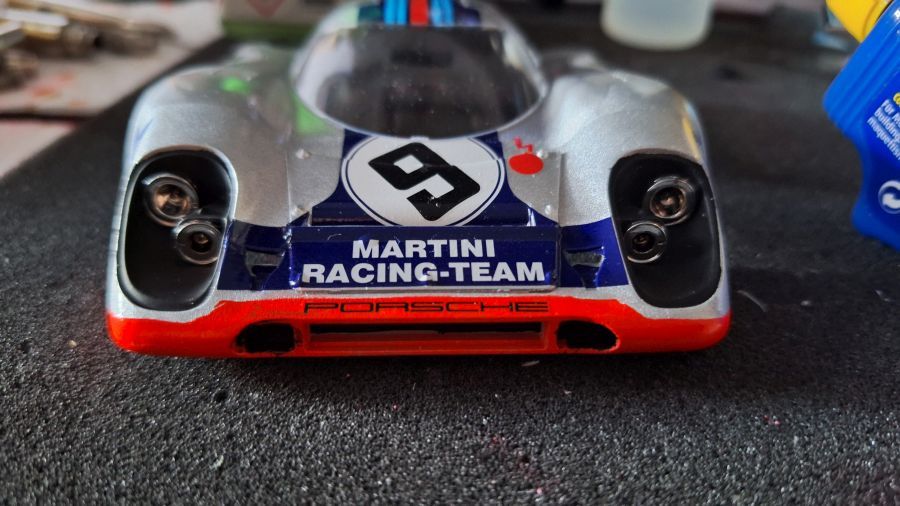
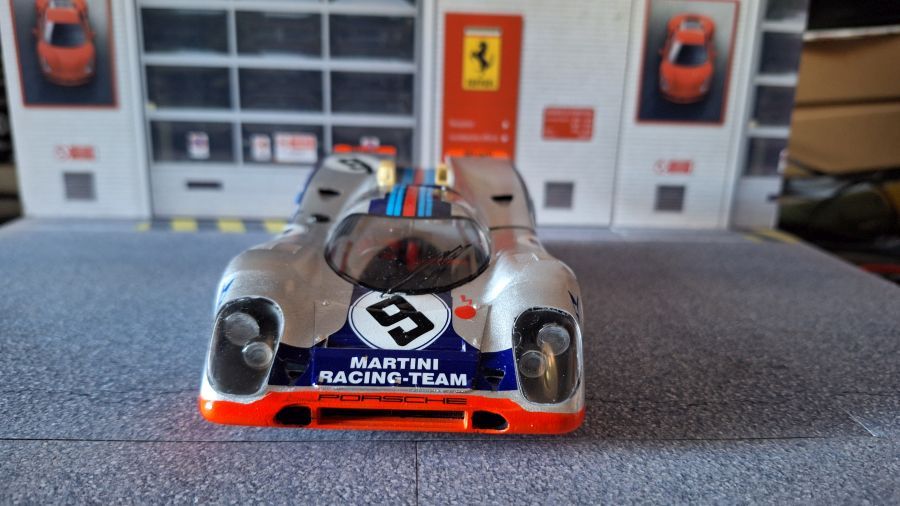
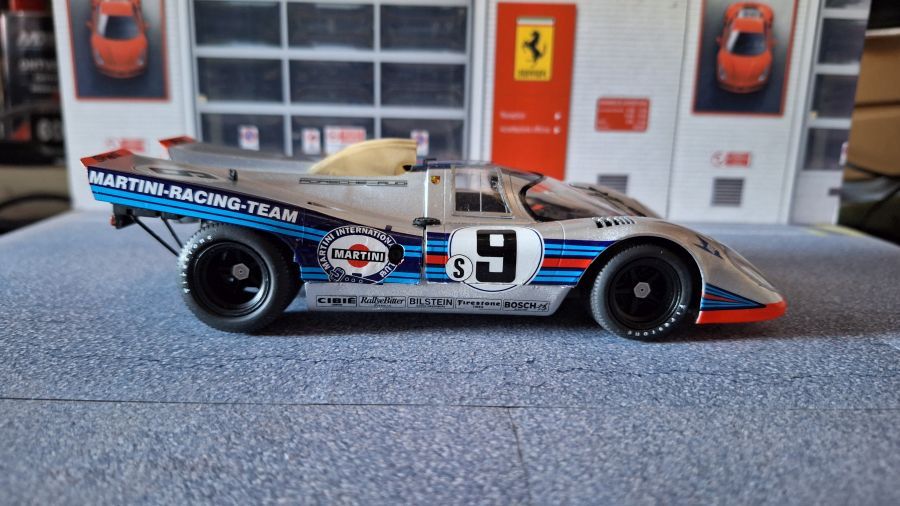
Dit gaat een serie van 3 Porsches 917K worden, zoals gereden door Gijs van Lennep. Nu eerst de 1e versie. Dankzij Michael kan ik deze maken voor een mooie prijs. Hij heeft de scoops voor me geprint. Ik had geen zin om 300 Euro of meer uit te geven voor een MFH kit. Het wordt dus de 1971 Porsche 917K Brands Hatch 1000 KM versie van Gijs. Als kit gebruik ik de 917K van Fujimi (kit nr. 123882) waar ik ook de nodige decals bij heb gekocht. Ik ga ze niet allemaal achter elkaar bouwen om wat variatie te hebben.
This is going to be a series of 3 Porsches 917K, as driven by Gijs van Lennep. Now the first version. Thanks to Michael i can make this for a reasonable price. He printed the scoops for me. I didn't want to spend 300 Euro or more on a MFH kit. So it's the 1971 Porsche 917K Brands Hatch 1000 KM version as driven by Gijs. The kit is from Fujimi (kit no. 123882) that i bought with some extra decals. To have some variation i will not build them all 3 behind each other.

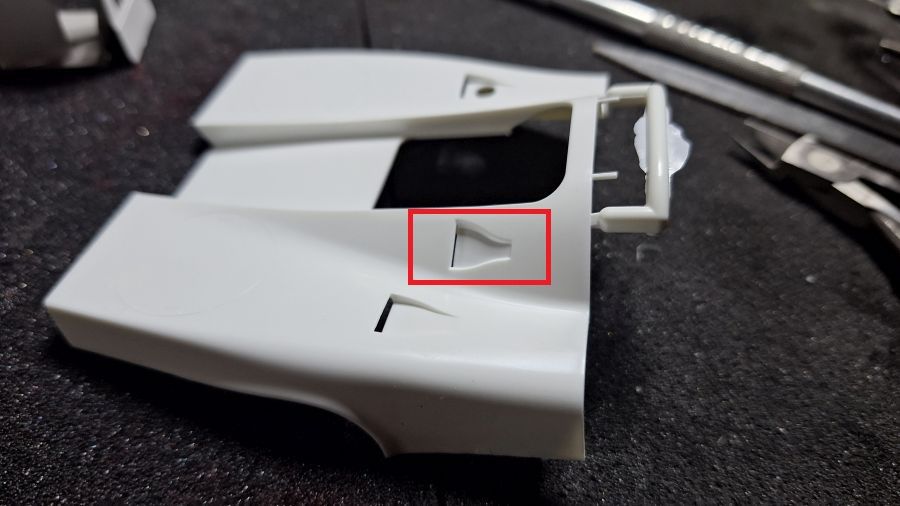
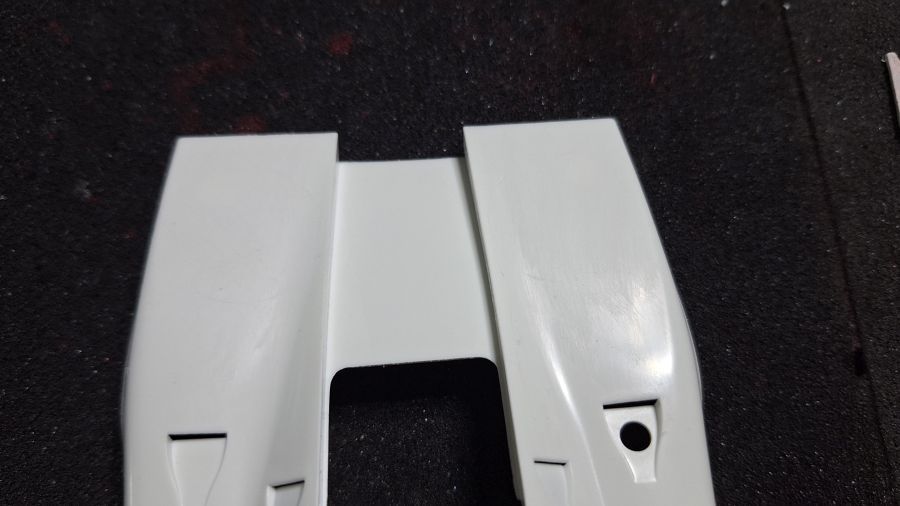
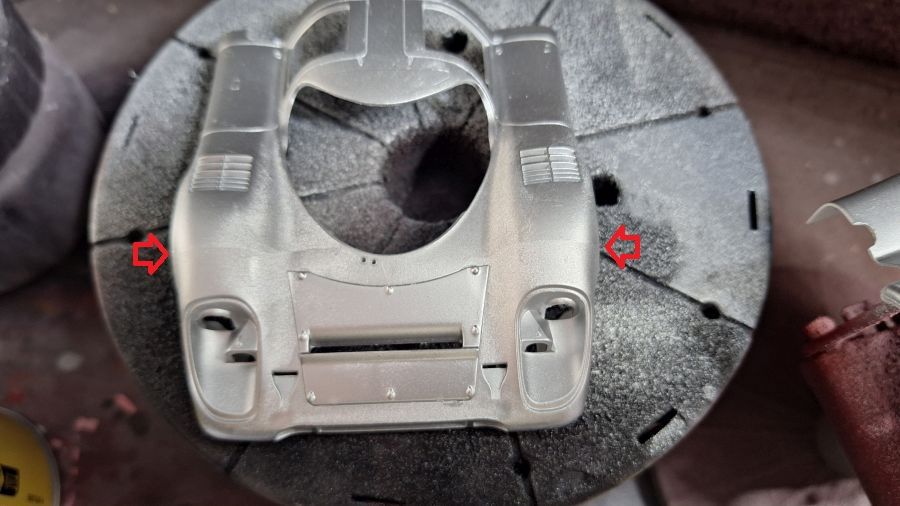
Deze opening aan beide kanten van de wagen moet opgevuld.
This opening needs to be filled on both sides of the car.
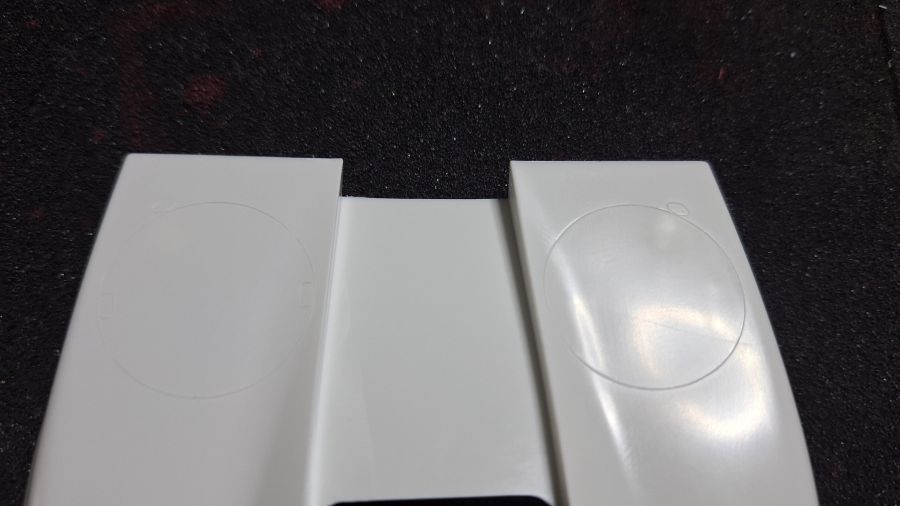
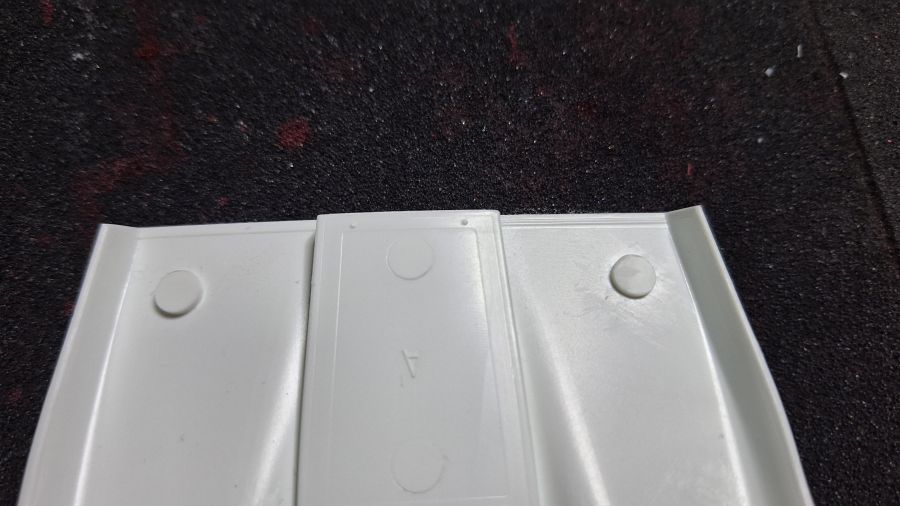
Ook deze cirkels verwijder ik, Daarbij kwamen 2 'sink holes' tevoorschijn, te zien op de binnenkant. Ook direct weggewerkt.
These circles will be removed too. While doing this 2 'sink holes' came forward, at these spots on the inside. Removed them too.
Meer vullen...
More to fill up...
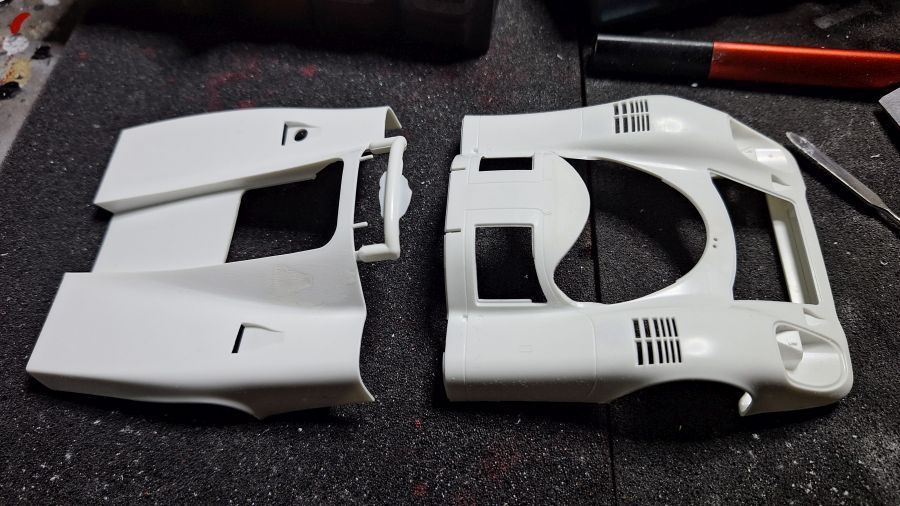
De achterkant plaatsen.
Adding the back side.
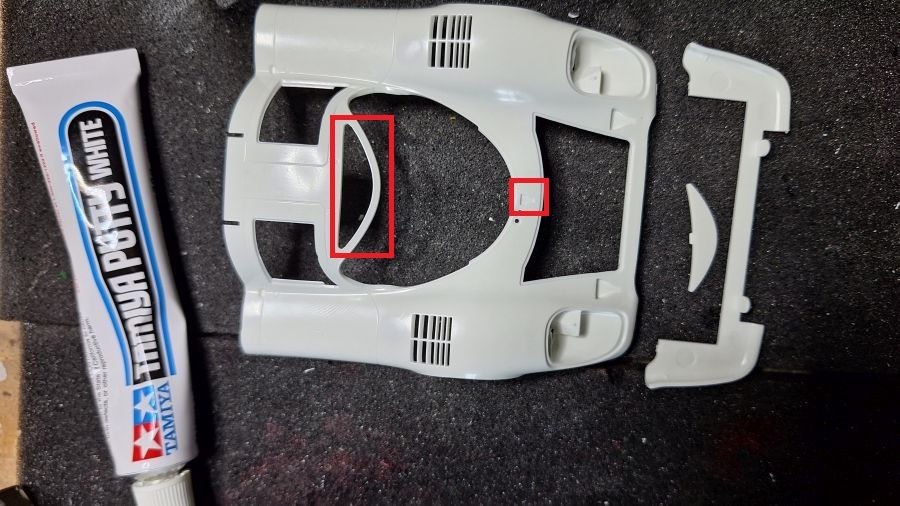
Openingen maken...
Making some openings...
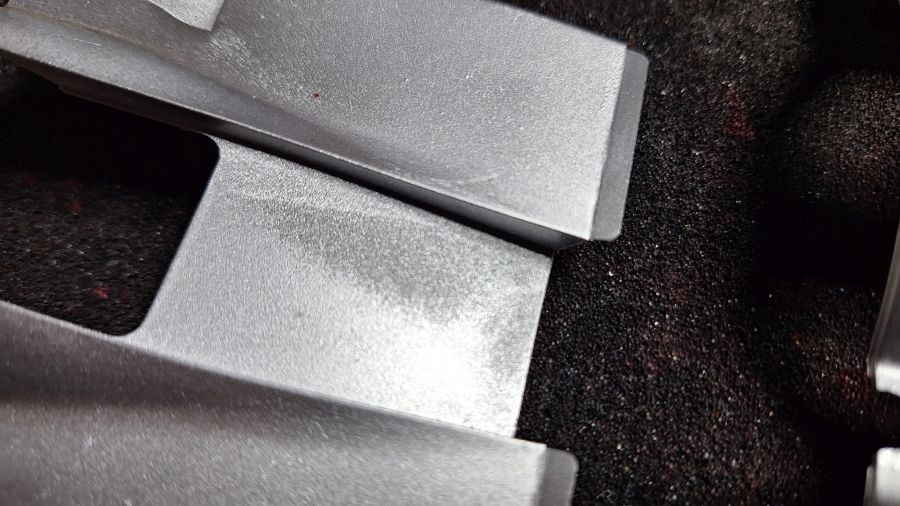
Na de Tamiya primer gaat de verf erop. Weer verf van Number5 (N5-C141) 917K 1971 Silver. Het resultaat valt me wat tegen. Opeens komen de gietdraaiingen tevoorschijn.
After Tamiya primer it's time for paint. Again paint from Number5 (N5-C141) 917K 1971 Silver. I am not too happy with the result. It brings up swirls in the plastic.
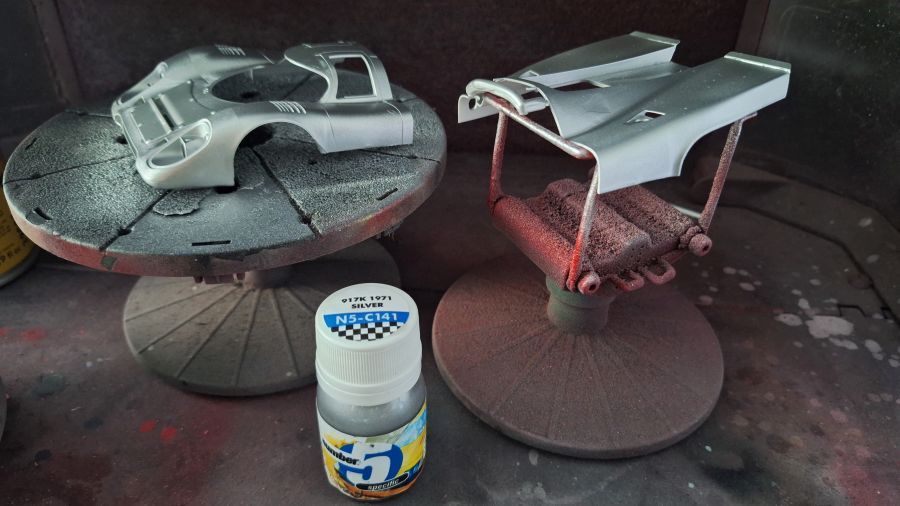

Het lijkt of de verf het plastic ook aantast. Dat had ik ook met de verf van Zero Paints. Te heet.
It looks like the paints eats the plastic. I had that with Zero Paints too. Too hot.
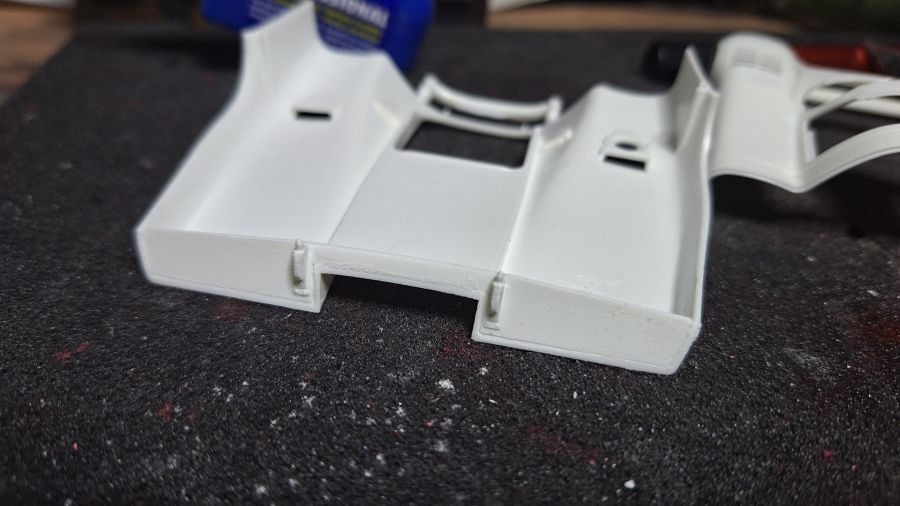
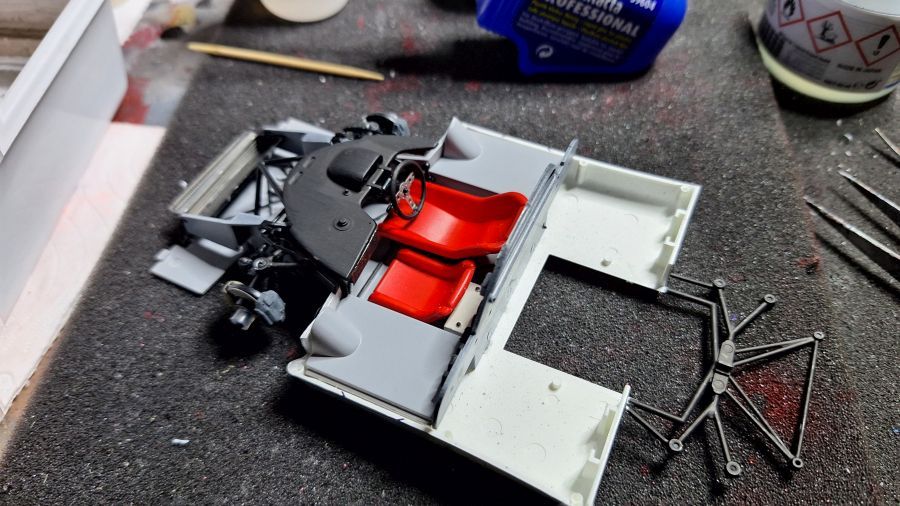
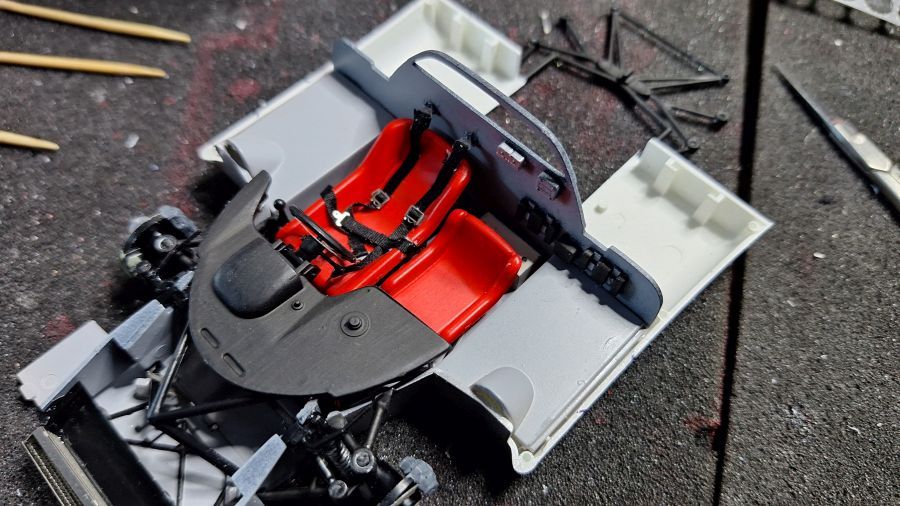
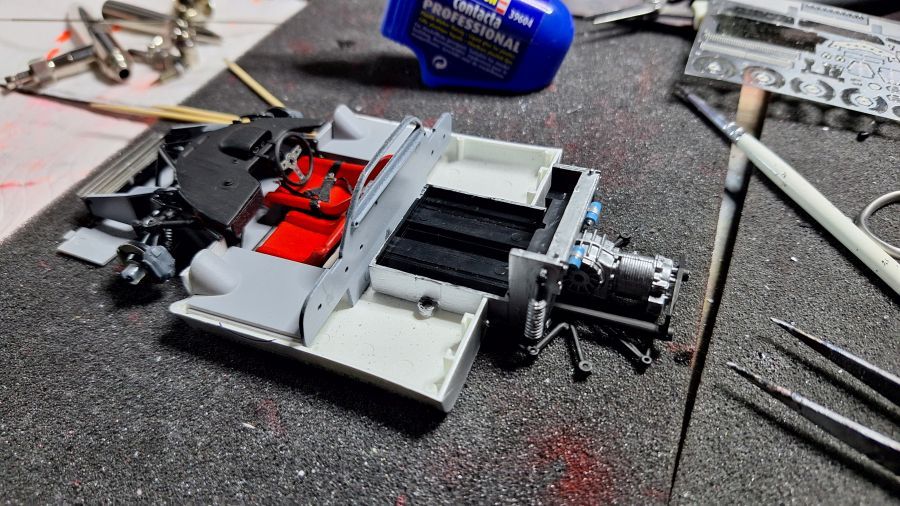
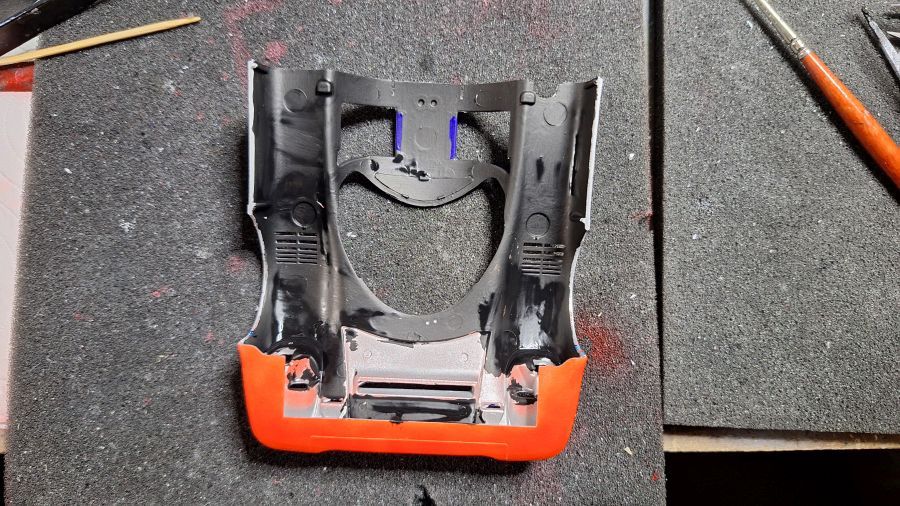
De eerste stappen aan de vloer.
The first steps to the floor.

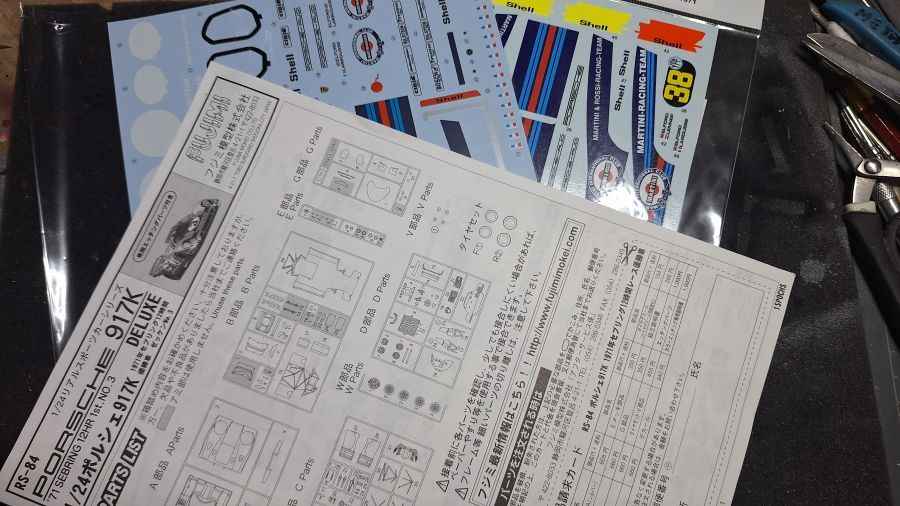
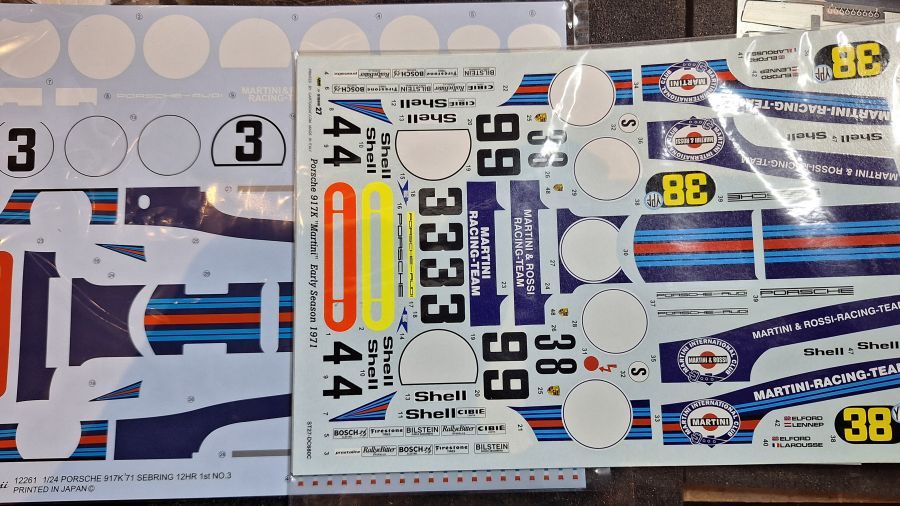
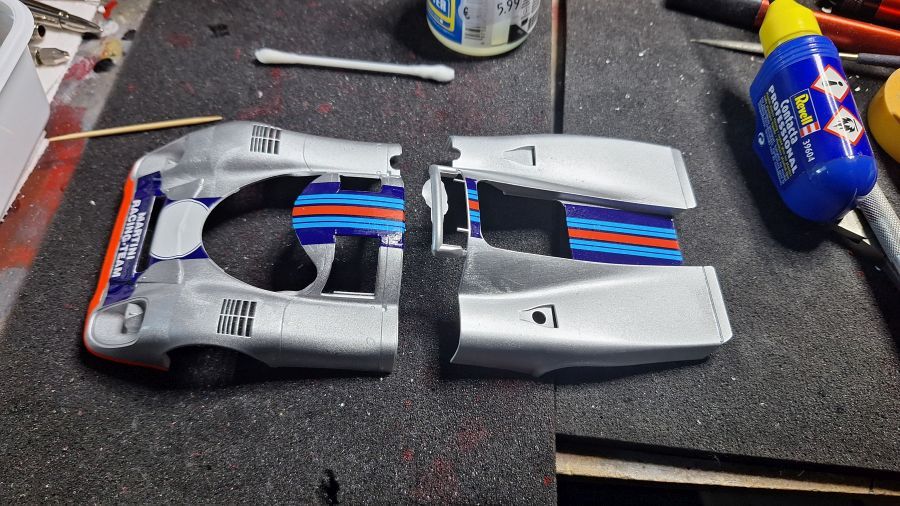
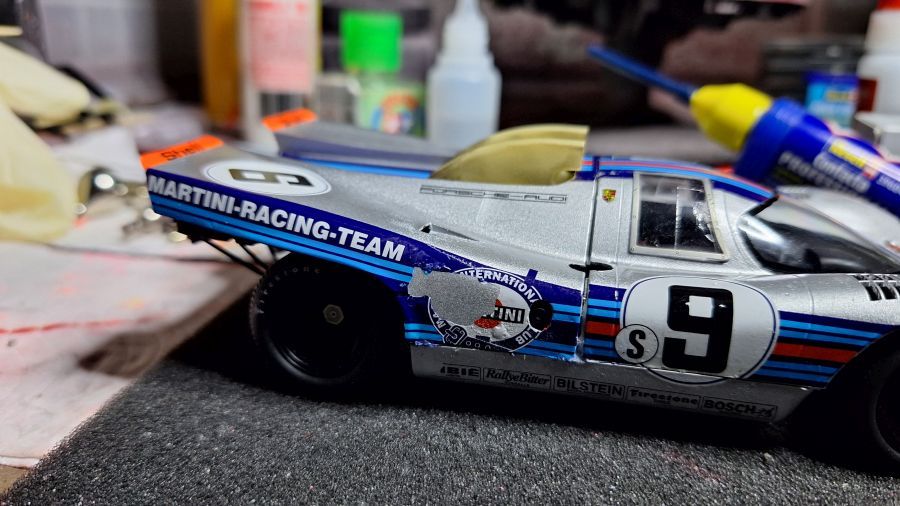
Beslissingen maken m.b.t. de decals. Beide sets hebben hun eigen voordelen. Ik kan ze niet door elkaar gebruiken in verband met kleurverschillen. Ik ga voor de rechtse.
Decisions to be made on the decals. Both sets have their own advantages. I can not mix them because of color differences. I will go for the set on the right.
De decal aan de voorkant is niet correct voor deze versie, dus moet ik spuiten.
The decal for the front is not correct for my version, so i have to paint.
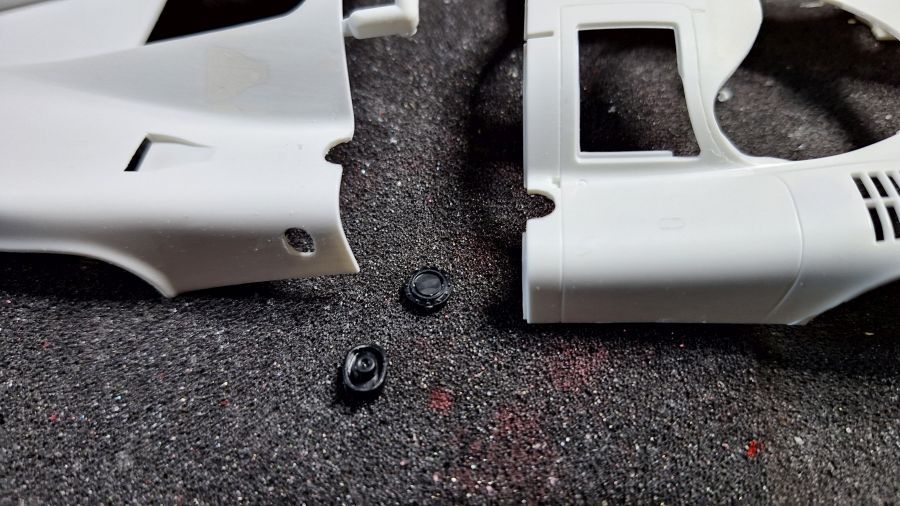
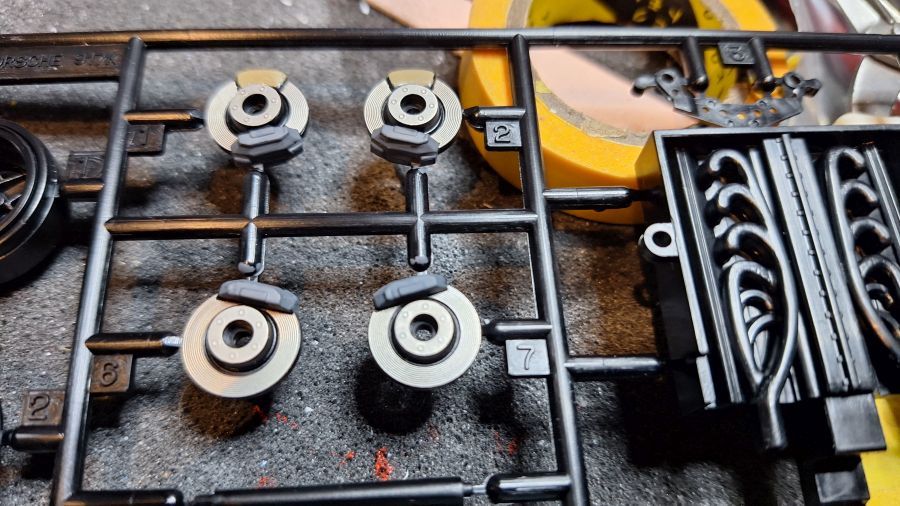
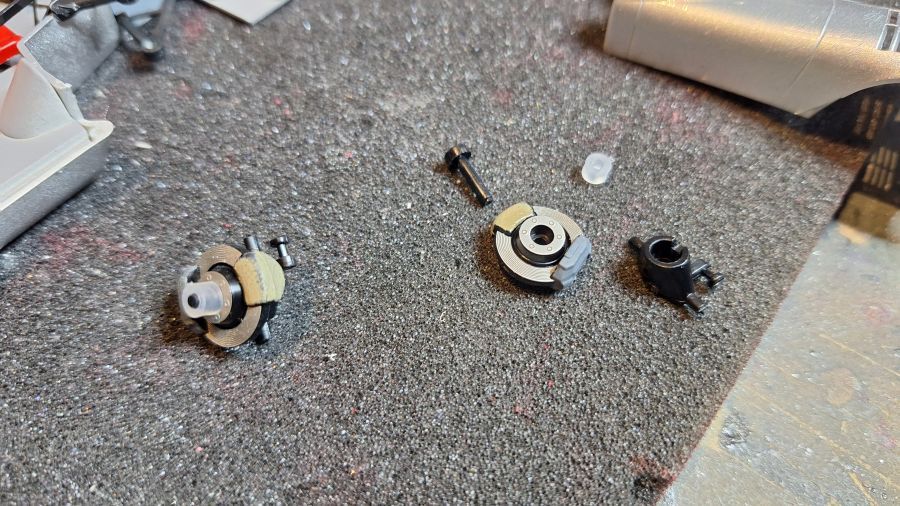
Nu door naar de voorste remmen.
Now on to the front brakes.
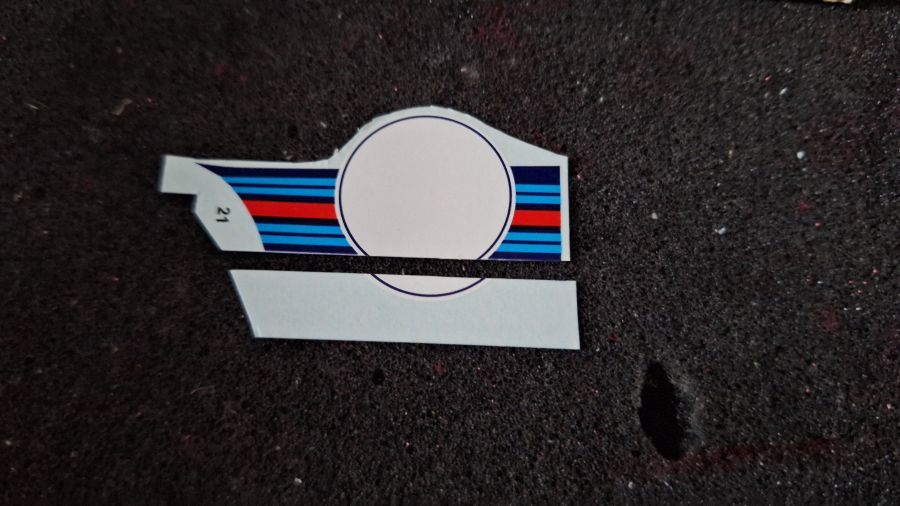
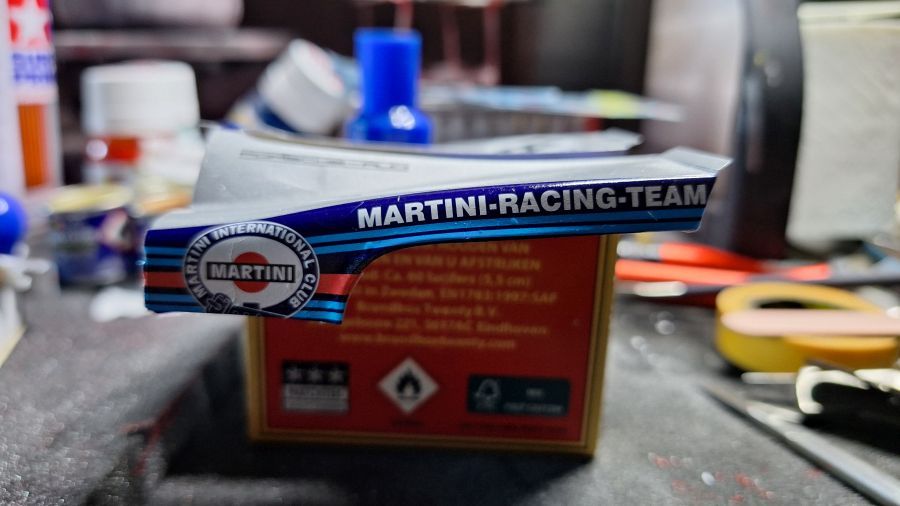
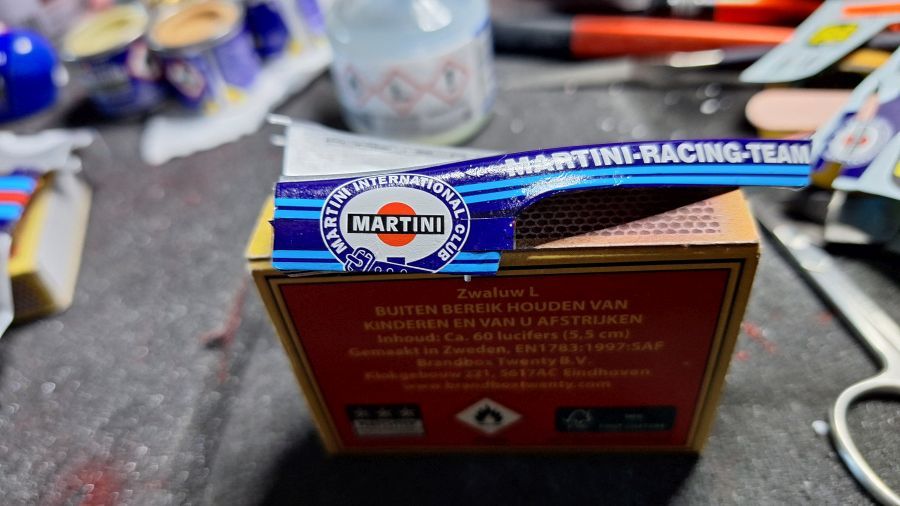
Intussen ga ik door met de decals. Die op het achterspatbord moet een combinatie van deze 2 worden. de onderste is juist v.w.b. tekst, maar het rood links en recht naast het martini label moet eraf. de decal voor de deuren (nr 34) hoort v.w.b. het onderste deel kleiner te zijn. Het stukje wit eraf knippen en ingekort plaatsen. Improviseren dus.
In the meantime i will start with the decals. Those on the rear fender should be a combination of these 2. The lower one is correct regarding the text, but the red left and right to the Martini label should be removed. The decal for the doors (no 34) should have a smaller lower part. I will cut the white and put it back after cutting it smaller. So improvising.
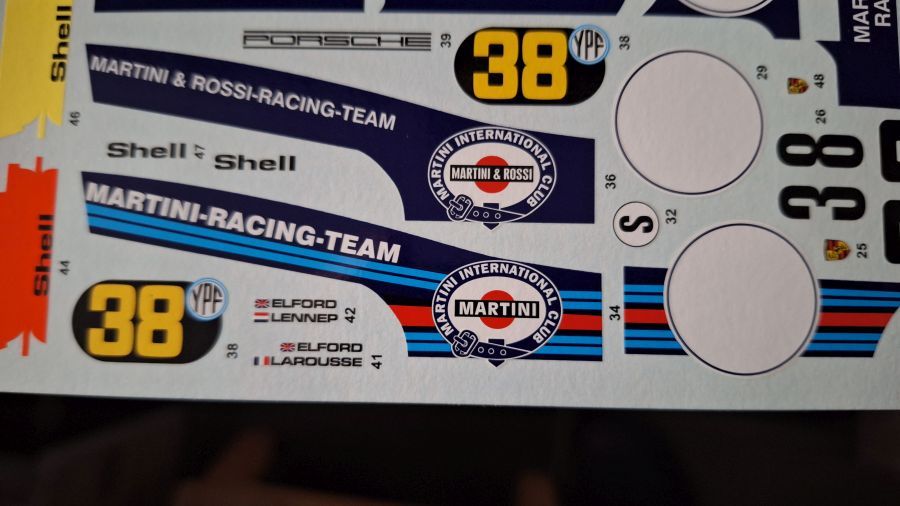
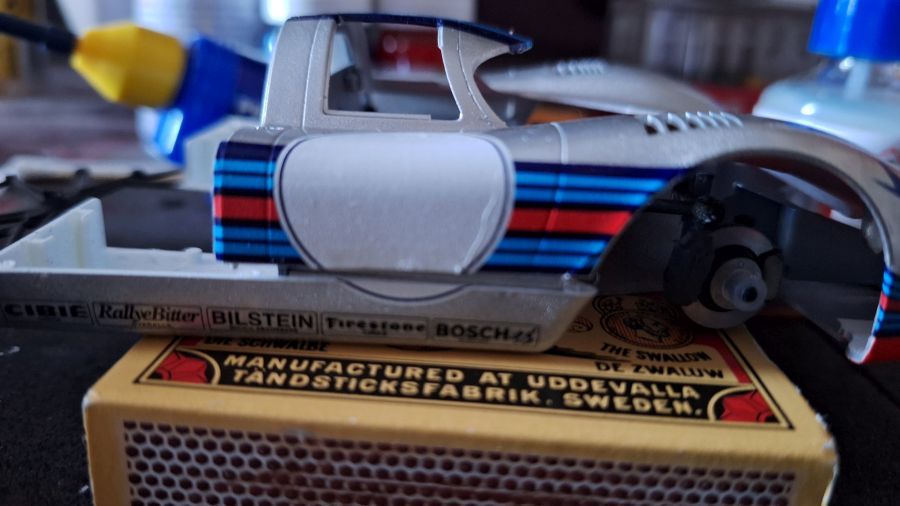
Het Martini donkerblauw van Number5 matcht niet met het blauw van de decals.
The Martini dark blue from Numer5 doesn't match the blue of the decals.
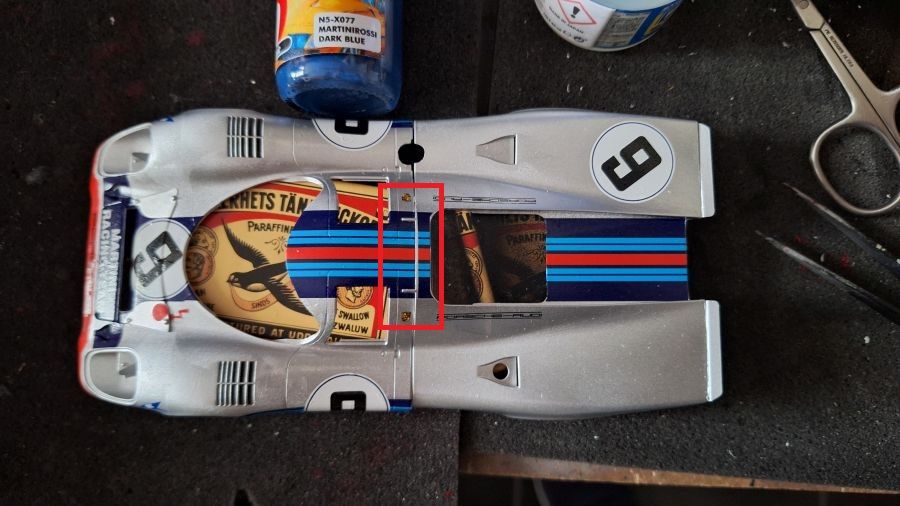
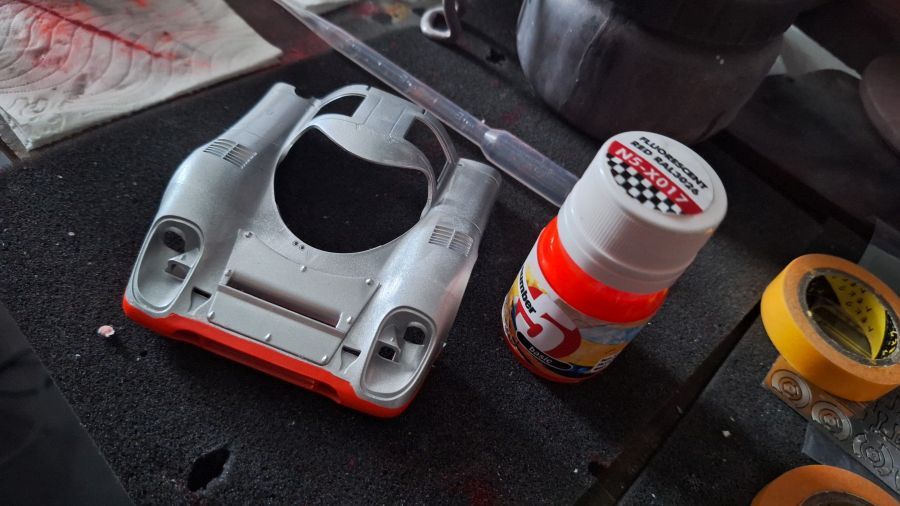
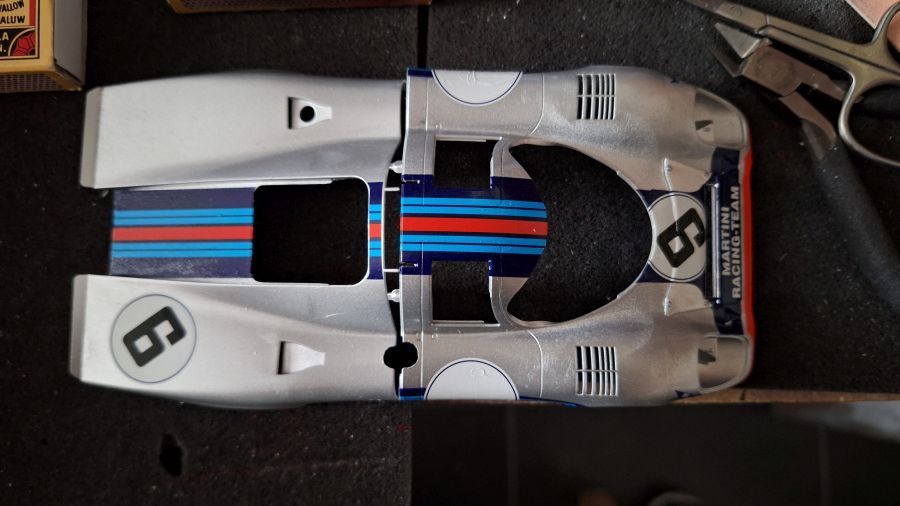
Het rood moet verdwijnen.
I need to remove the red.
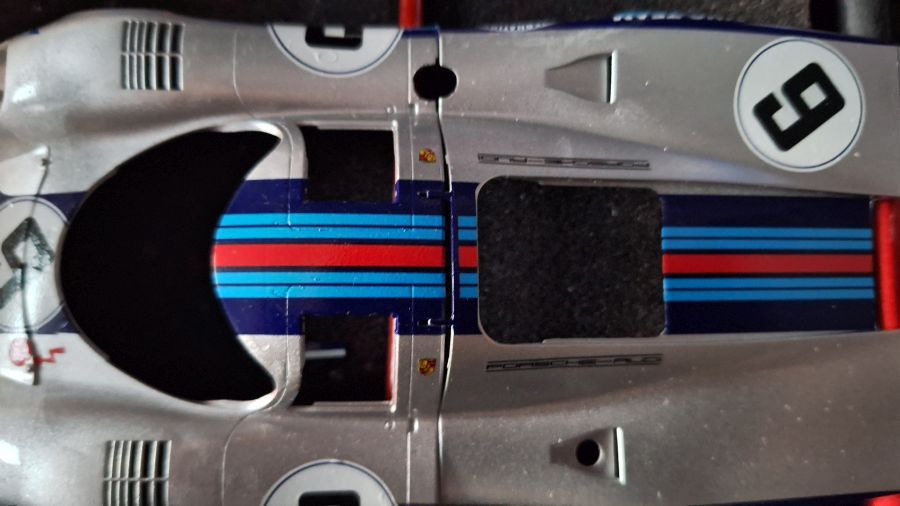
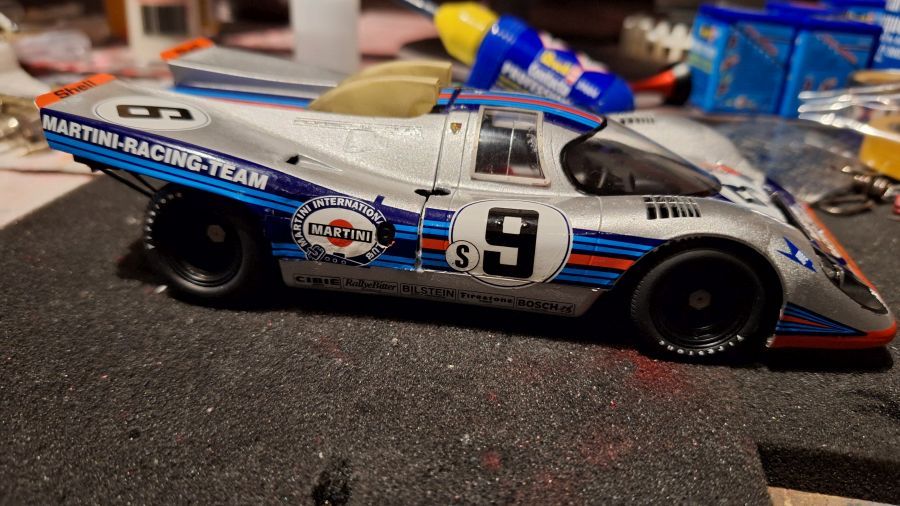
Ik denk dat dit ook netjes is opgelost.
I think i solved this too.
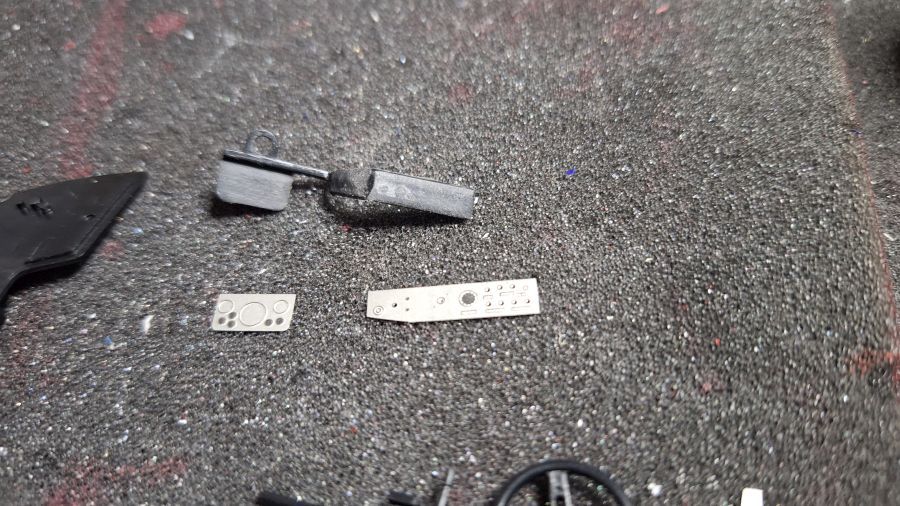
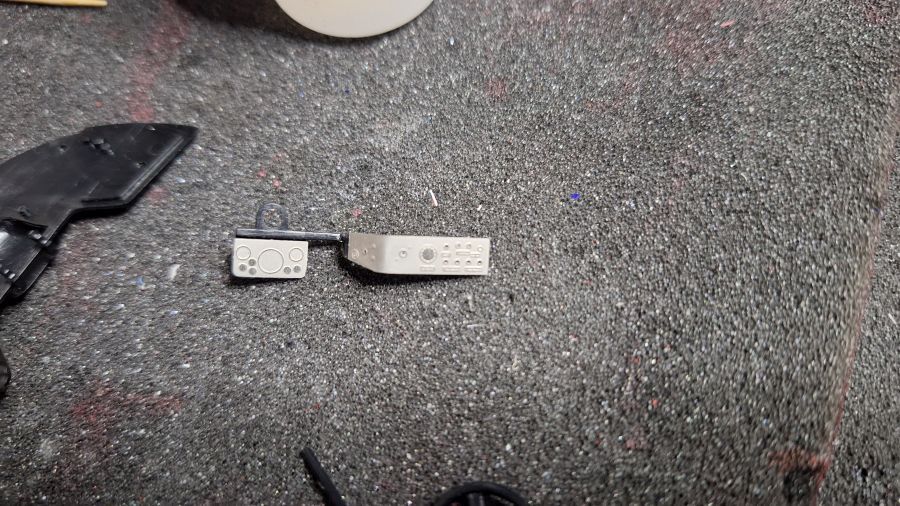
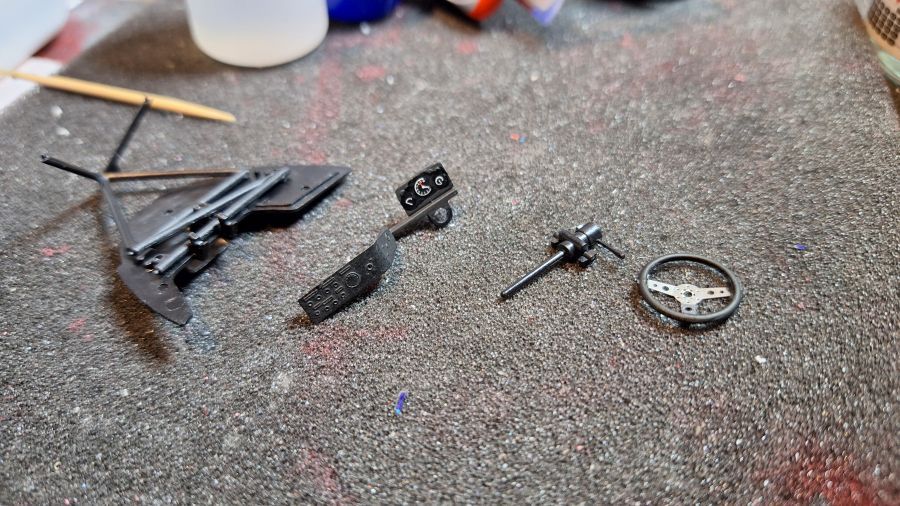
Het dashbord...
The dash board...
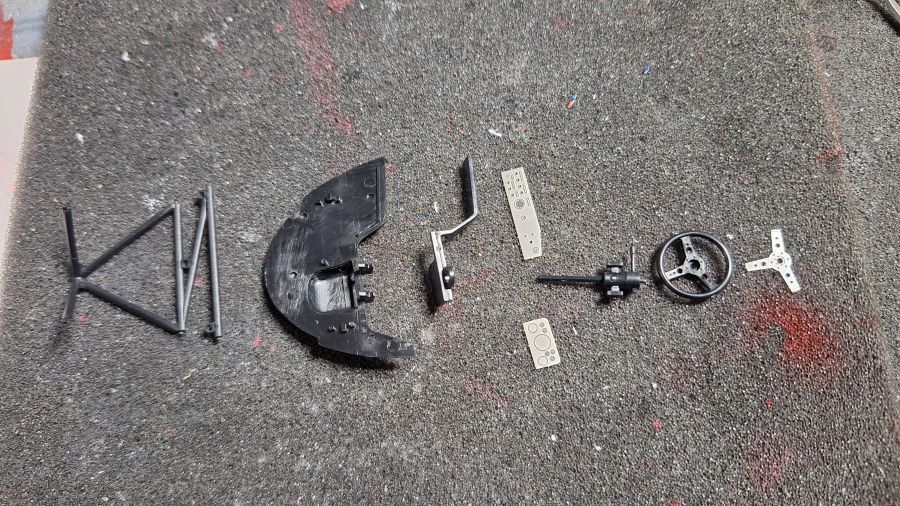
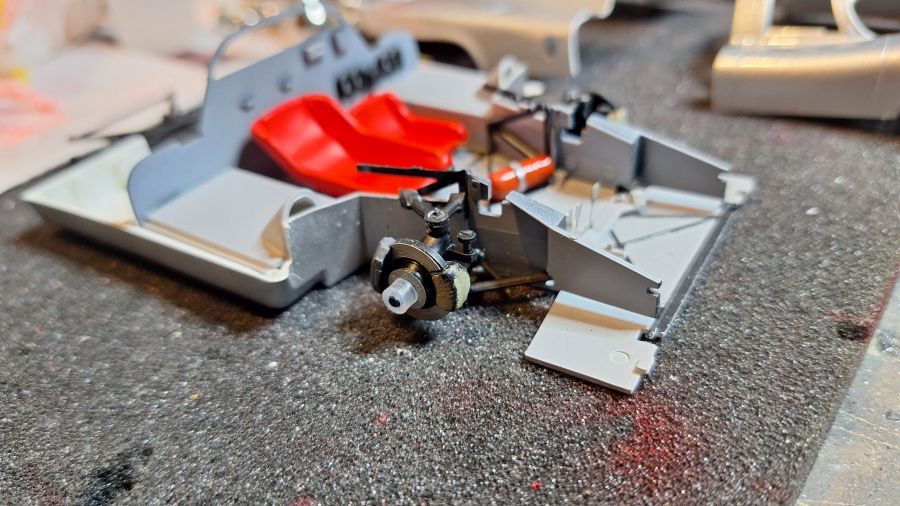
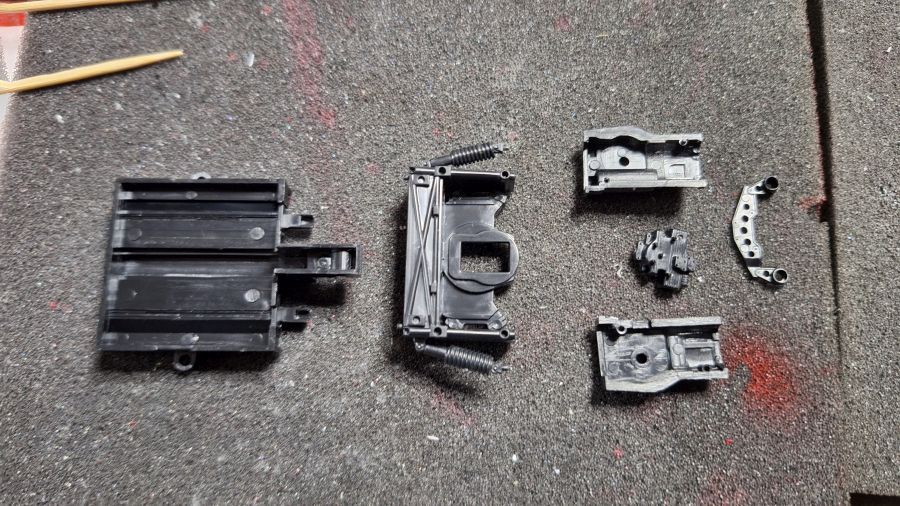
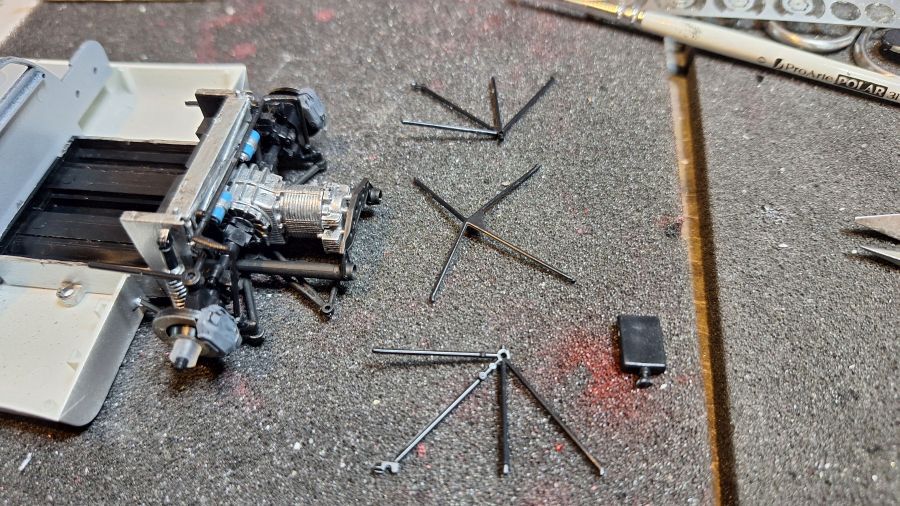
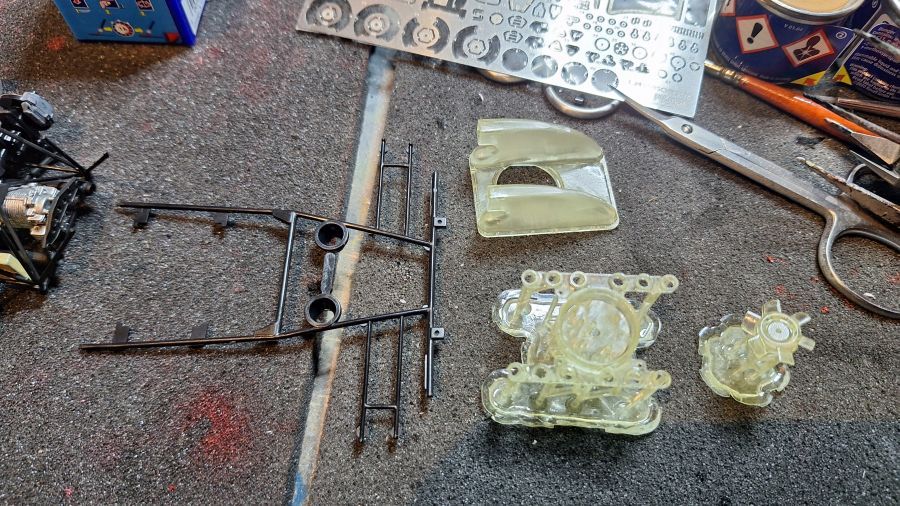
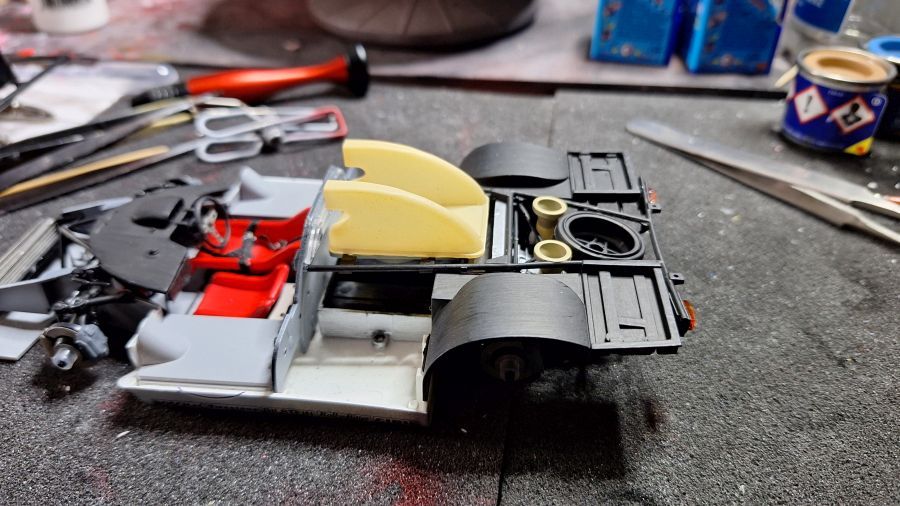
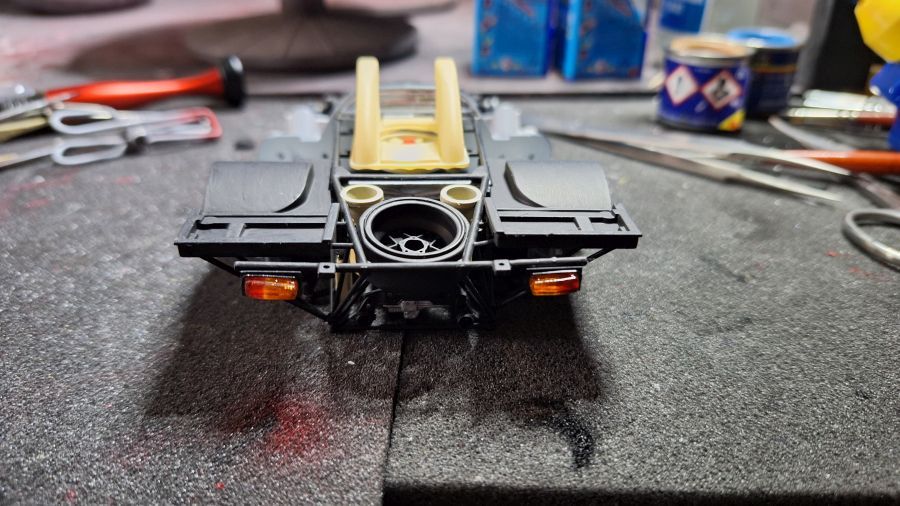
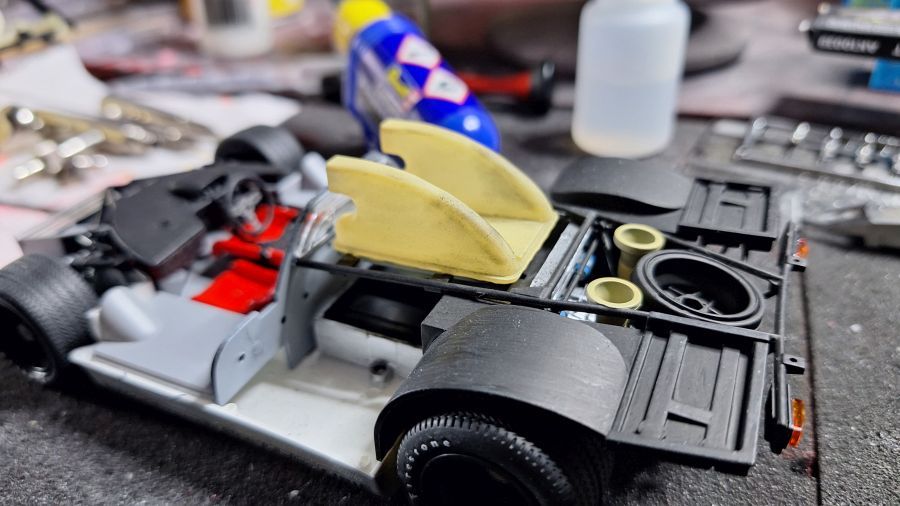
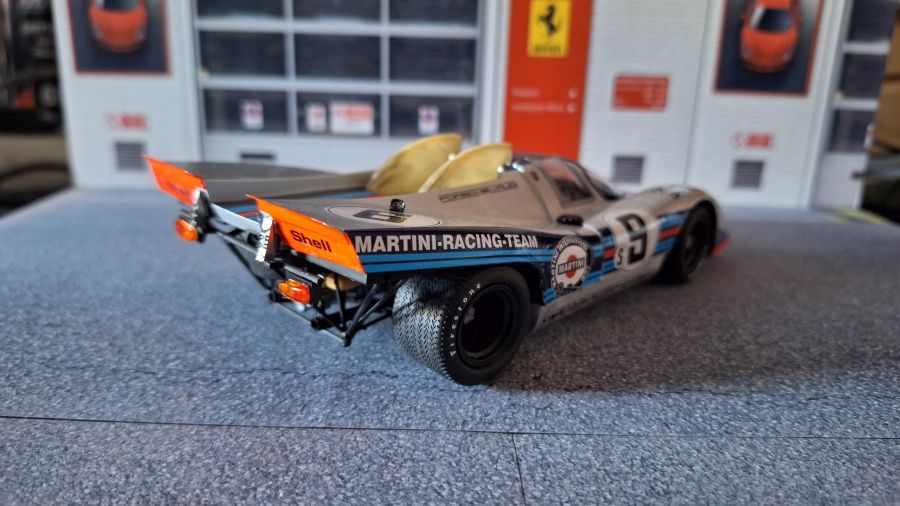
Dan de motor en de achterwielophanging combineren...
Next is combining the engine and the rear wheel suspension...
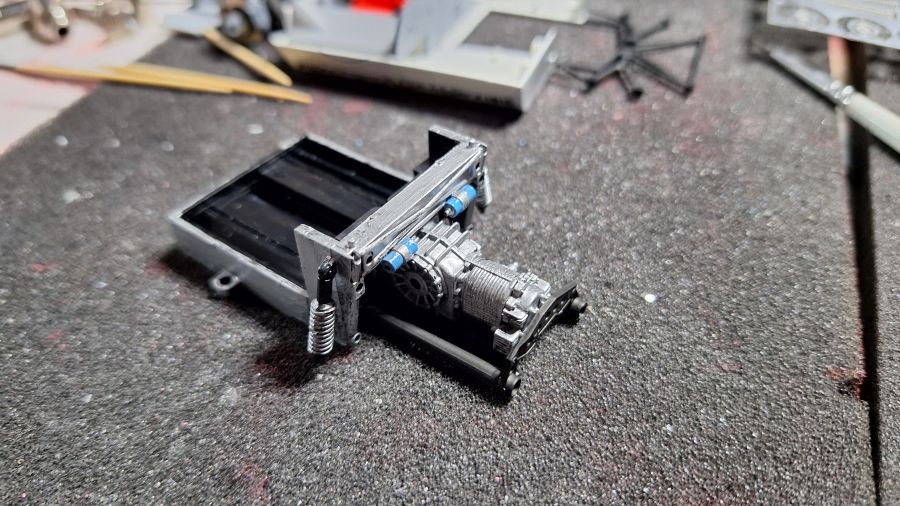
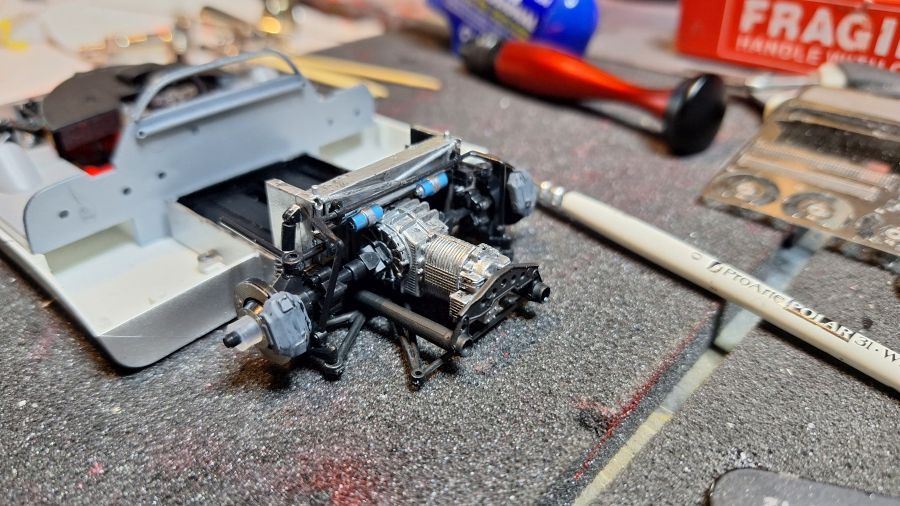
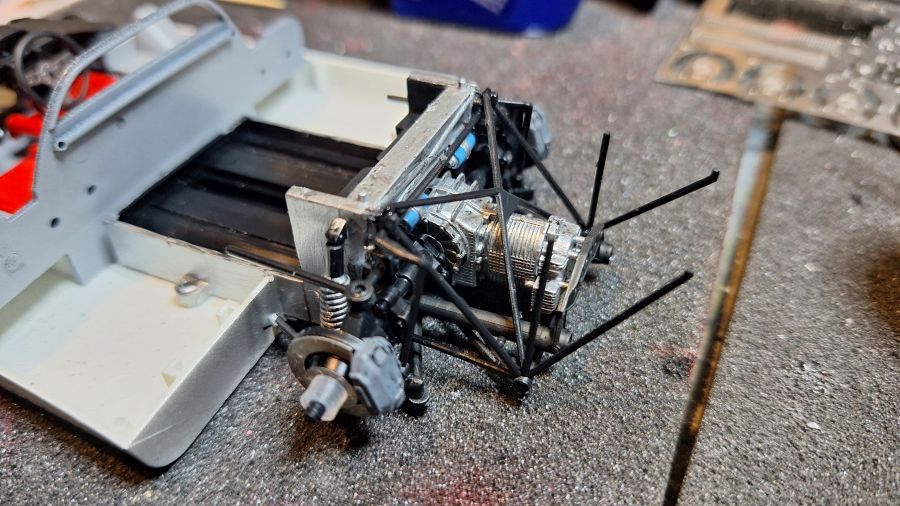
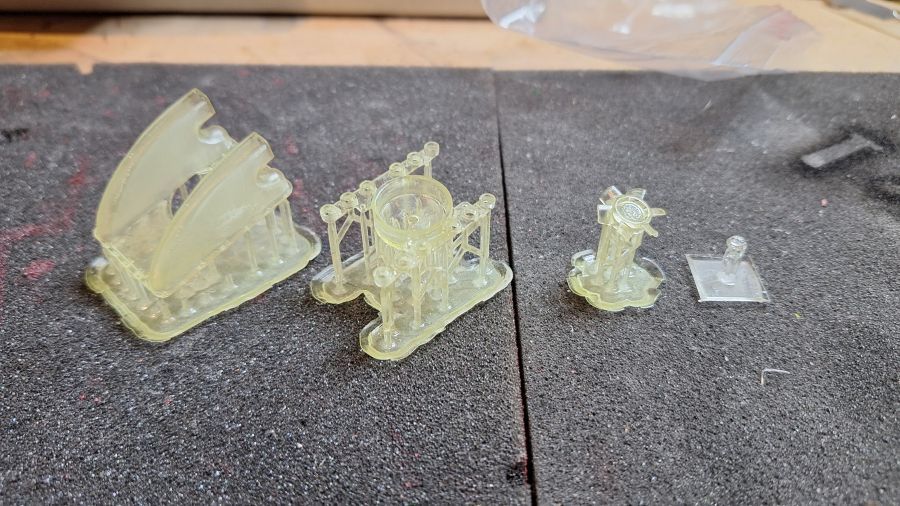
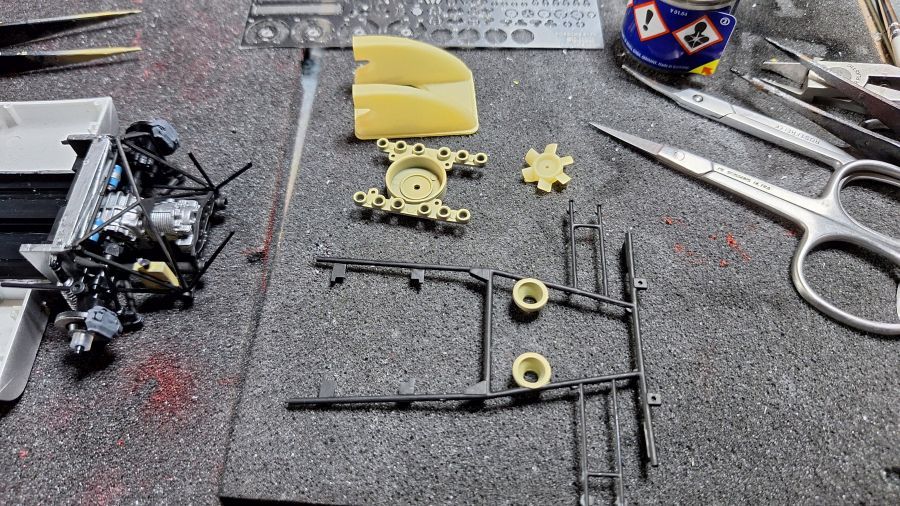
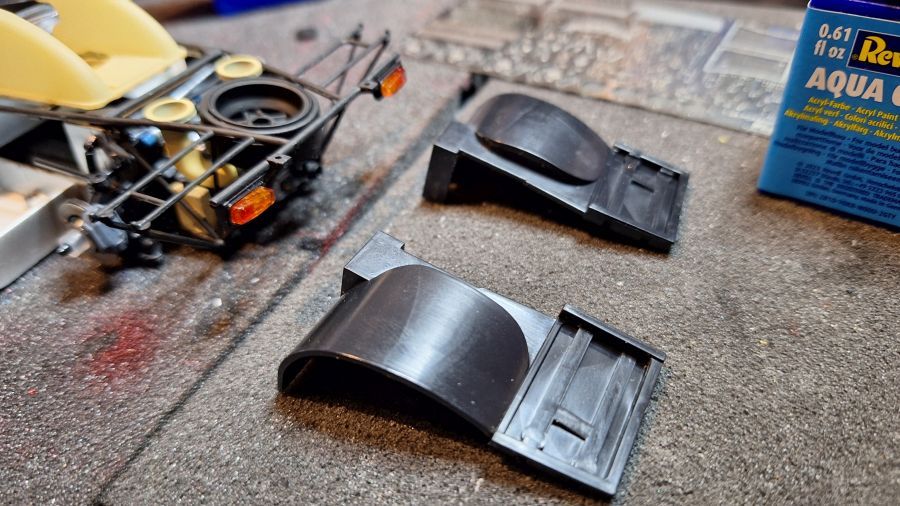
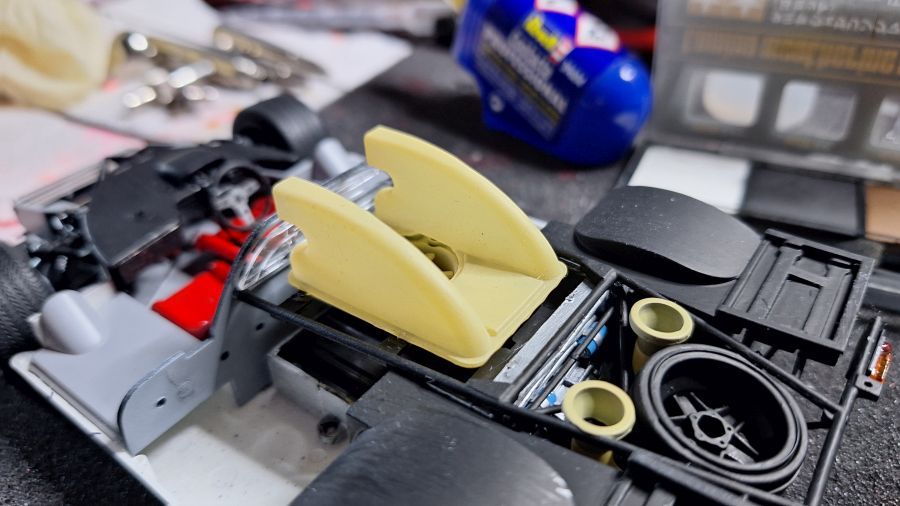
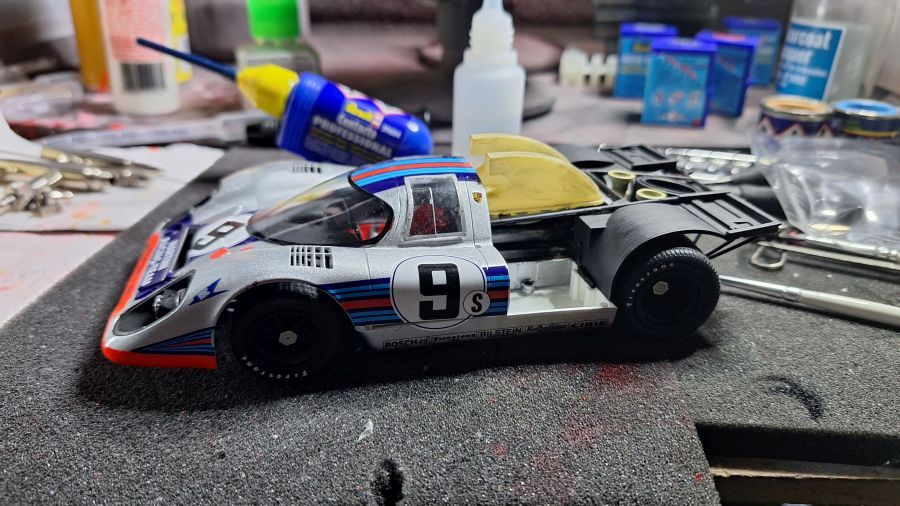
Van de 3D geprinte delen ga ik maar een deel voor deze auto gebruiken. De rest gebruik ik voor 1 van de andere versies. Dit omdat je de delen bij de auto met de luchthappers minder ziet.
I will only use parts of the 3D printed parts on this car. The rest will be used for 1 of the other versions. This because you will hardly see them on this version because of the scoops.
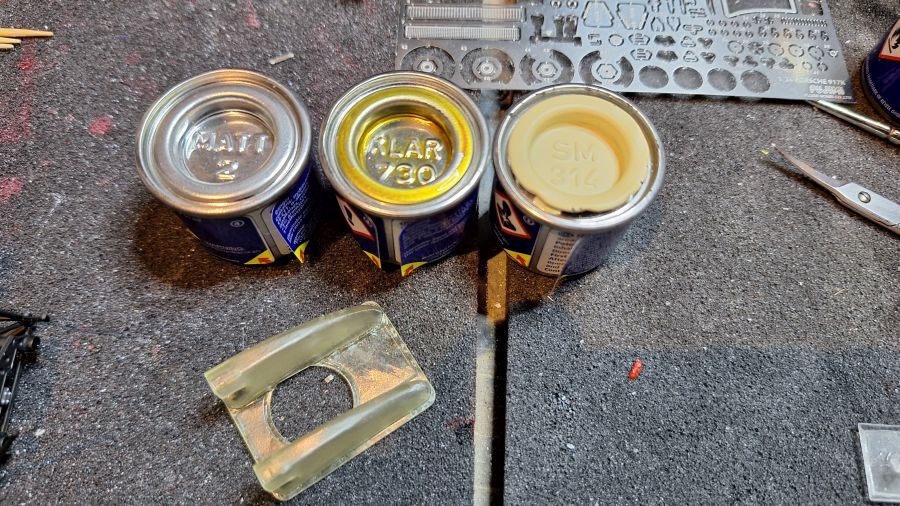
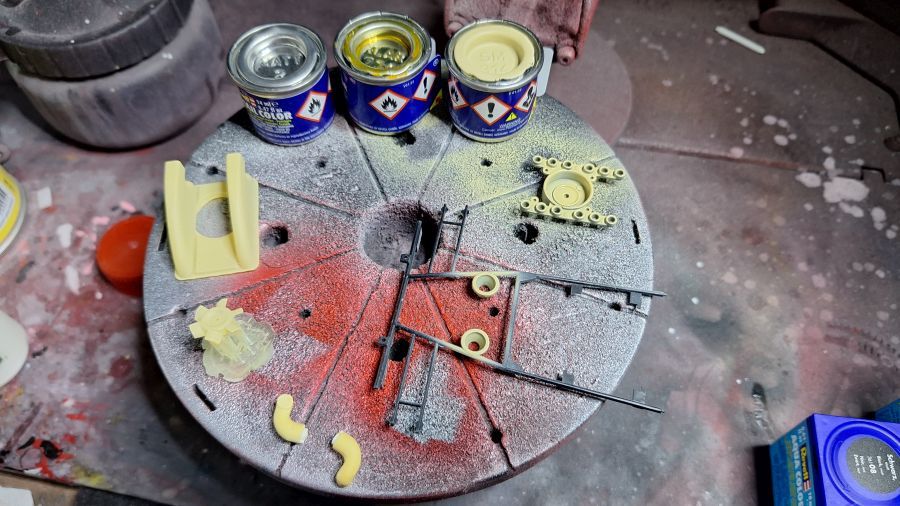
Michael adviseerde me om mat lak te mengen met beige en helder oranje.
Michael advised me to mix matt clear coat with beige and orange.

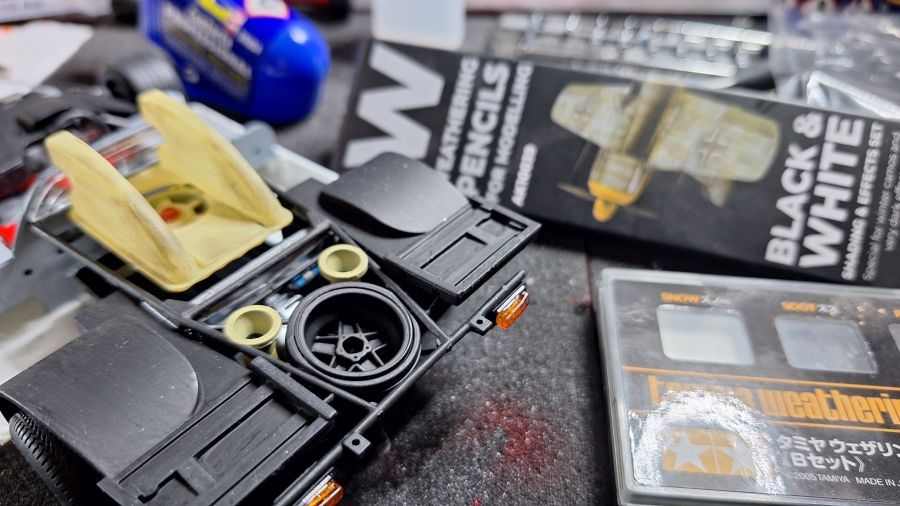
Meer werk aan het chassis.
More work to the chassis.
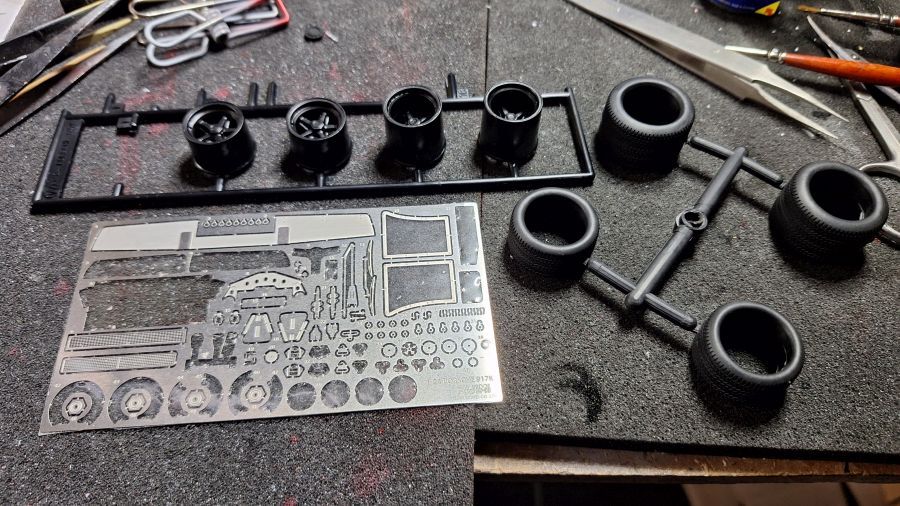
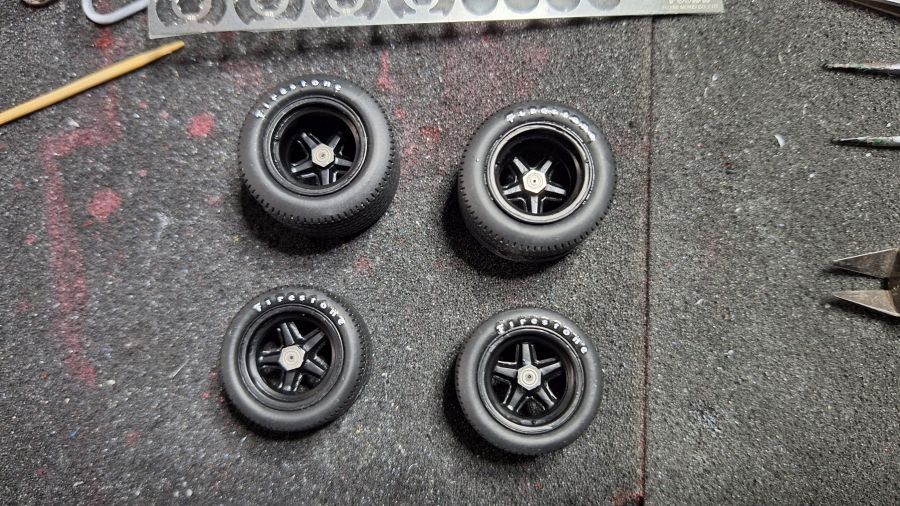
Dan de wielen...
Then the wheels...

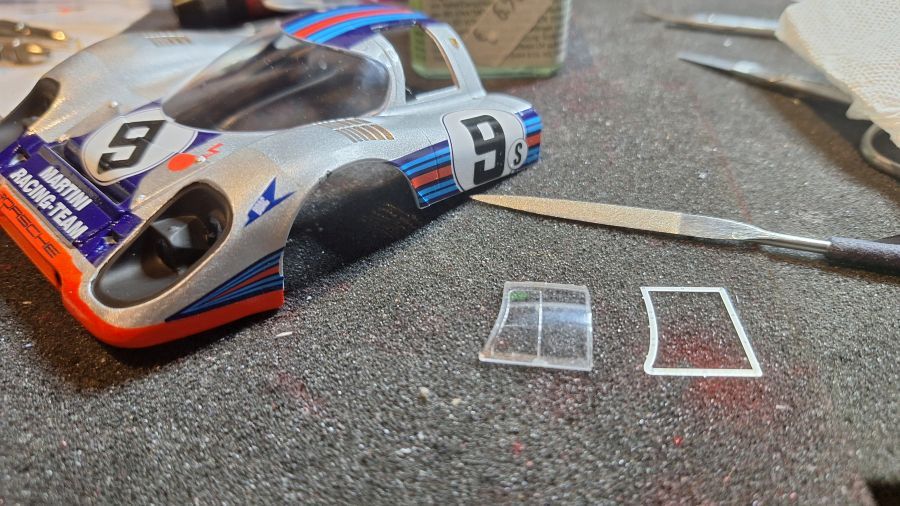
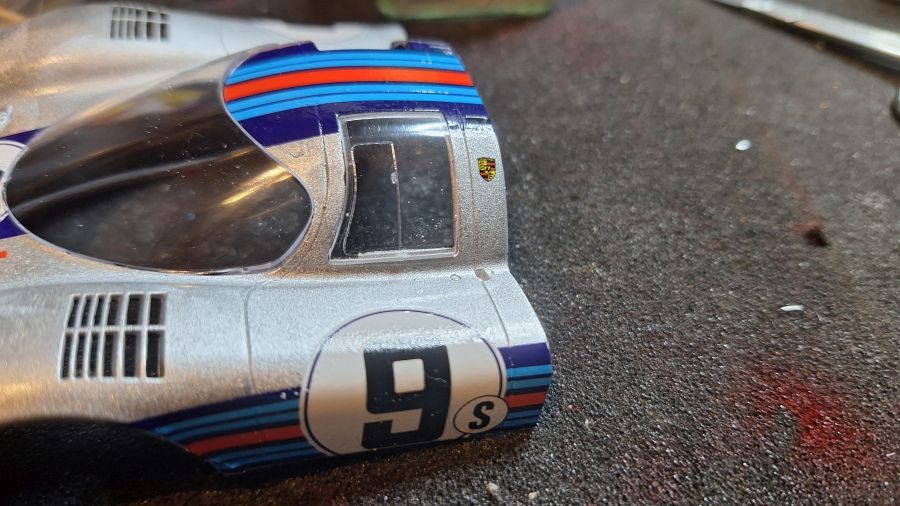
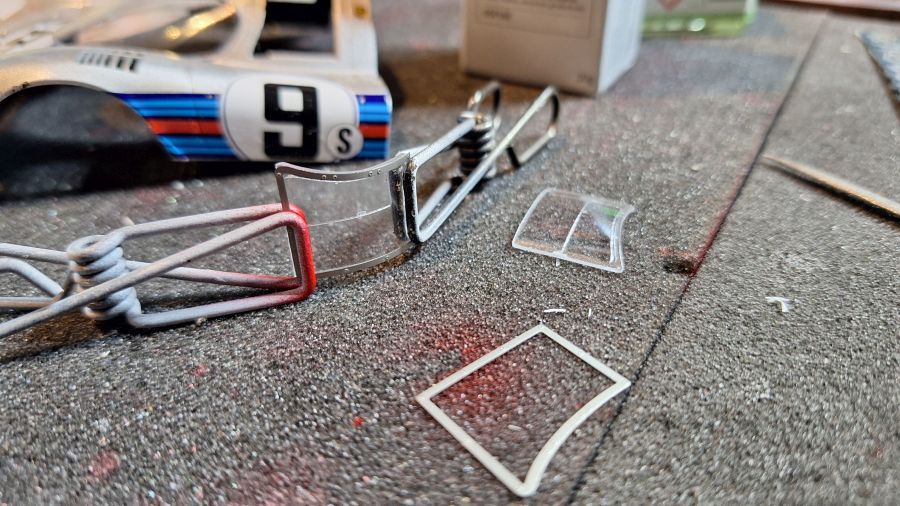
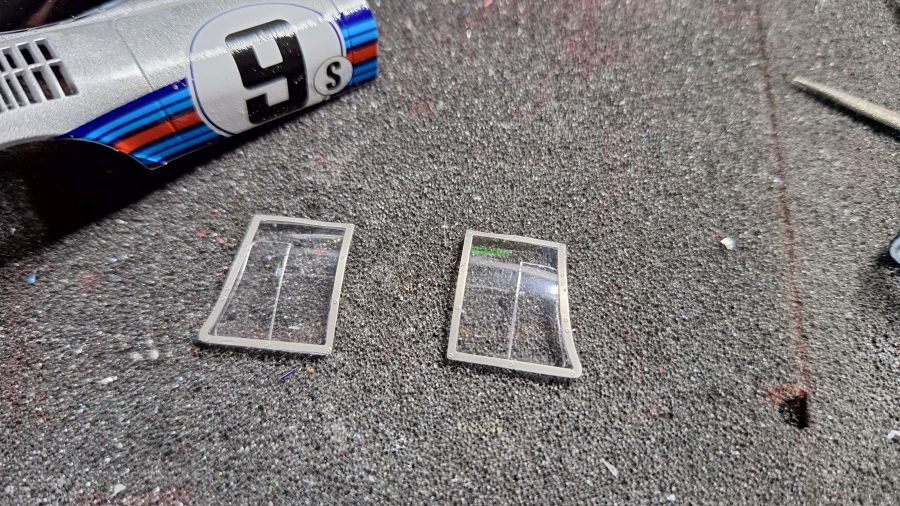
De ramen in de deuren moeten wat gevijld om te passen.
The door windows need some sanding to fit.
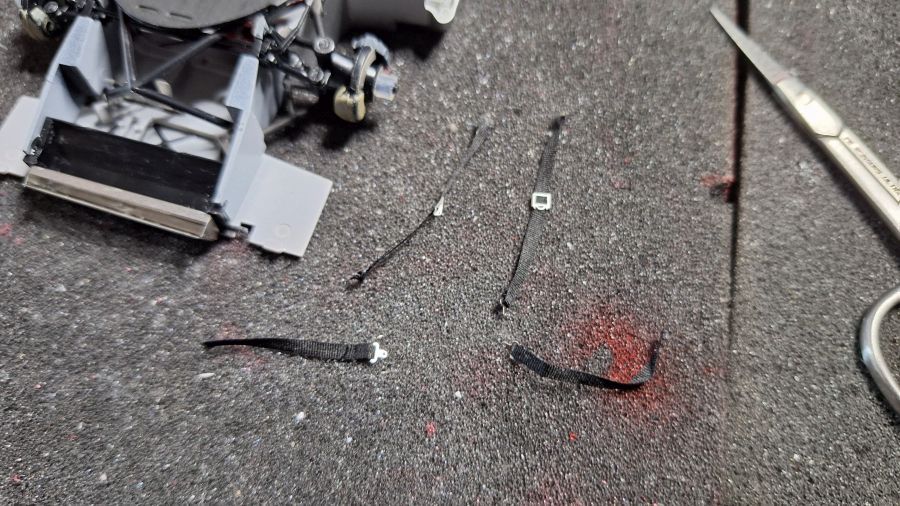
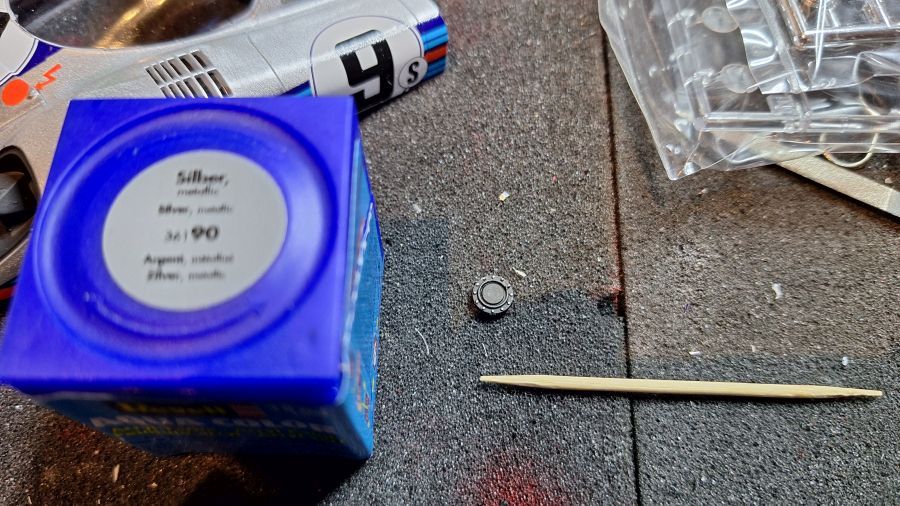
Verven met een tandenstoker.
Tooth pick painting.
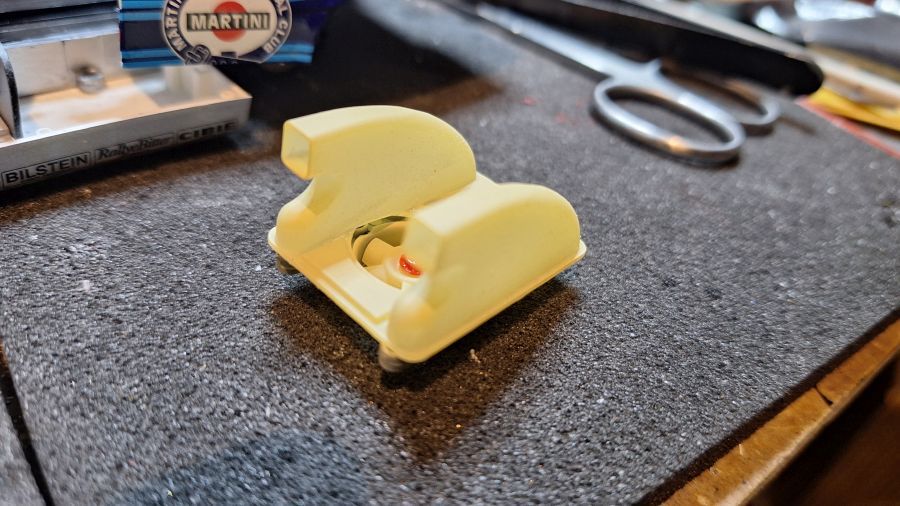
Een rare vorm van de koplampen. Ik kan, na veel passen, alleen maar tot de conclusie komen dat je de hoekjes eraf moet halen.
A weird shape of head lights. I can, after a lot of test fit, only conclude you will have to cut off the edges.

@%$&*!!!
Zo goed als ik kan gerepareerd.
Repaired as good as i can.
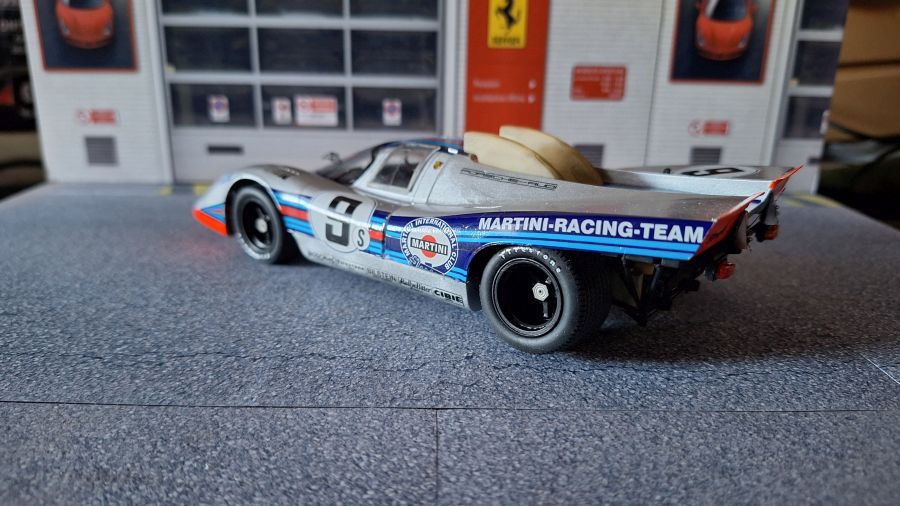
Na wat kleine onderdelen is deze klaar.
After some small parts this one is ready.


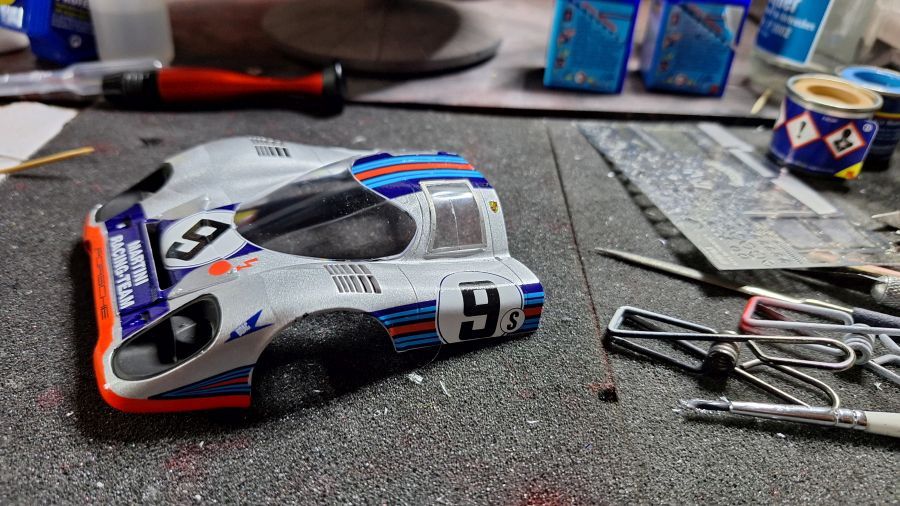
Even een indruk van de hoogte van de wagen.
A small impression of the height of the car.
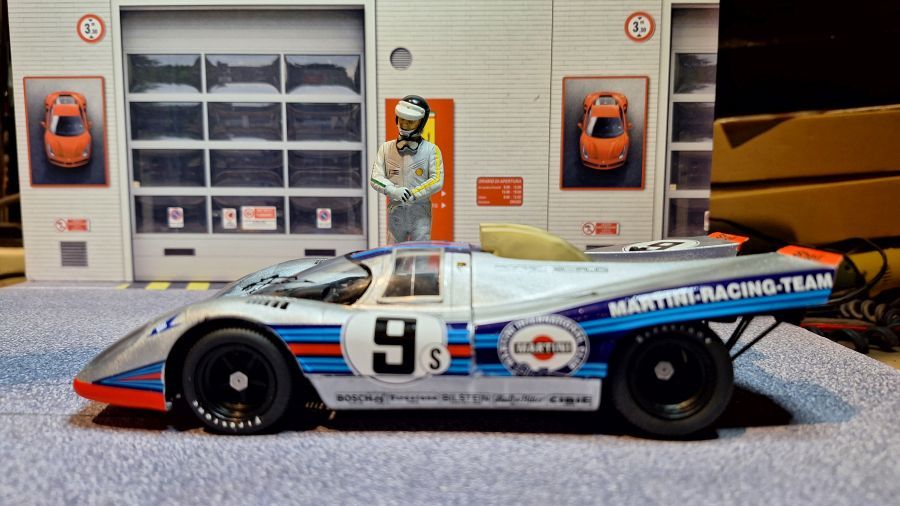
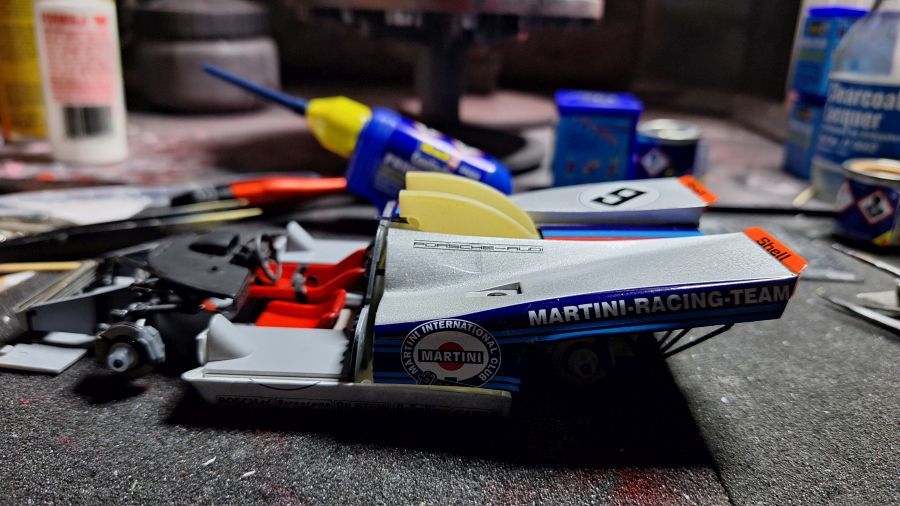
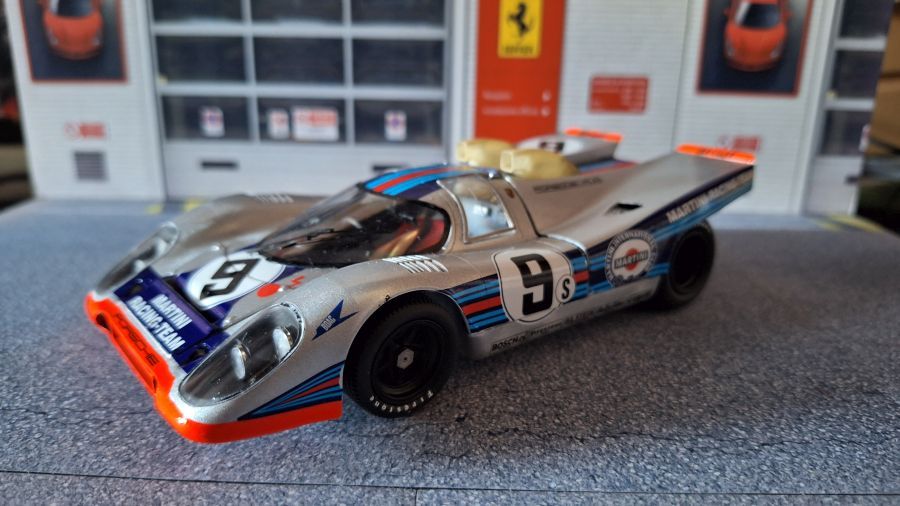
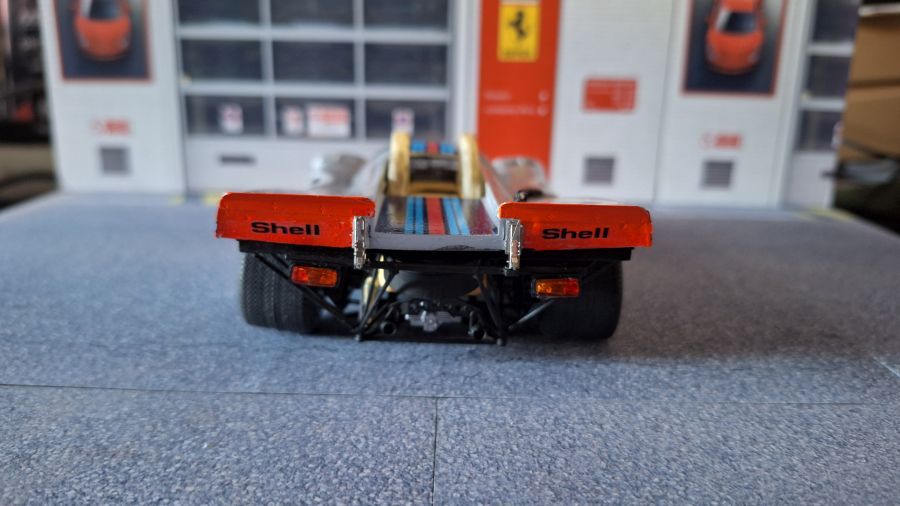
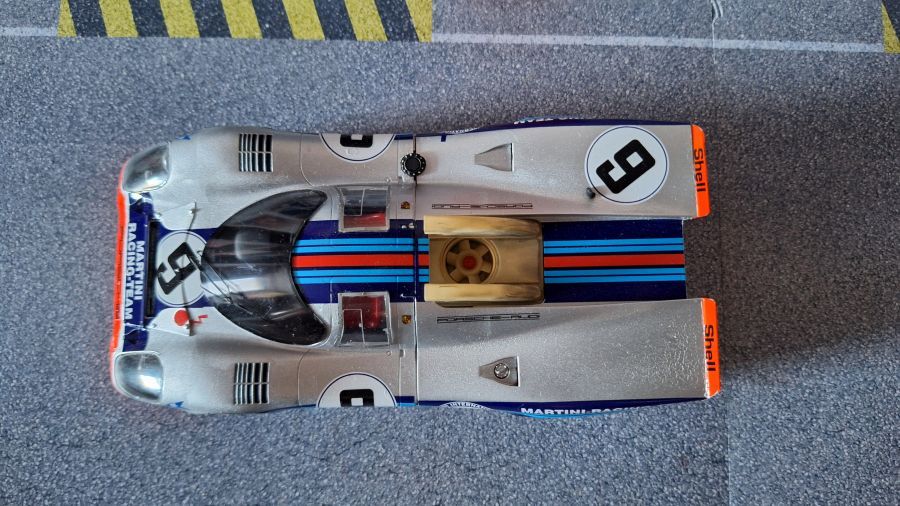
Tevreden? Niet helemaal. Buiten dat het op laatst fout gign met de decal, moet ik zeggen dat de achterkant niet lekker past. Typisch Fujimi. Maar in het echt ziet het er allemaal beter uit als op de foto.
Satisfied? Not completely. Besides the problem with the decal at the end, i have to say the rear doesn't fit nicely. Typical Fujimi problem. But in real this looks better than on the photo.