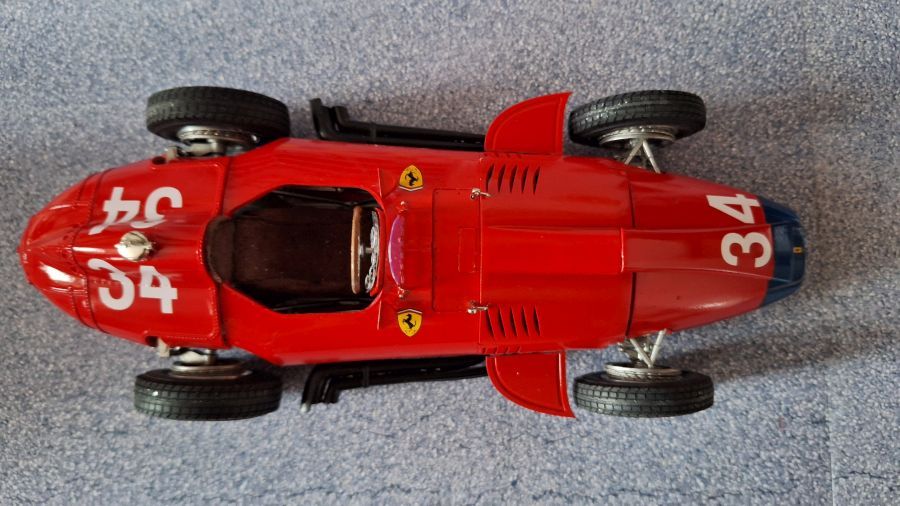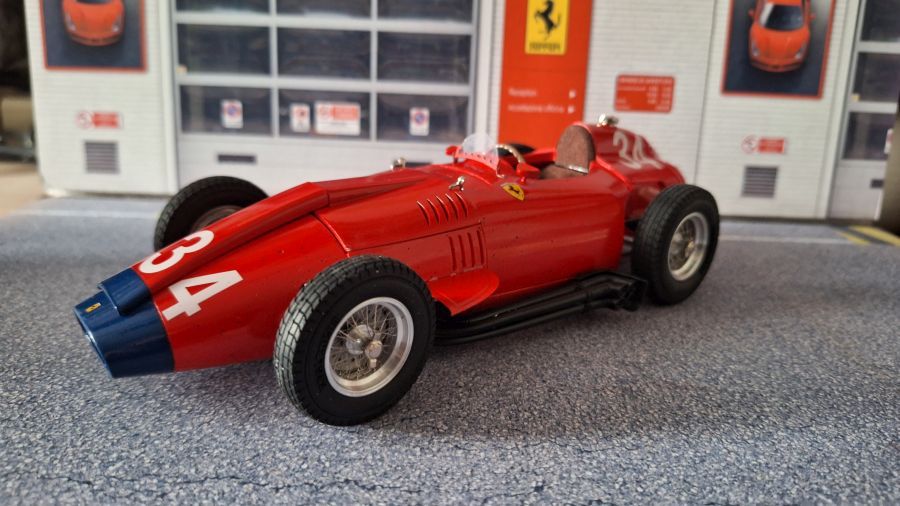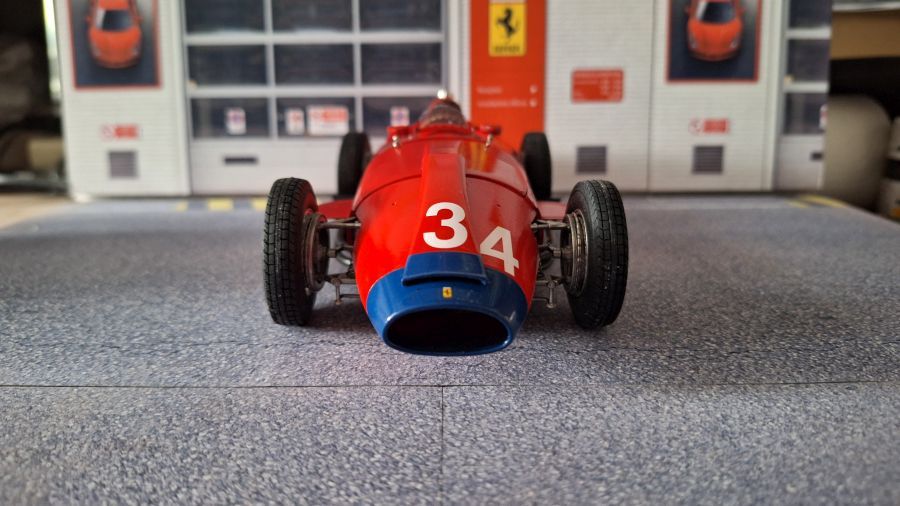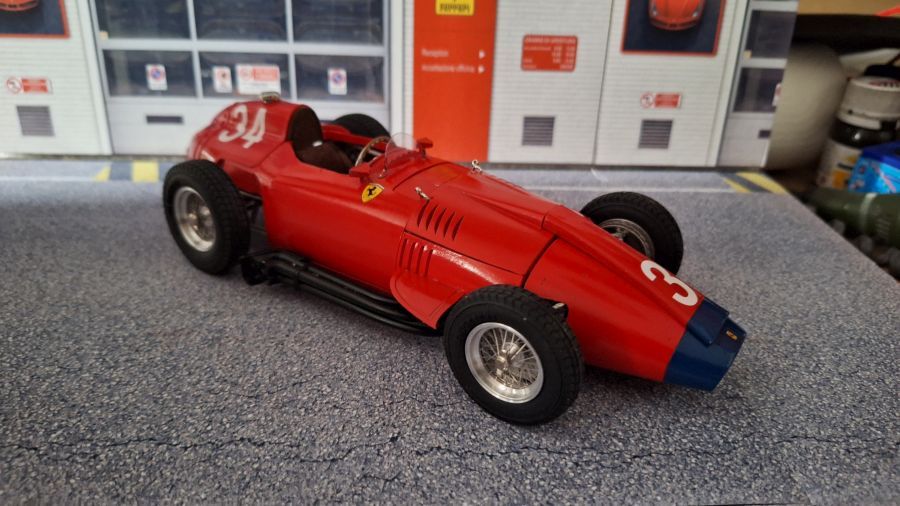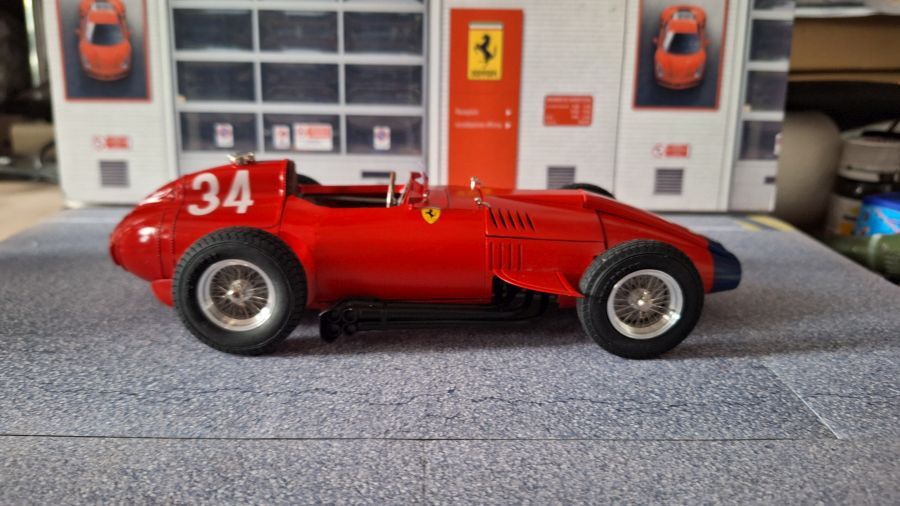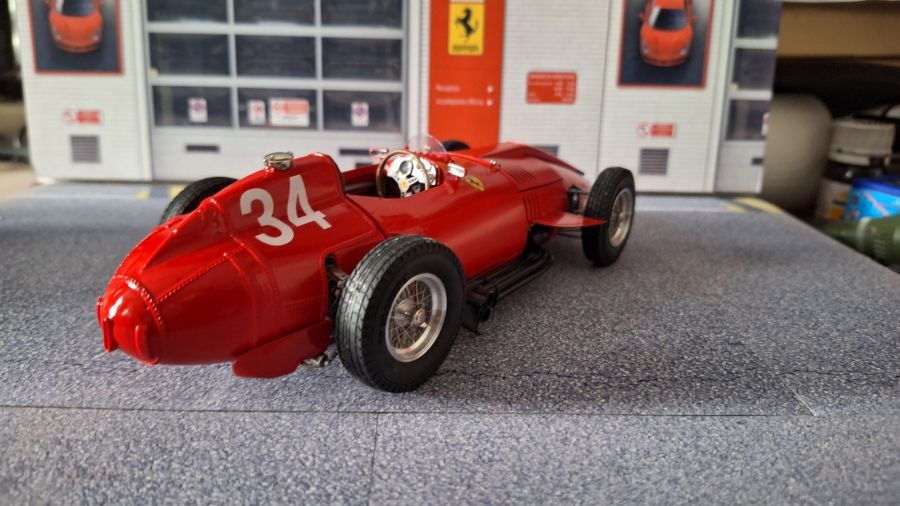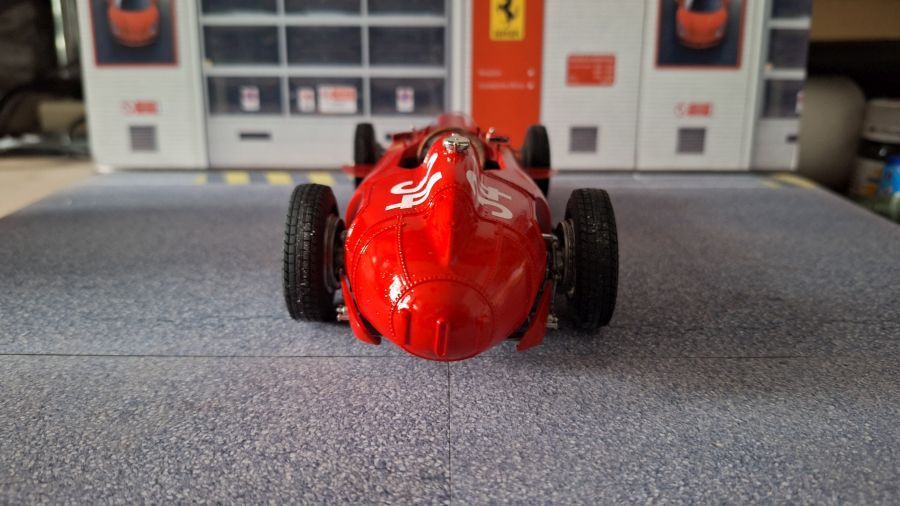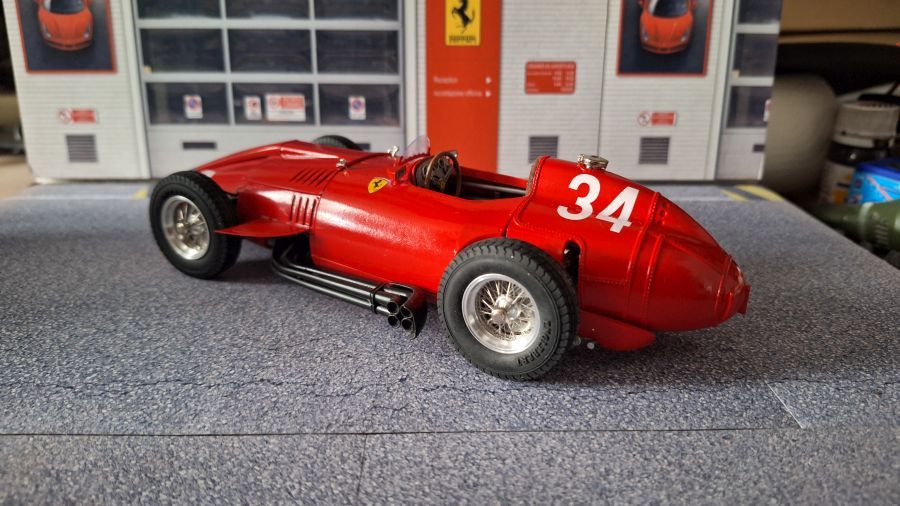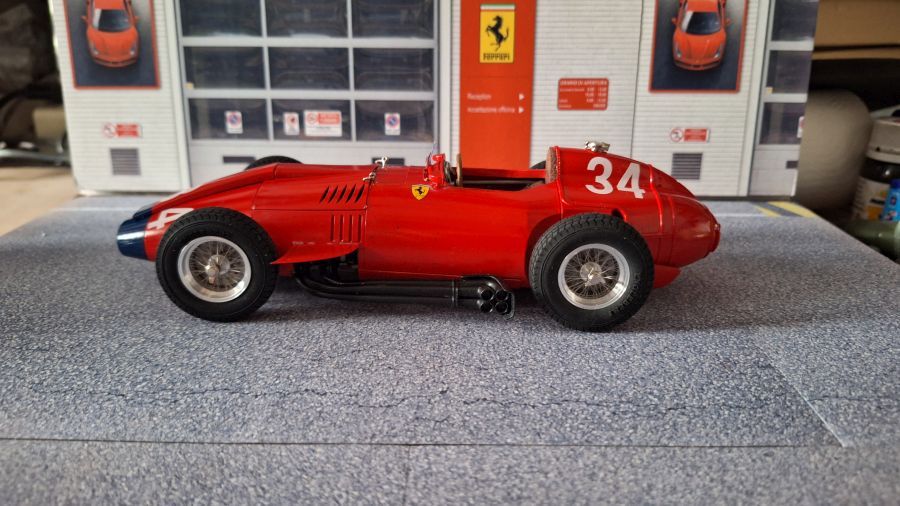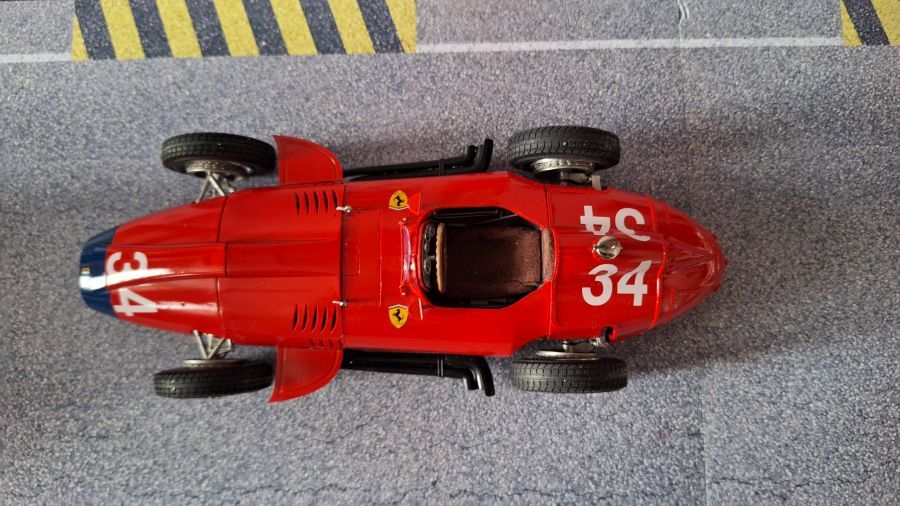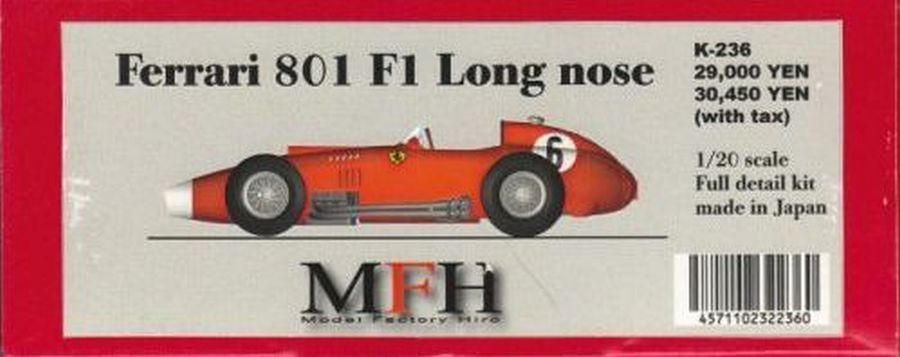
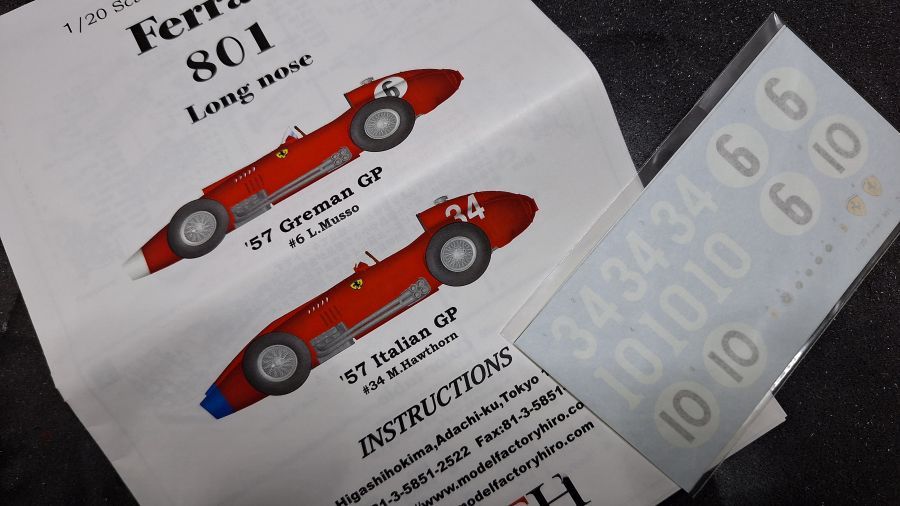
Maar weer eens tijd voor een F1 kit. Ik heb gekozen voor de Ferrari 801 Long Nose uit 1957. Ik maak de #34 Mike Hawthorn versie van de Italiaanse GP. Voor mij iets aantrekkelijker vanwege de langere intake op de neus (langer dan die van Musso). Het is een MFH kit (K-236) dus voor mij kwaliteit verzekerd.
Time for a F1 kit again. I chose to make the Ferrari 801 Long Nose from 1957. I will make the #34 Mike Hawthorn version from the Italian GP. To me more attractive because of the long intake on the nose section (longer than the Musso car). It's a MFH (K-236) kit, so to me quality assured.
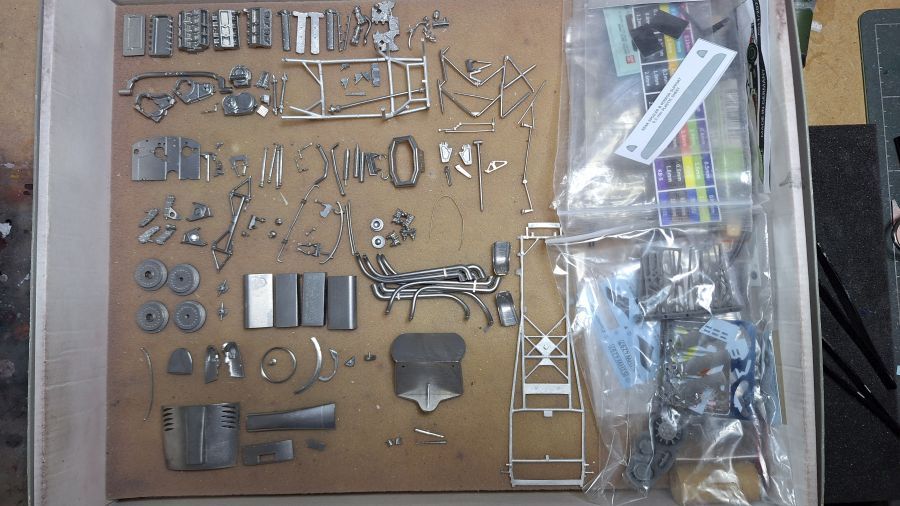
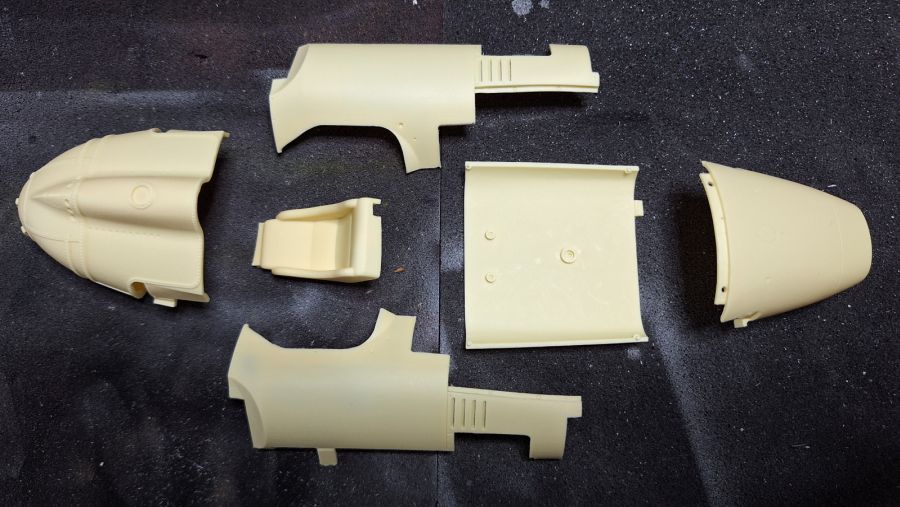
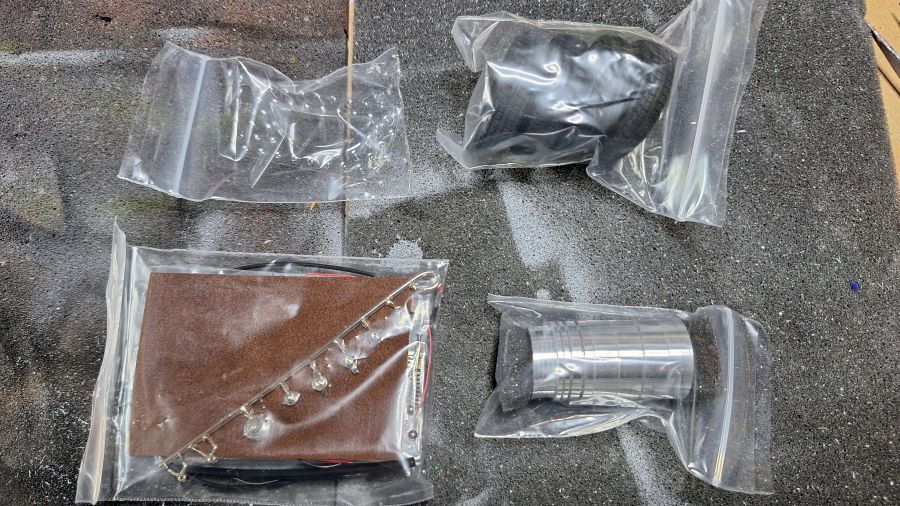
Beginnen met de motor.
Starting with the engine.
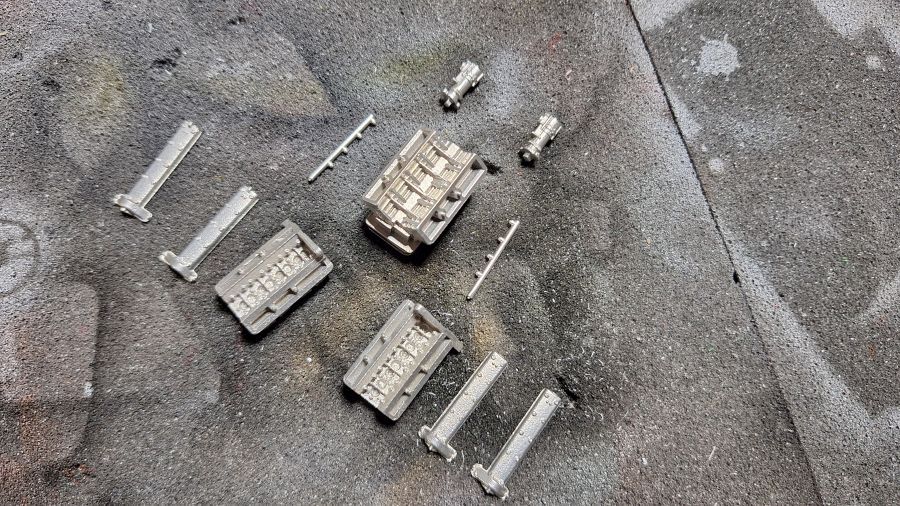
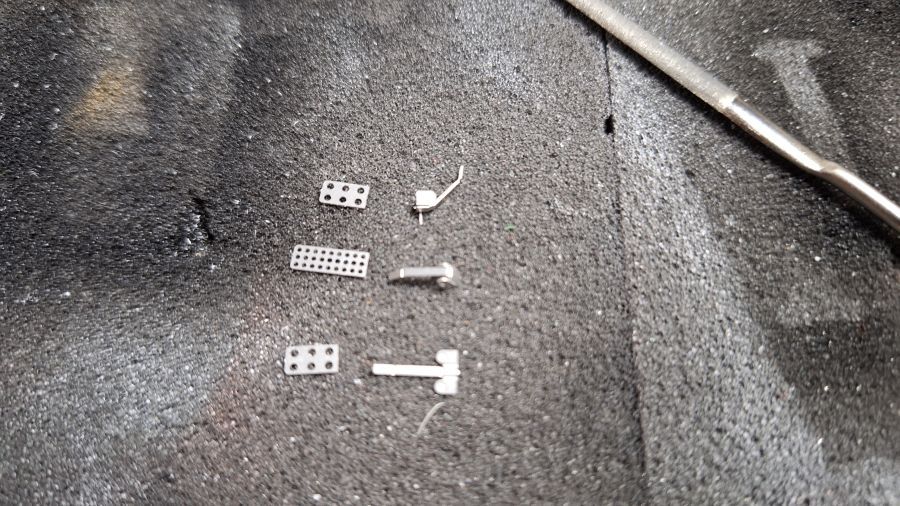
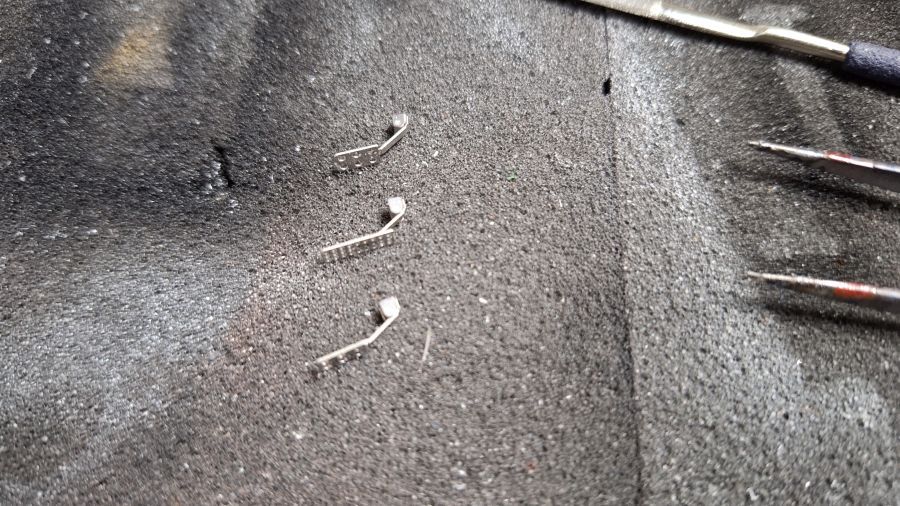
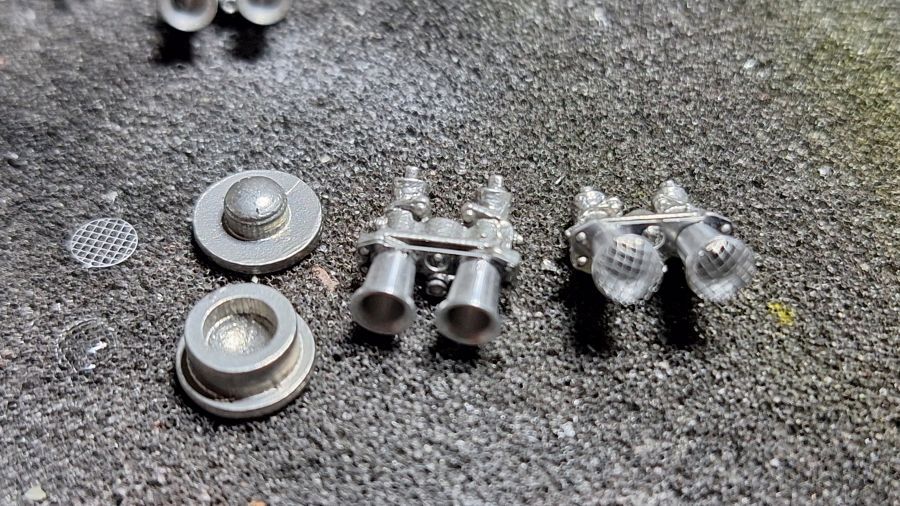
Gaatjes boren in de kleppendeksels voor de rivets.
Drilling holes in the valve covers for the rivets.
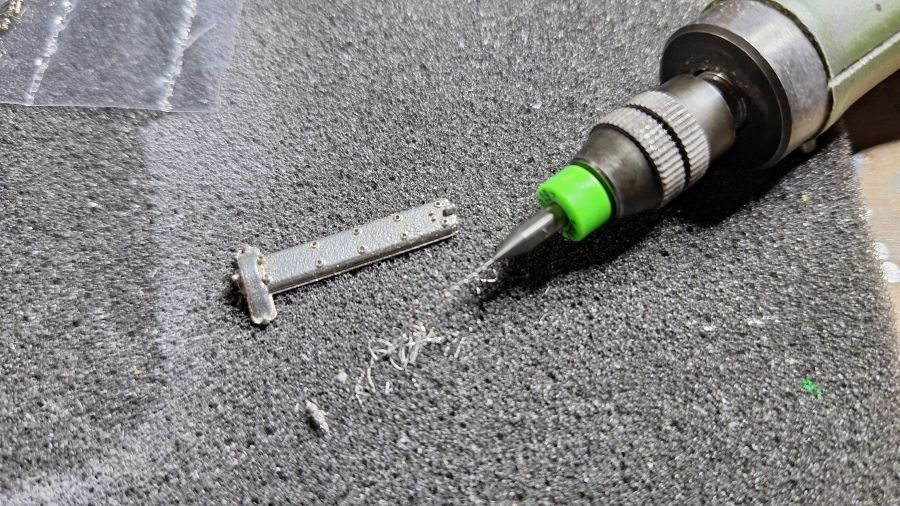
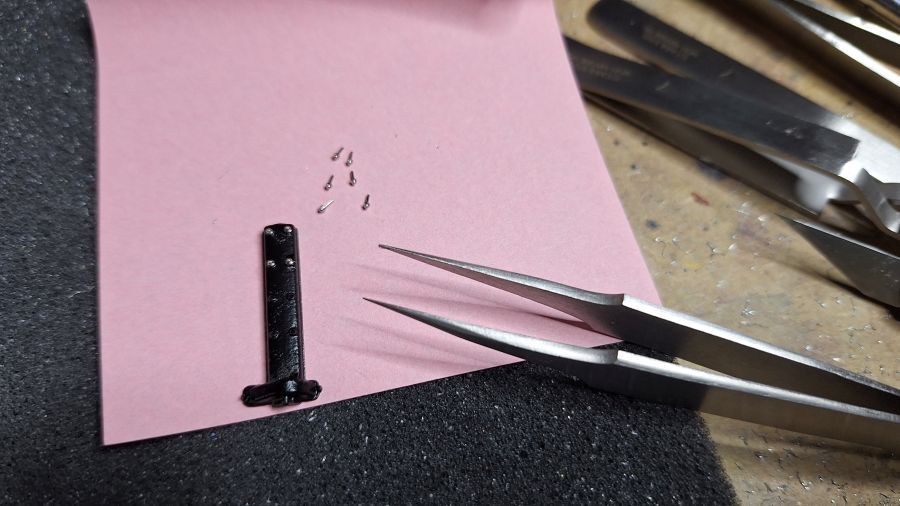
Eén werd gelanceerd tussen het pincet... Ik heb een vervanger geplaatst, maar niet helemaal dezelfde maat. Het is wat het is.
One got launched by using the tweezers... I added a replacement, but not quite the same size. It is what it is.
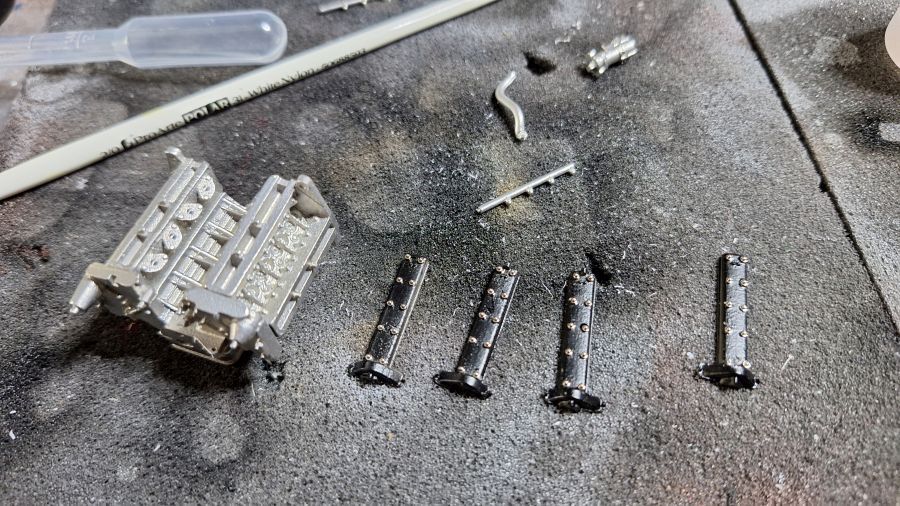
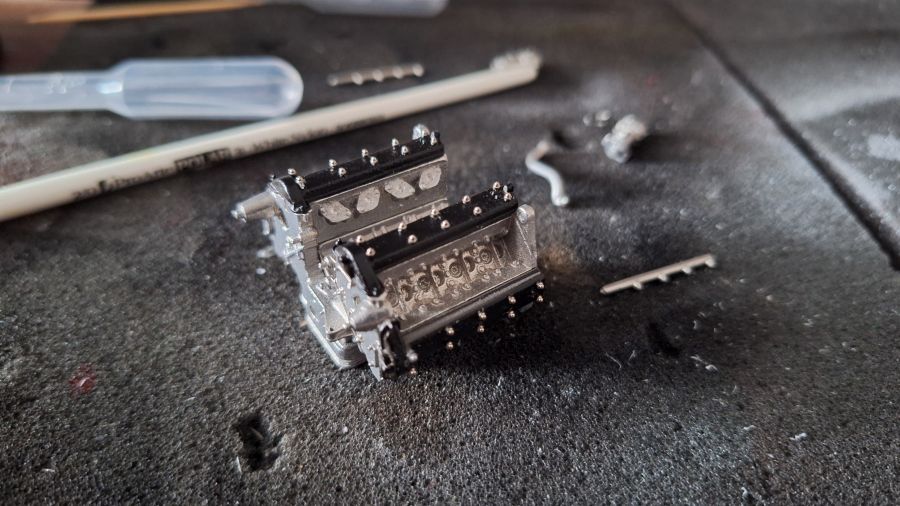
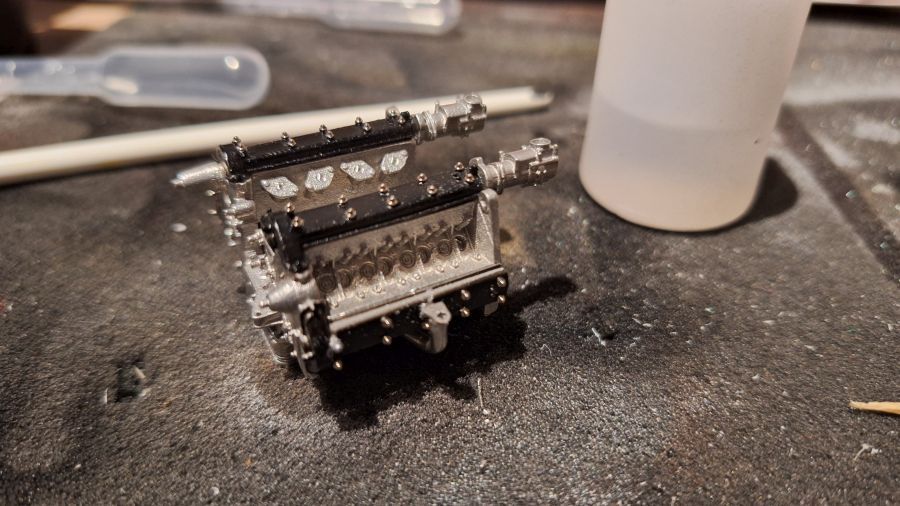
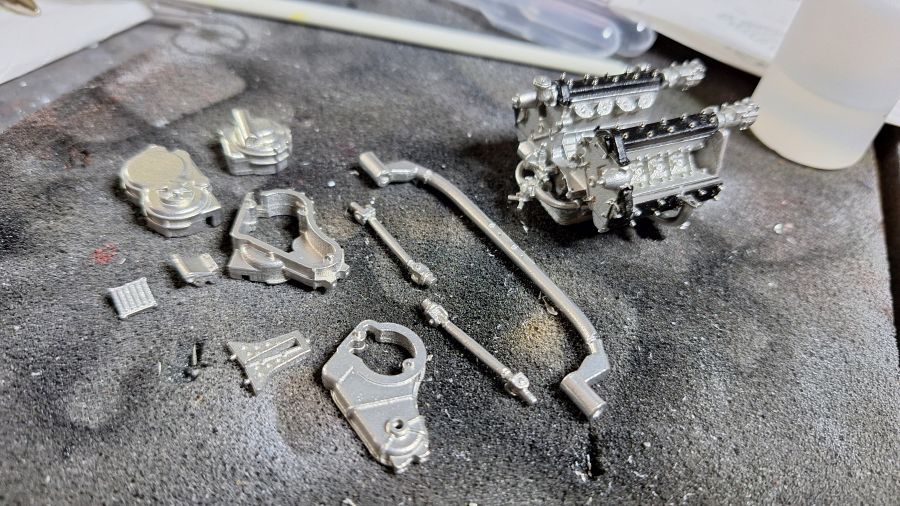
Volgens de tekening moet dit met elkaar bevestigd worden, maar ik wacht nog maar even.
According to the instructions this should be combined now, but i think it's better to wait.
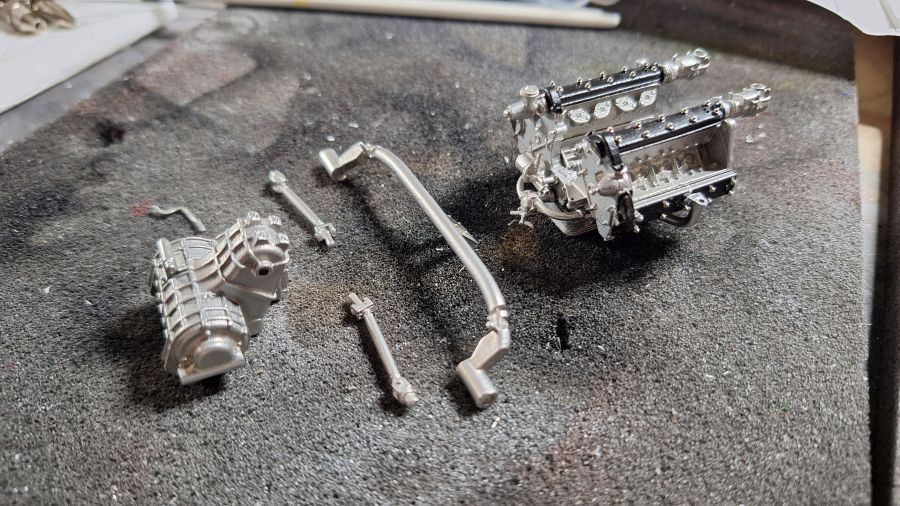
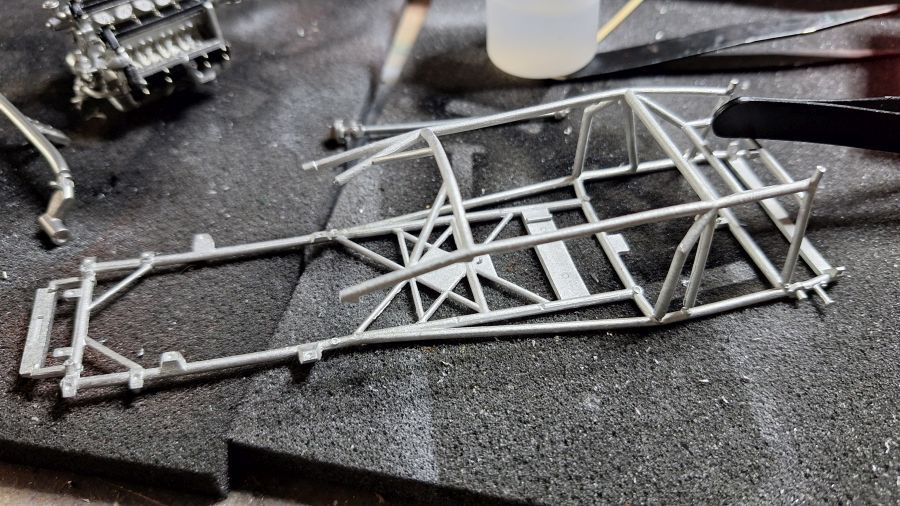
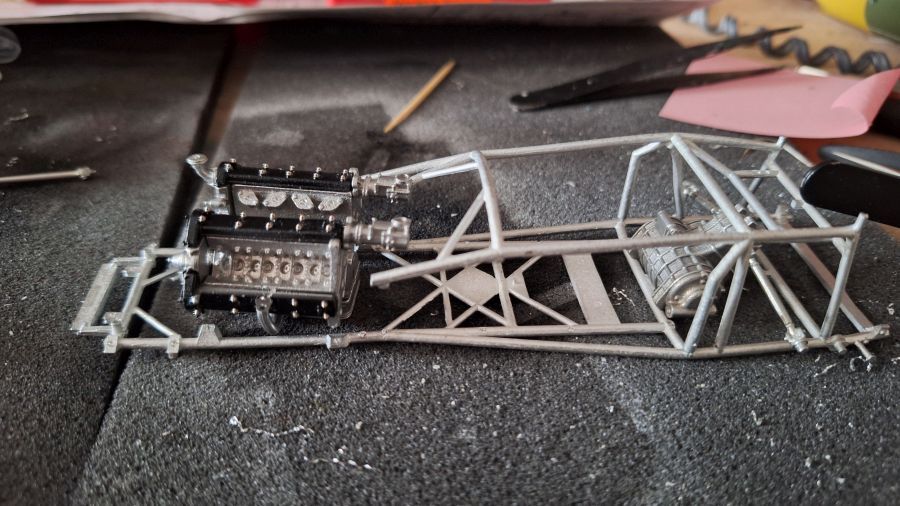
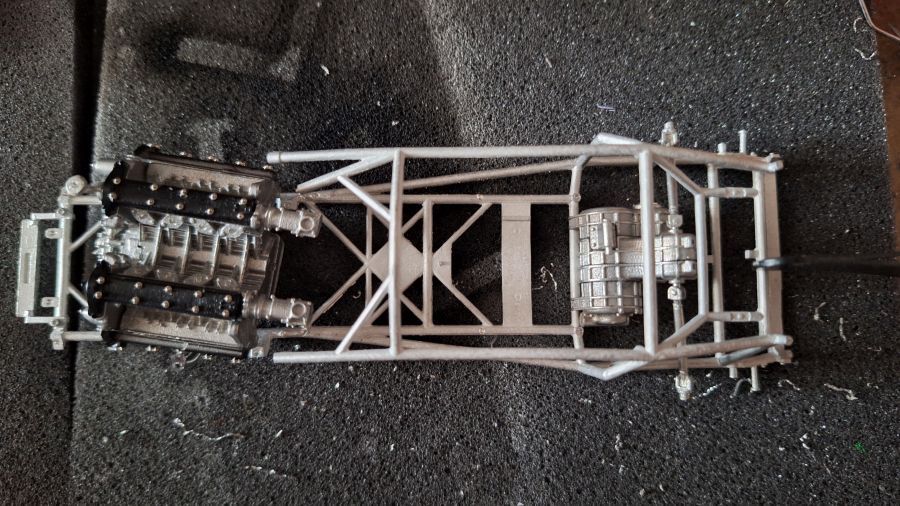
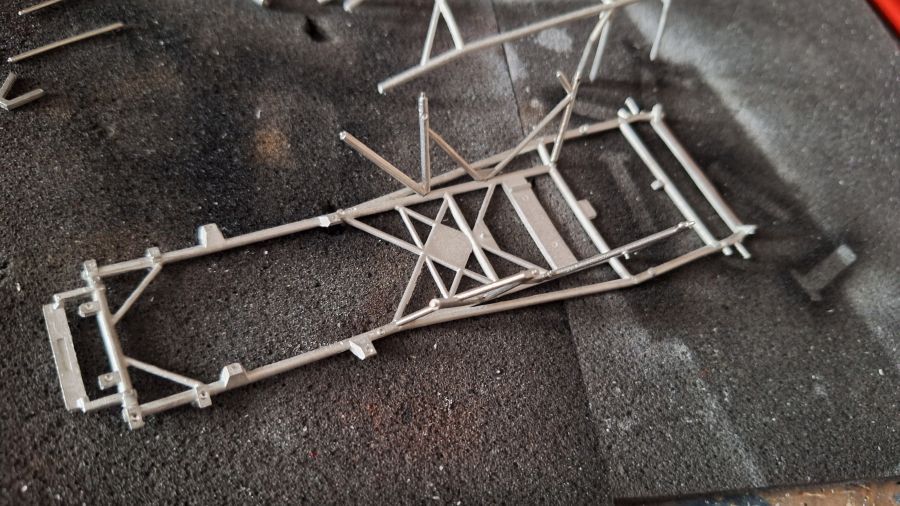
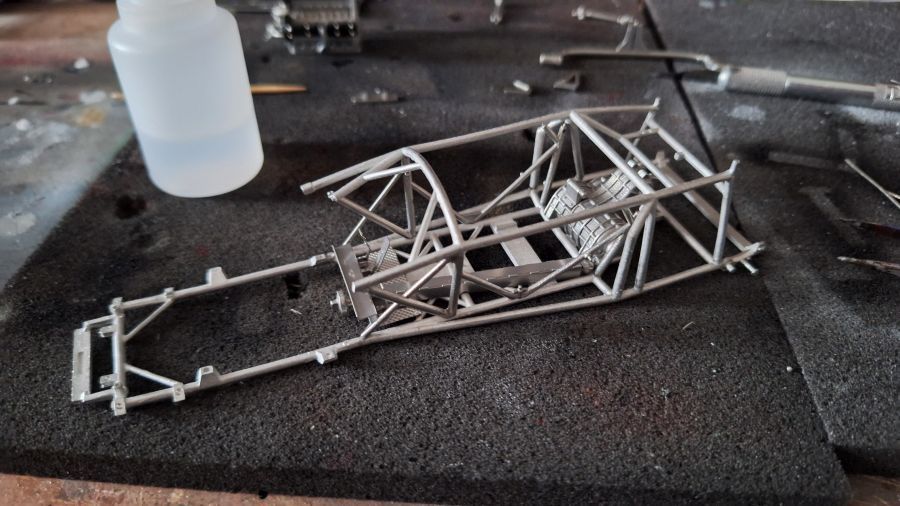
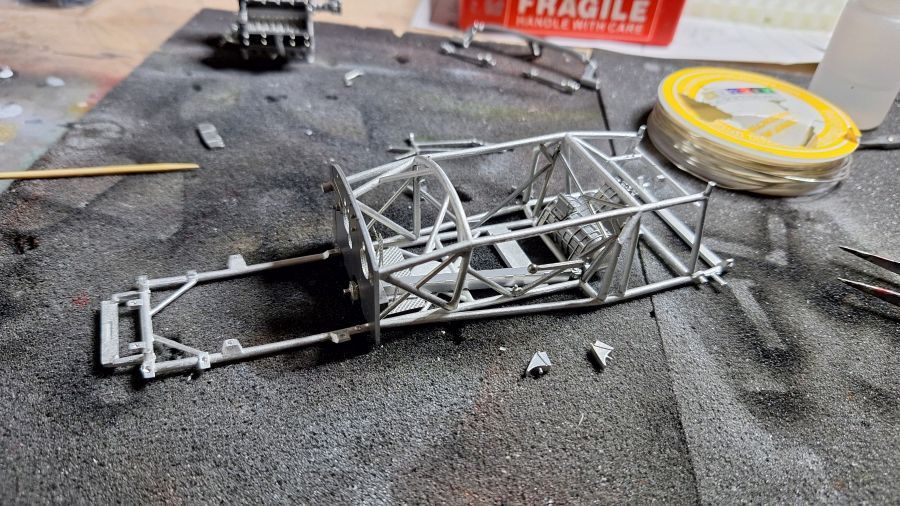
Nu eerst het frame uitlijnen.
Now first lining up the frame.
De motor krijgt een wat gebruikt uiterlijk.
The engine gets a 'used look'.
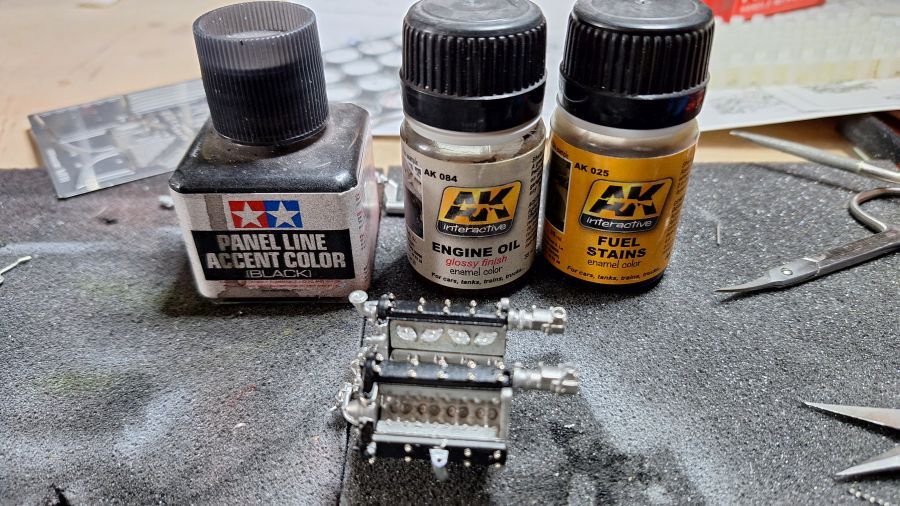
Kleine test.
Small test.
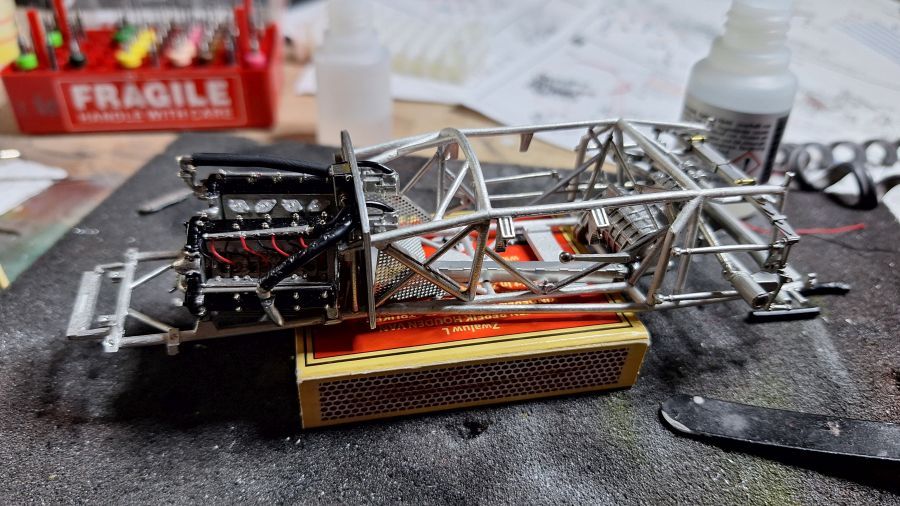
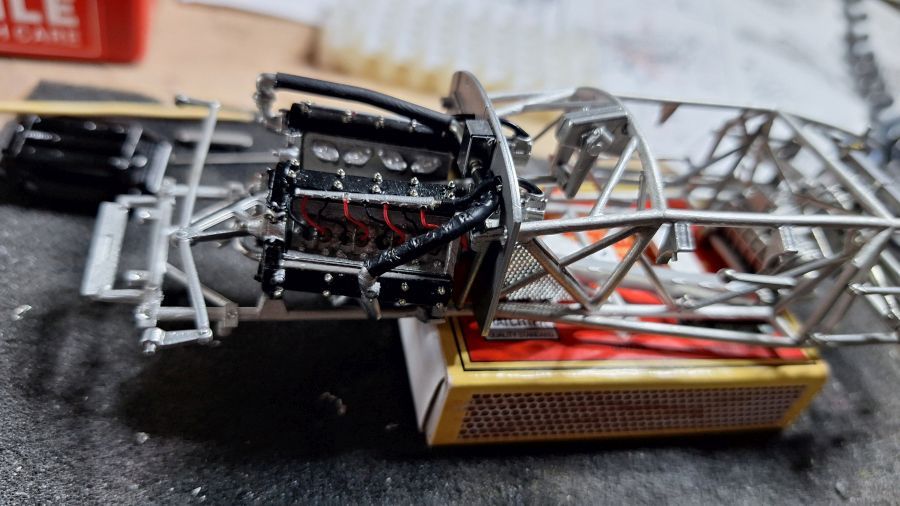
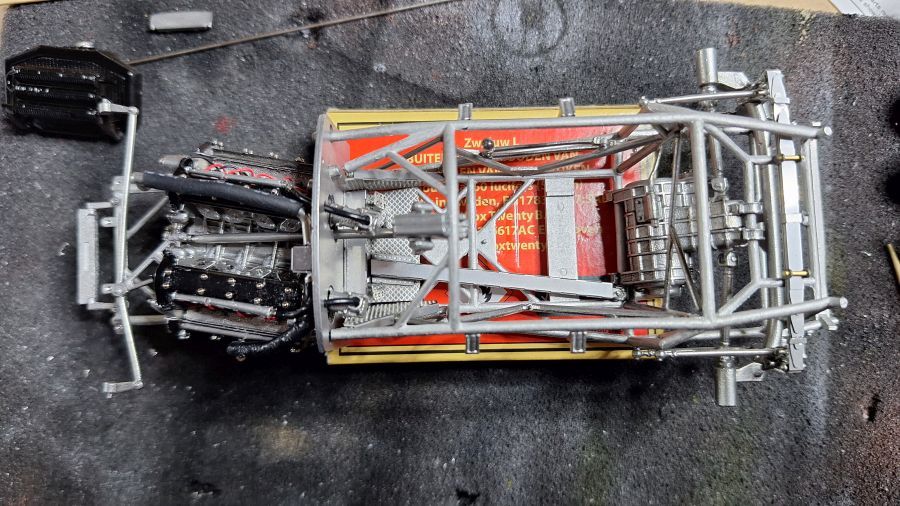
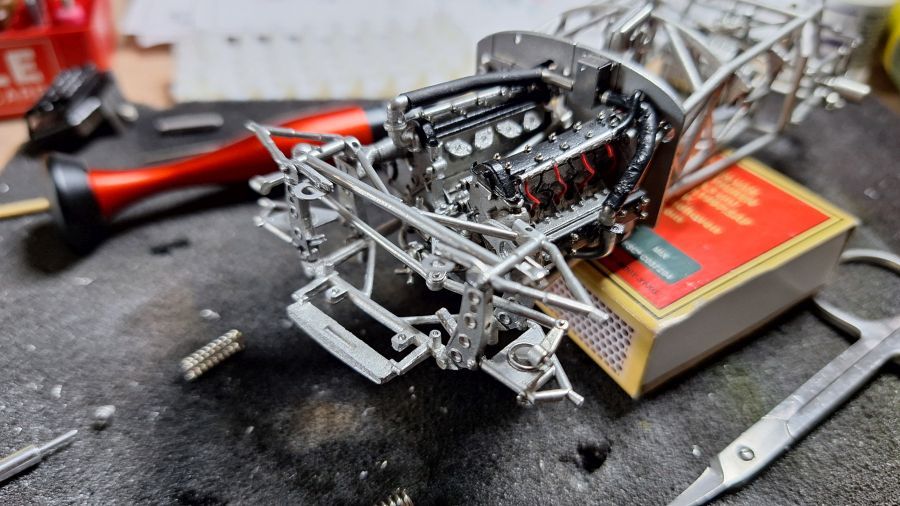
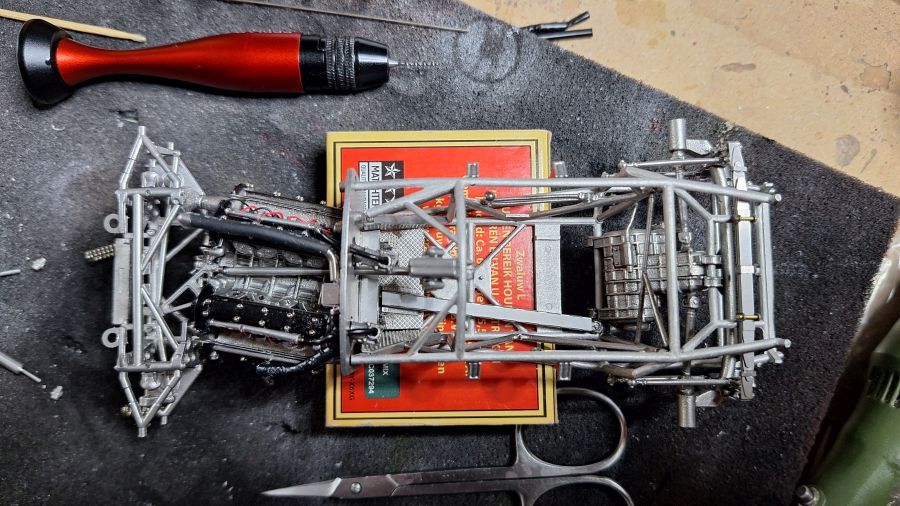
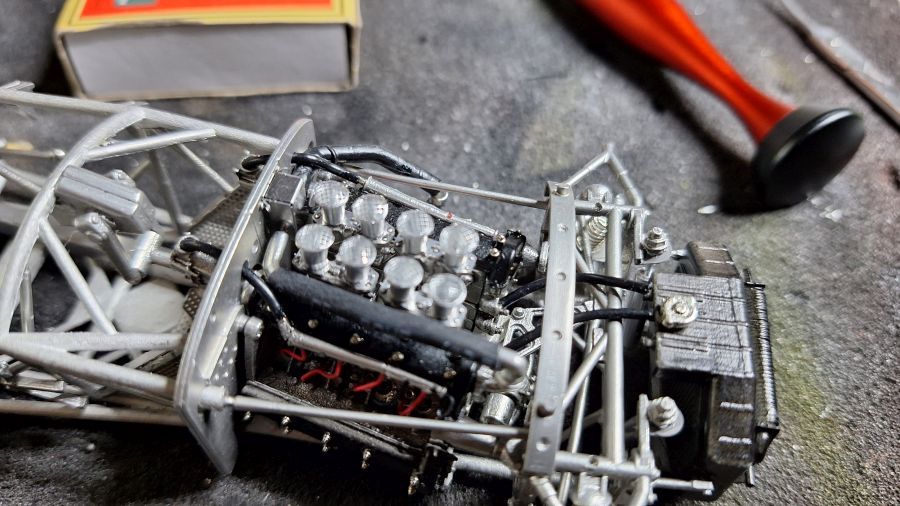
De motor erin, samen met wat kleine onderdelen.
The engine added, together with some small parts.
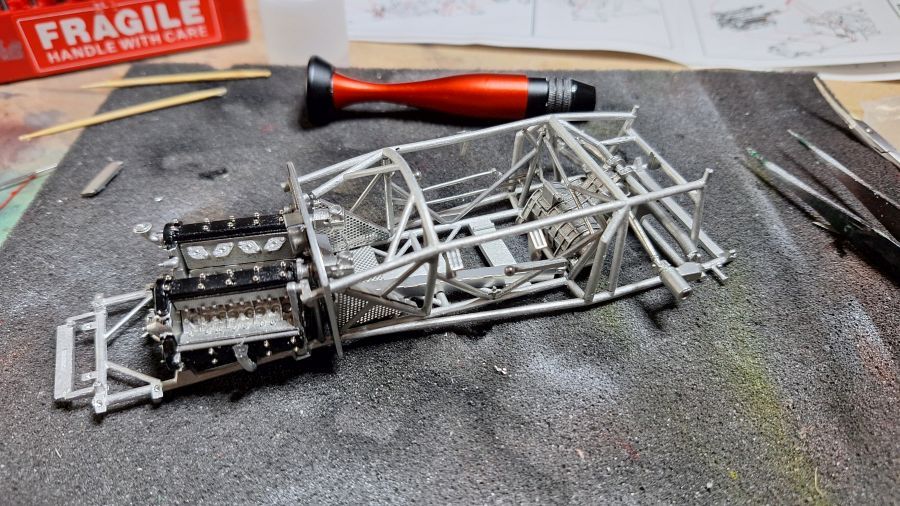
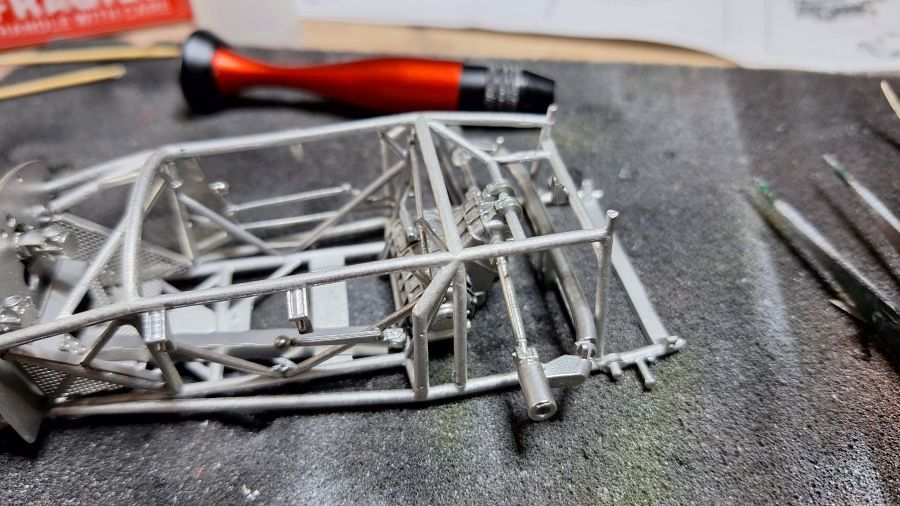
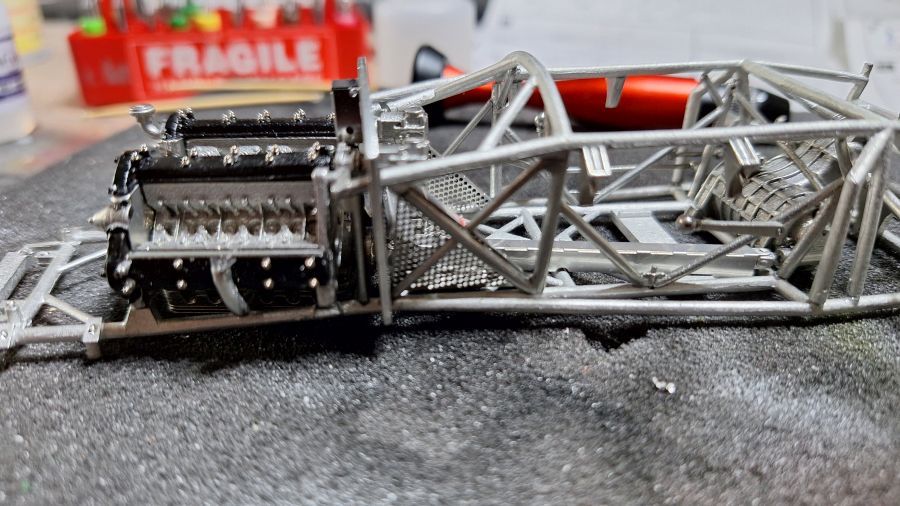
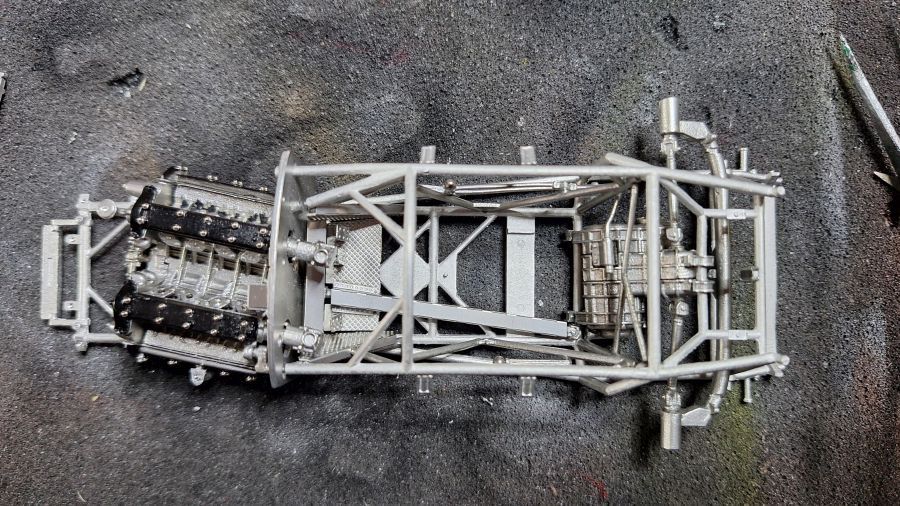
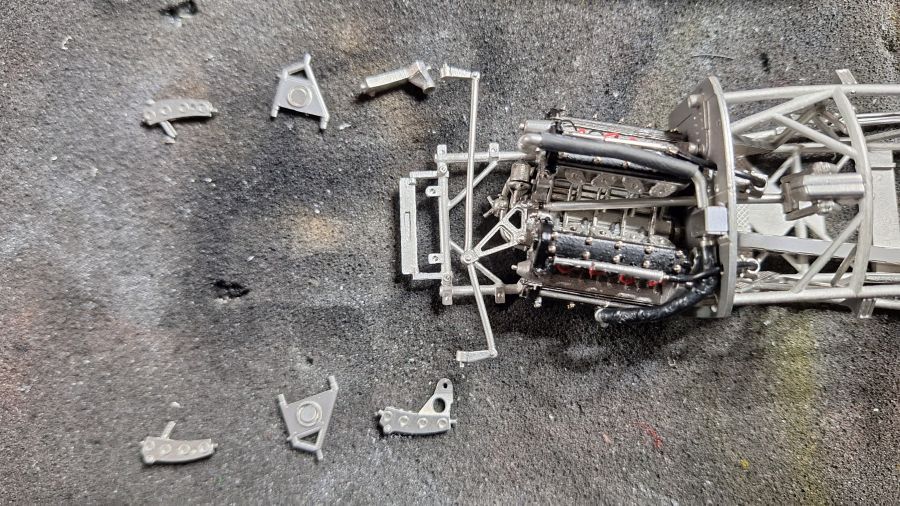
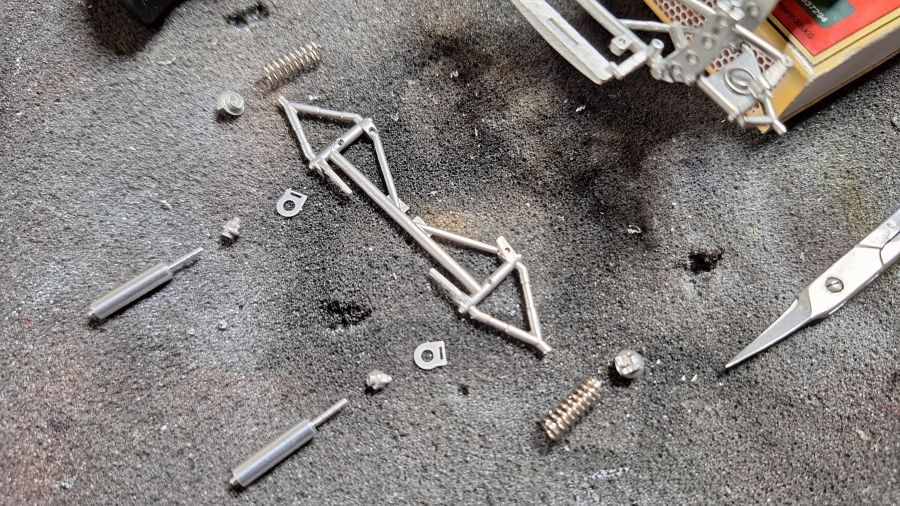
Door met de bladvering.
On to the leaf spring suspension.
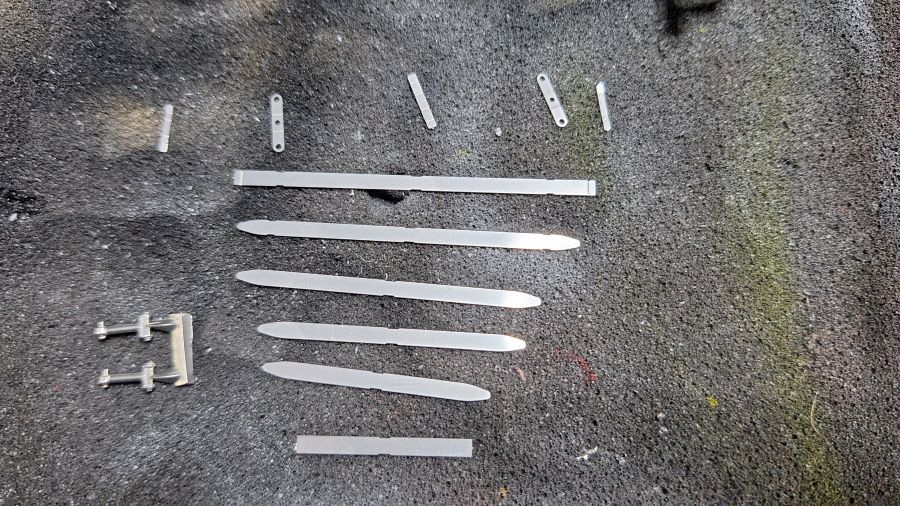
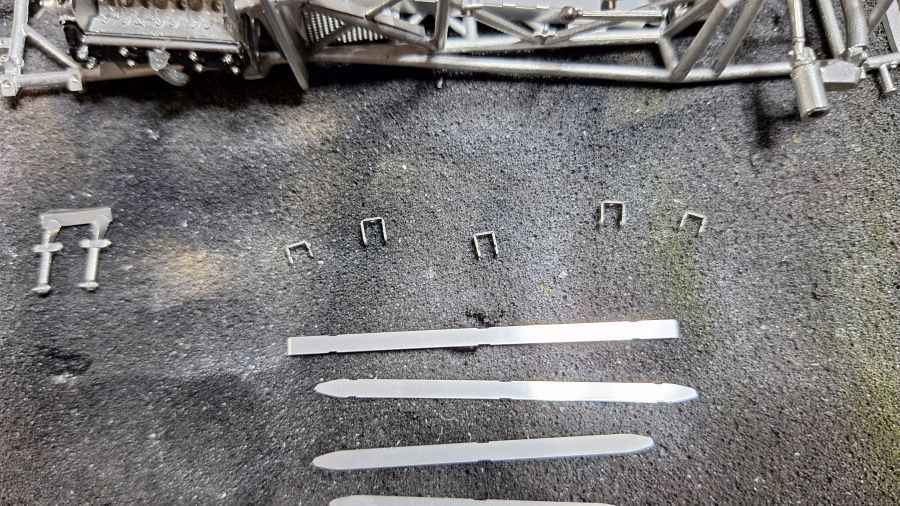
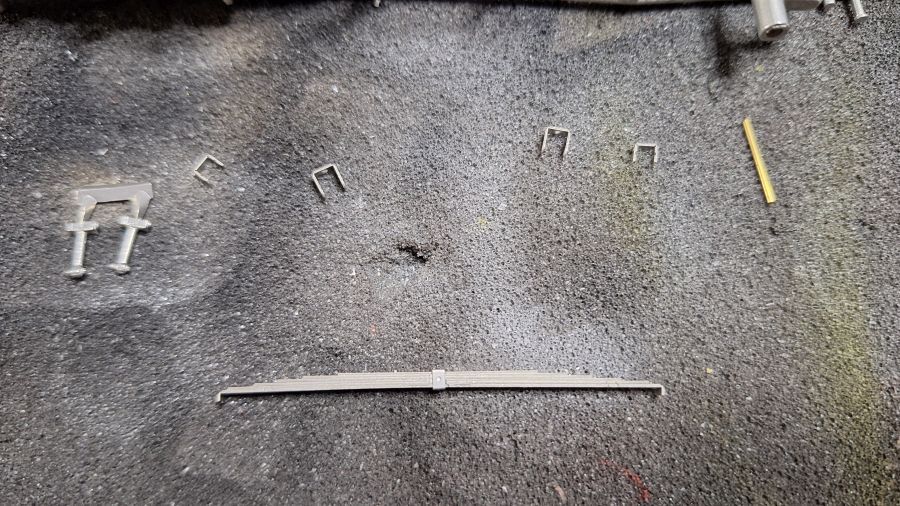
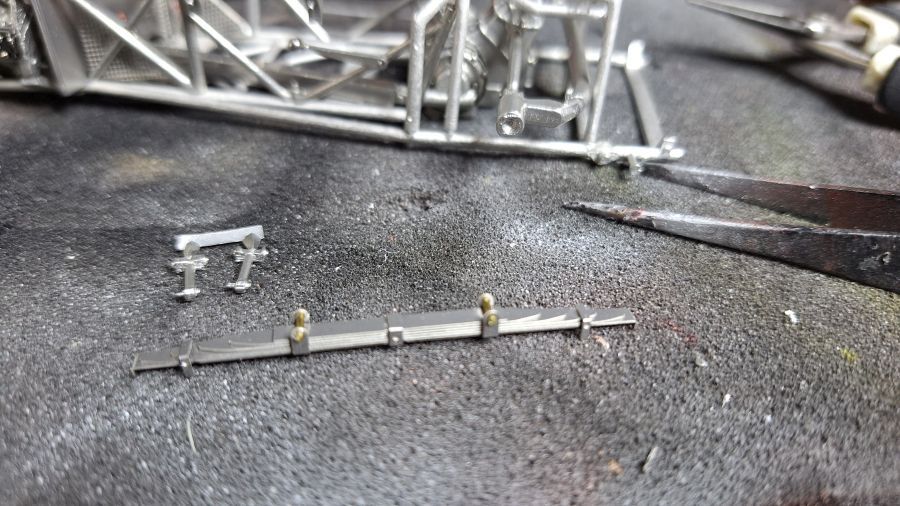
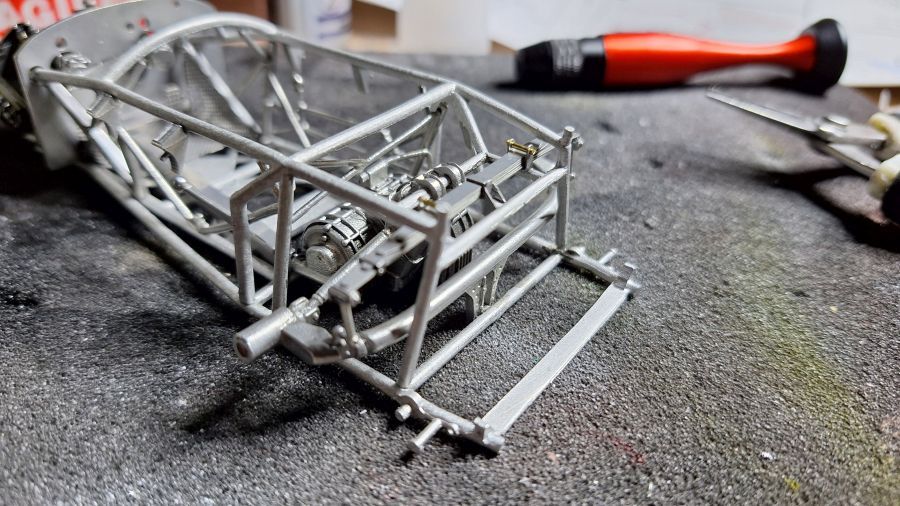
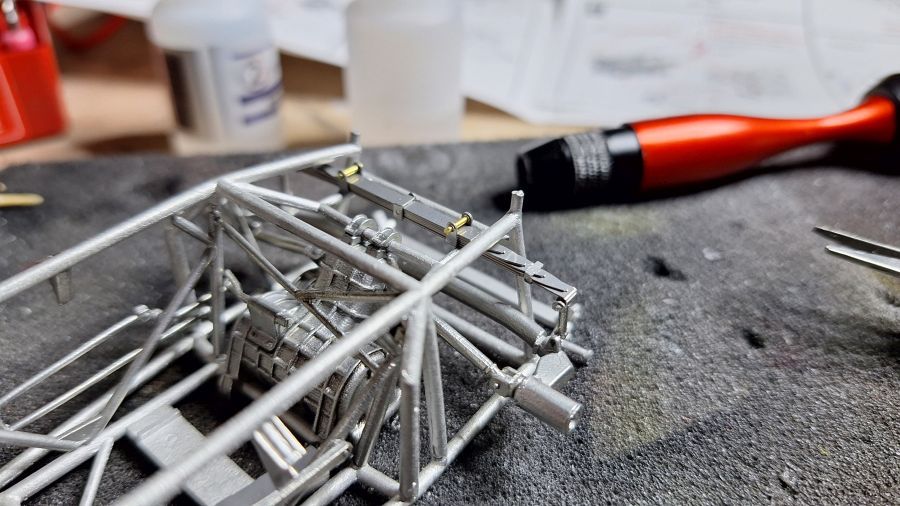
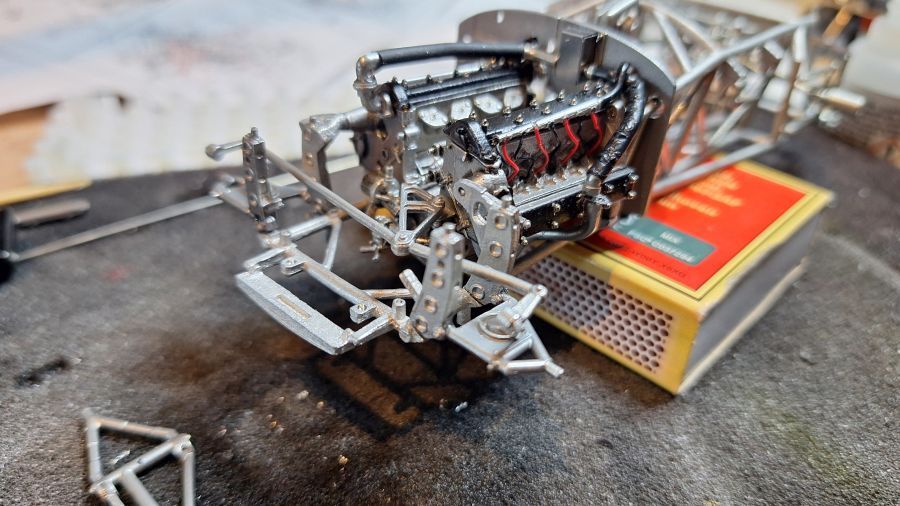
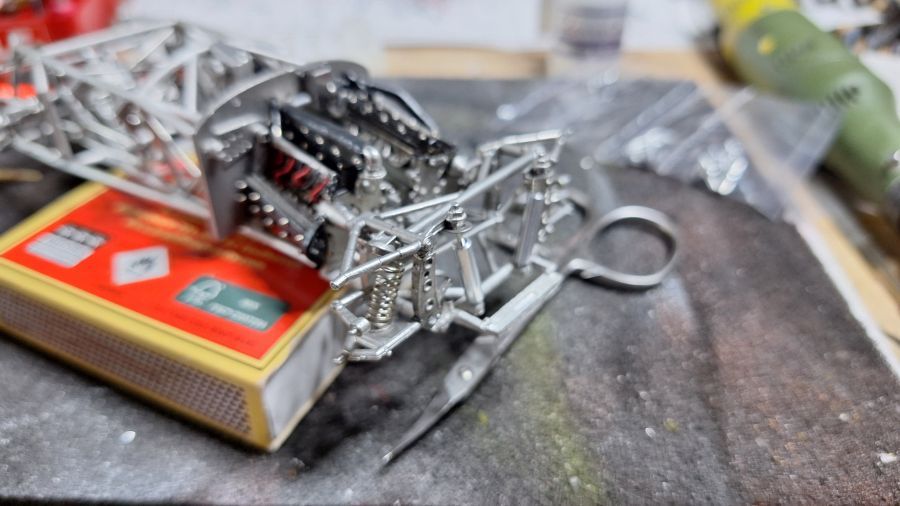
Meer werk aan de ophanging.
More work to the suspension.
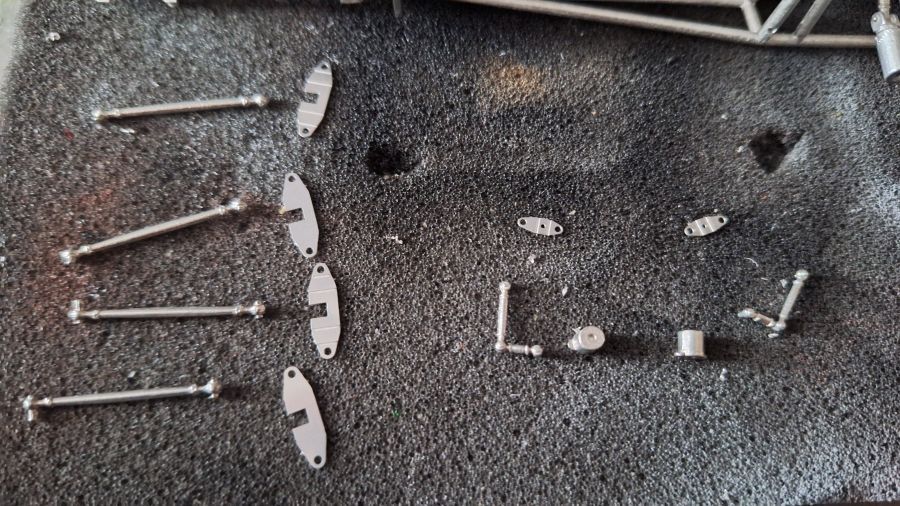
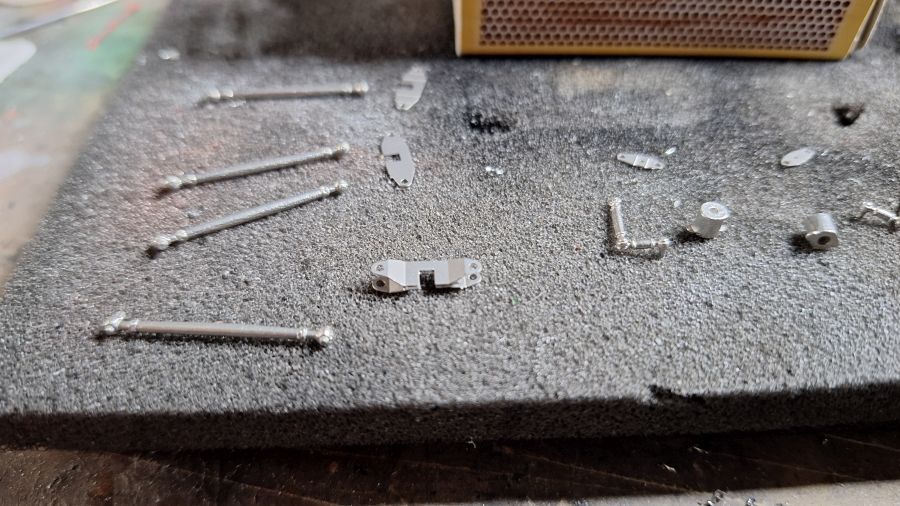
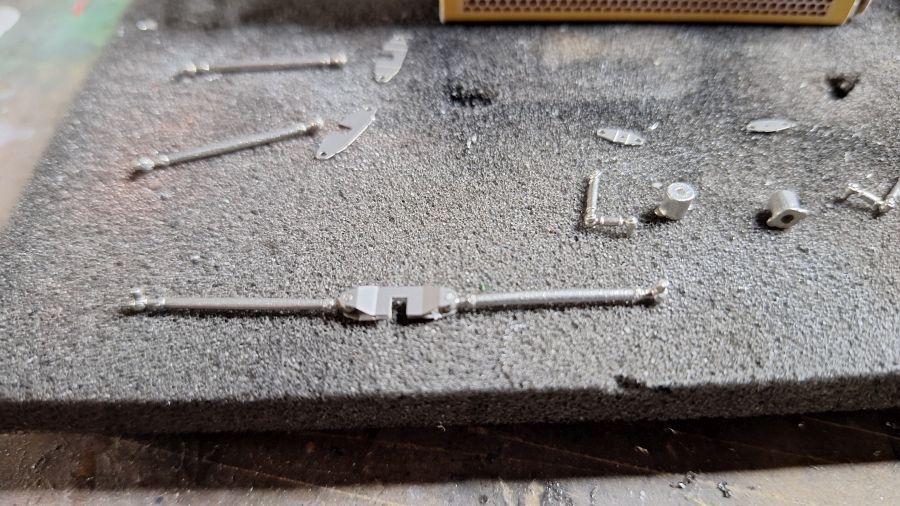
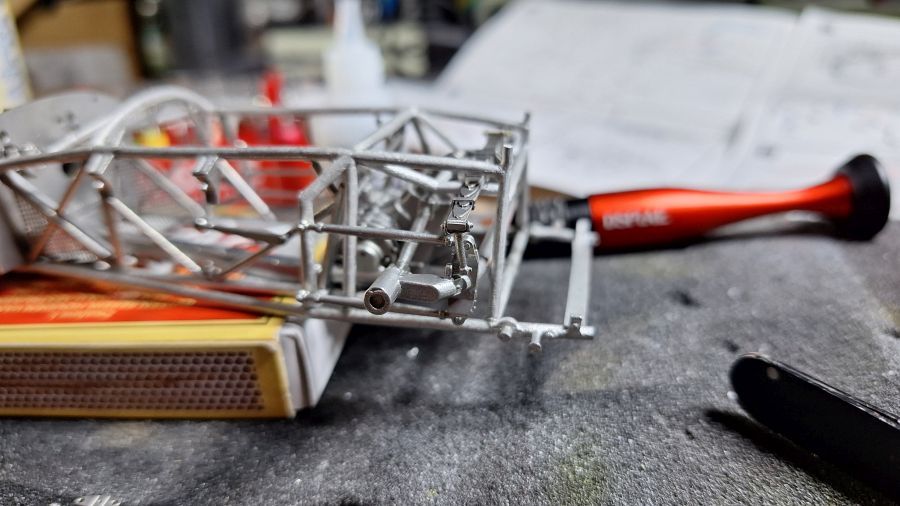
Door met de leidingen. De gaatjes boren is een gevaarlijk klusje.
On to the piping. Drilling the holes is a pita.
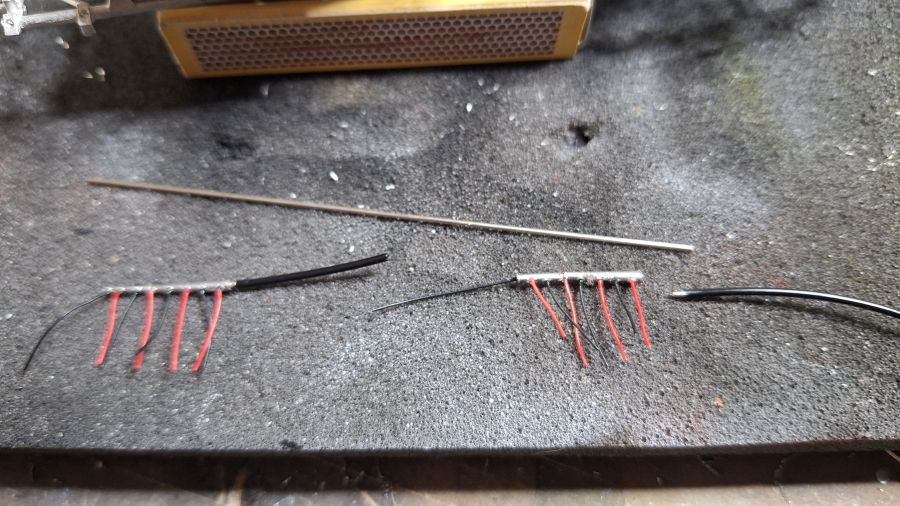
Met wat warmte kun je de stijve leiding buigen.
With some heat it is possible to bend the stiff pipe.
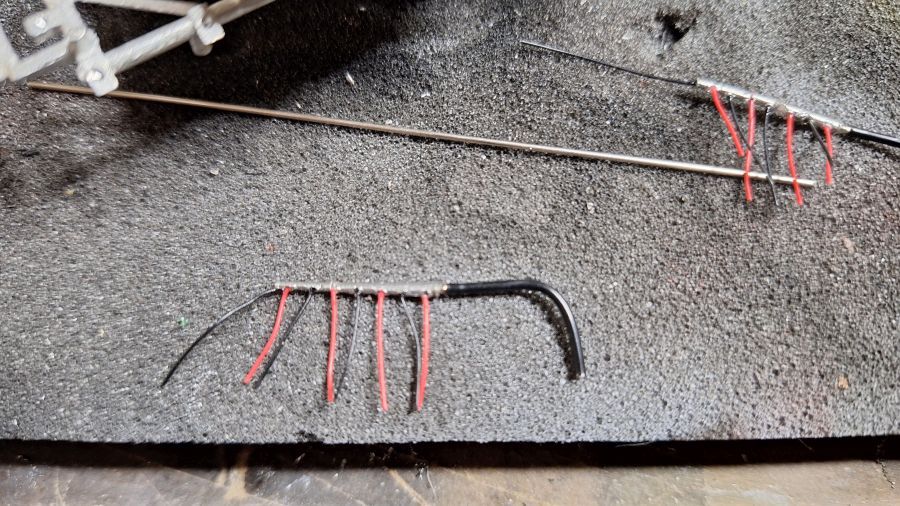
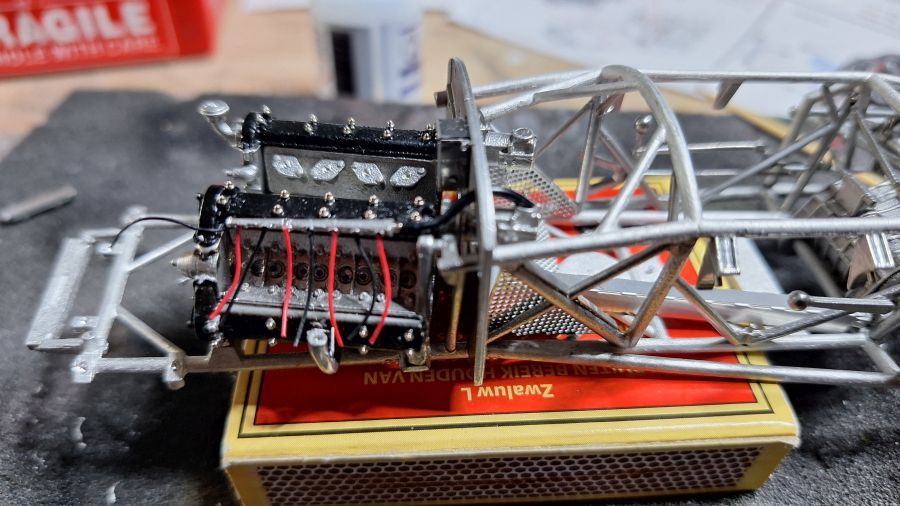
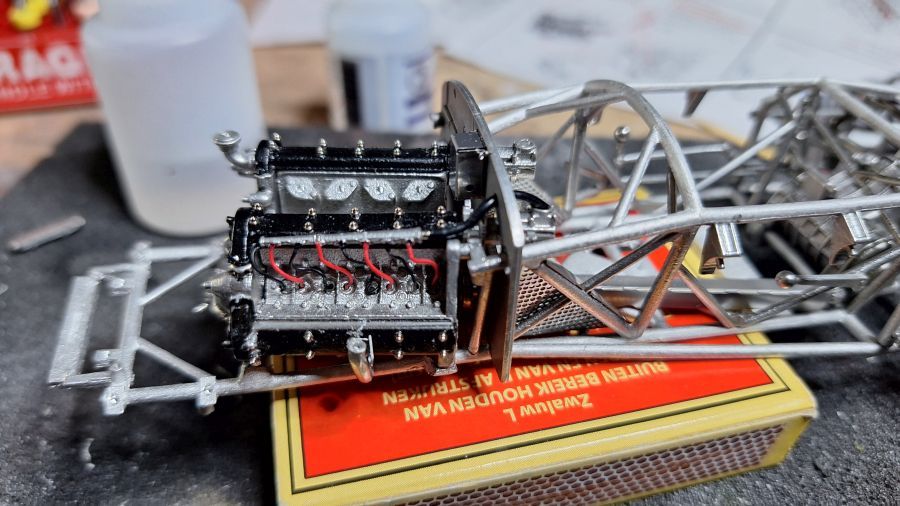
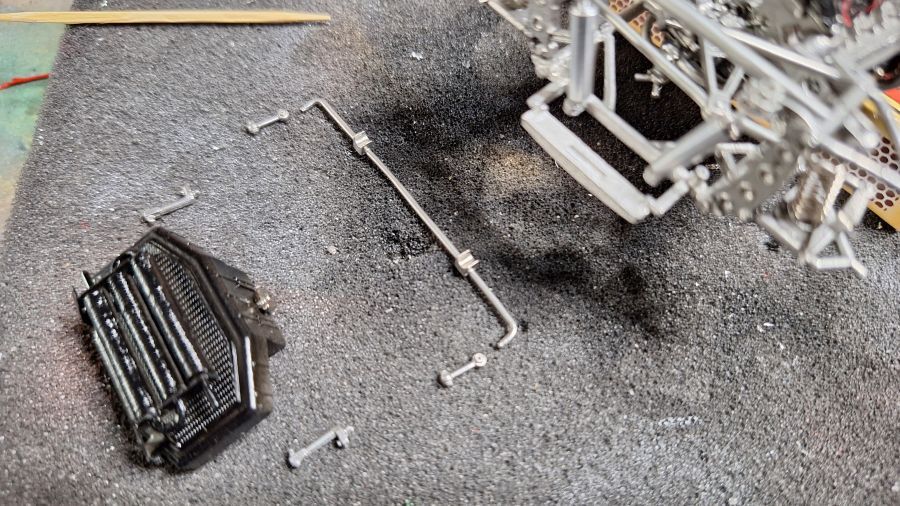
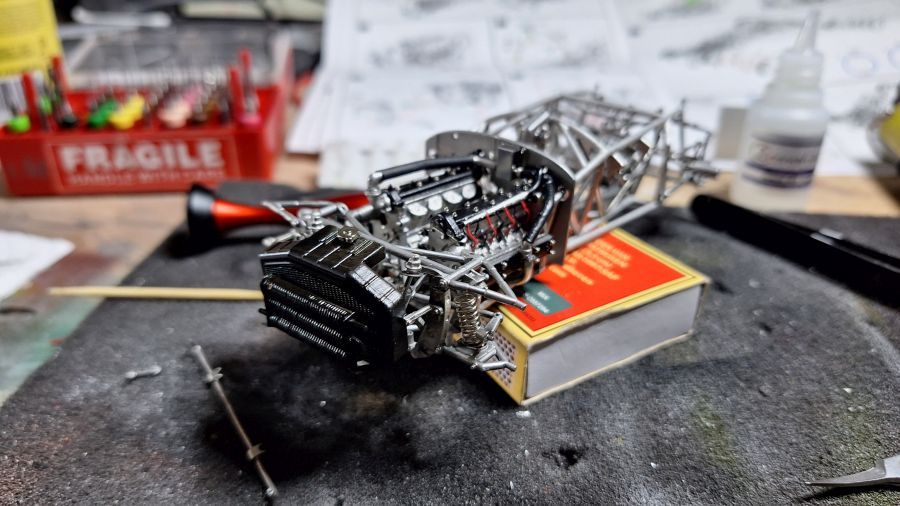
Dan naar de koeling.
Next is the cooler.
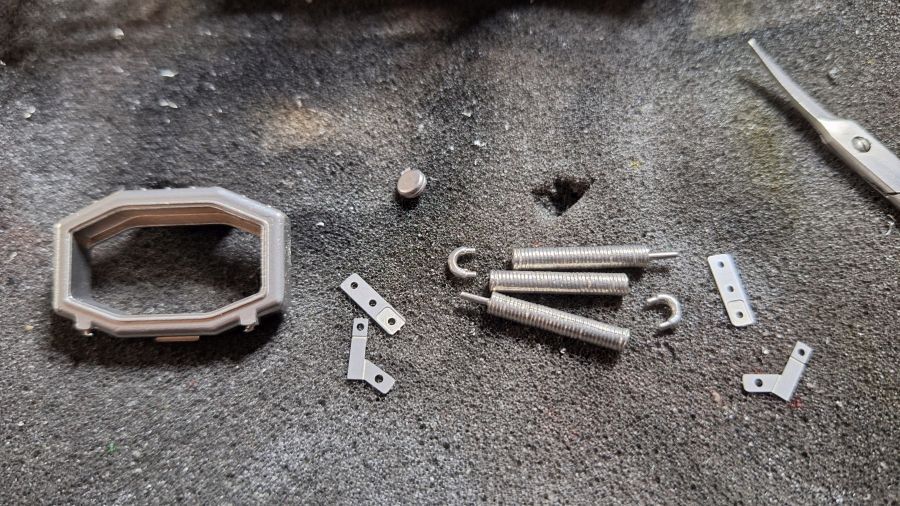
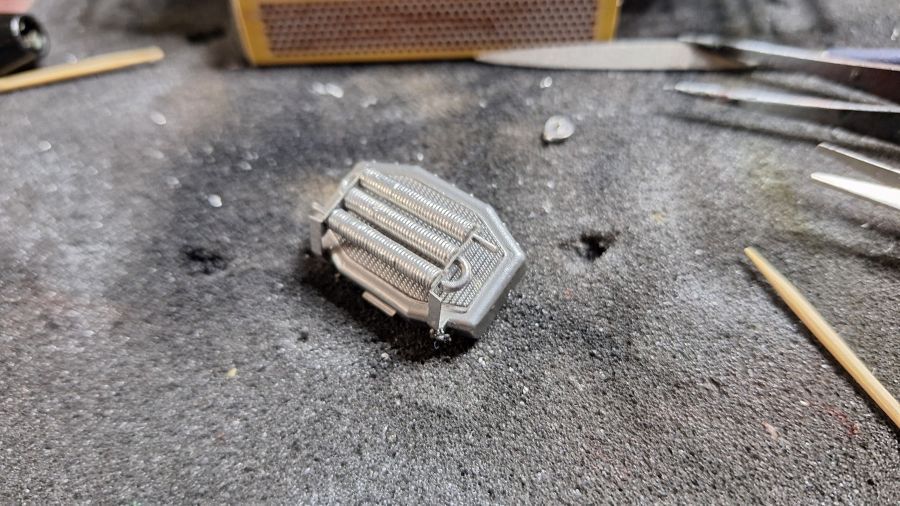
Nadat dit zwart is gespoten, is het stuurhuis aan de beurt.
After painting this black, it's time for the wheelhouse.
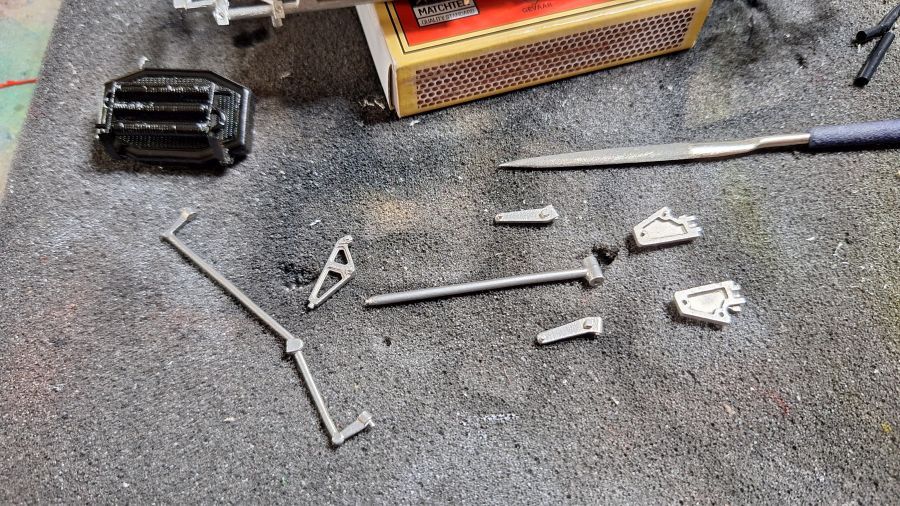
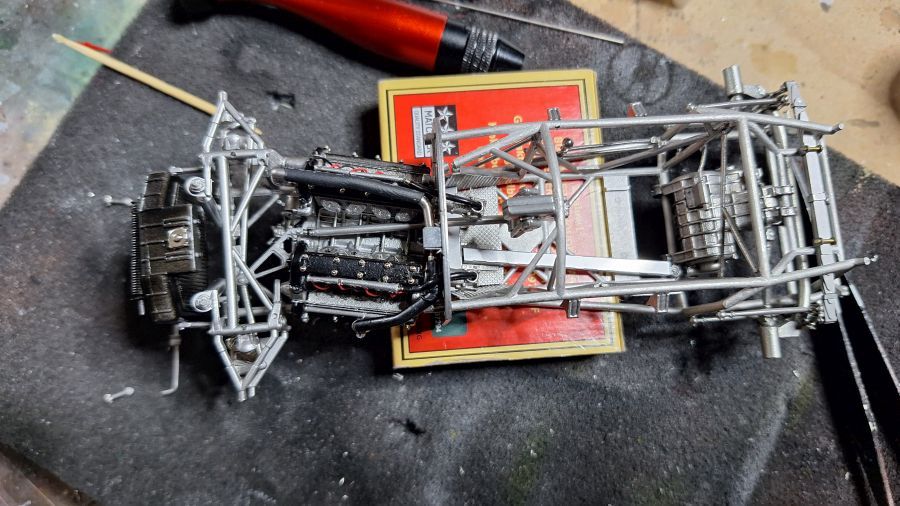
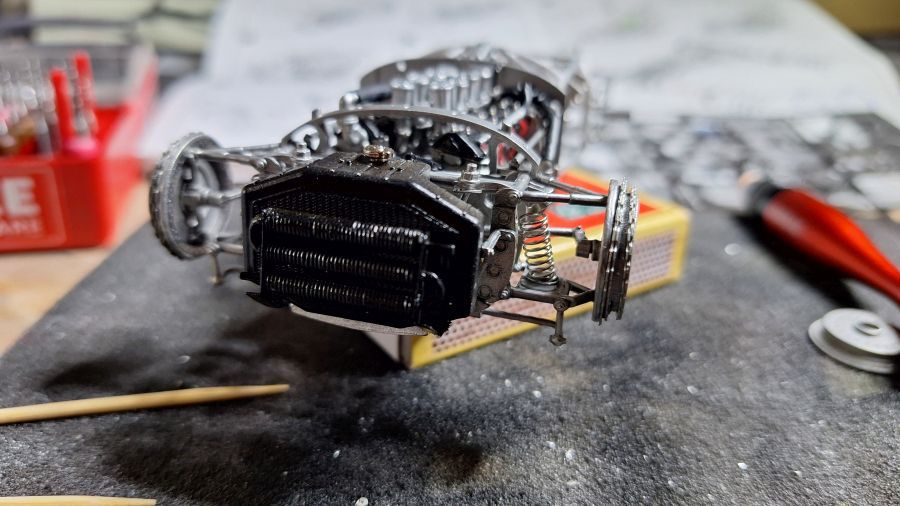
Dan kan de koeler erop.
The cooler can be mounted.
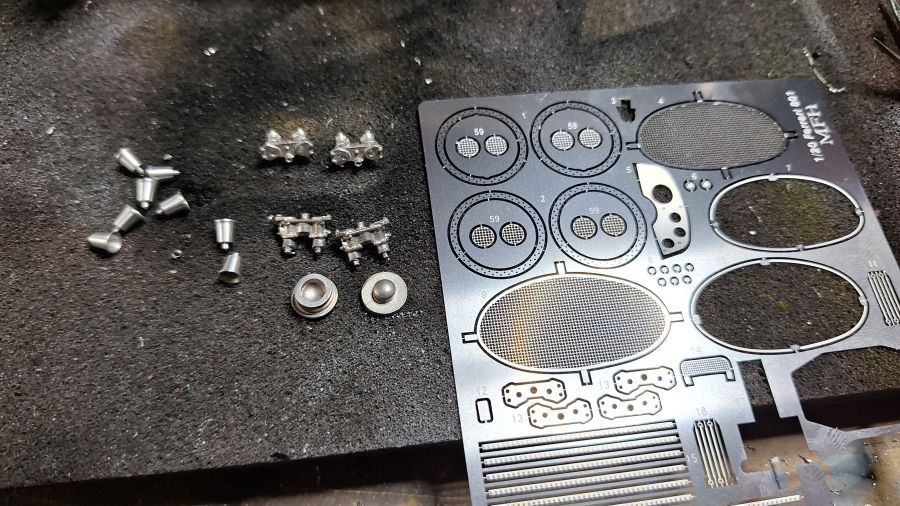
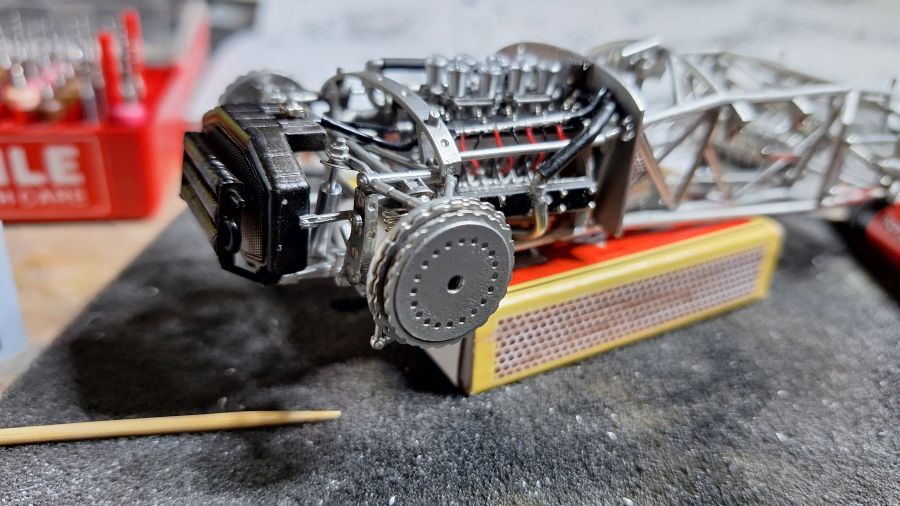
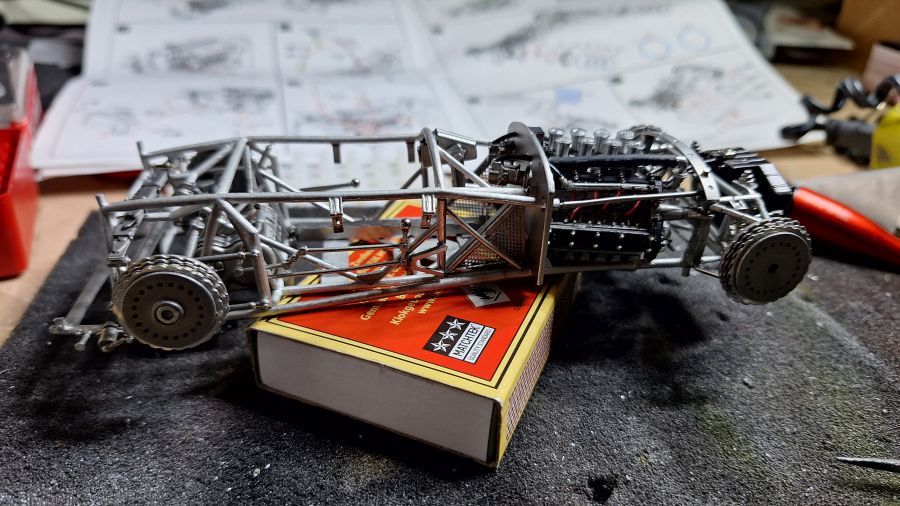
We gaan verder richting de wielen. Eerst de remtrommels.
We are going towards the wheels. First of all the brake drums.

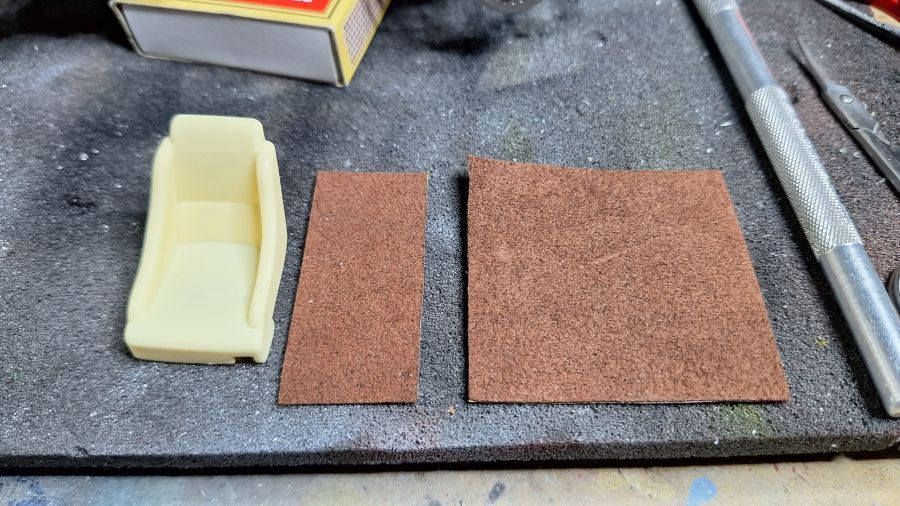
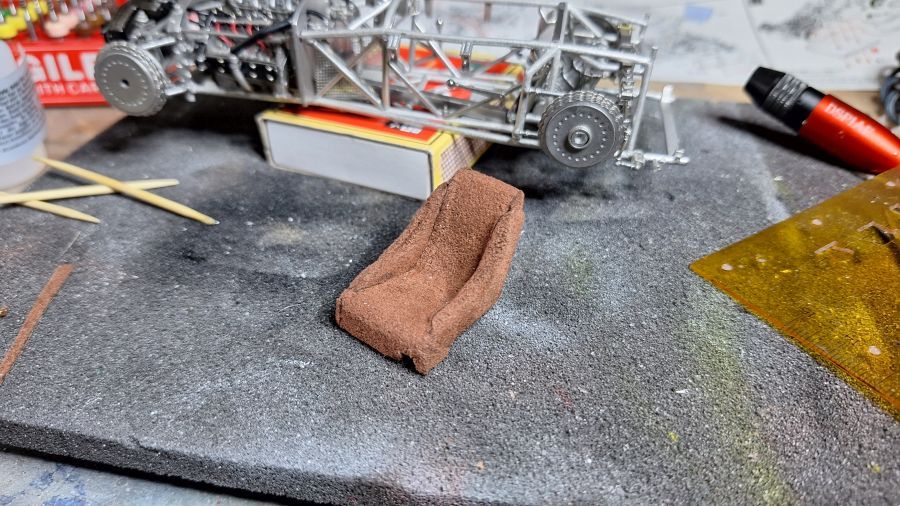
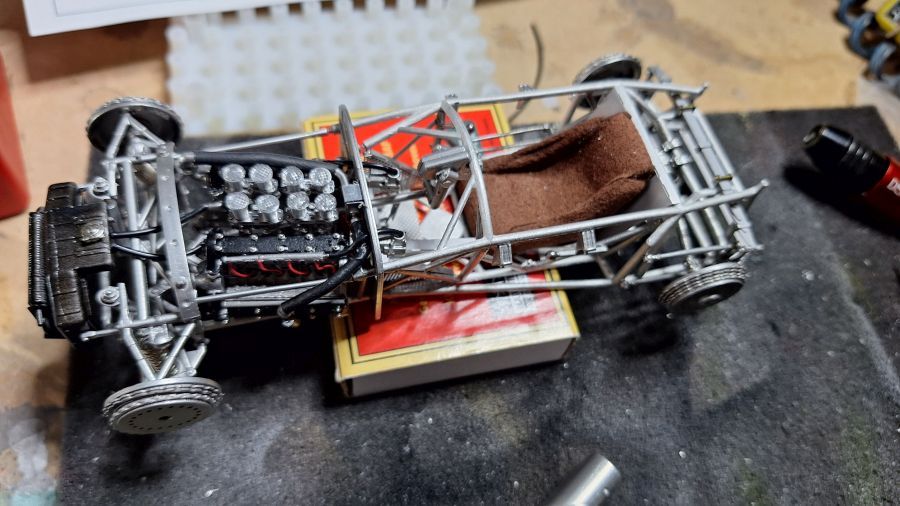
Dan de stoel.
Next is the seat.
En de brandstoftanks.
And the fuel tanks.
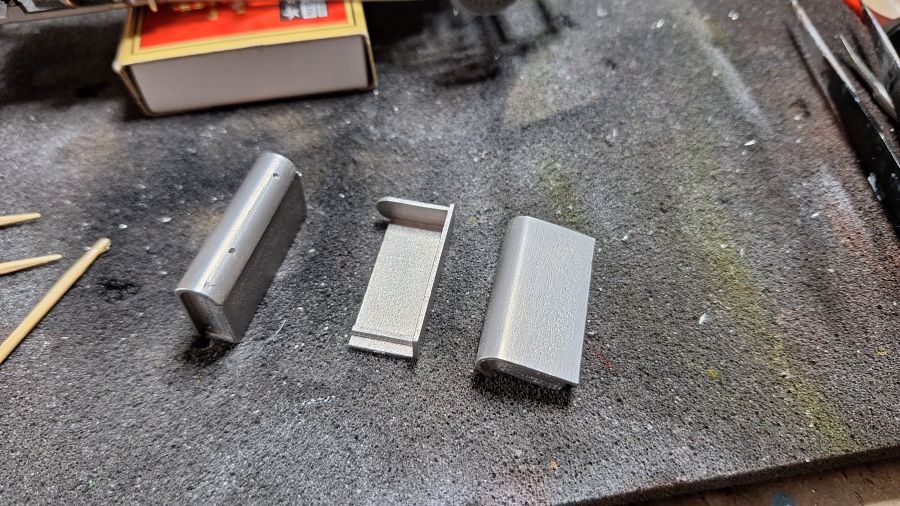
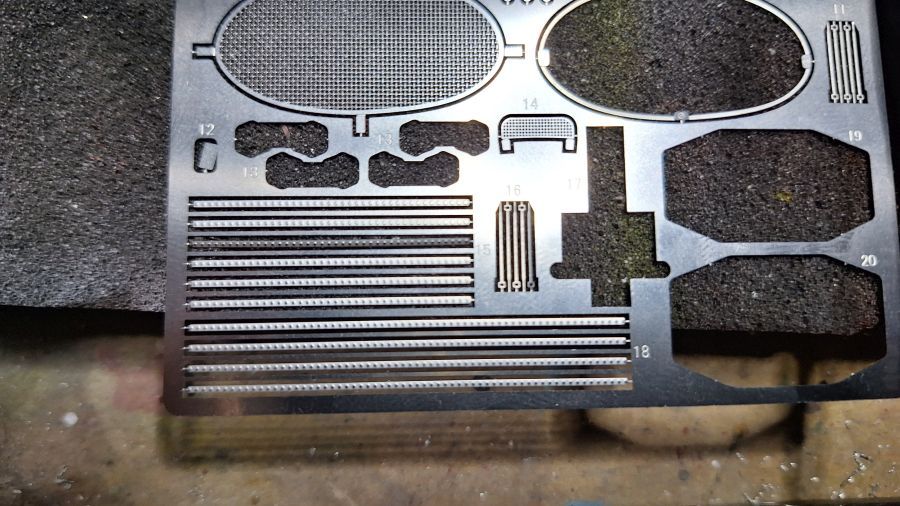
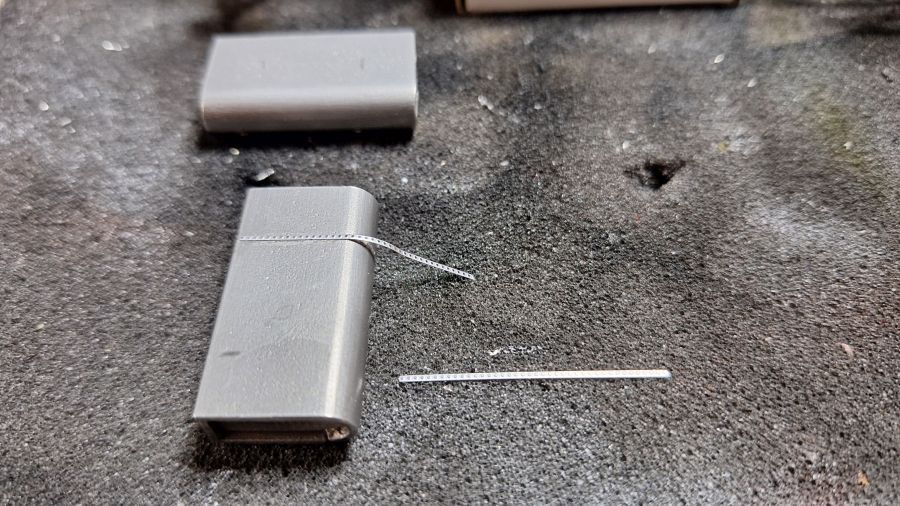
MFH wil dat je 4x nr 15 plaatst op elke brandstoftank. Ze leveren echter maar 6x.
MFH wants you to ad 4x no 15 to each fuel tank. However they only deliver 6x.
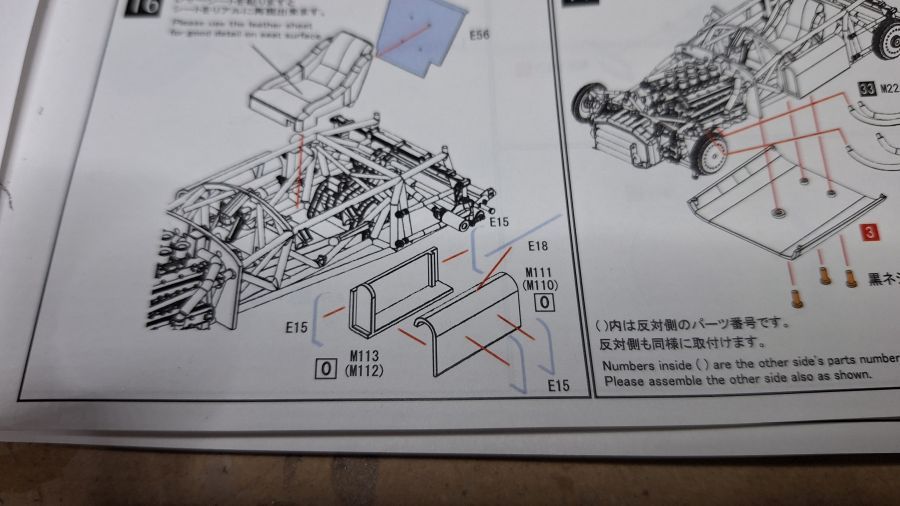
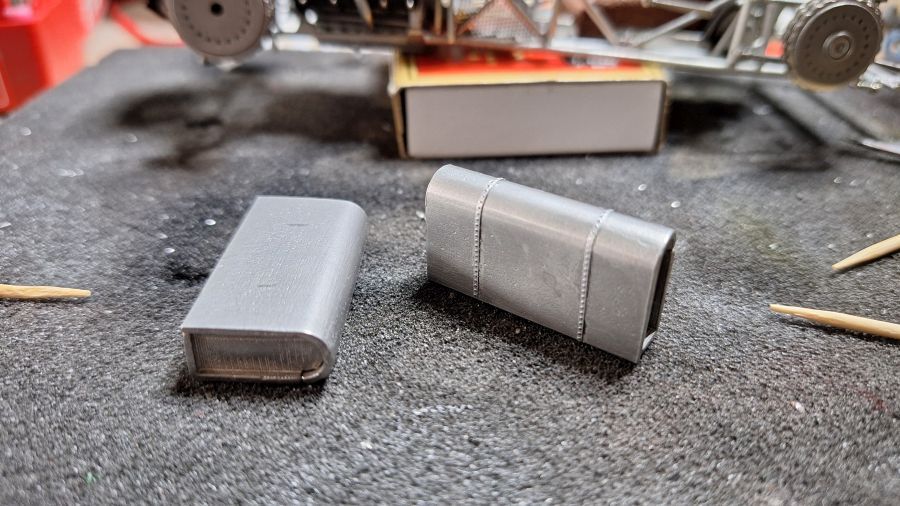
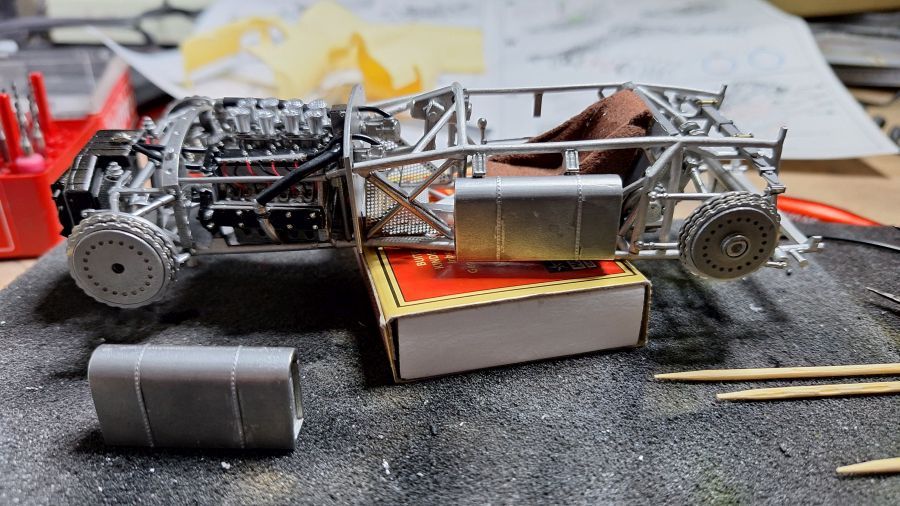
Deze 2 helften worden vast verlijmd.
These 2 halves are being glued.
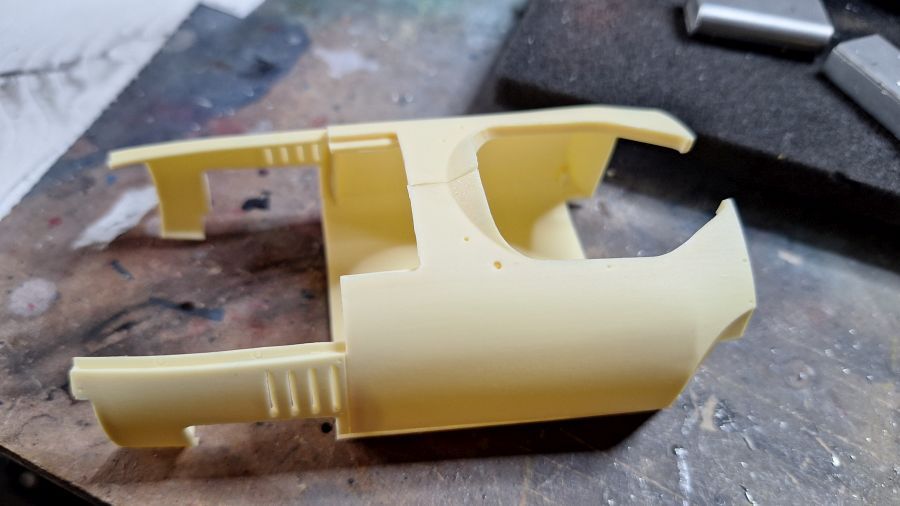
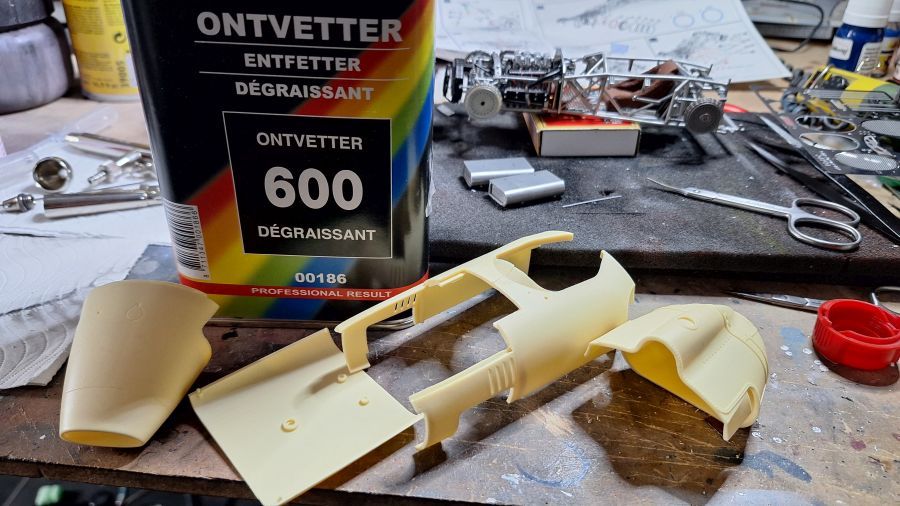
Intussen ook wat werk aan de 'schoorstenen'.
In the meantime some work to the 'chimneys'.
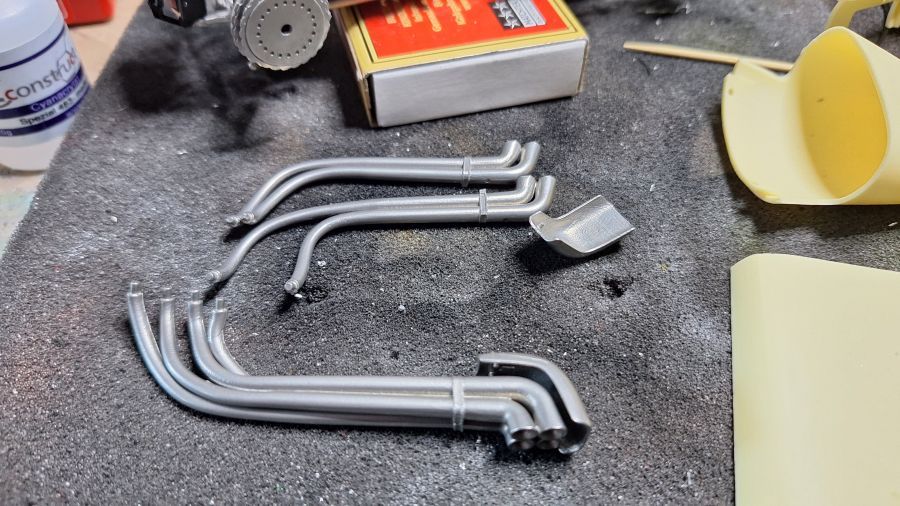
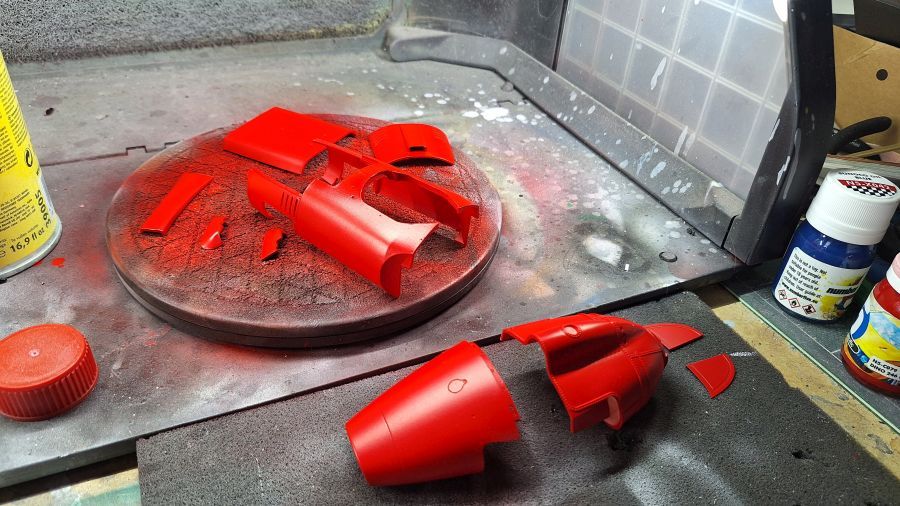
Het plaatwerk krijgt grondverf, kleur en lak.
The body work gets primer, color and clear coat.
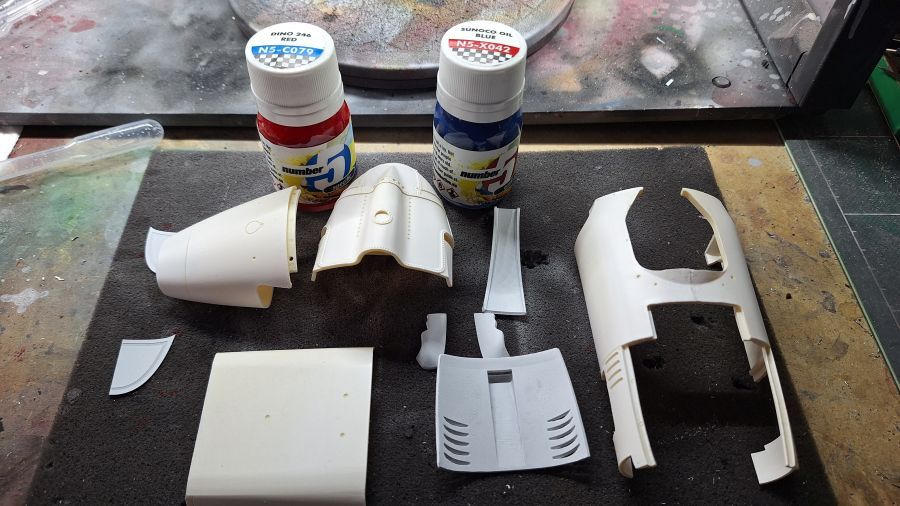
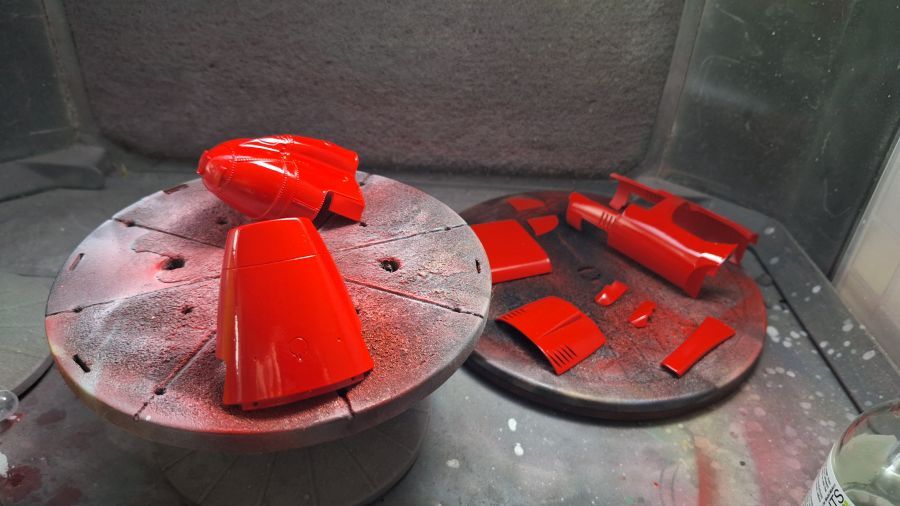
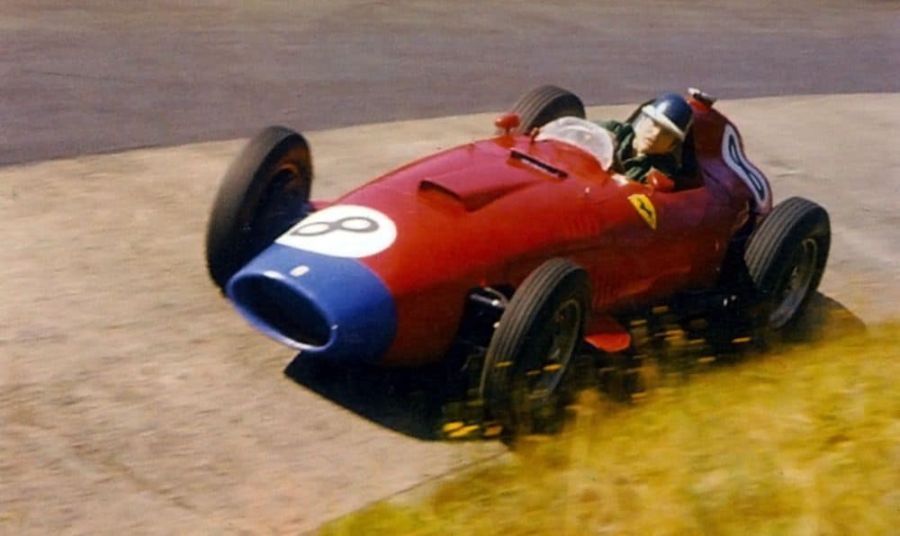
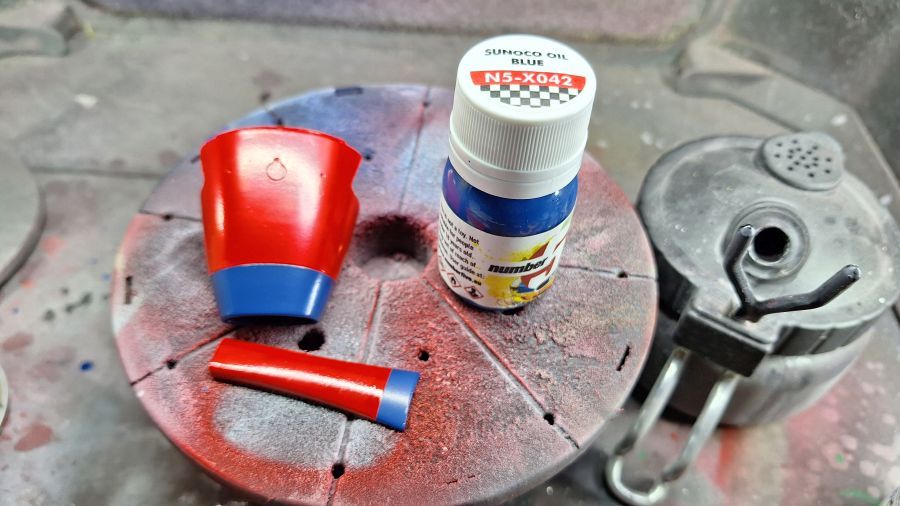
Het juiste blauw is een dingetje. Foto's op het web laten wat verschillen zien. Ik vond dit blauw dichtbij deze foto komen.
The correct blue is quite a thing. Photo's on the web show some diffrences. I found this blue to quite match this photo.
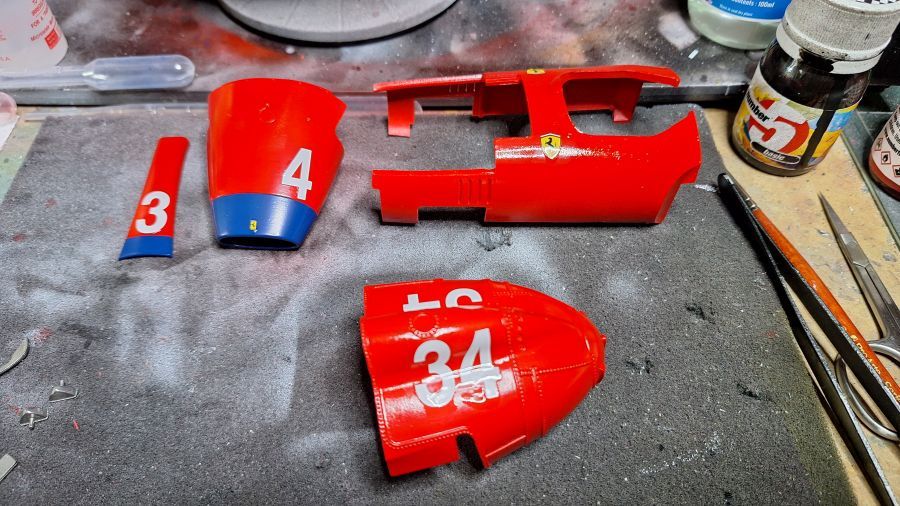
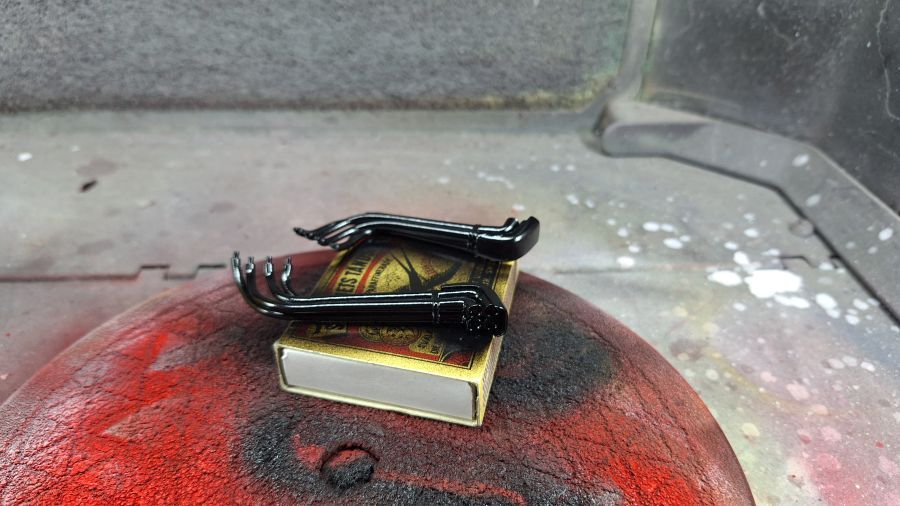
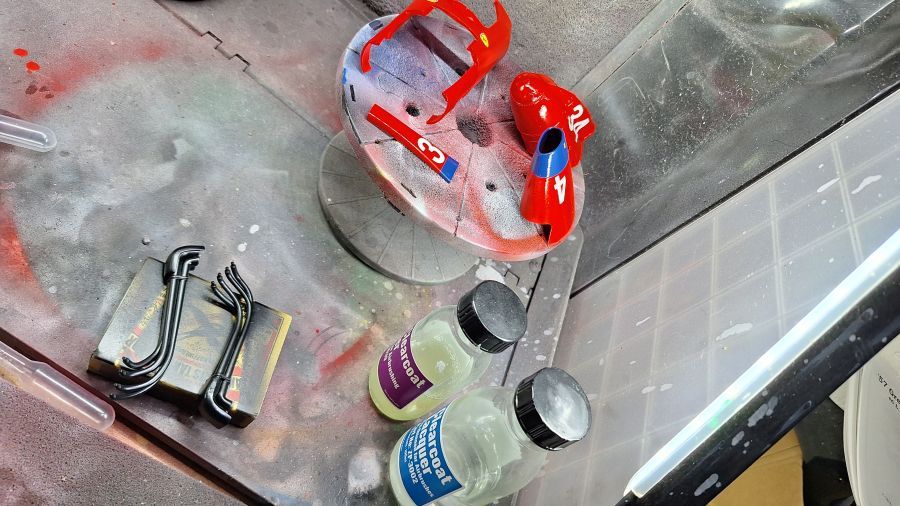
Decals verzegeld en de uitlaten krijgen mat lak.
Decals sealed and the pipes receive a matt coat.
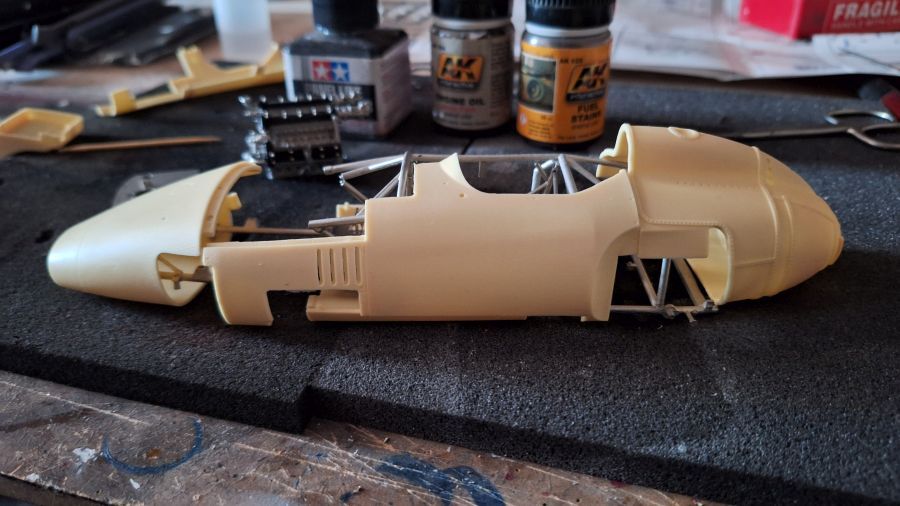
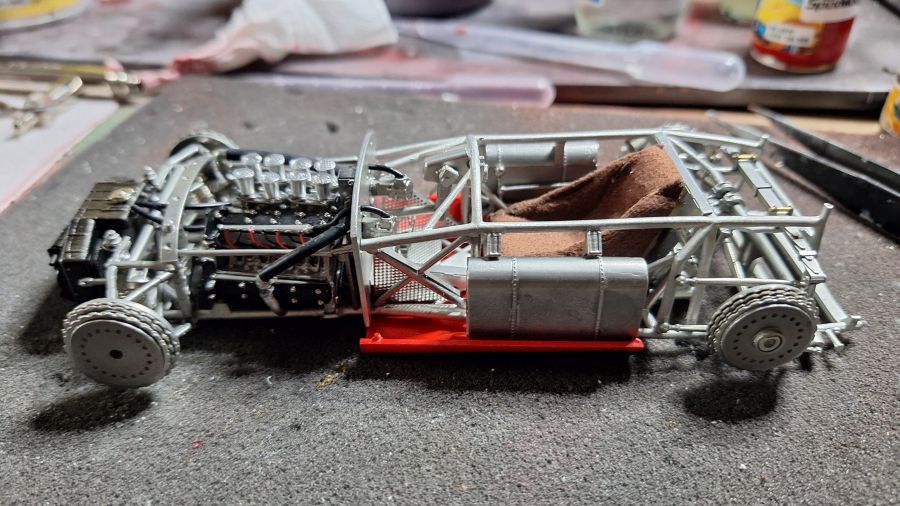
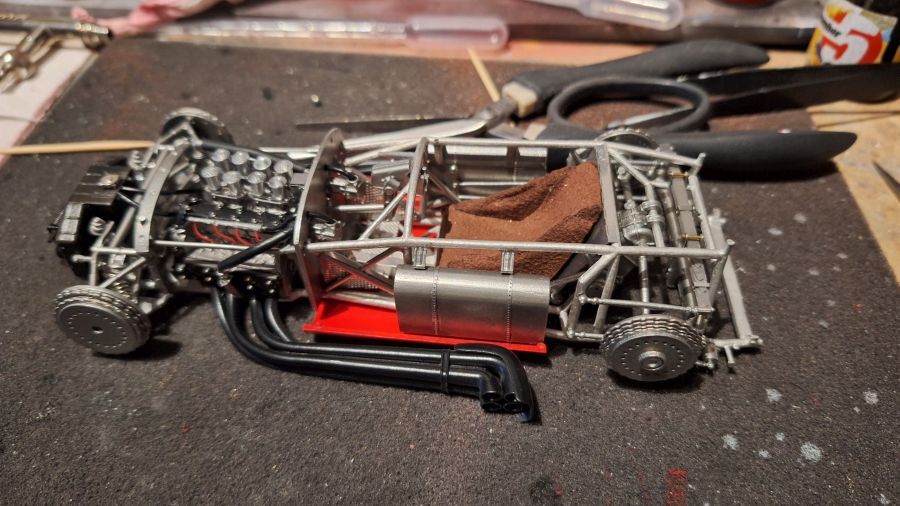
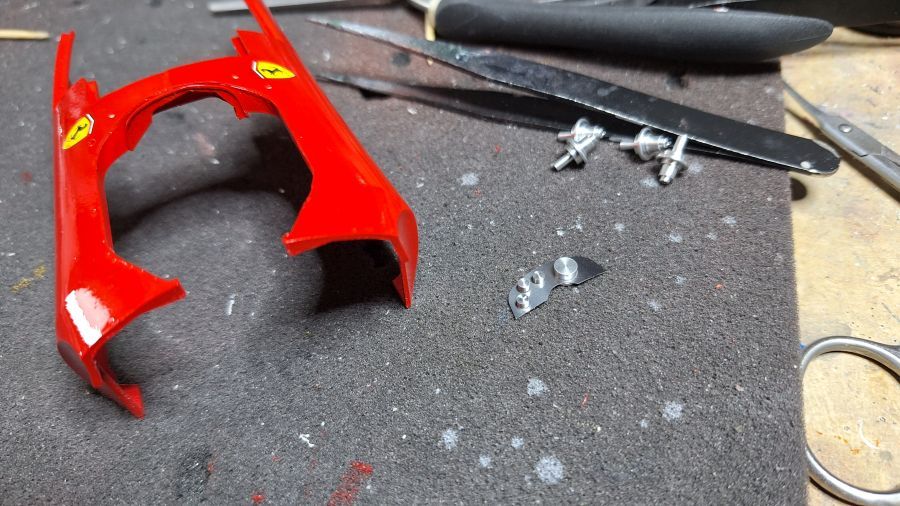
Het plaatwerk gaat er nu langzaam op.
The body parts will slowly be added.
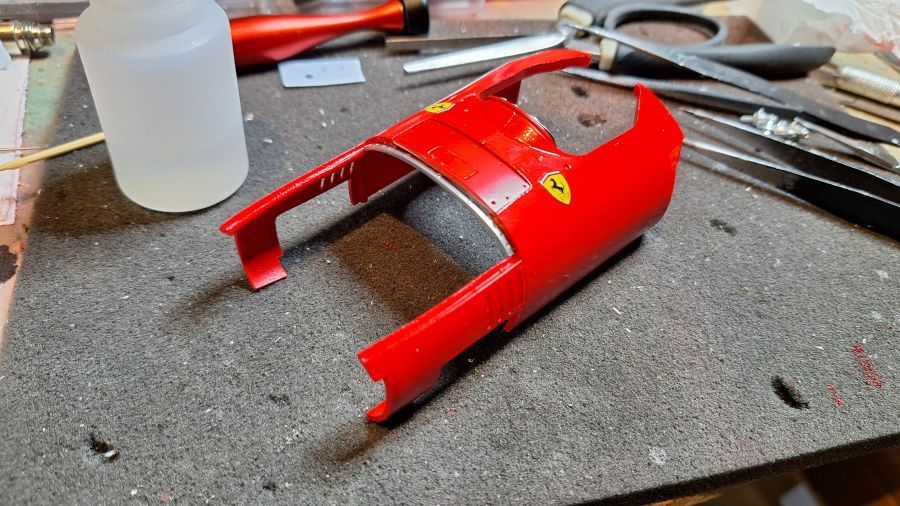
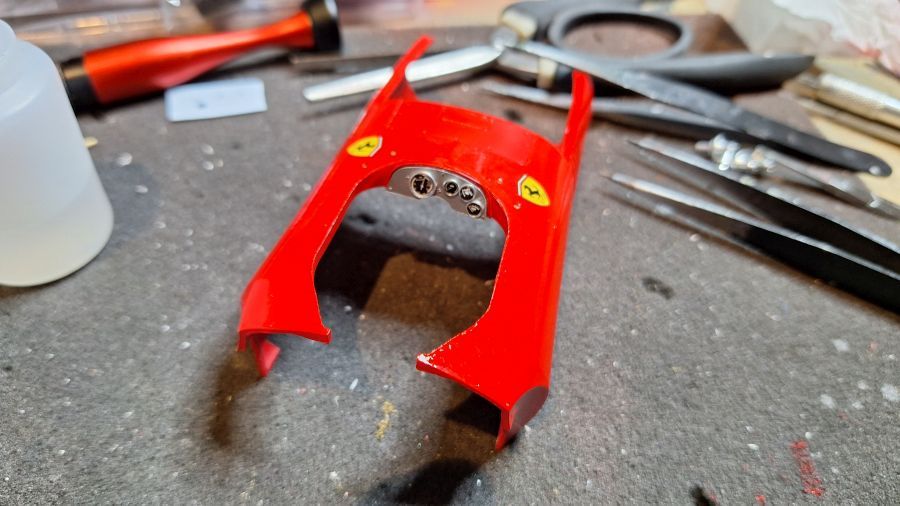
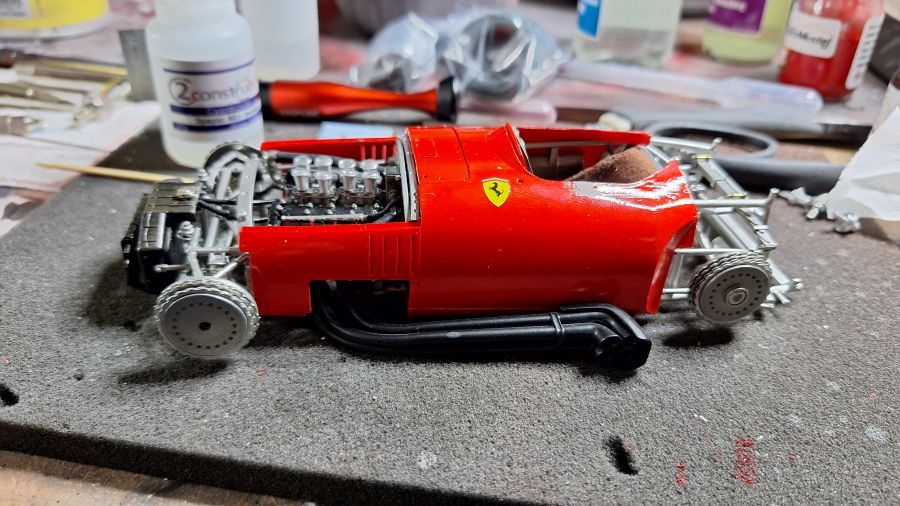
De achterkant geeft een probleem. Met plaatsing van het grote metalen deel, krijg je geen goede pasvorm. Ik ga improviseren.
The rear gives a problem. When adding the big metal part, i don't get a good fit. I will improvise.
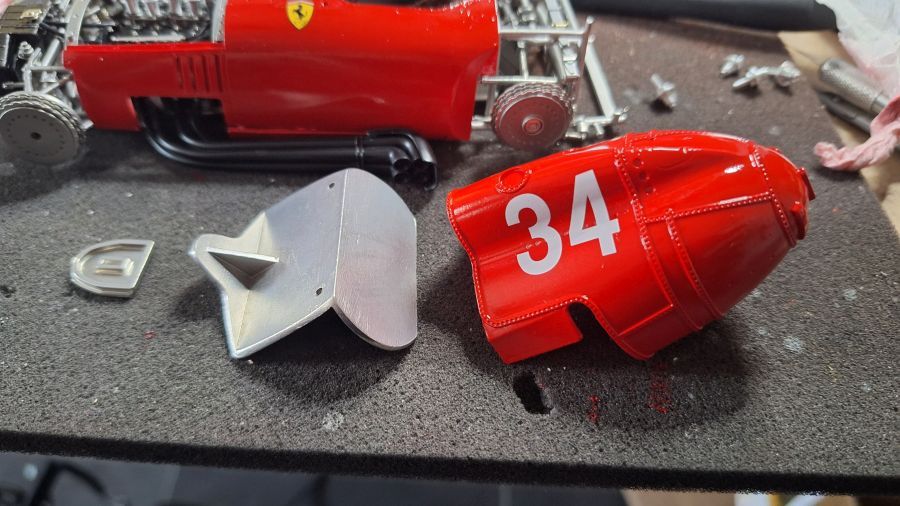
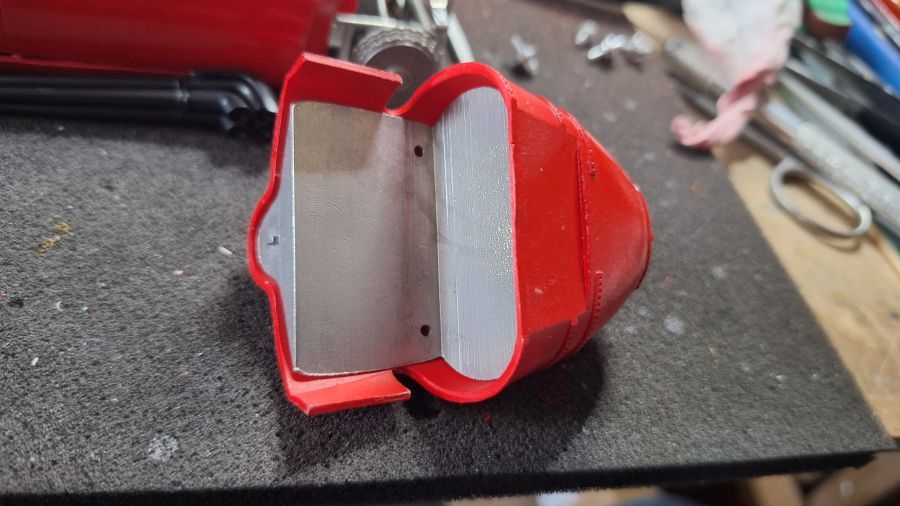
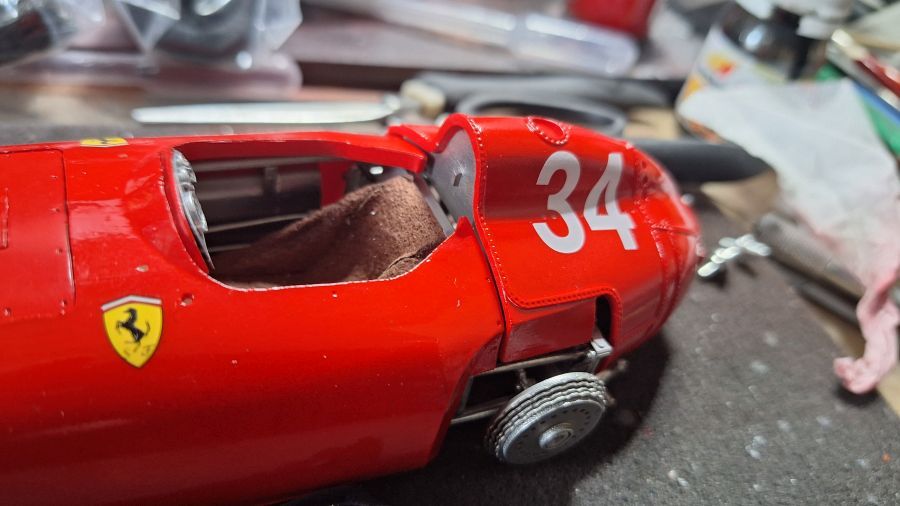
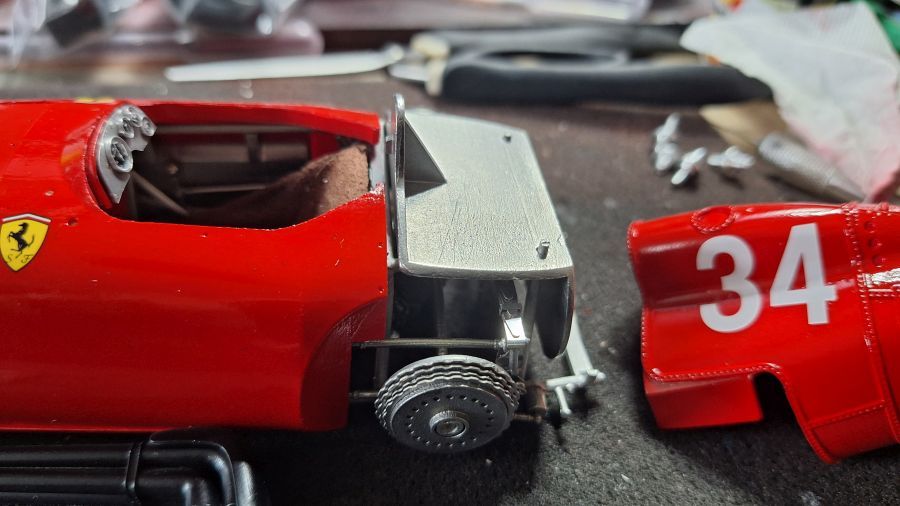
Zonder is veel beter.
Without it much better.
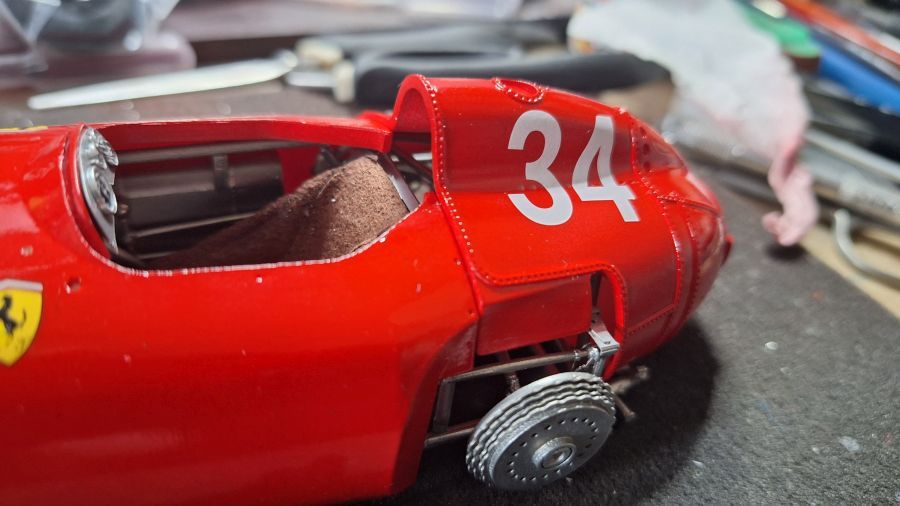
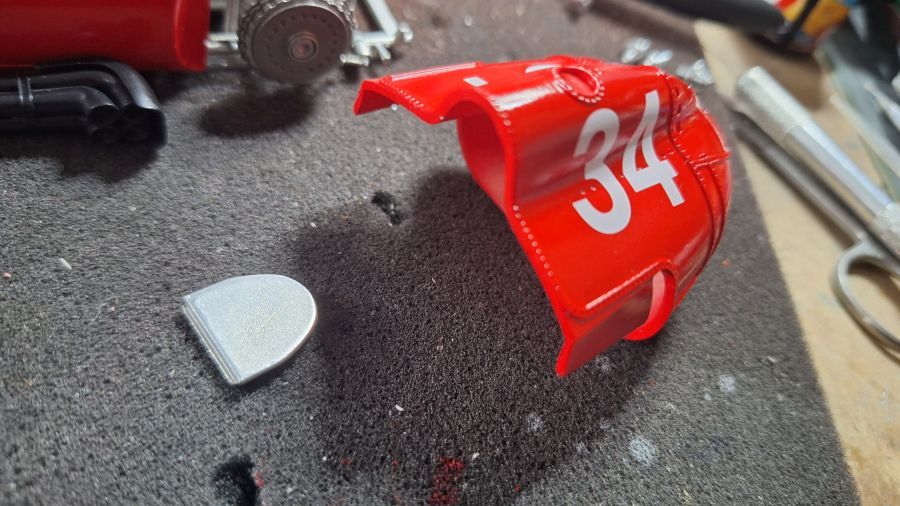
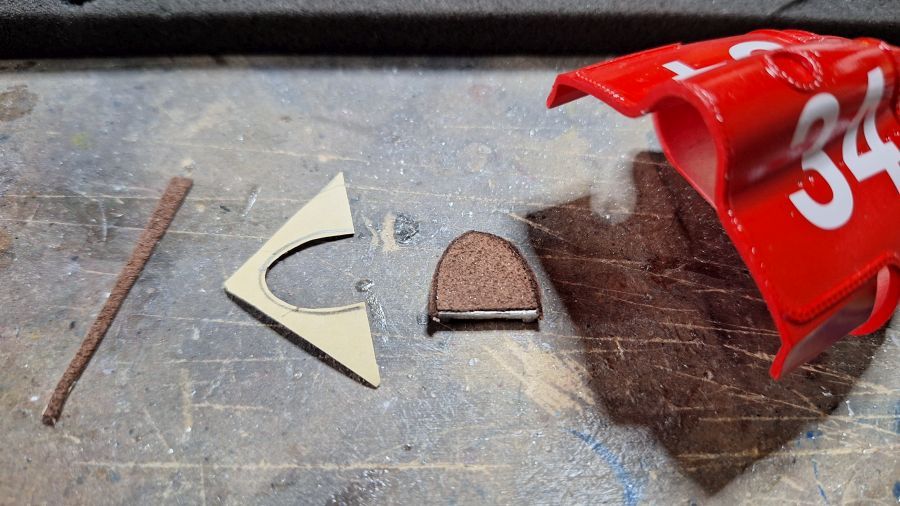
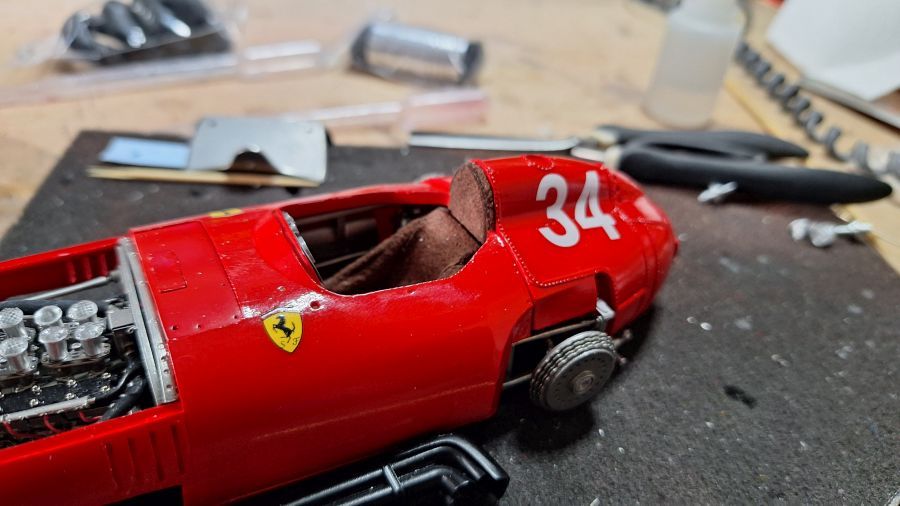
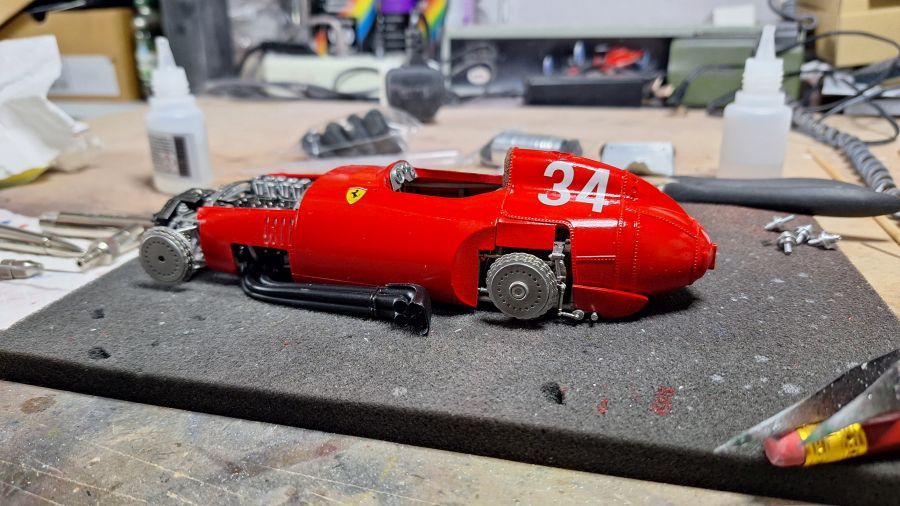
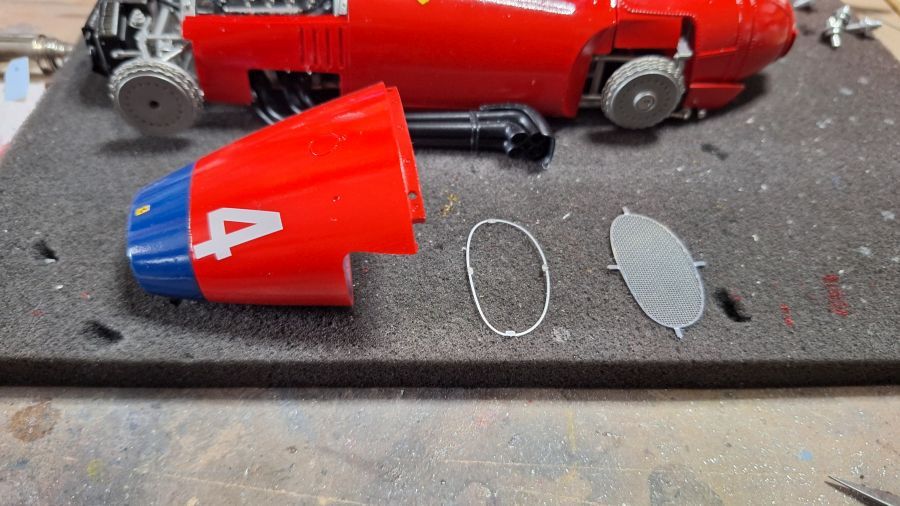
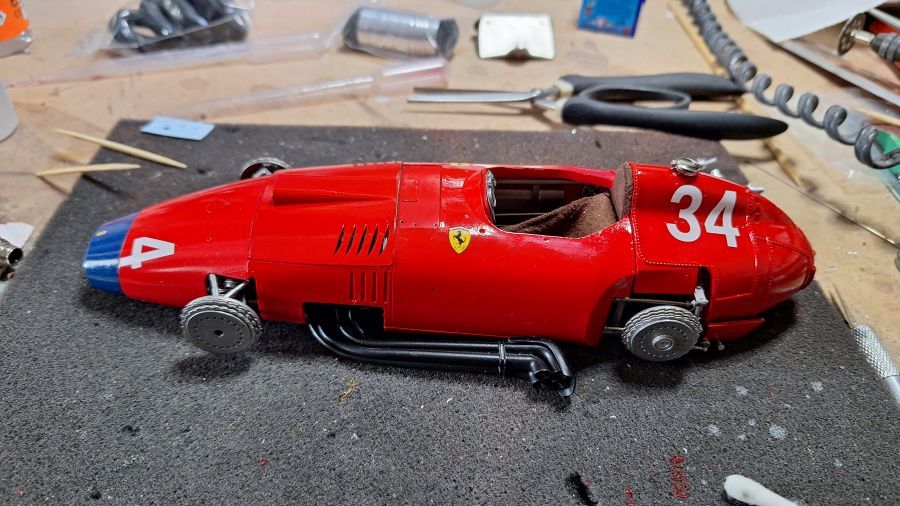
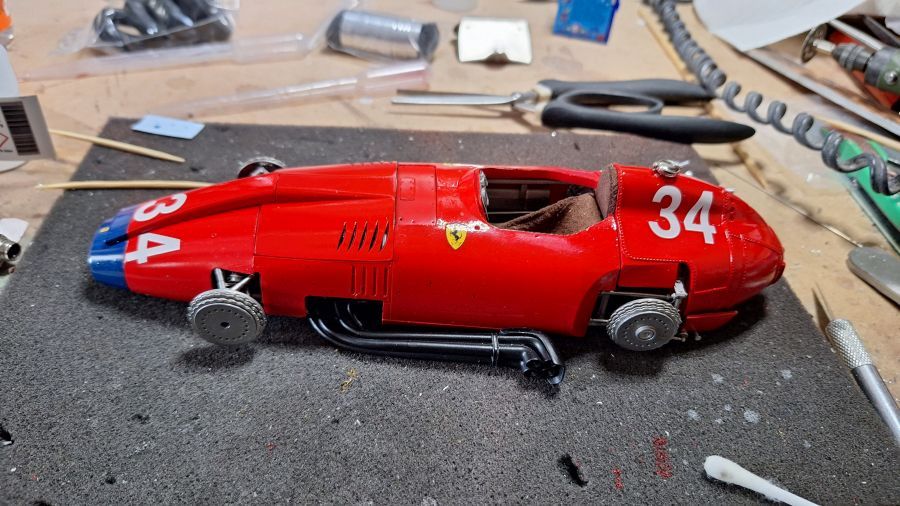
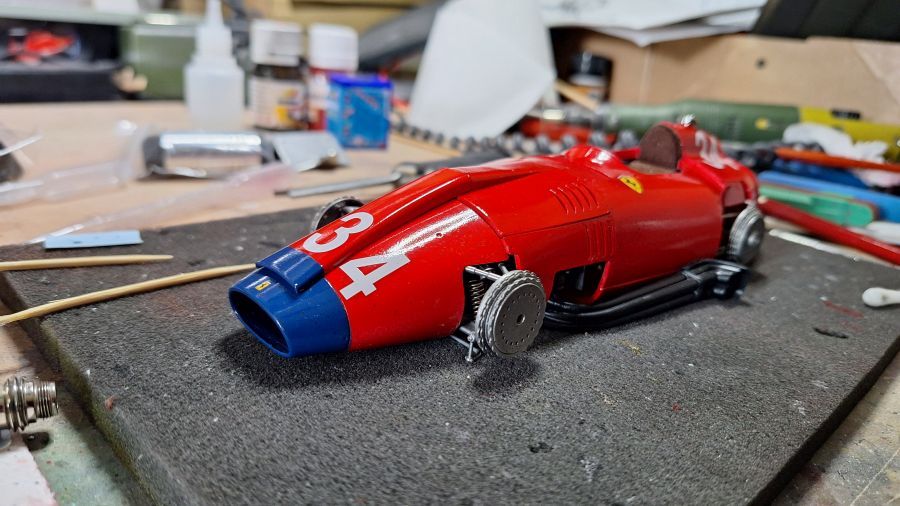
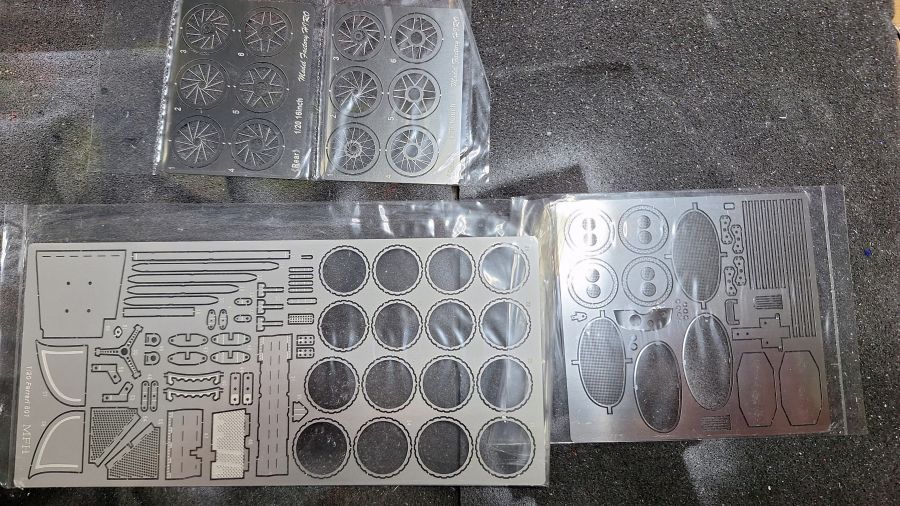
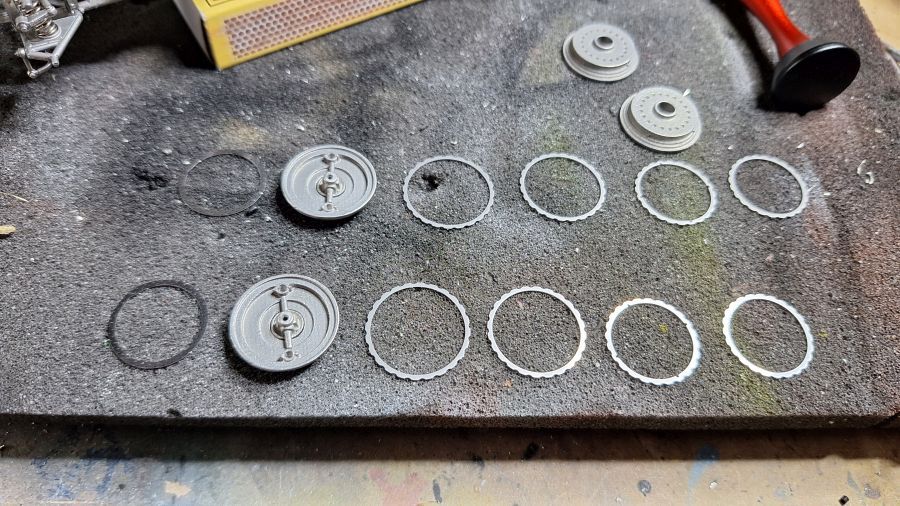
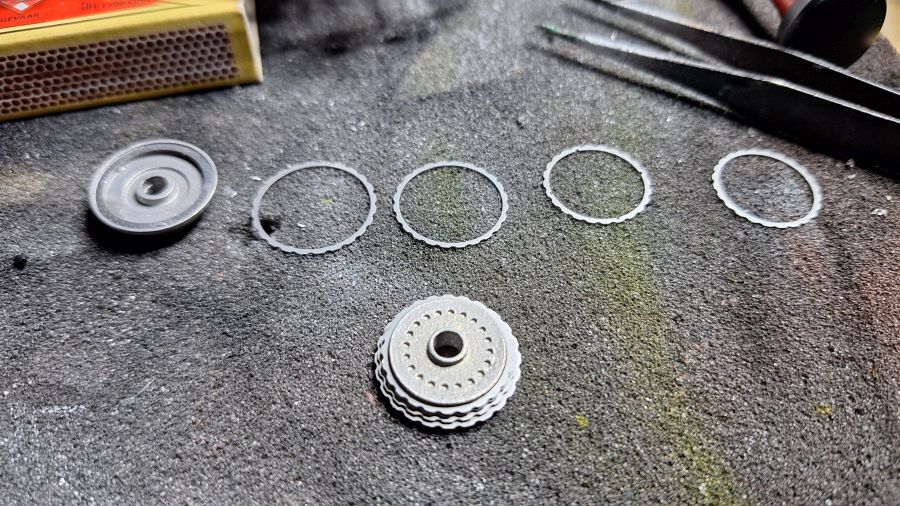
Voor de wielen heeft MFH etched delen toegevoegd, echter 4x rear i.p.v. 2x rear en 2x front. Wellicht maakt het niet uit.
For the wheels MFH has added etched parts, however 4x rear instead of 2x rear and 2x front. Maybe it's just o.k.
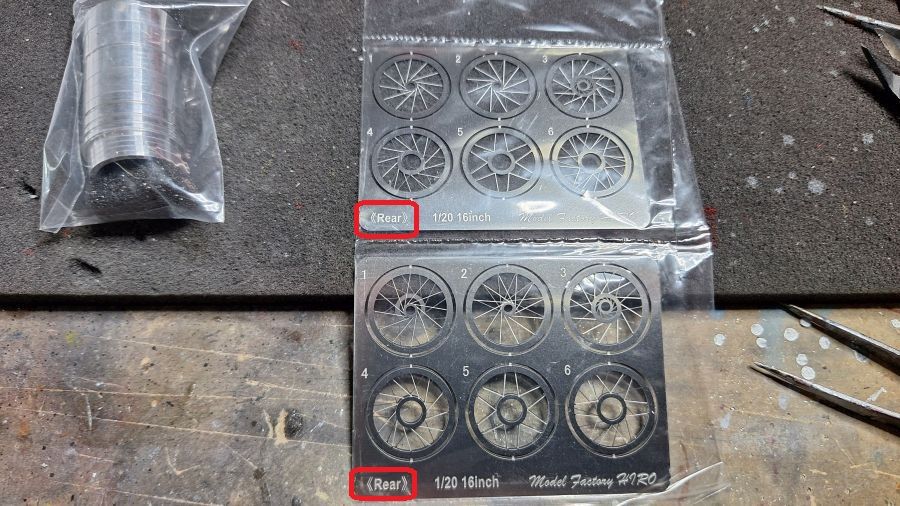
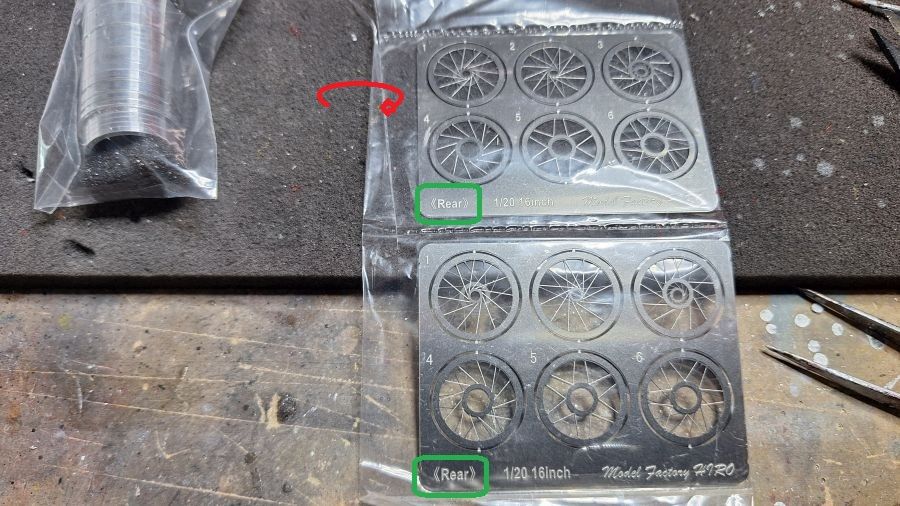
Dus de voor- en achtervelgen zijn gelijk, behalve dat ringetje tussen de 4 etched delen, voor smal, achter breed.
So the front and rear rims are equal, except that ring between the 4 etched parts, front small, rear wide.
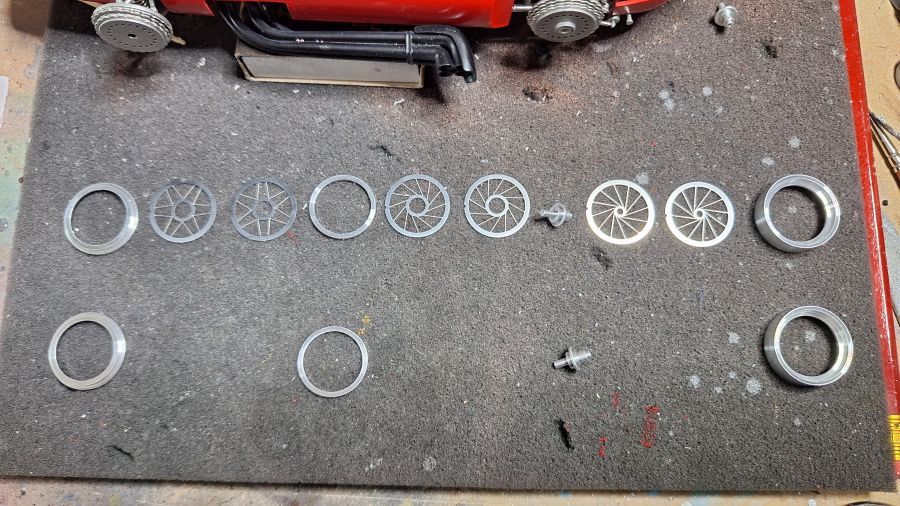
Lastig karwei om de inhammetjes gelijk te krijgen.
Tough job to get the notches lined up.
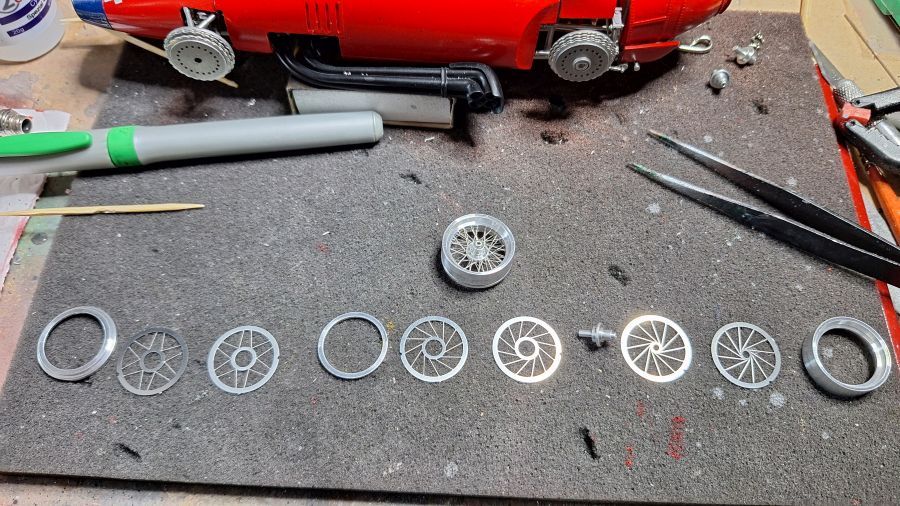
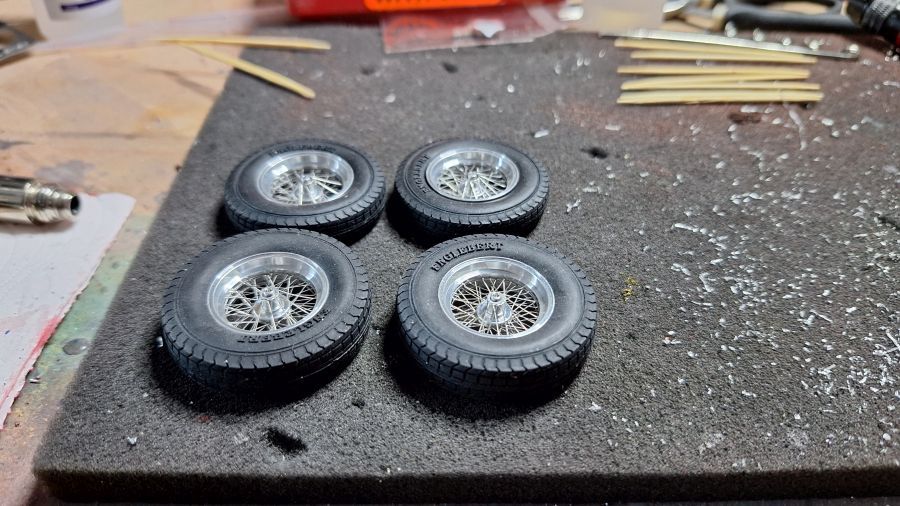
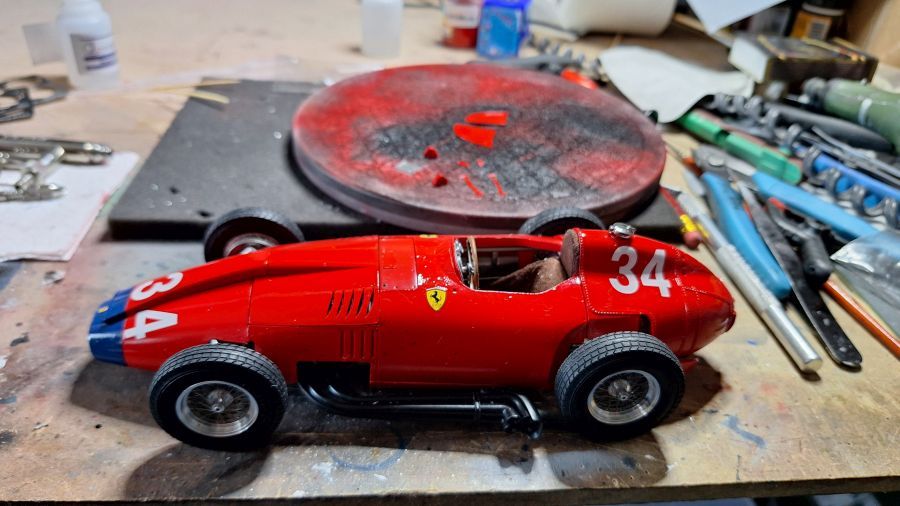
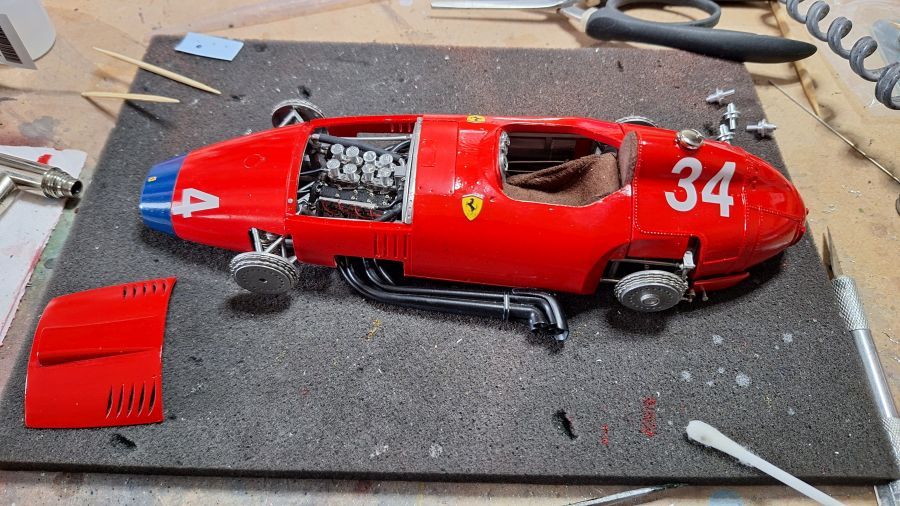
Nog wat onderelen geplaatst en klaar.
Some more parts added and done.
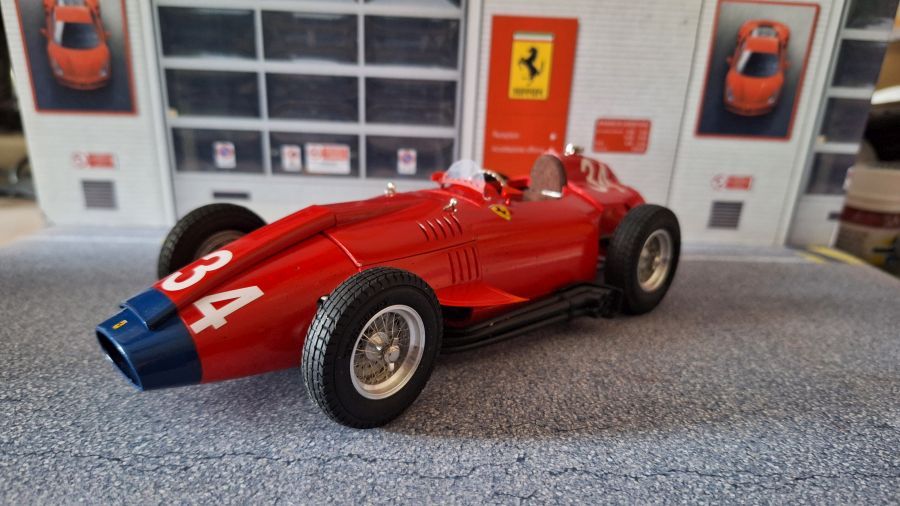
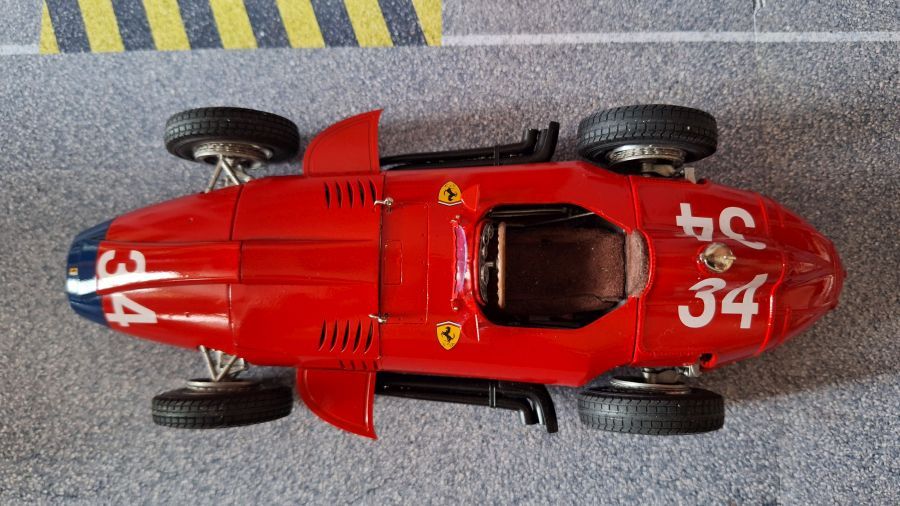
Edit: Ik heb de vleugels verkeerd geplaatst, dus nu gecorrigeerd.
Edit: I mounted the winglets incorrect, so corrected now.
