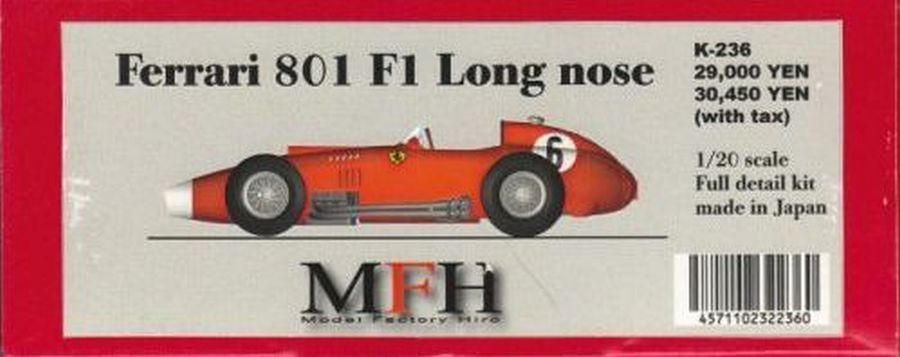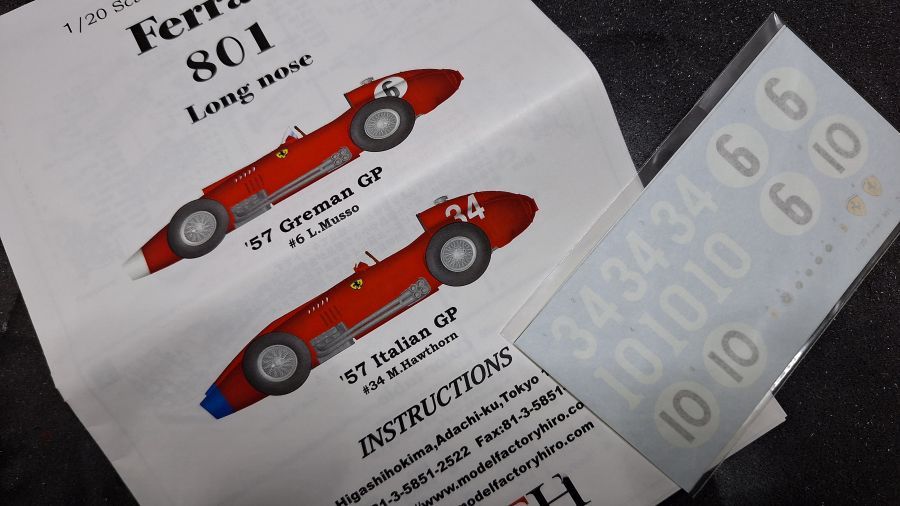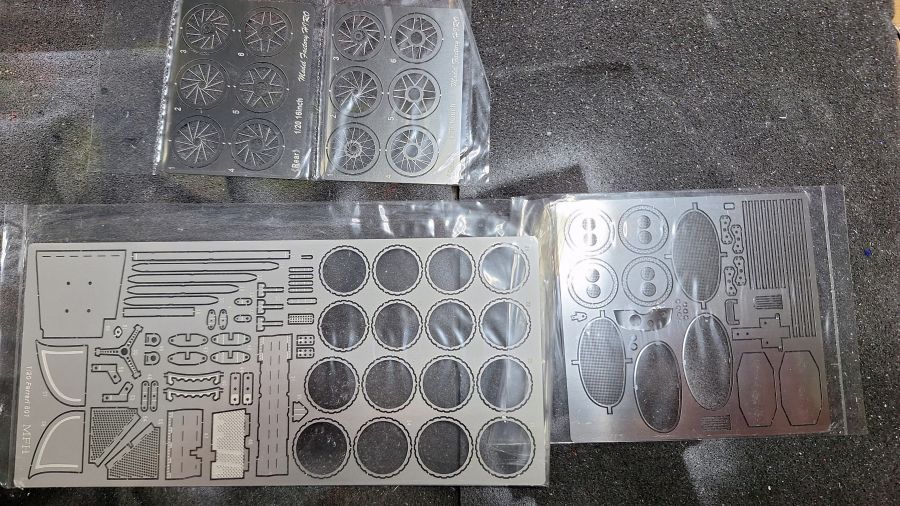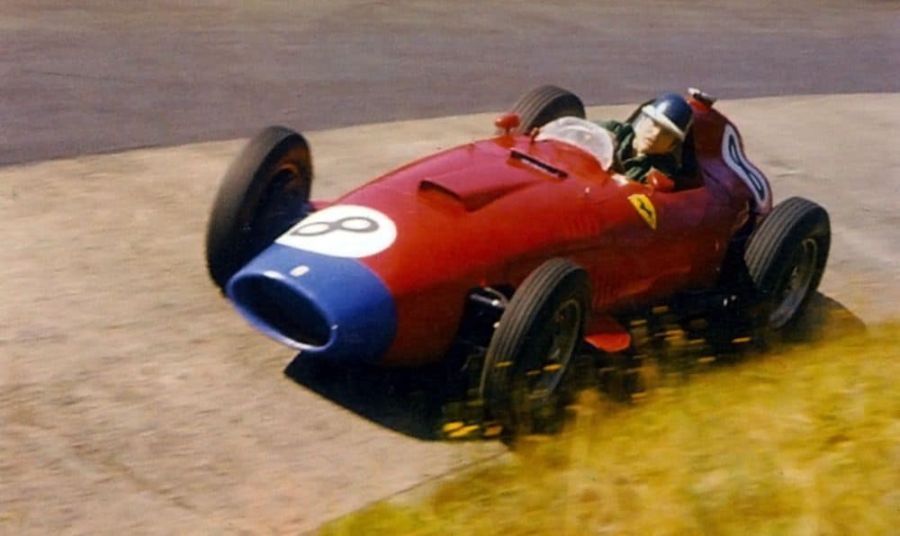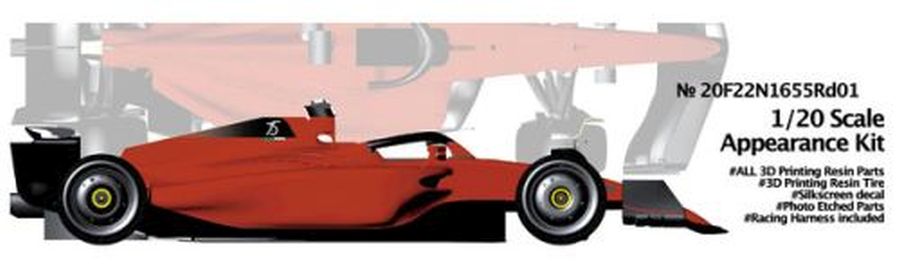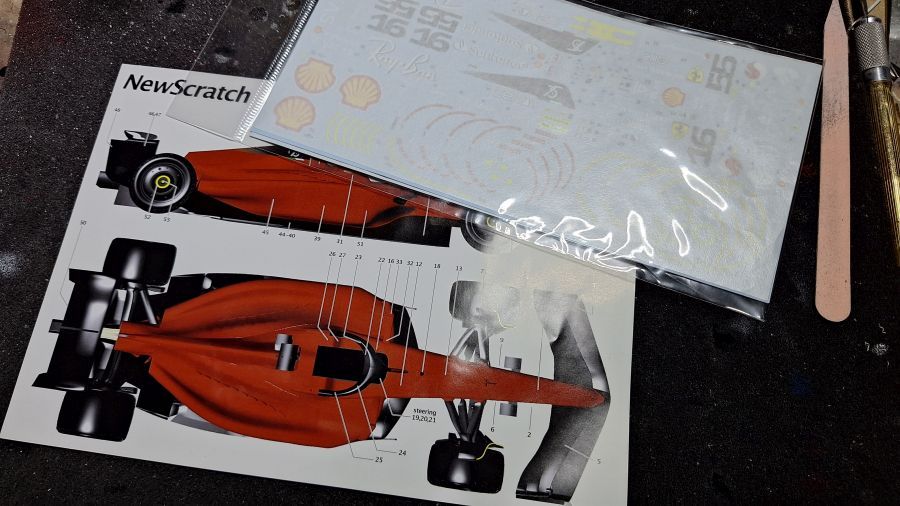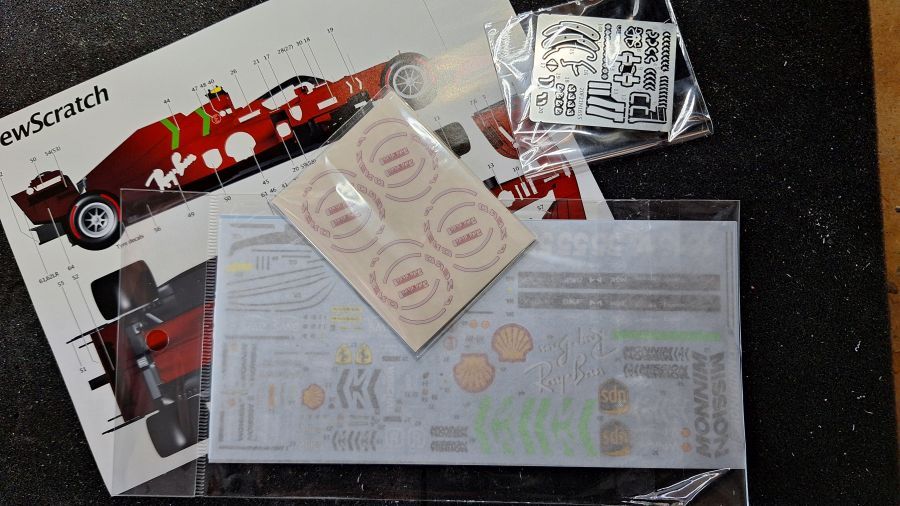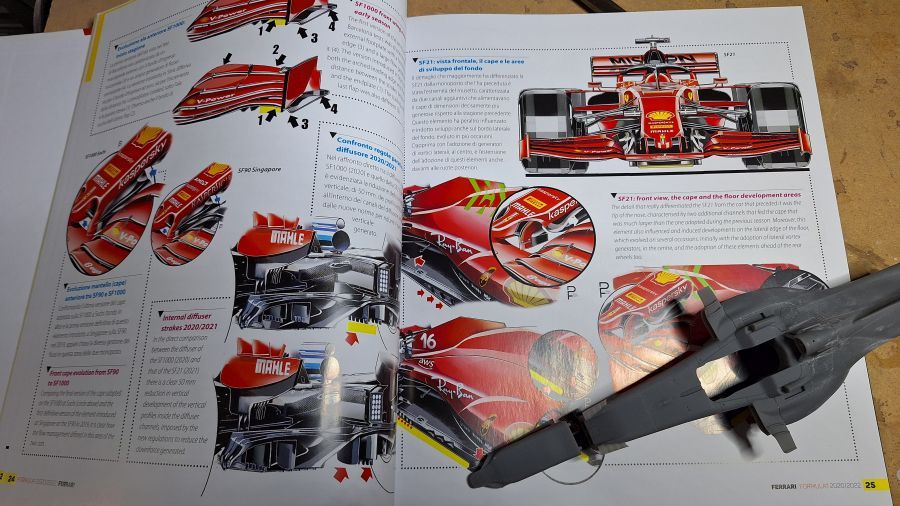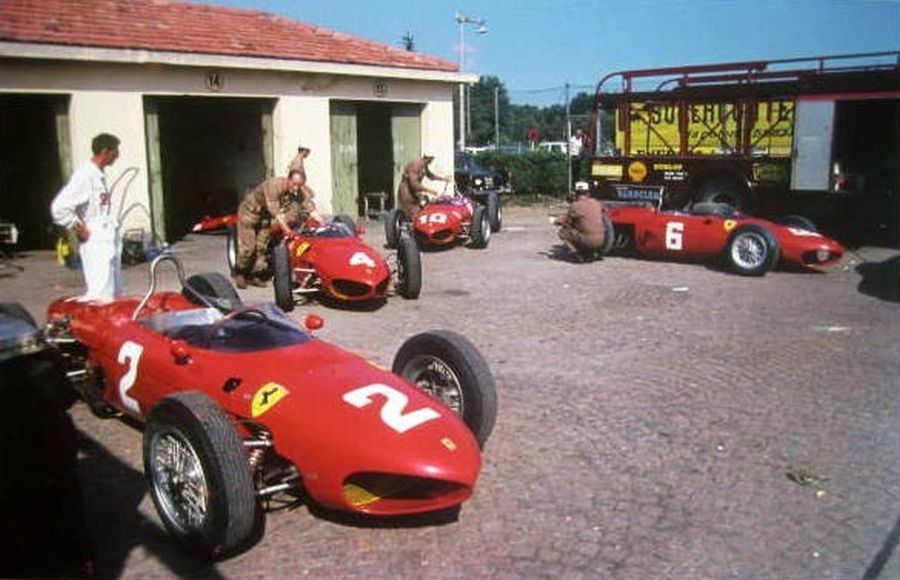
Op Facebook heb ik bestanden gevonden van een 1961-1962 Ferrari 156 Sharknose. Het zijn bestanden van Bilingham Design. Sebas heeft ze geprint in schaal 1/24. Daar ga ik mee aan de gang. Ik mis nog wat onderdelen, maar Sebas gaat die alsnog printen. Kijken wat het wordt.
On Facebook i found files of a 1961-1962 Ferrari 156 Sharknose. It are files from Bilingham Design. Sebas printed them in scale 1/24. I am going to work on this. I am still missing some parts, but Sebas will print these too. Let's see where this takes me.
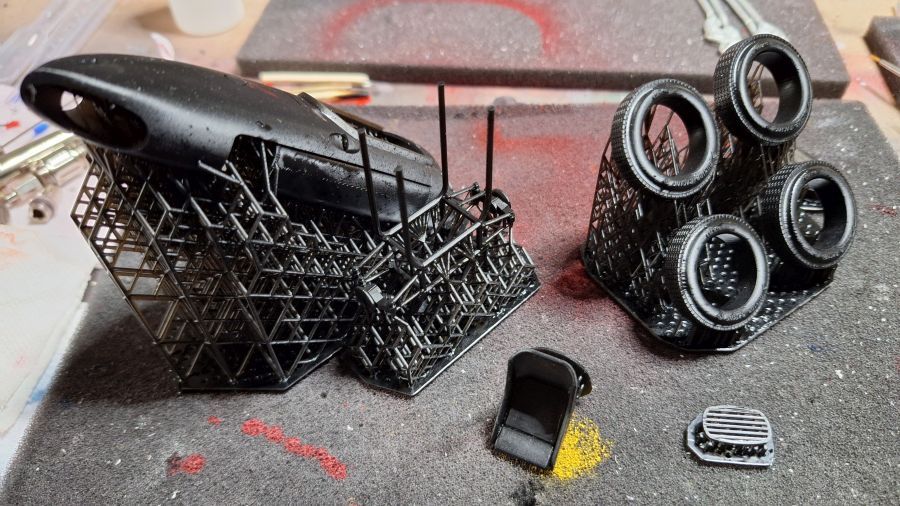
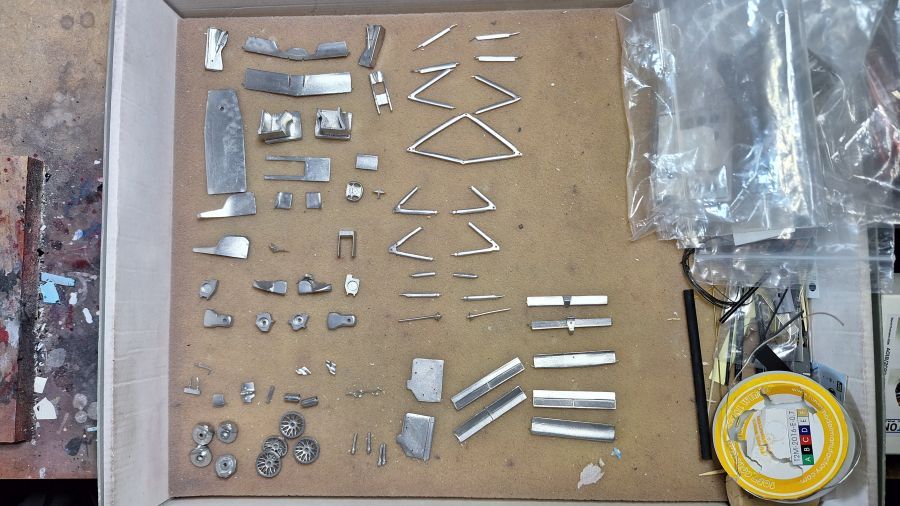
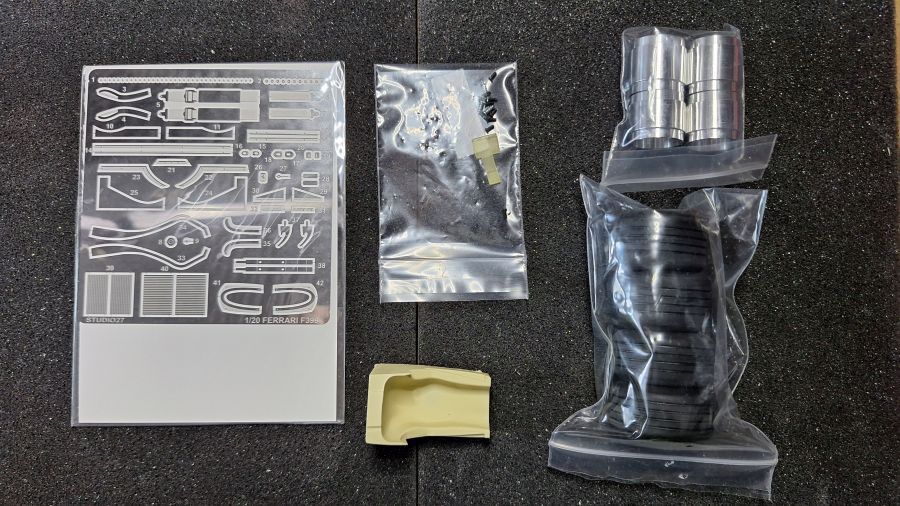
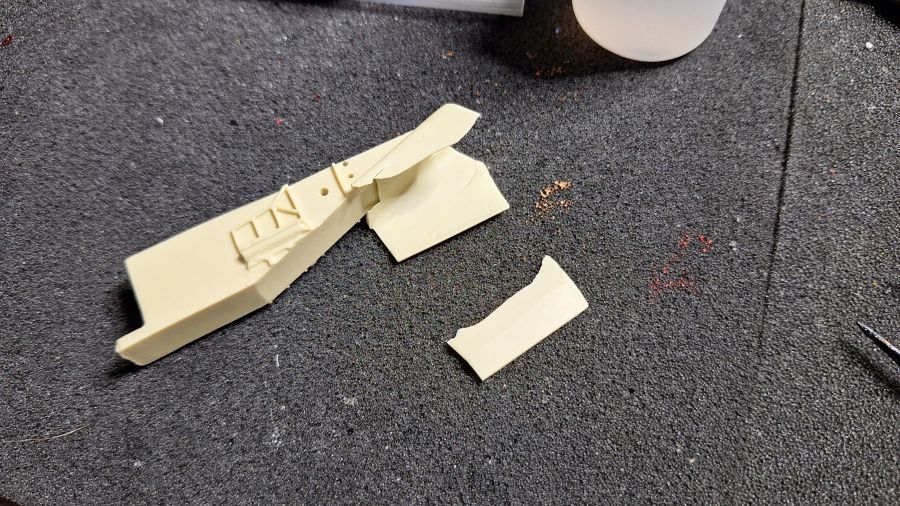
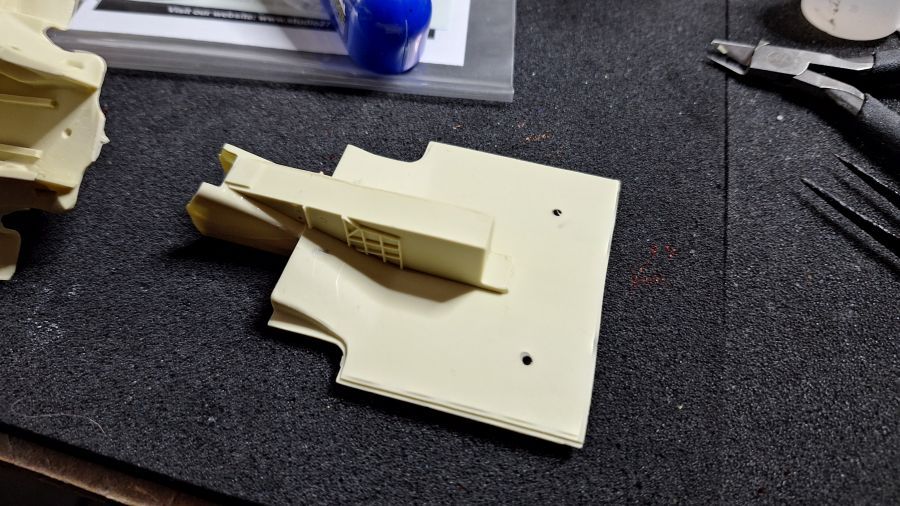
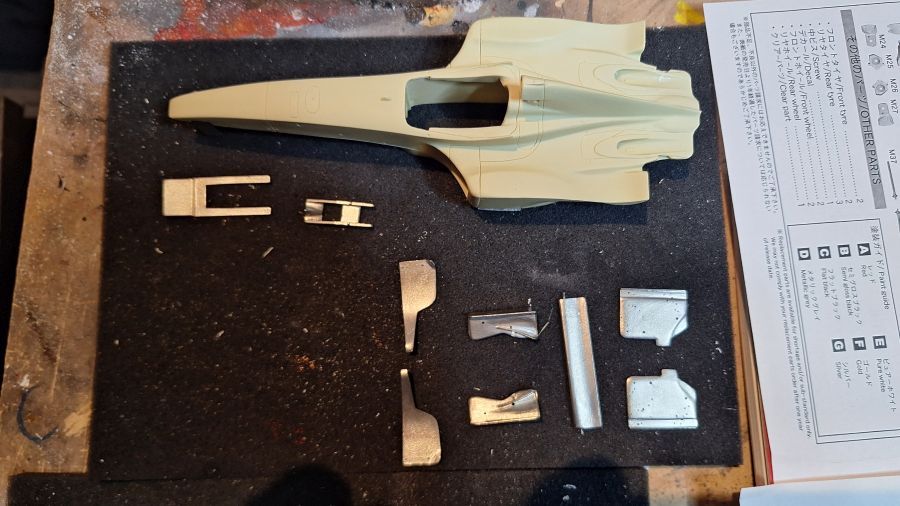
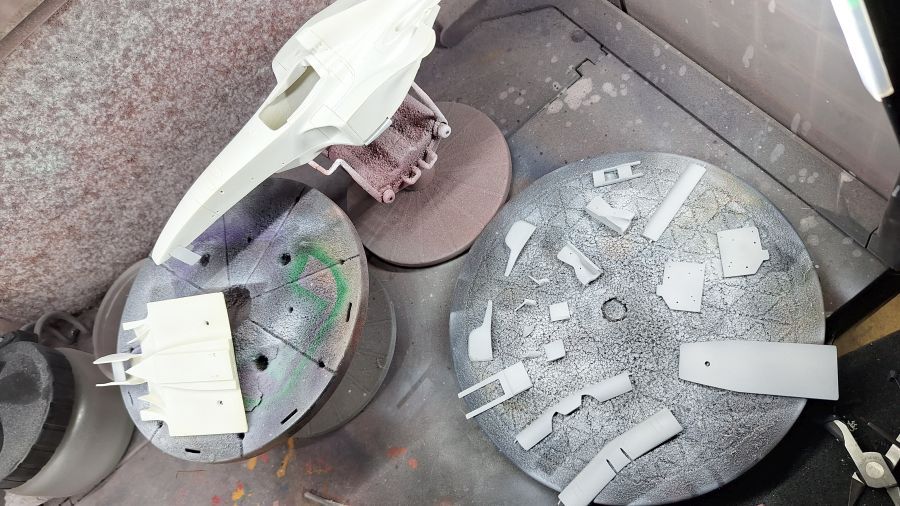
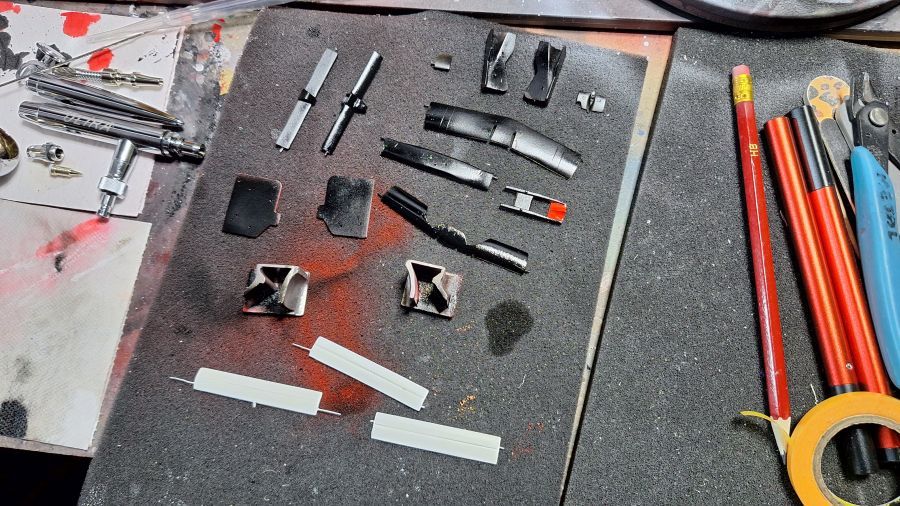
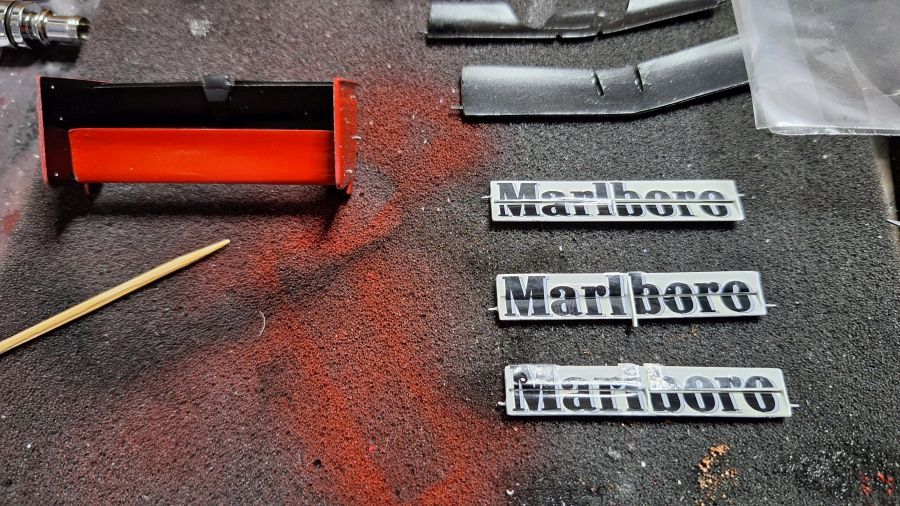
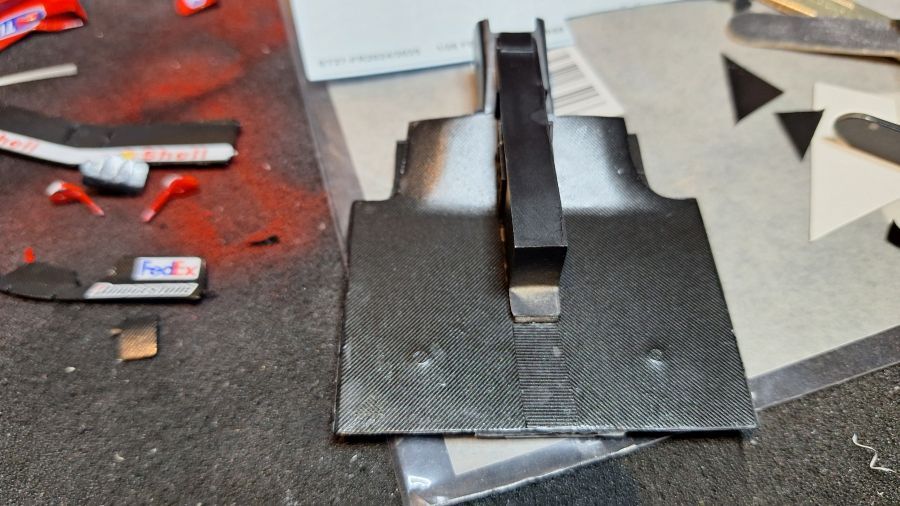
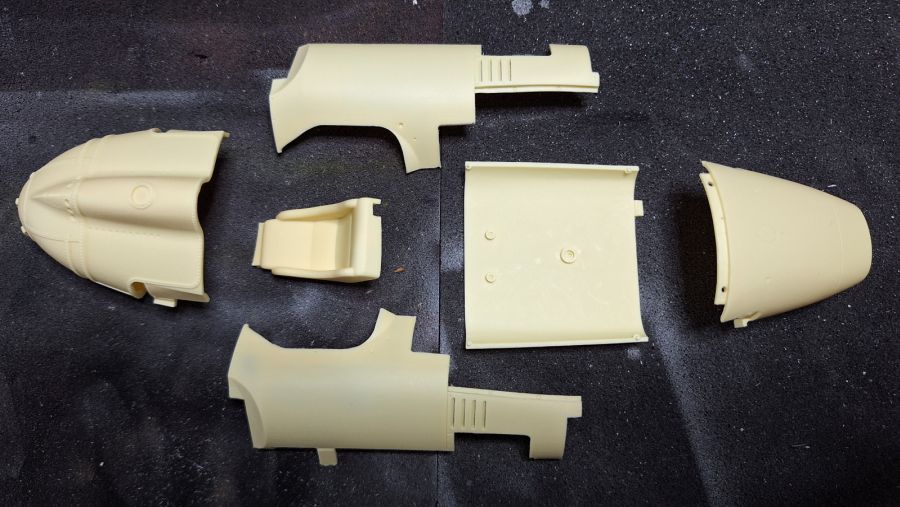
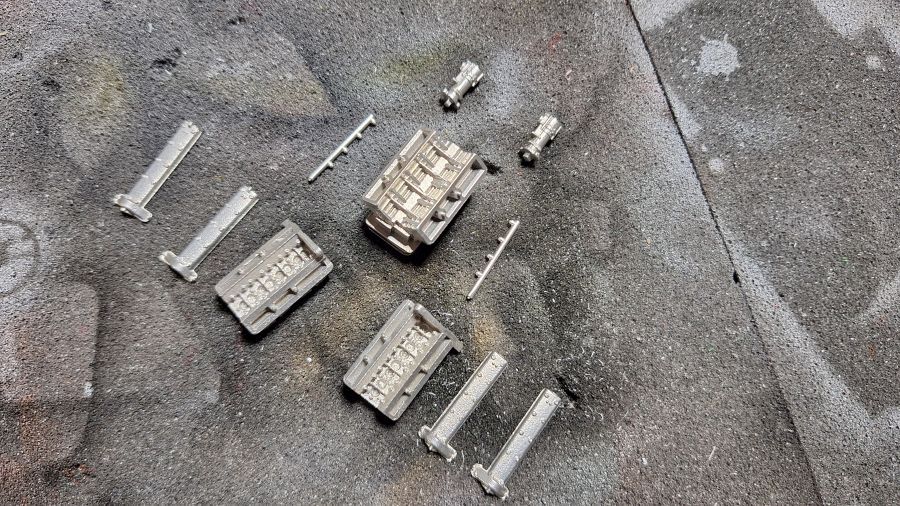
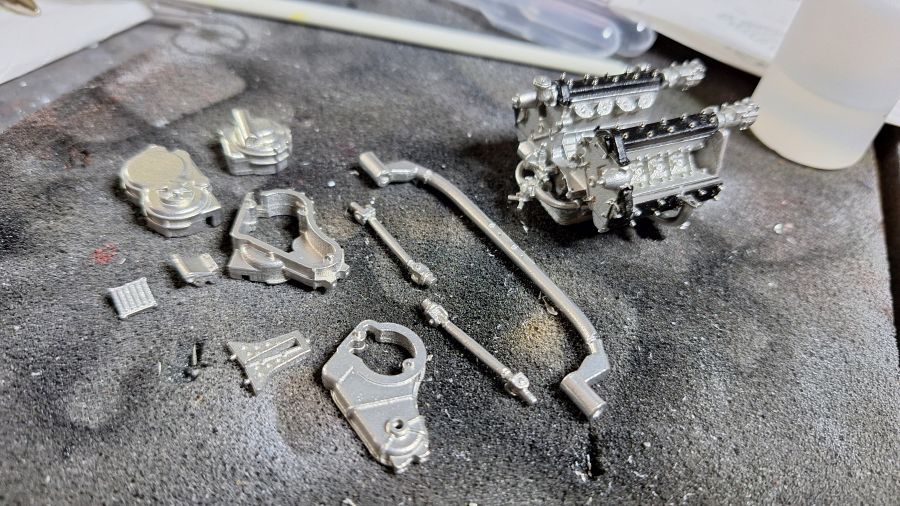
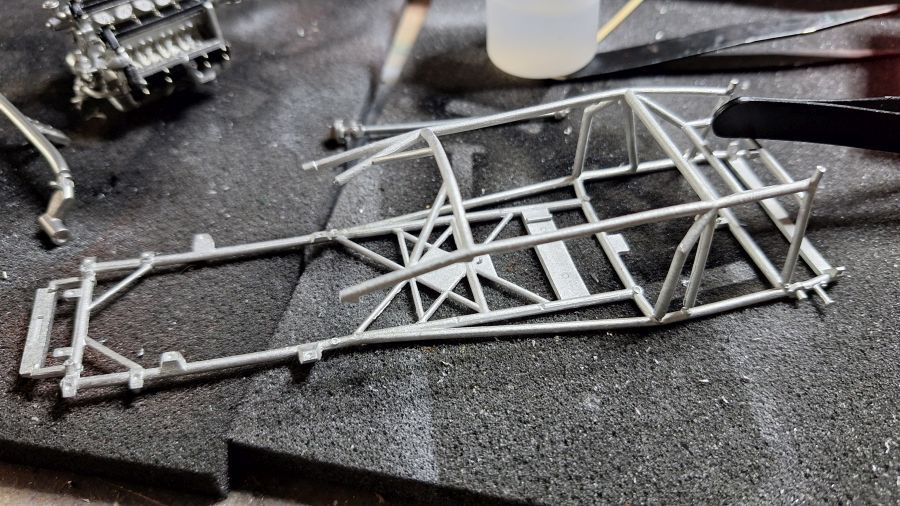
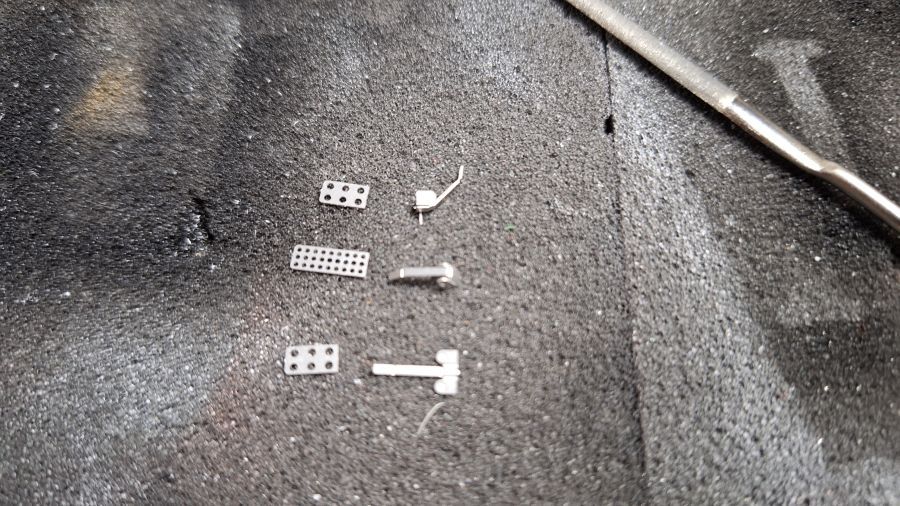
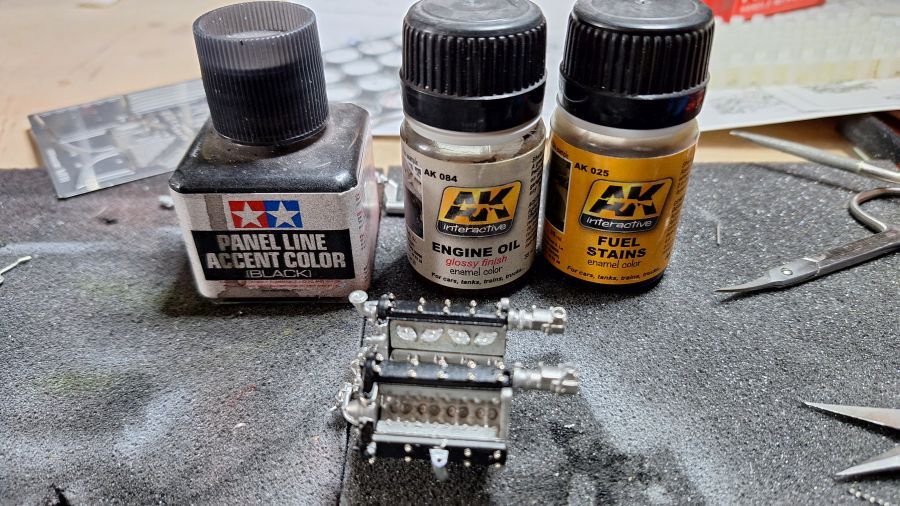
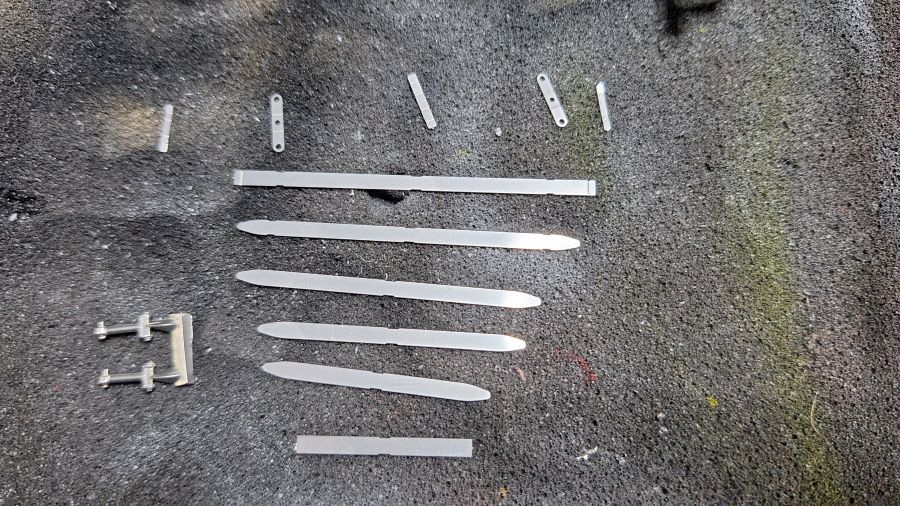
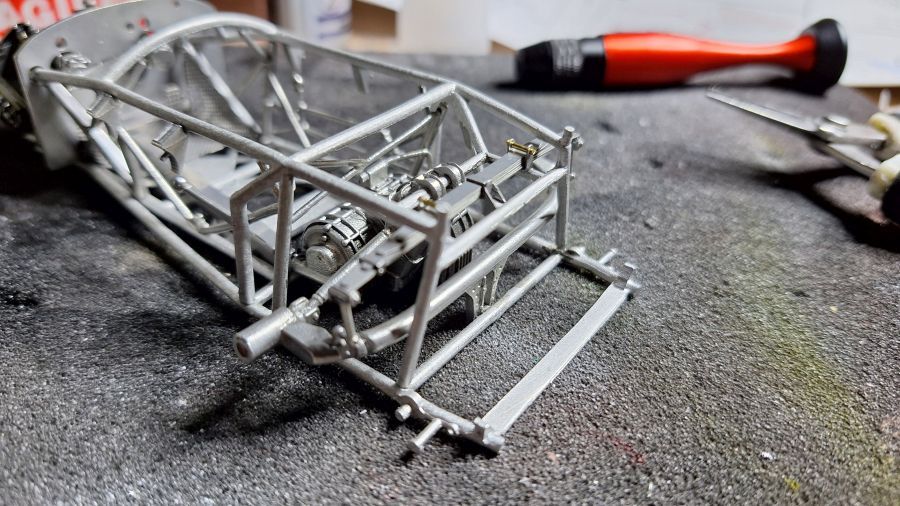
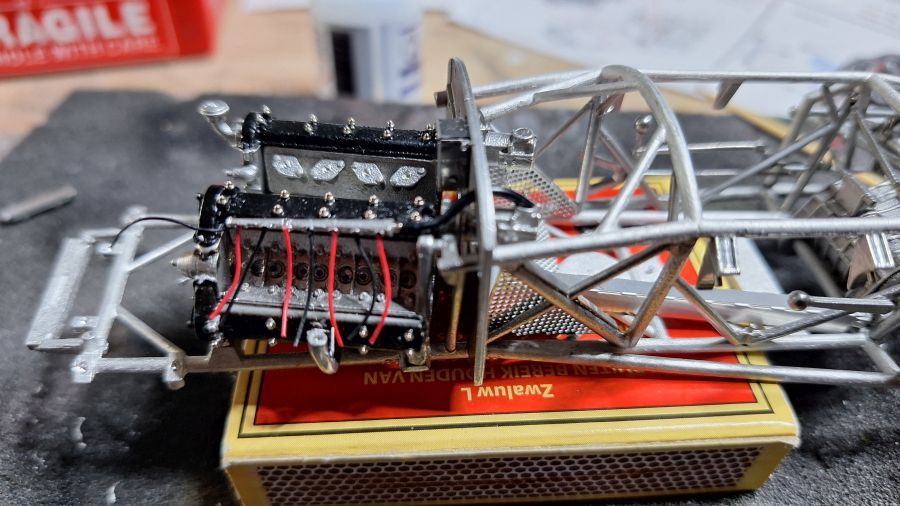
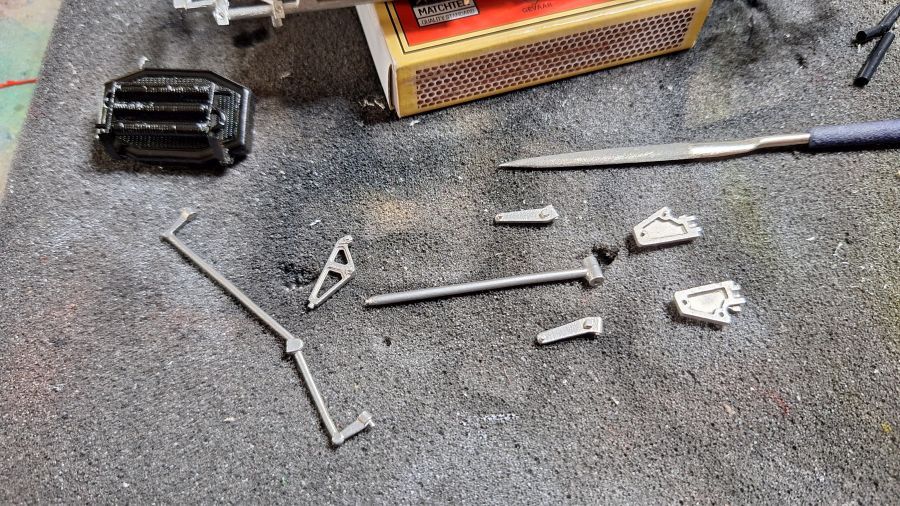
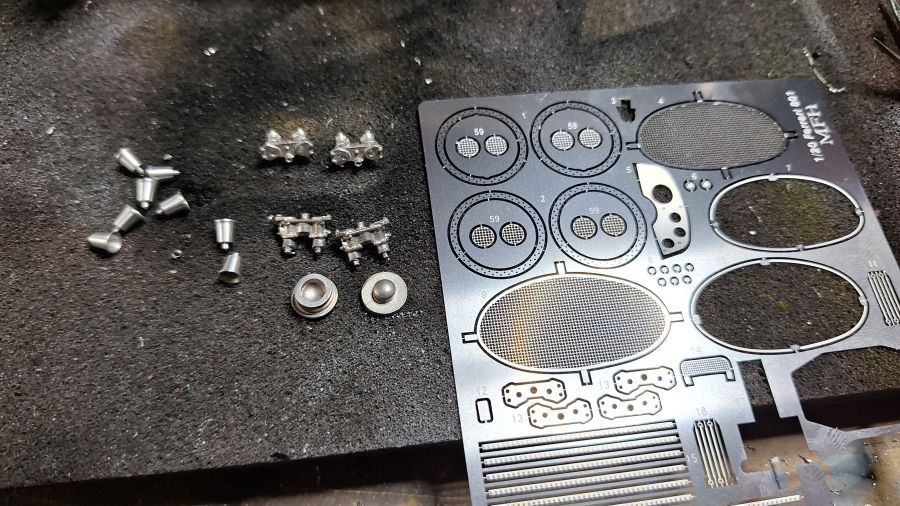
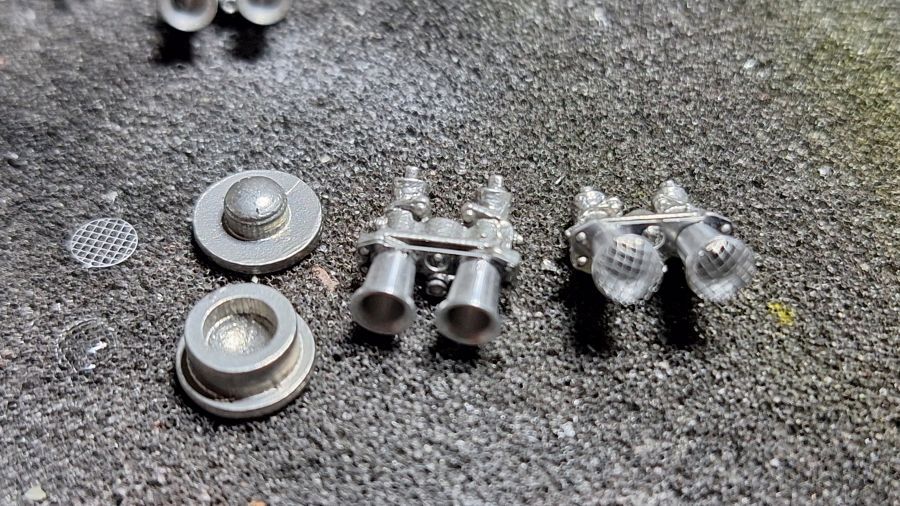
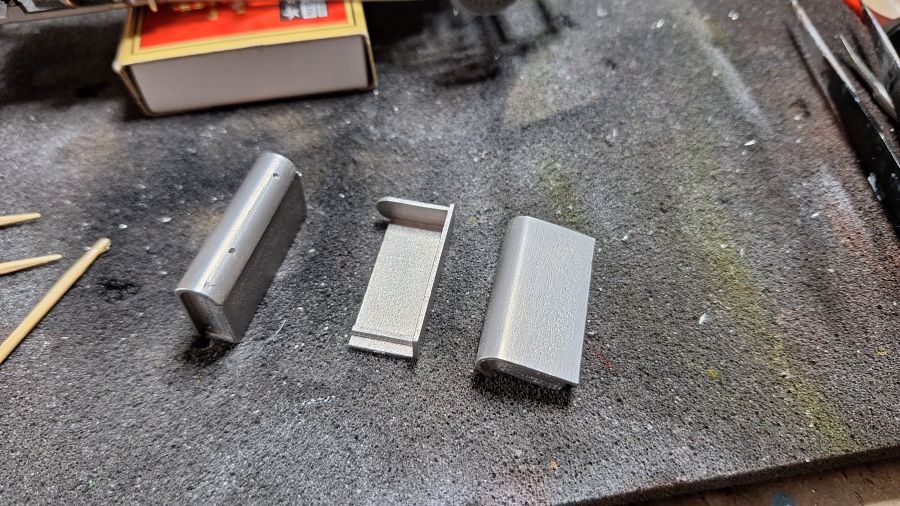
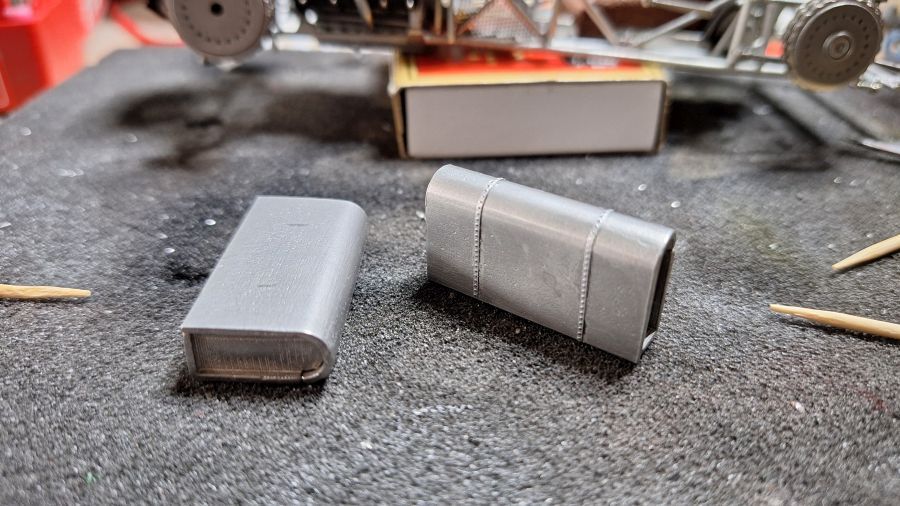
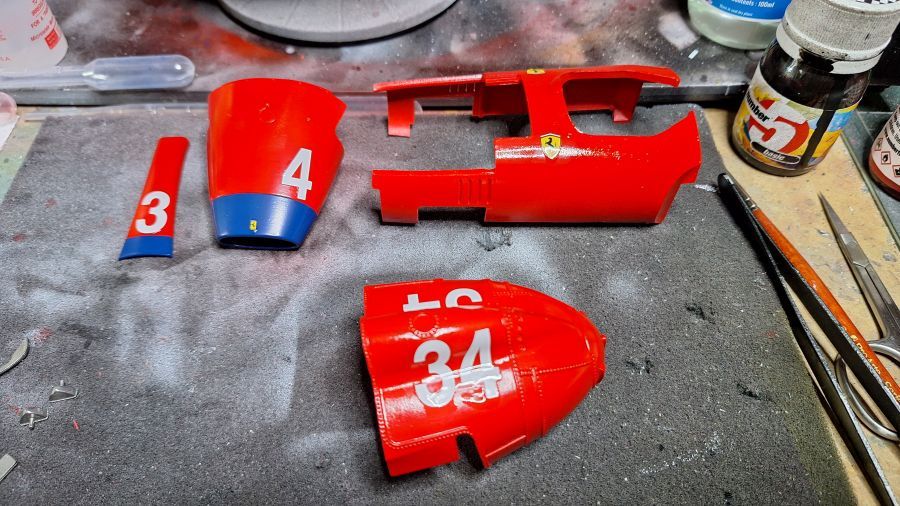
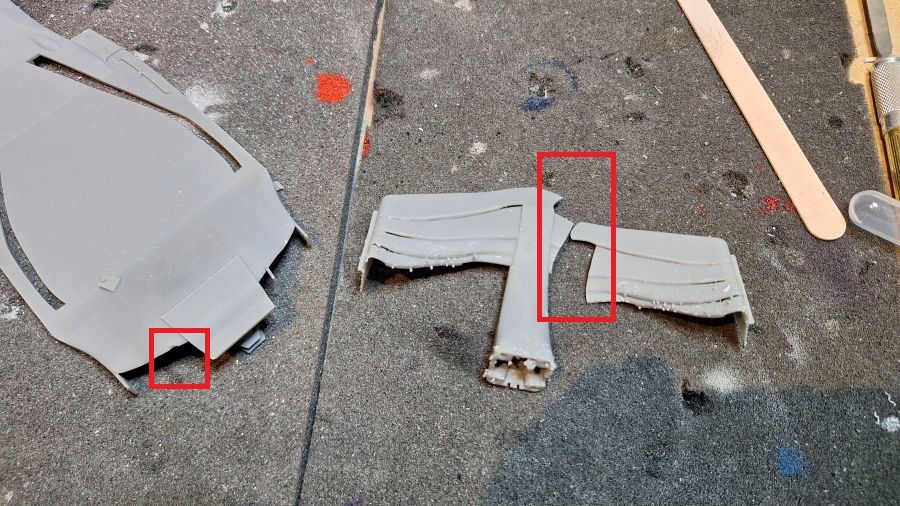
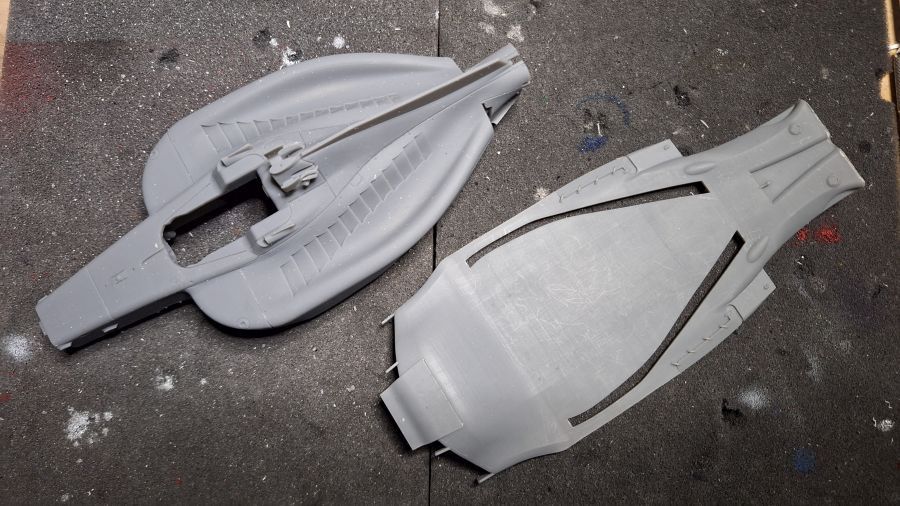
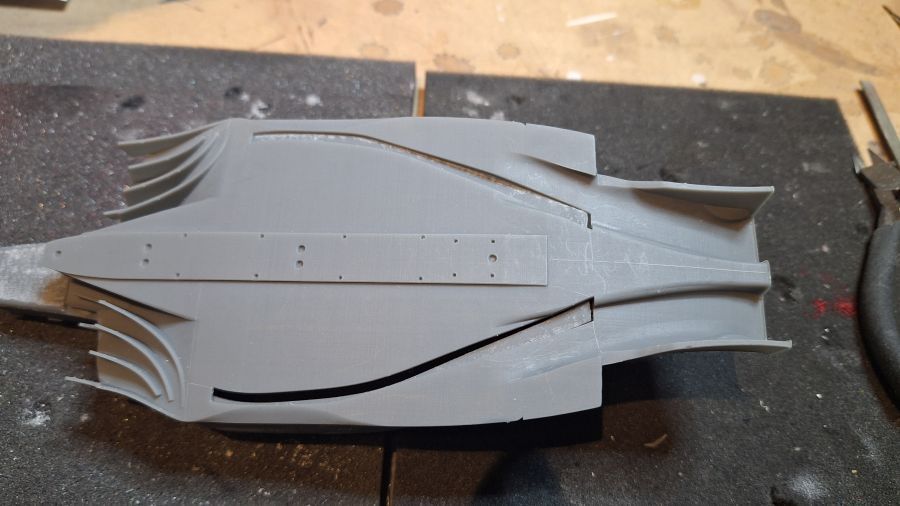
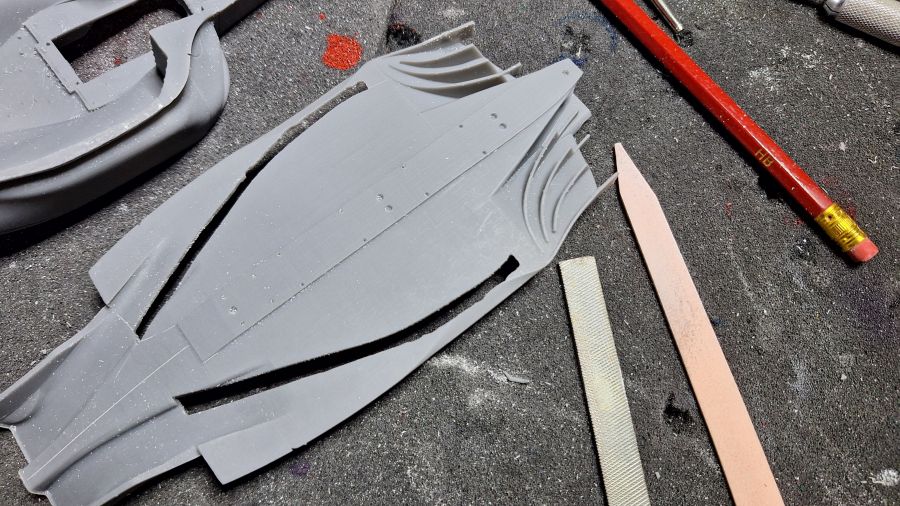
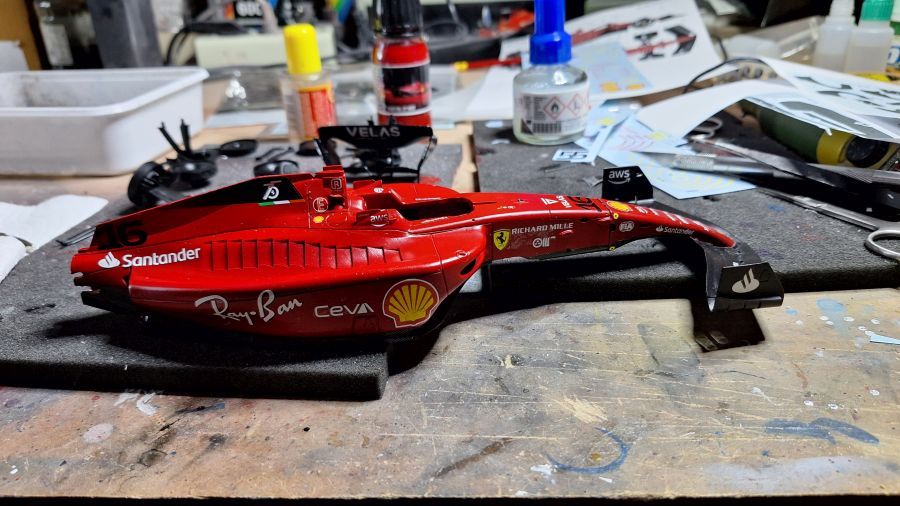
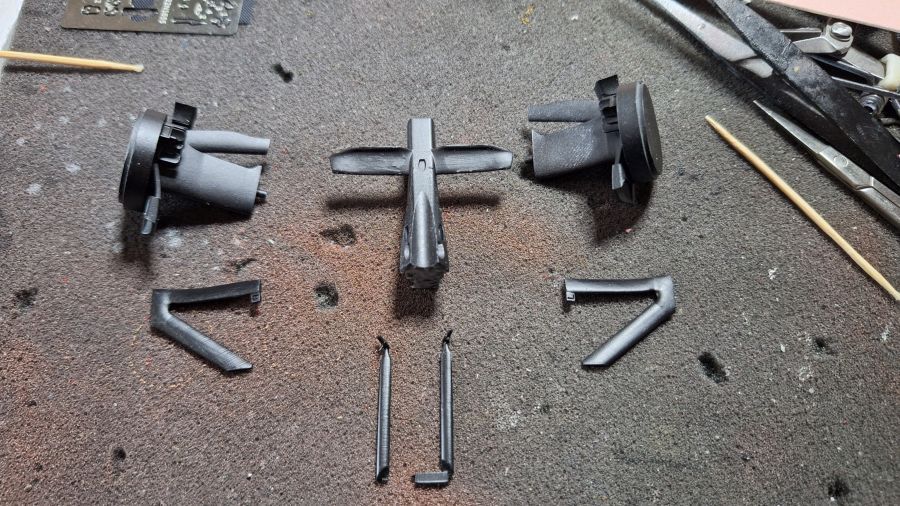
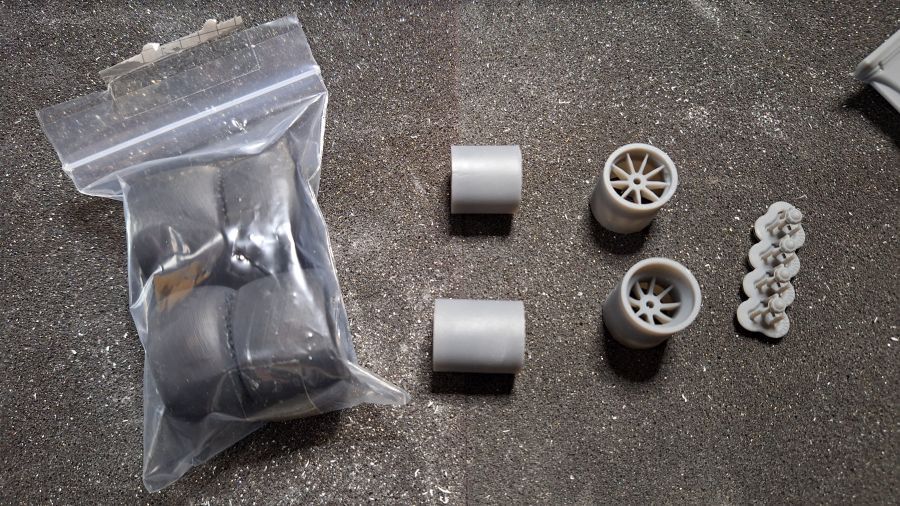
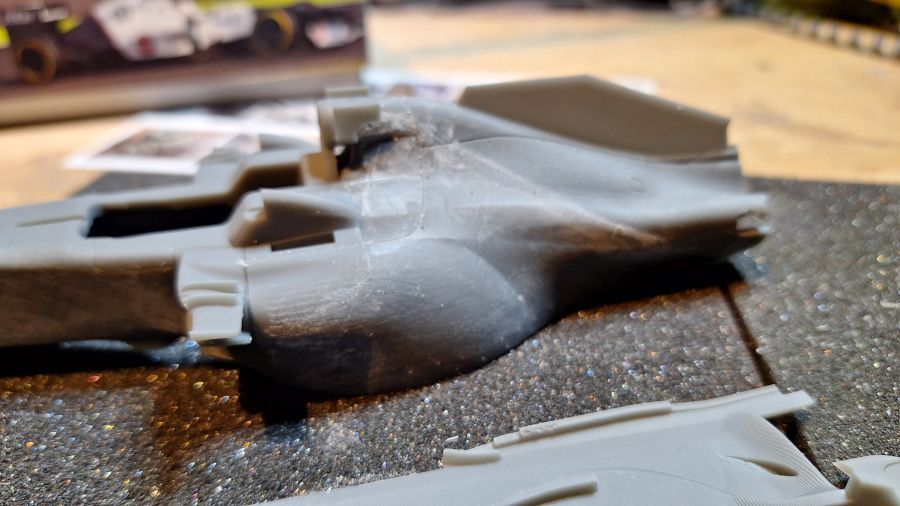
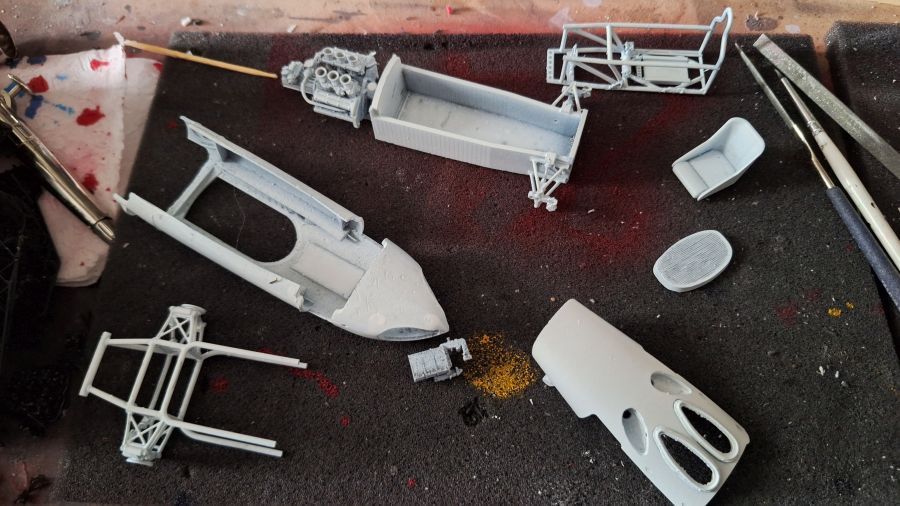
De laatste delen zijn nu ook binnen. De mallen voor het glas en de scoops komen later.
The last parts are in too. The molds for the glass and scoops will come later.
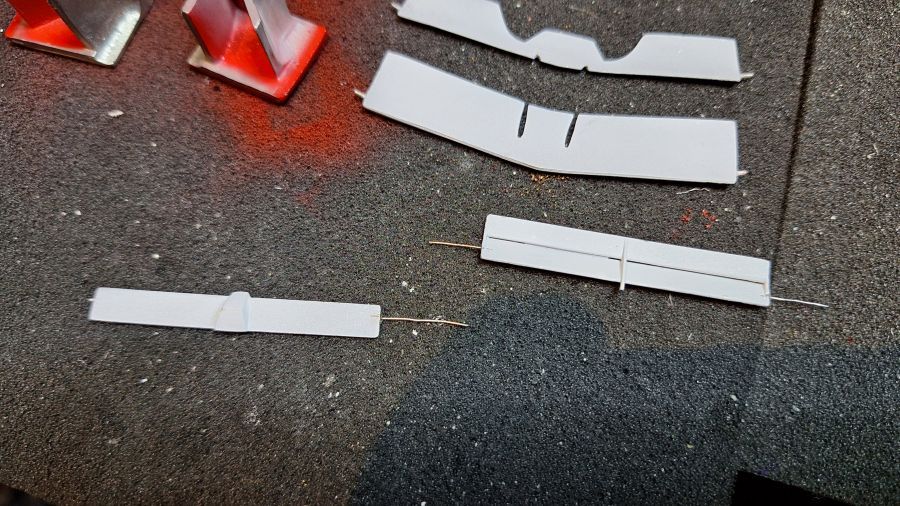
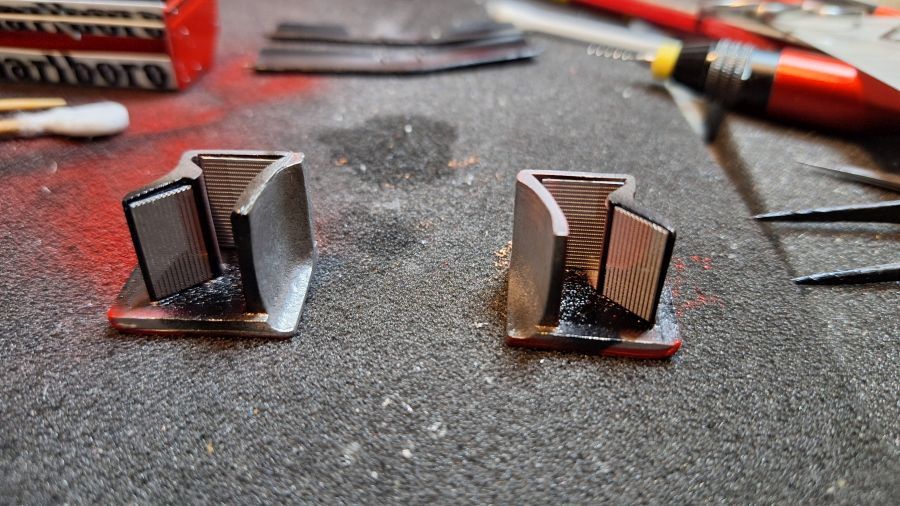
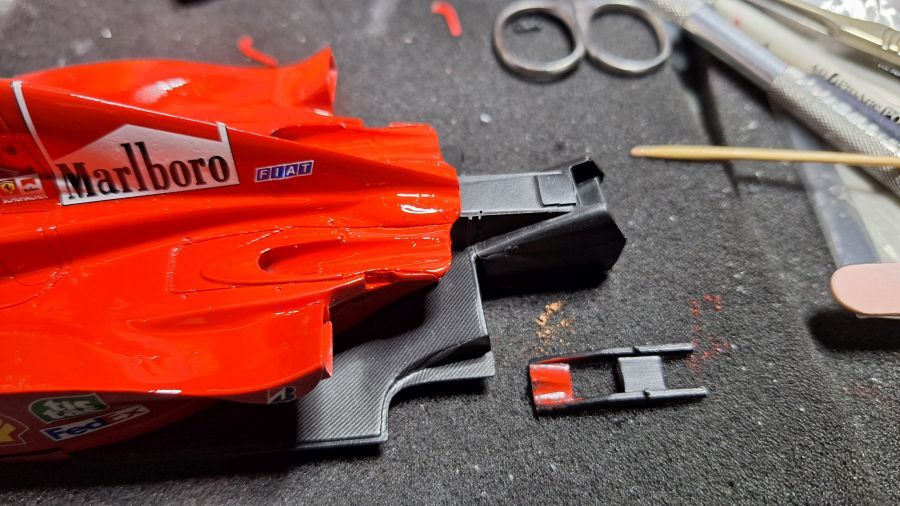
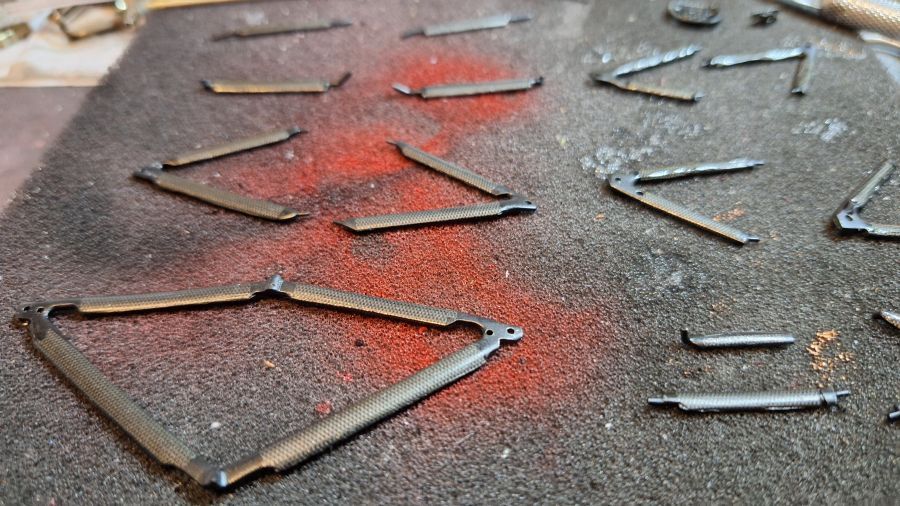
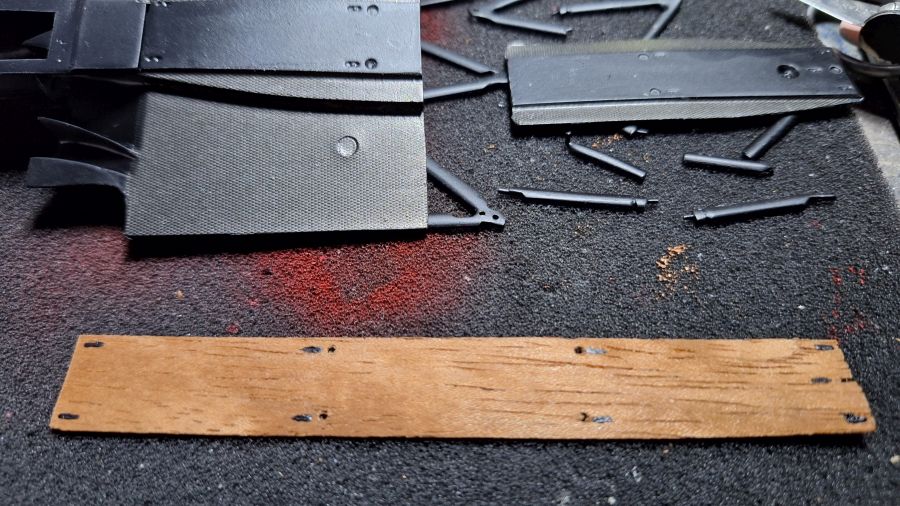
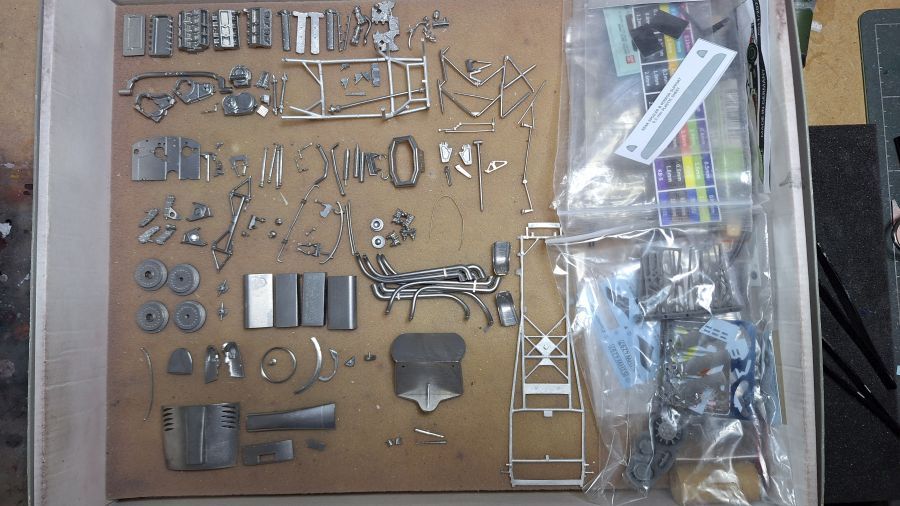
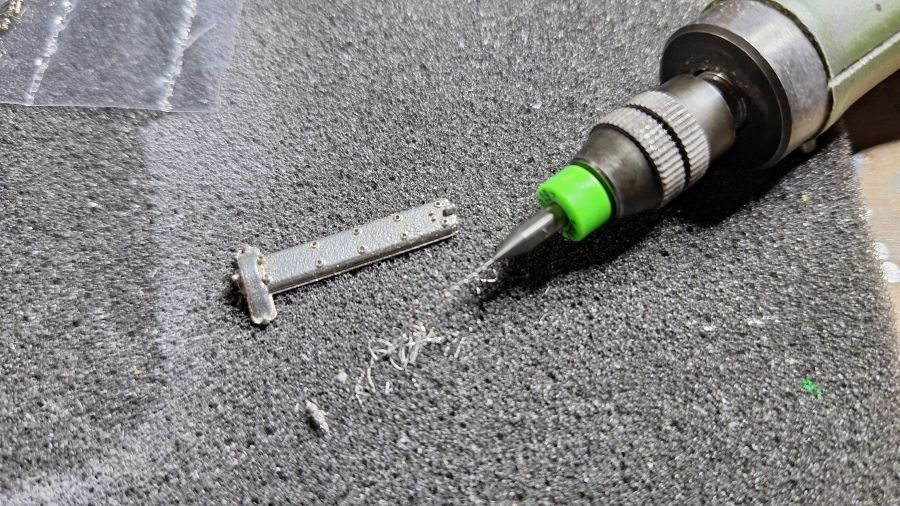
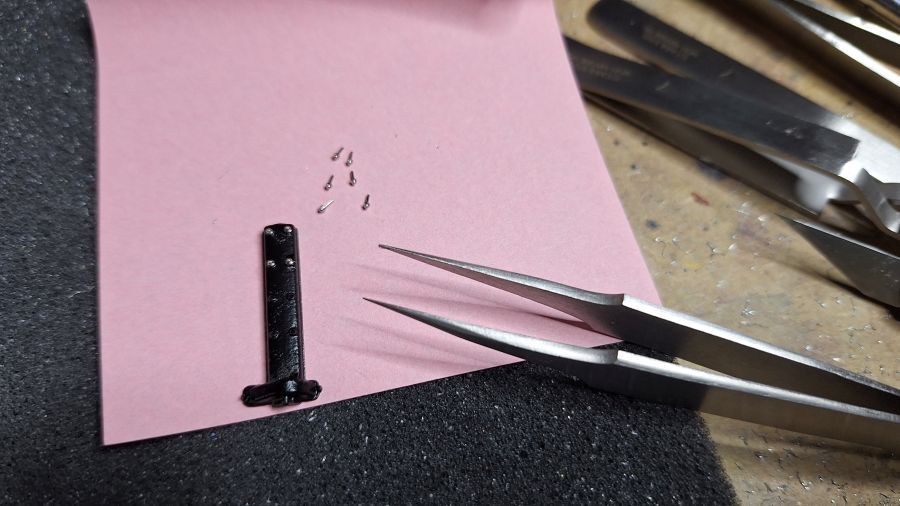
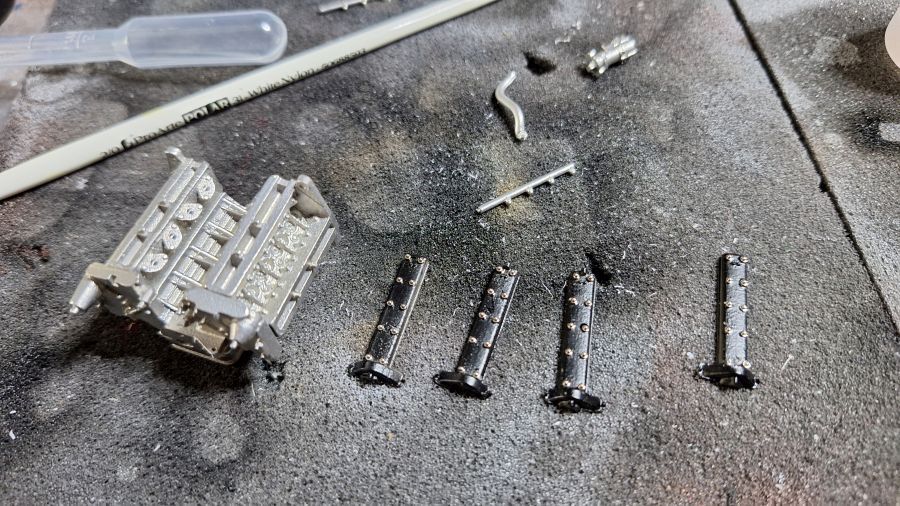
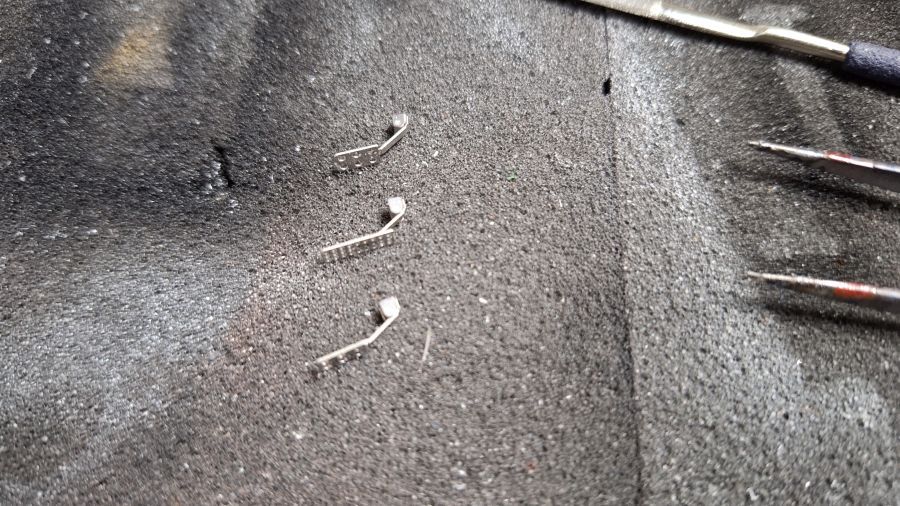
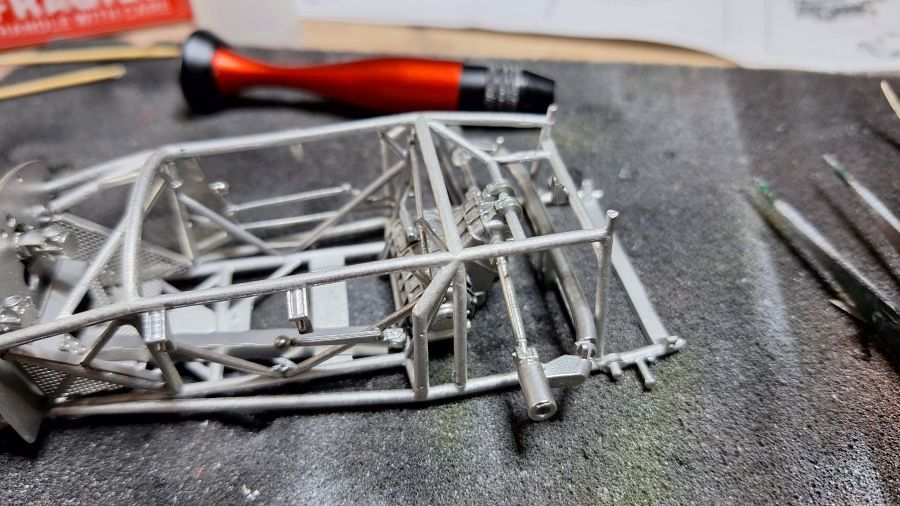
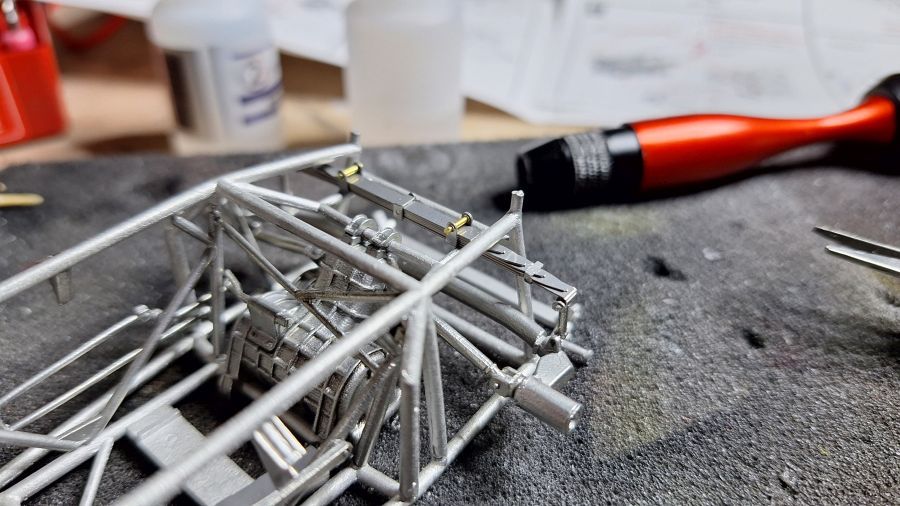
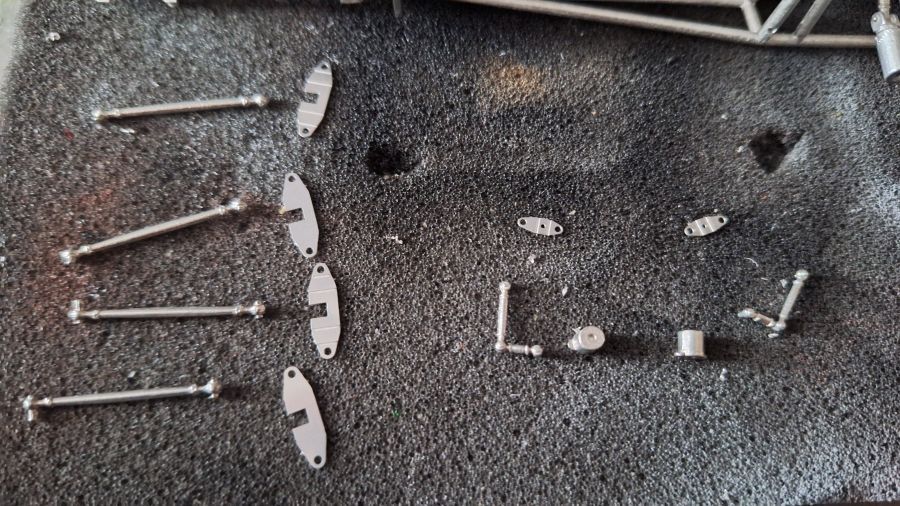
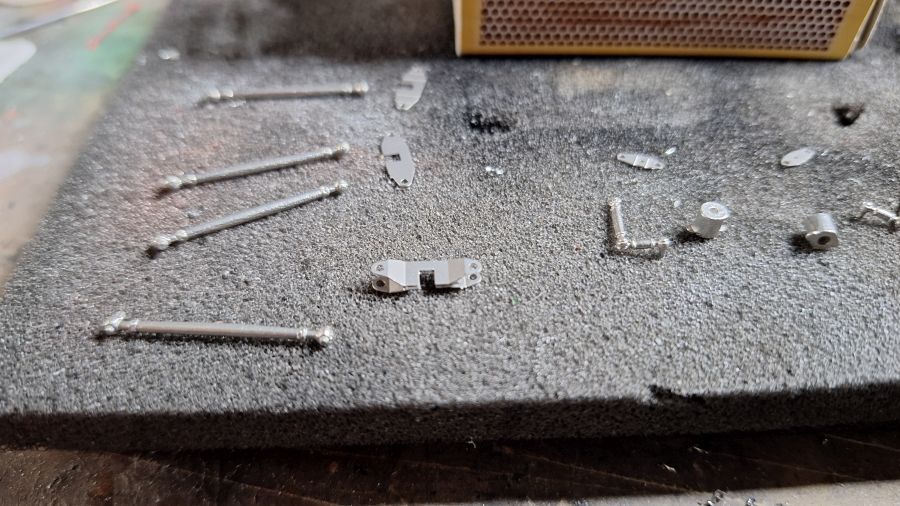
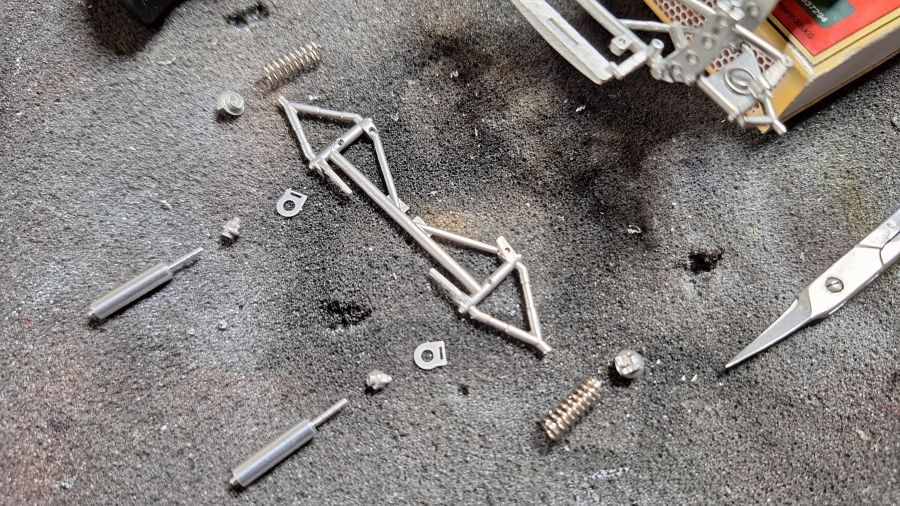
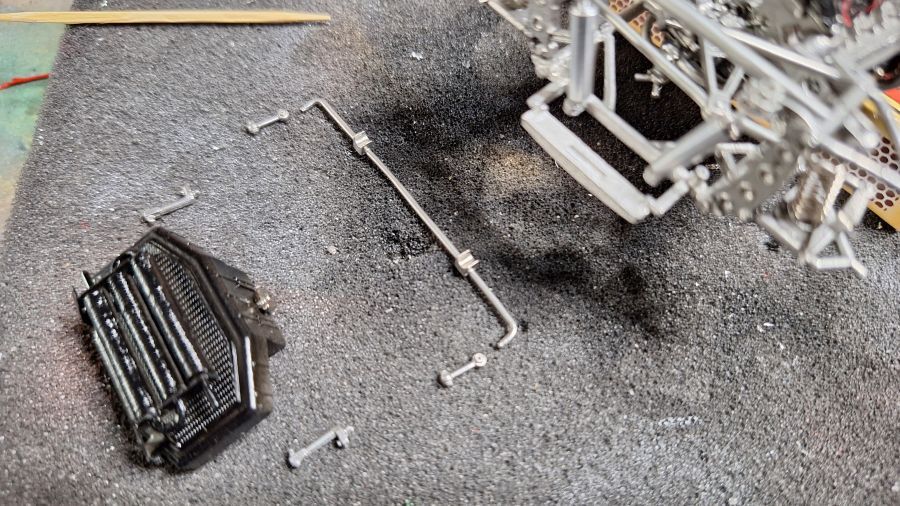
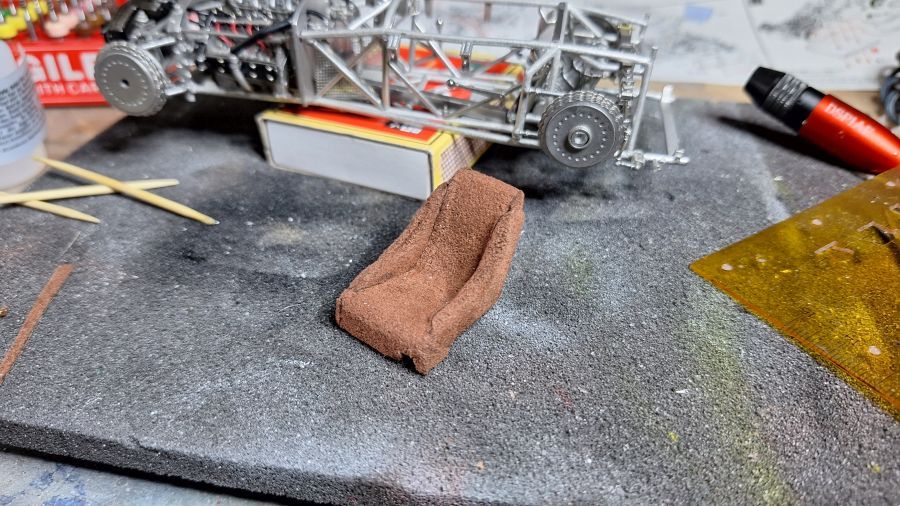
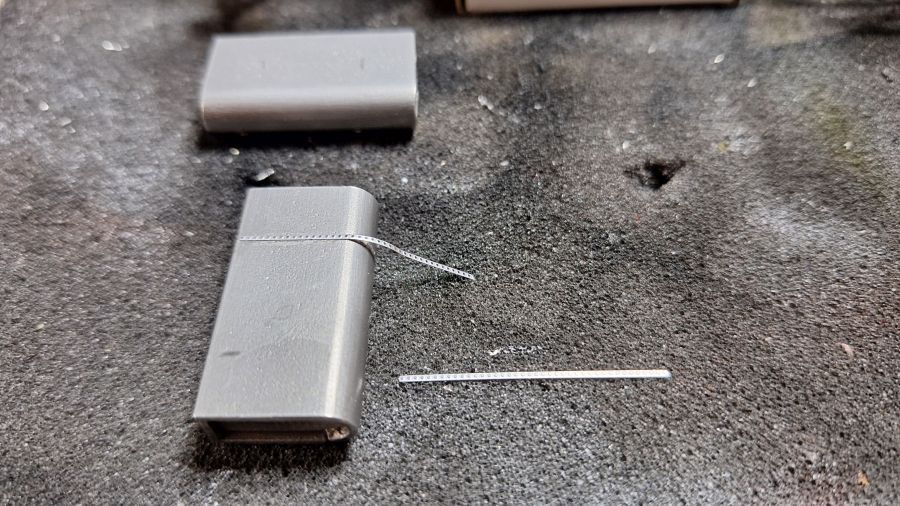
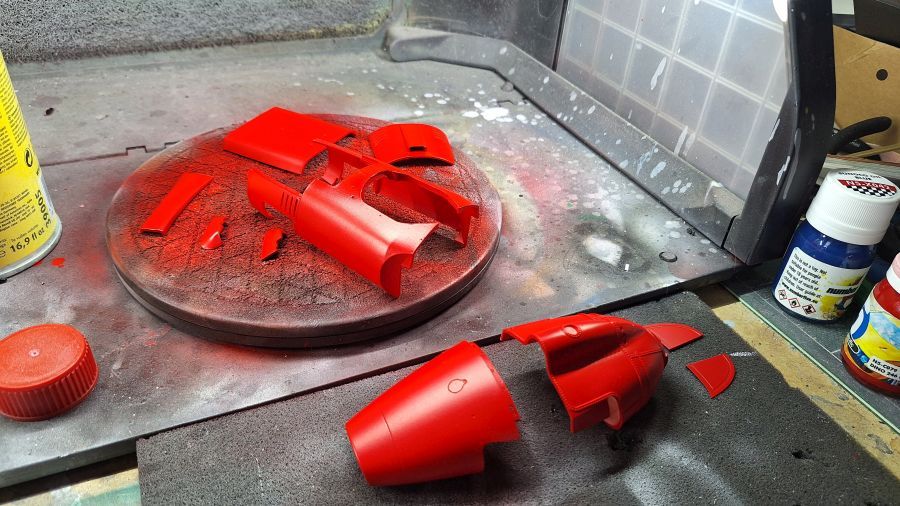
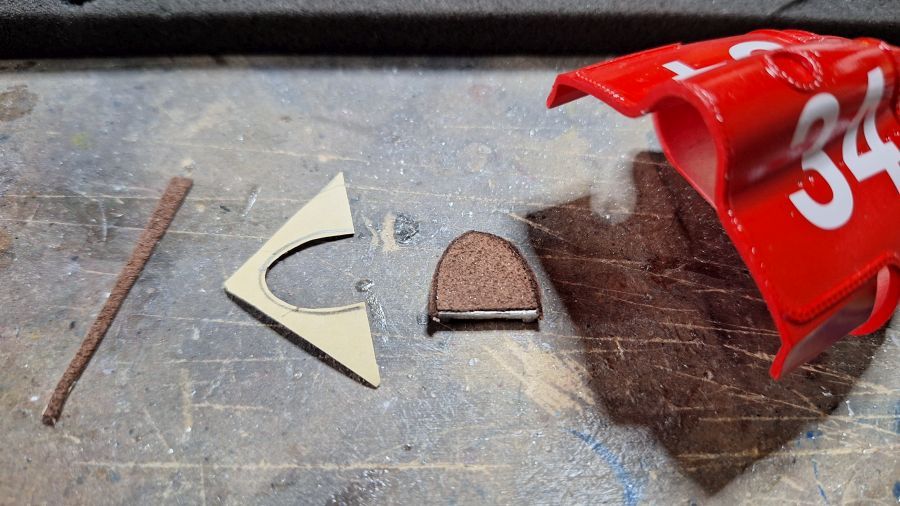
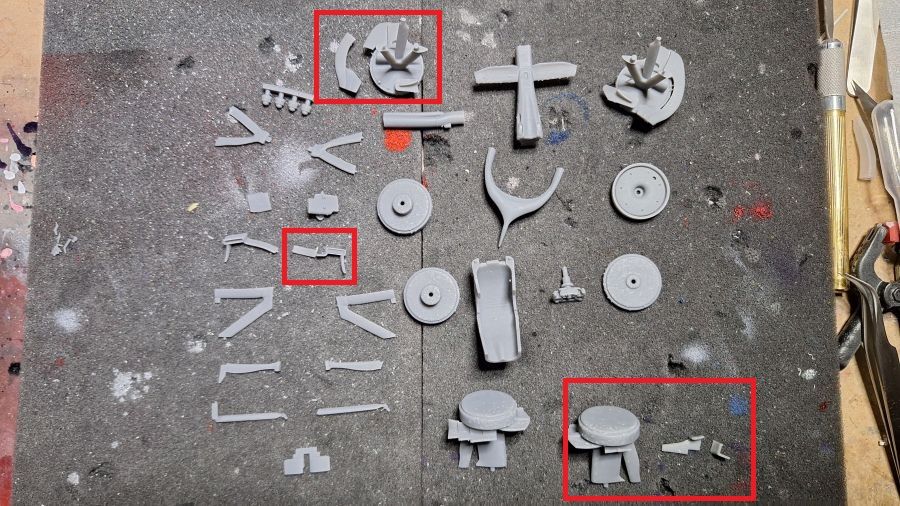
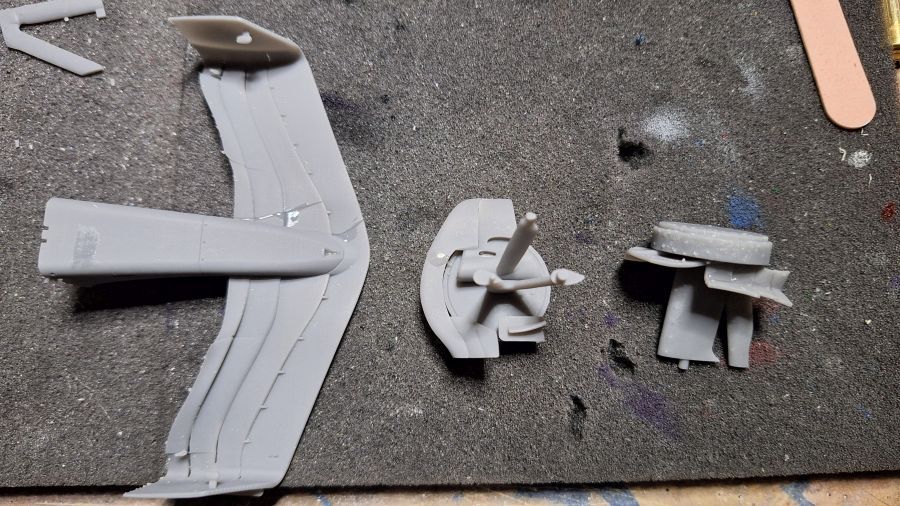
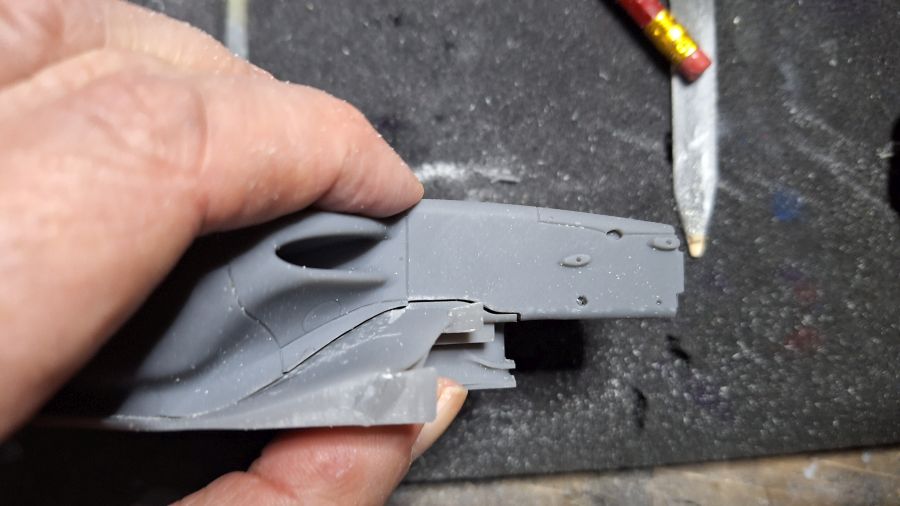
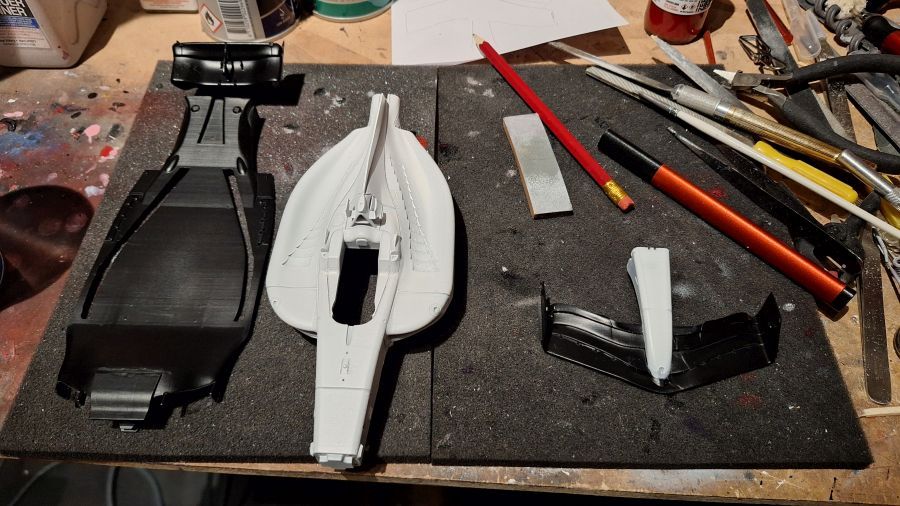
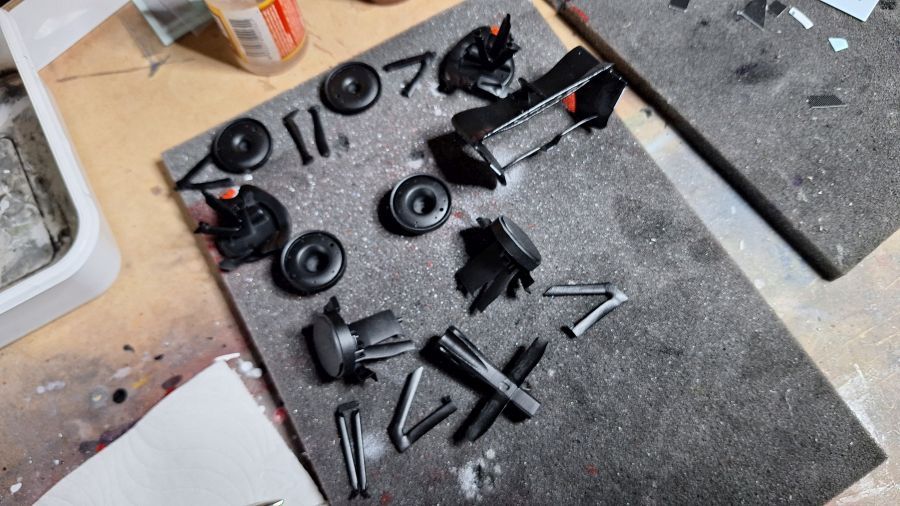
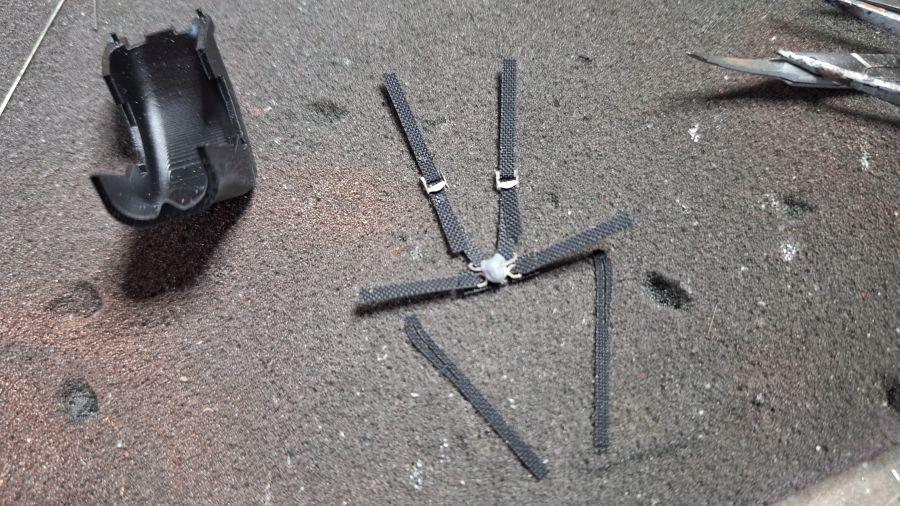
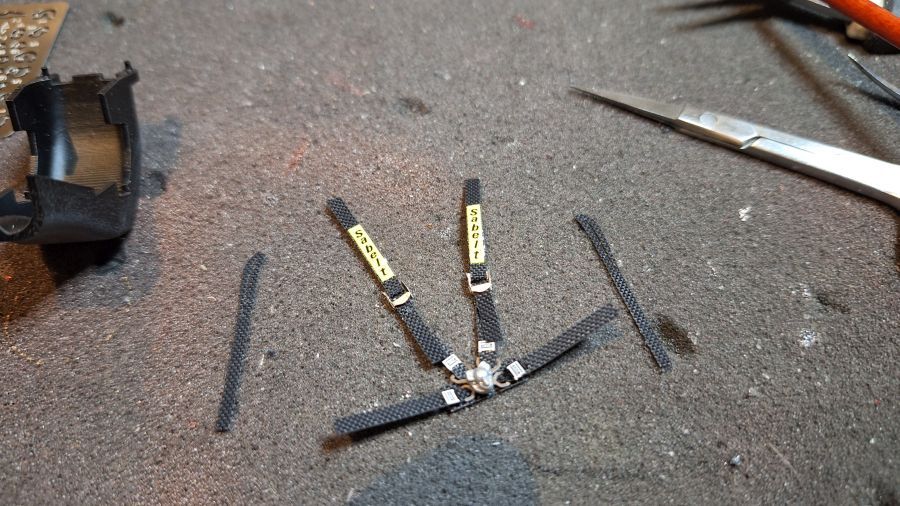
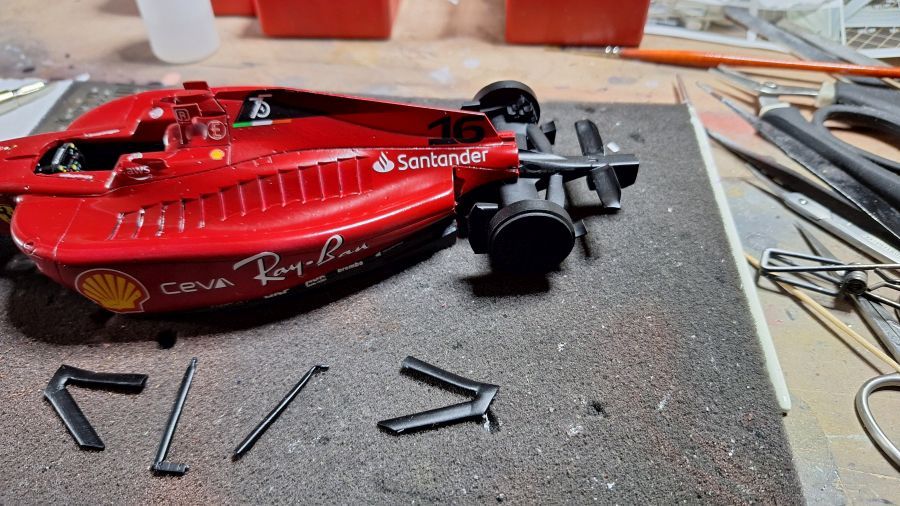
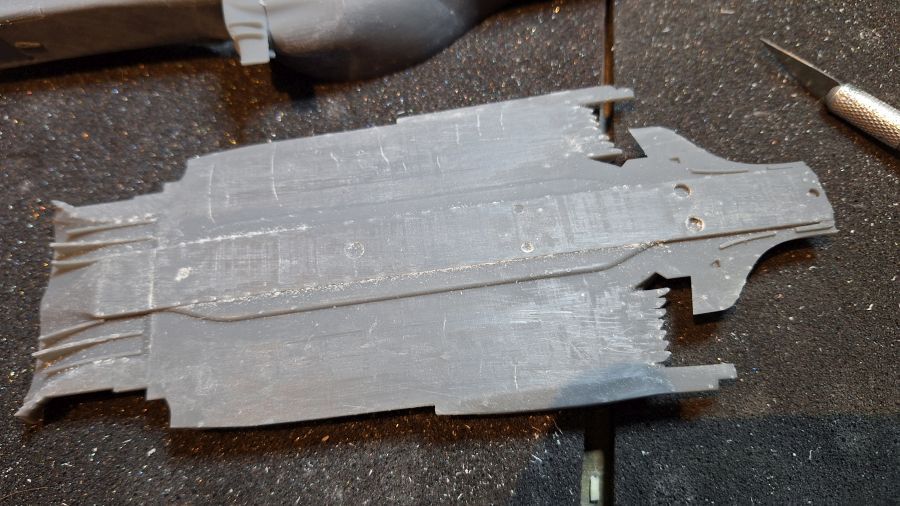
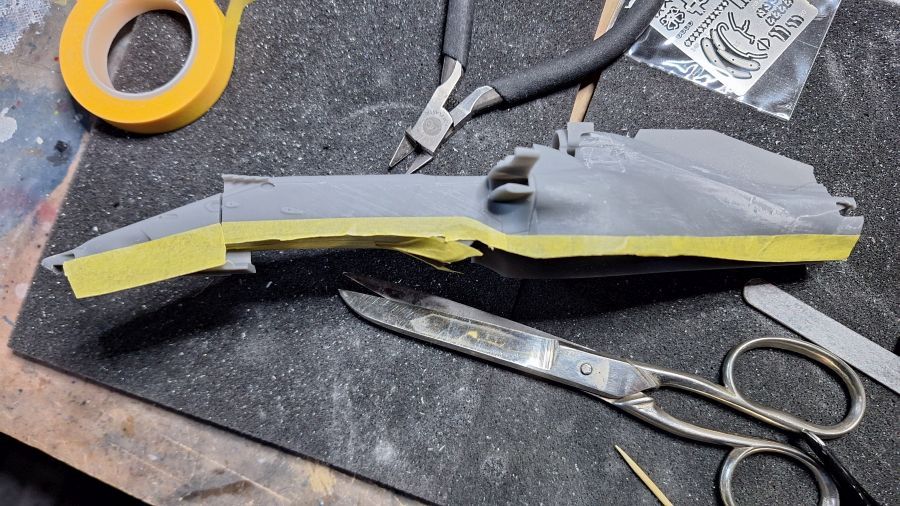
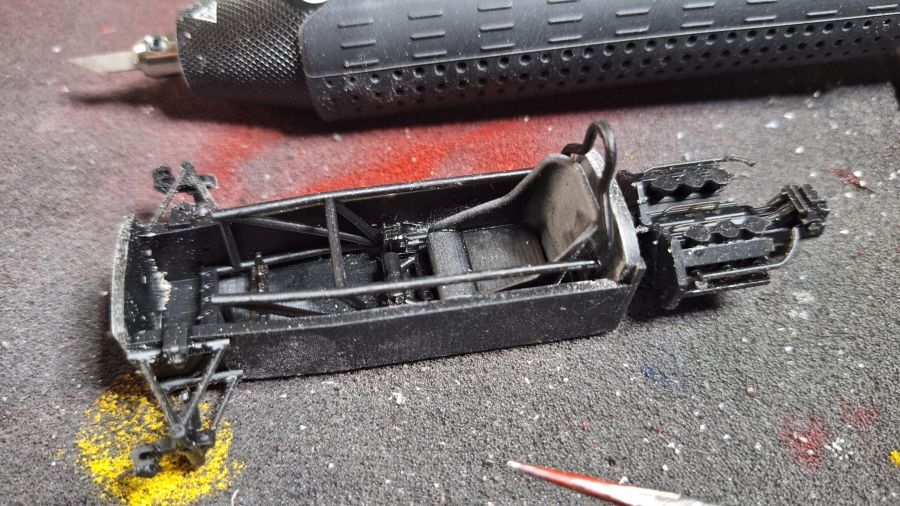
Alles losgesneden met het ultrasonisch mes. Een horror werk. omdat alles zeer klein is. Je kunt soms niet zien waar je snijdt.
Cut everything with the ultrasonic knife. A horror job, because everything is so small. You can hardly see where you are cutting.
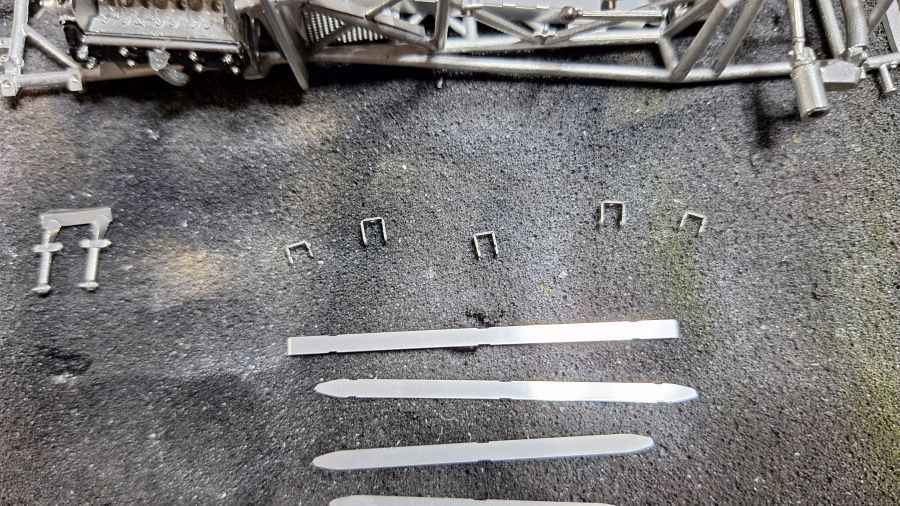
De laatste delen zijn nu ook binnen. De mallen voor het glas en de scoops komen later.
The last parts are in too. The molds for the glass and scoops will come later.

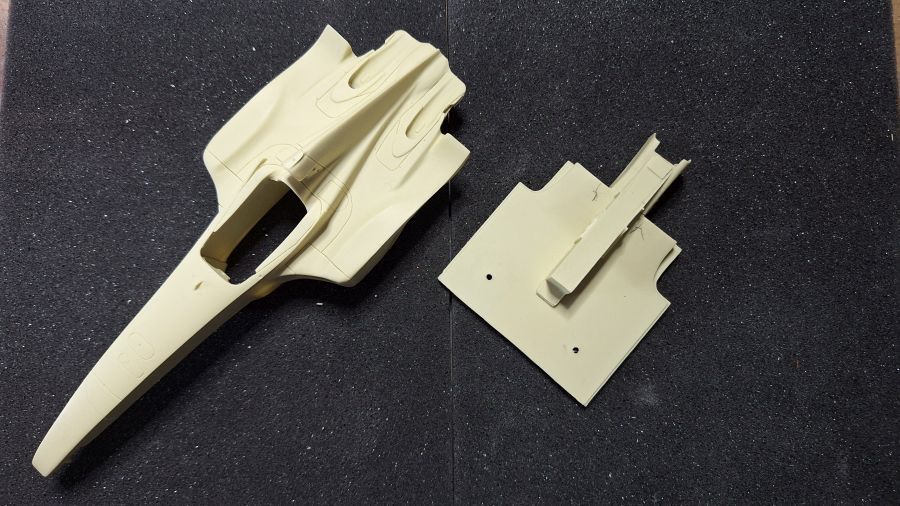
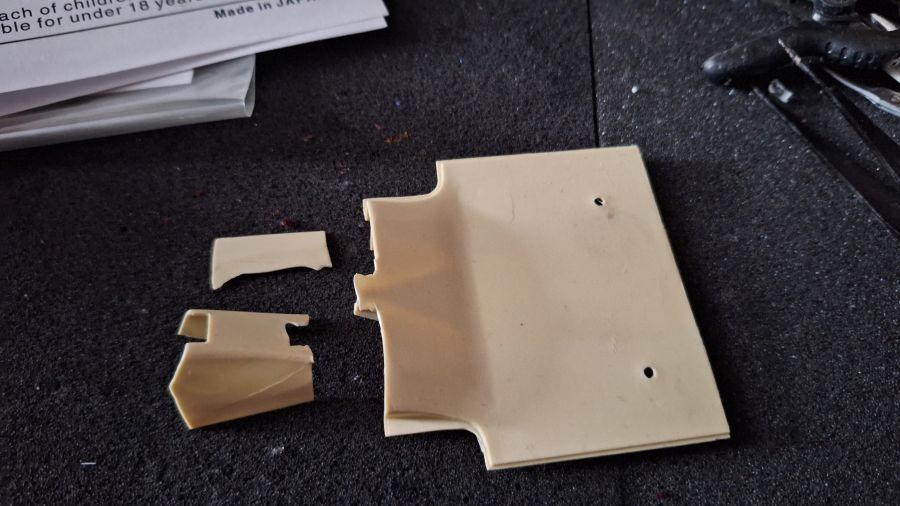
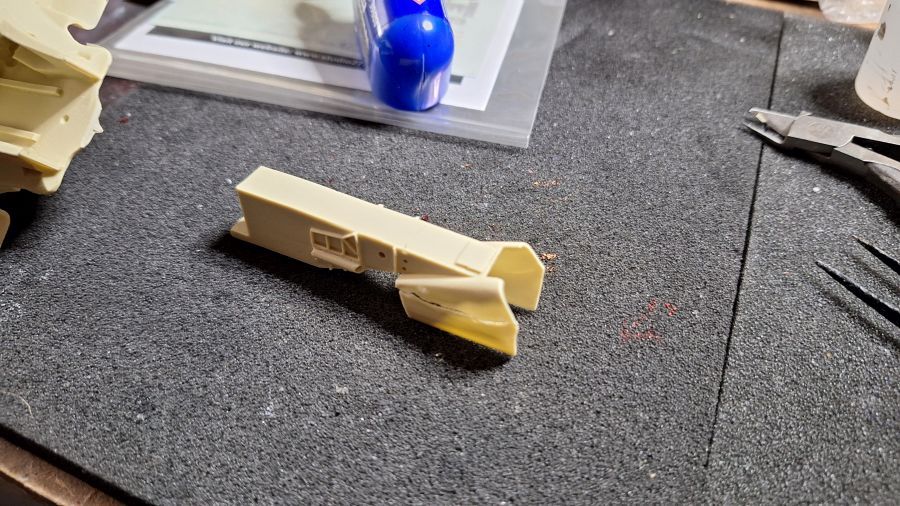
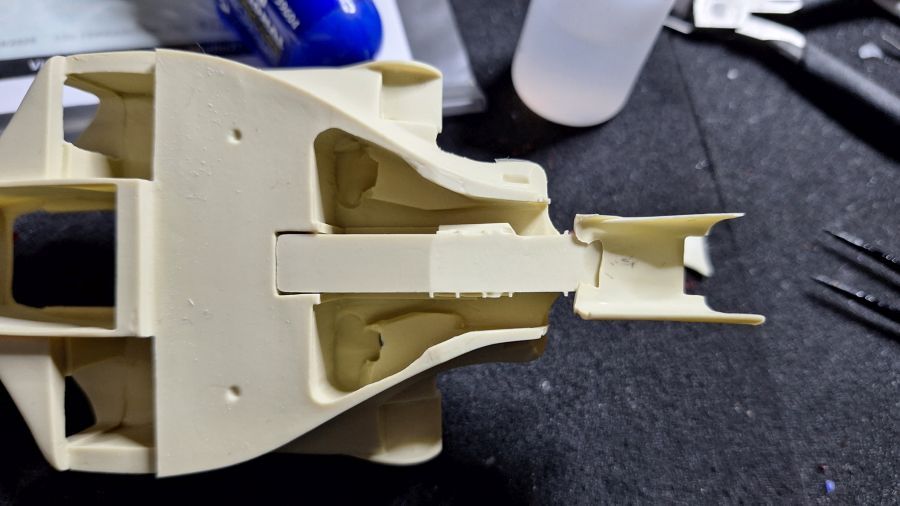
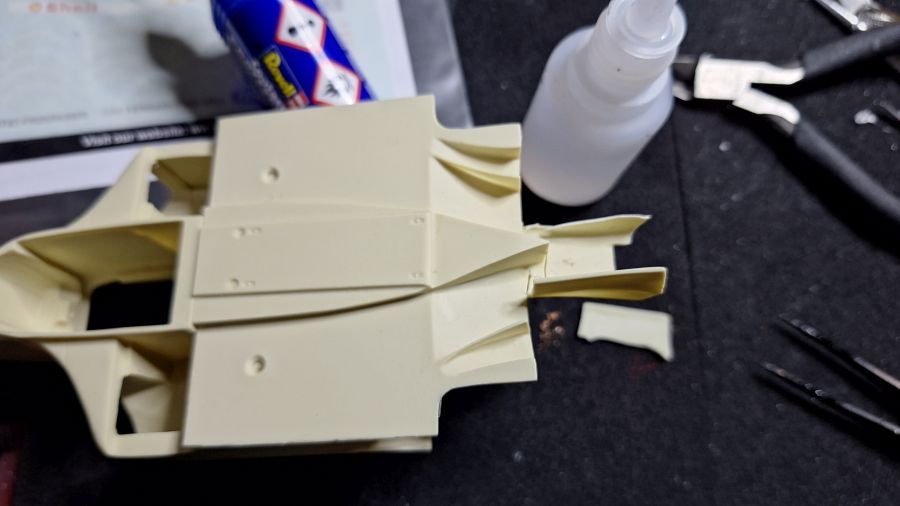
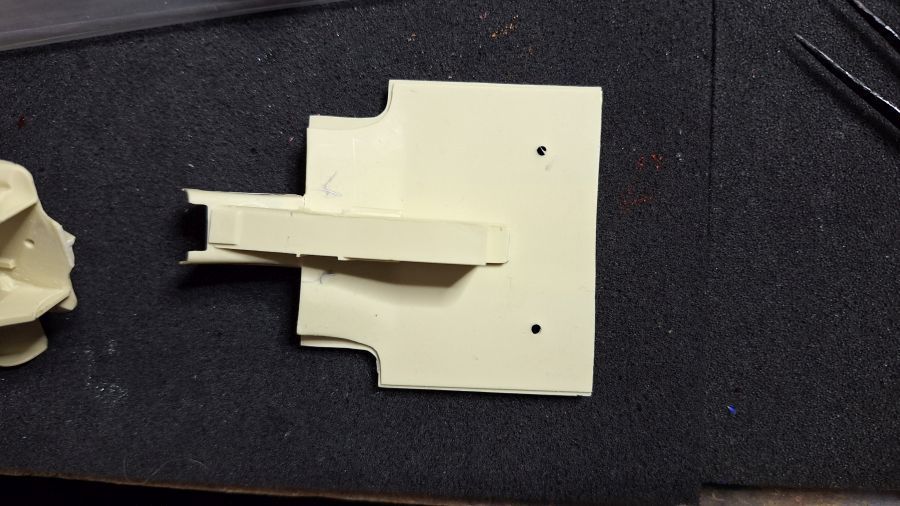
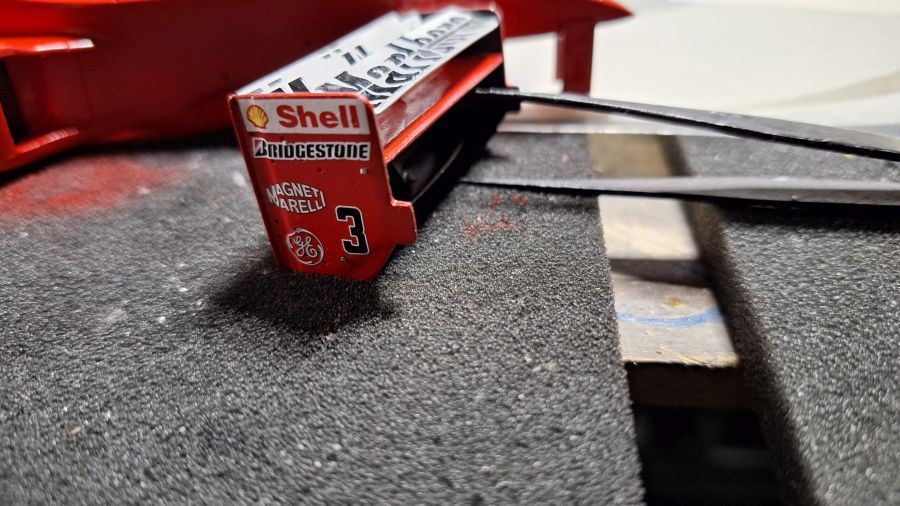
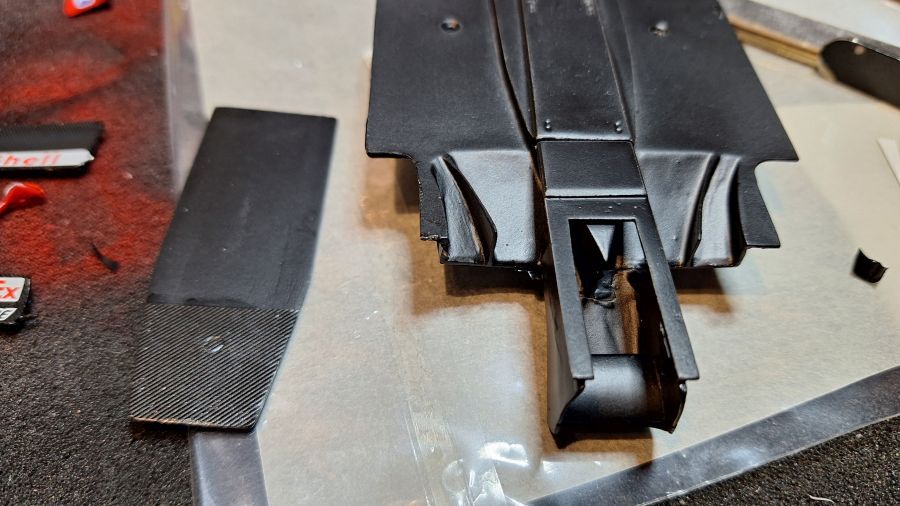
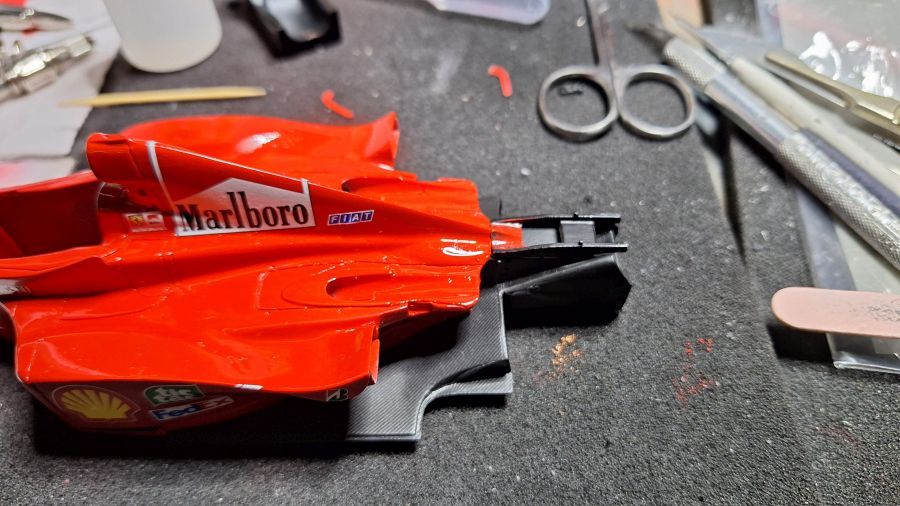
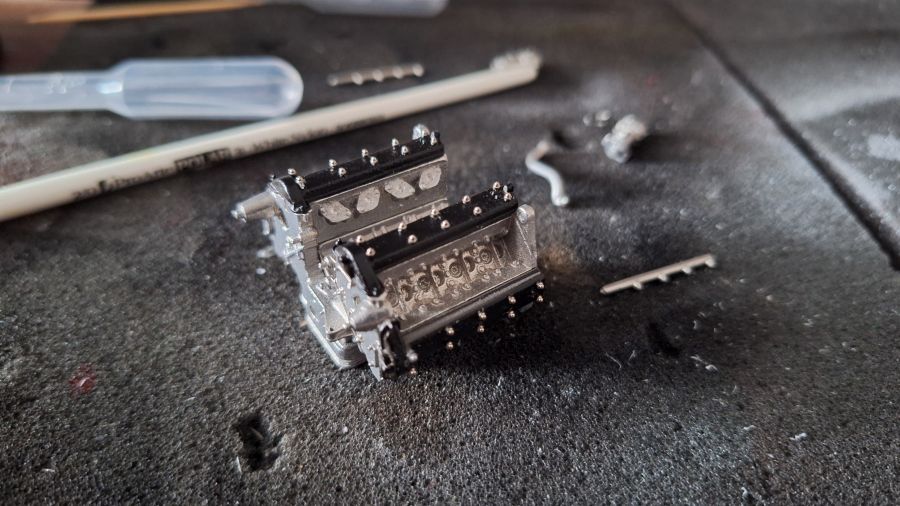
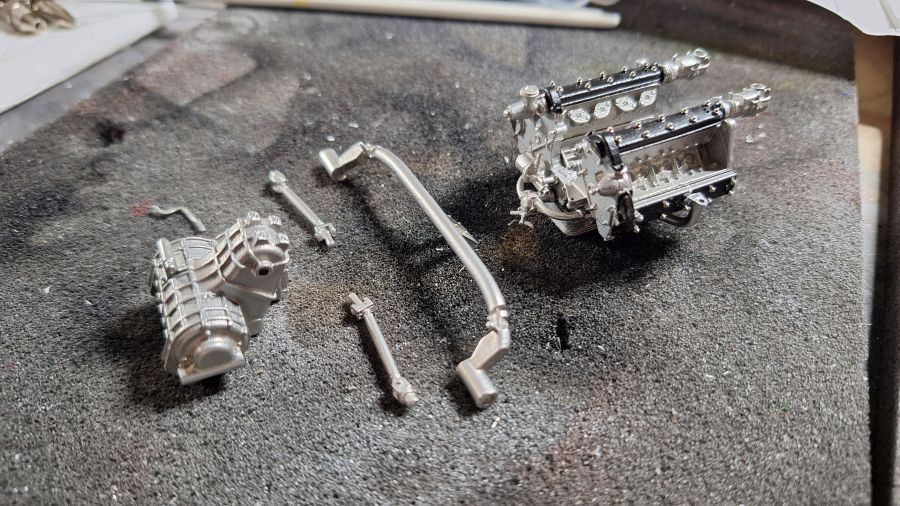
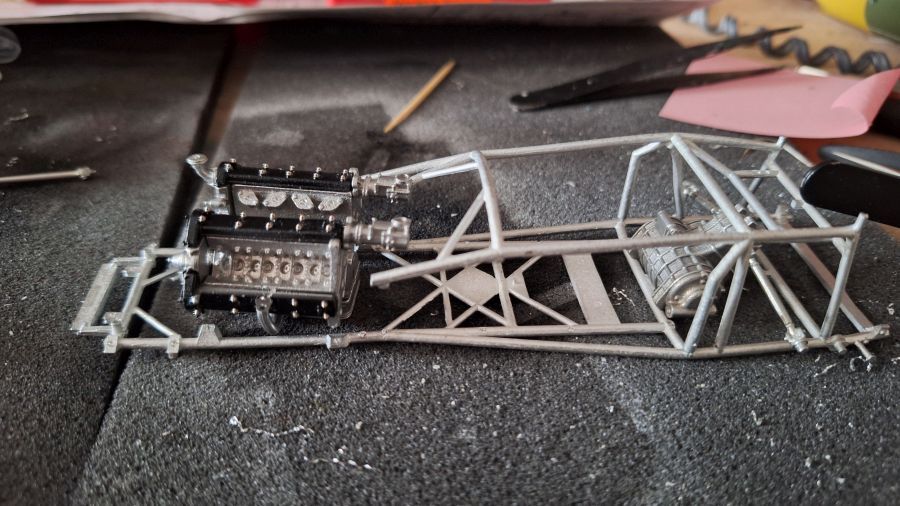
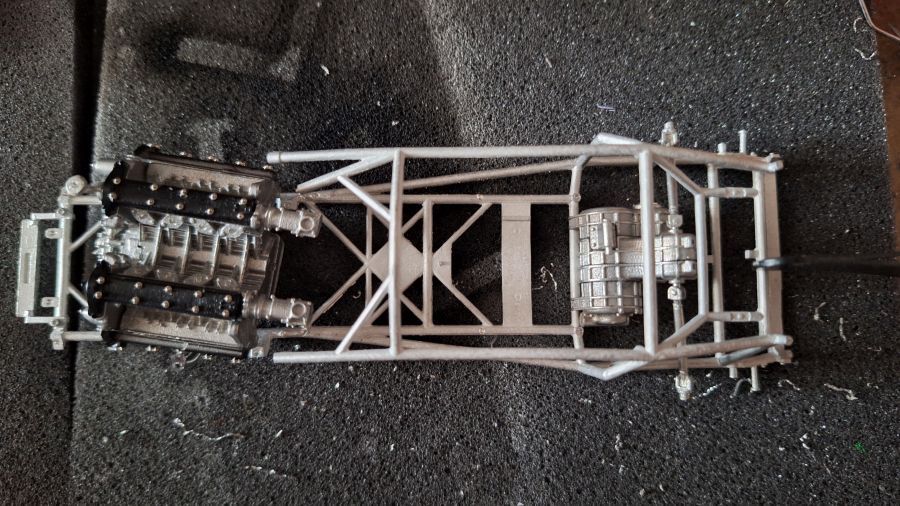
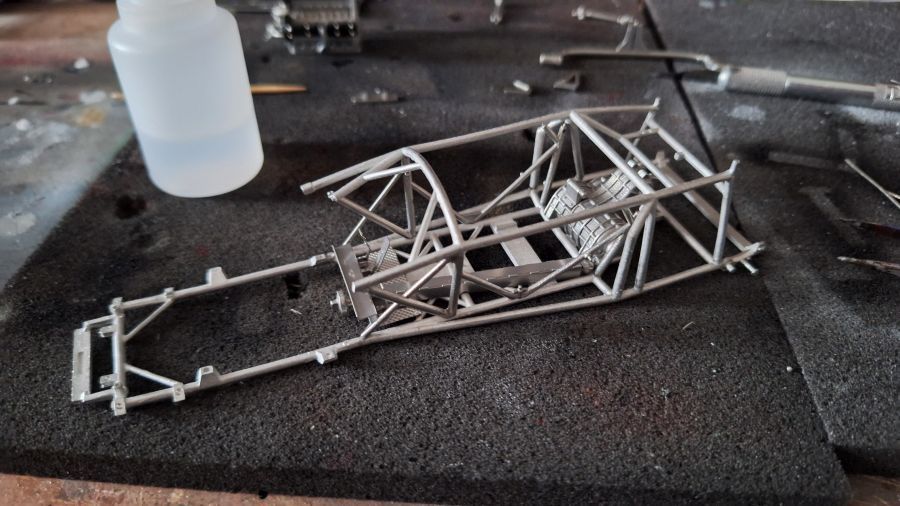
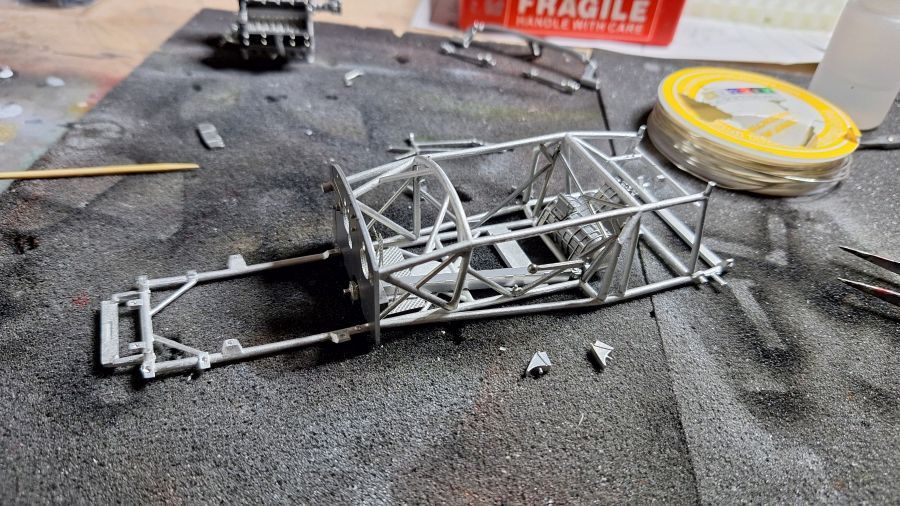
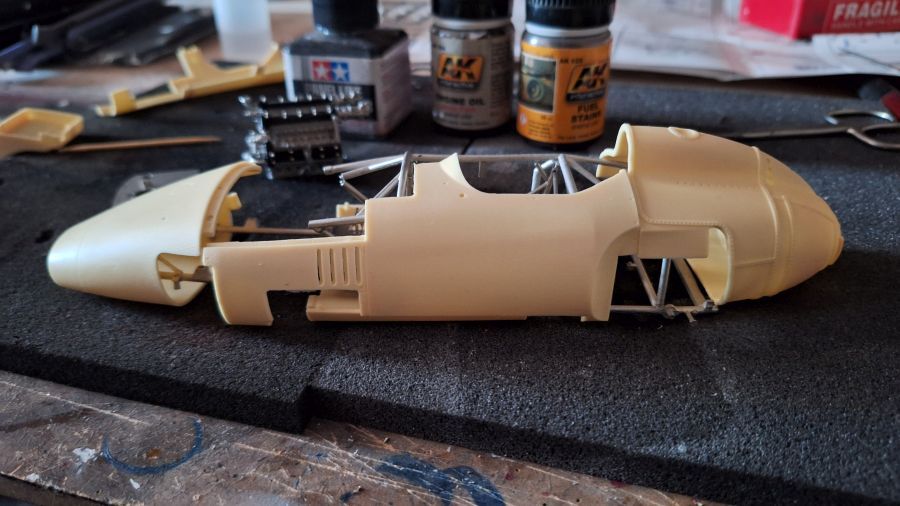
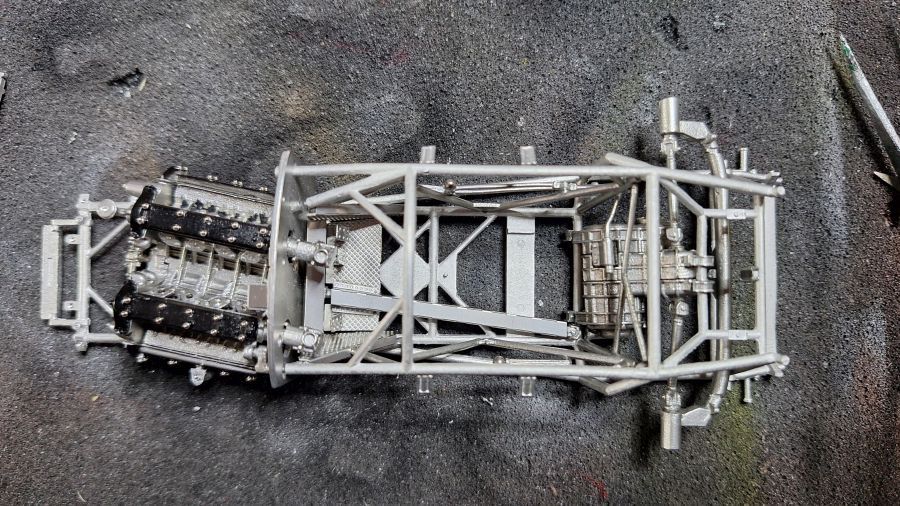
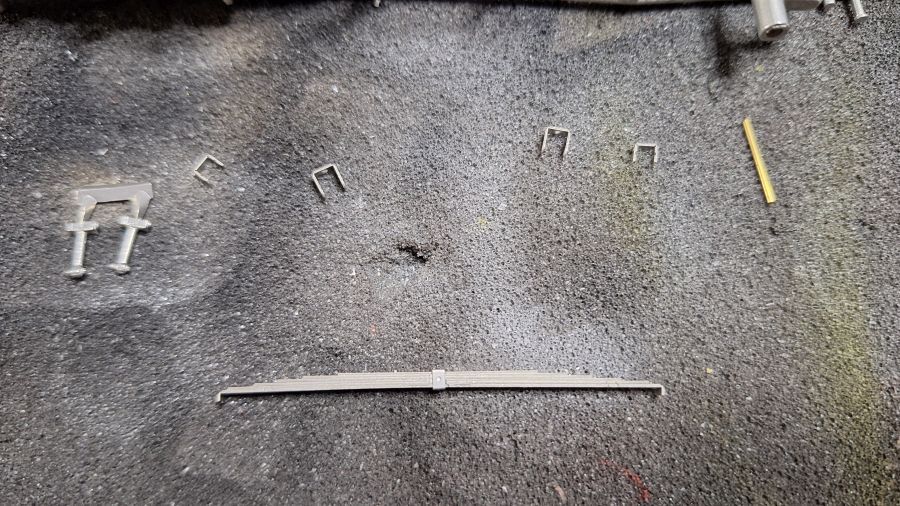
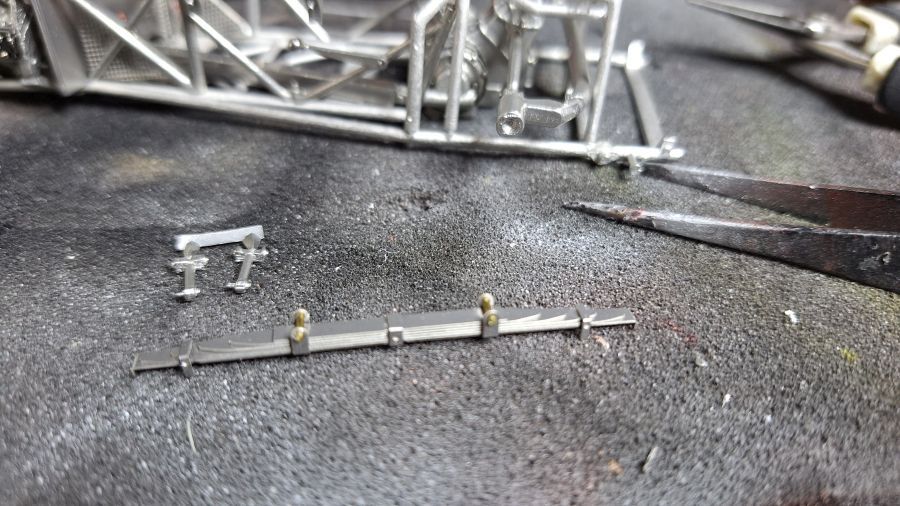
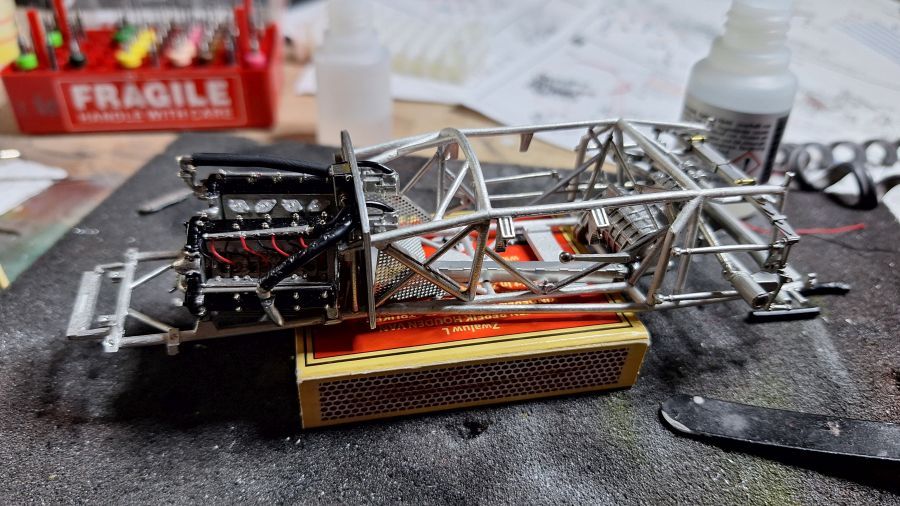
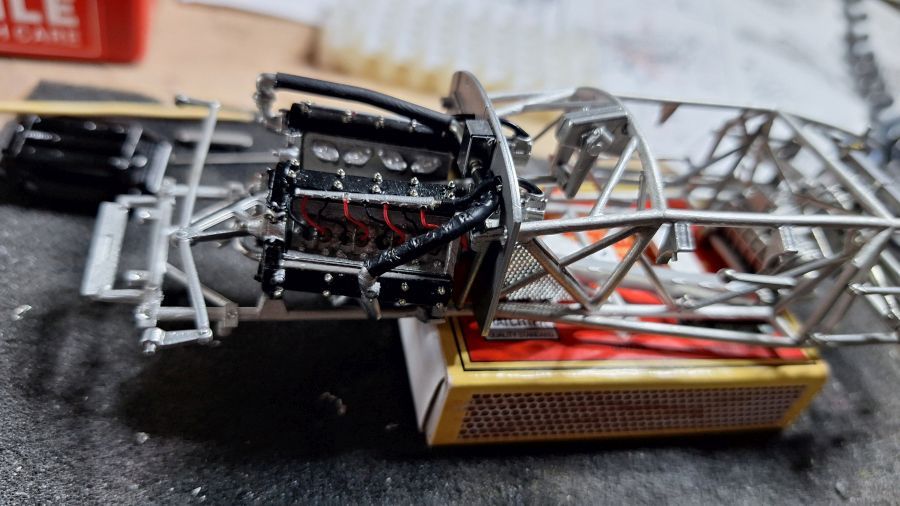
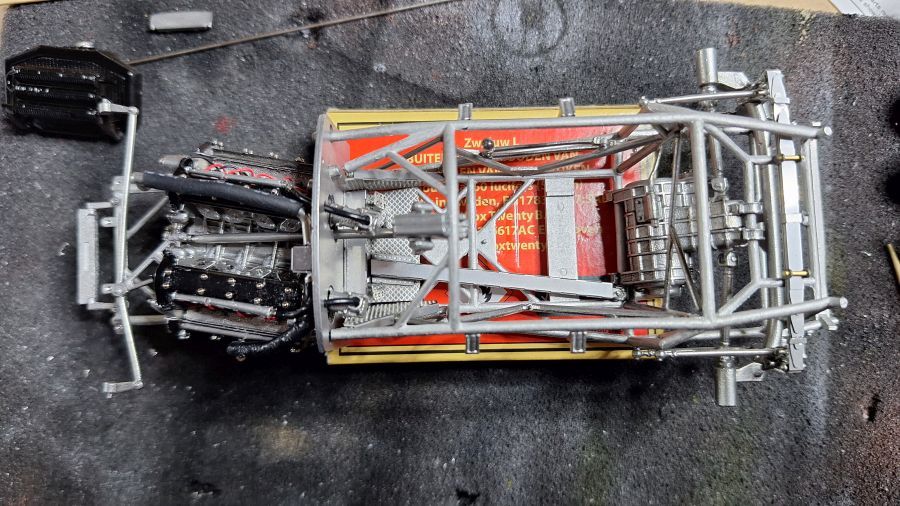
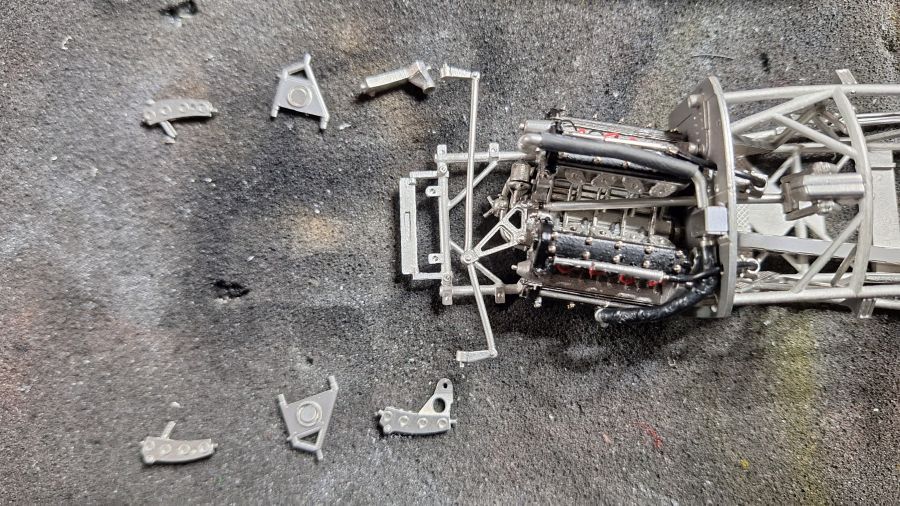
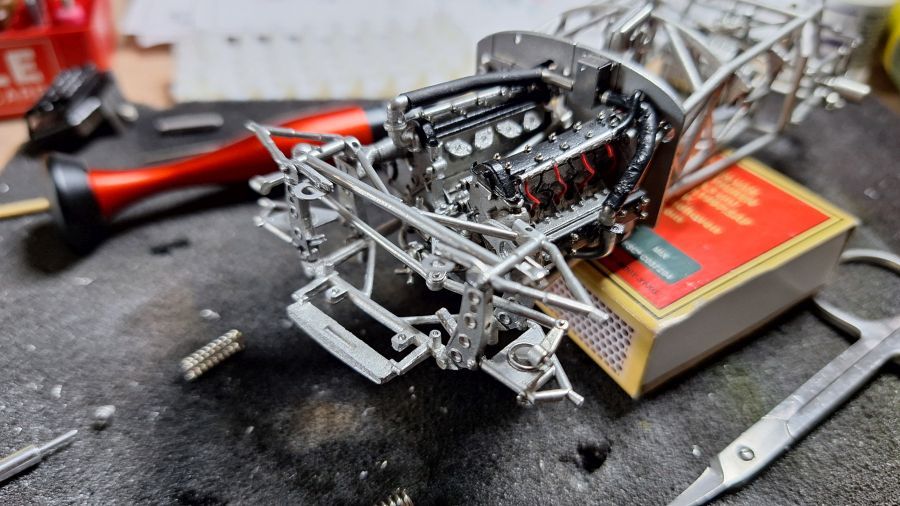
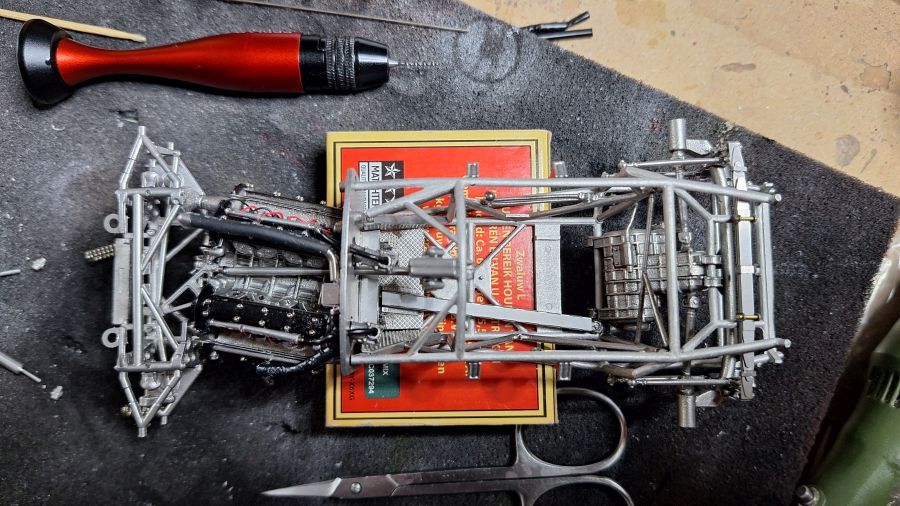
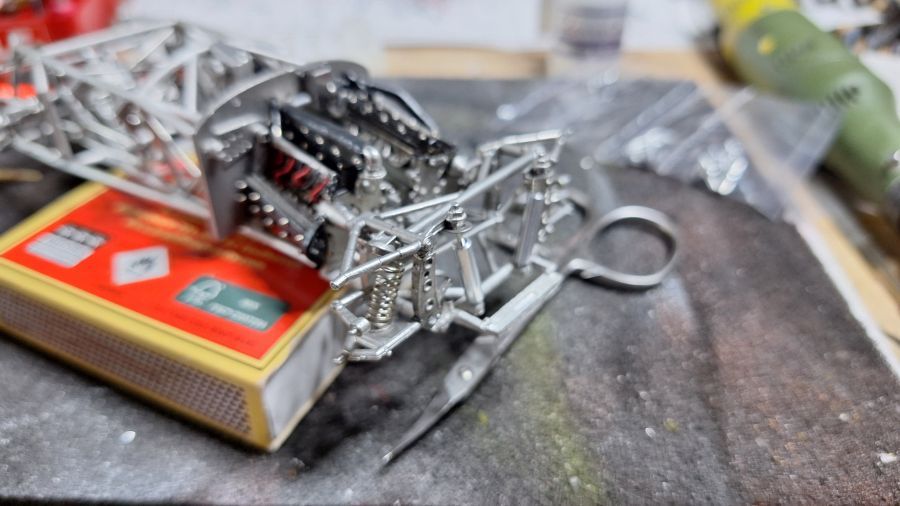
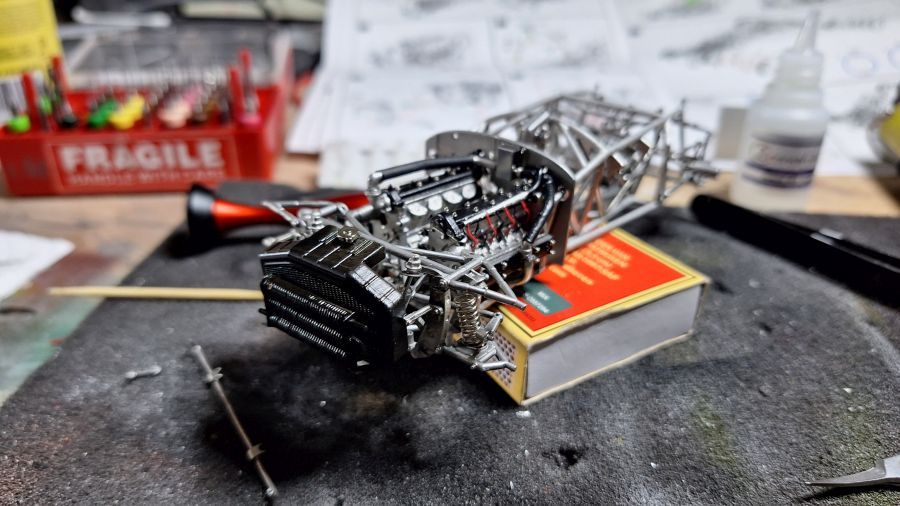
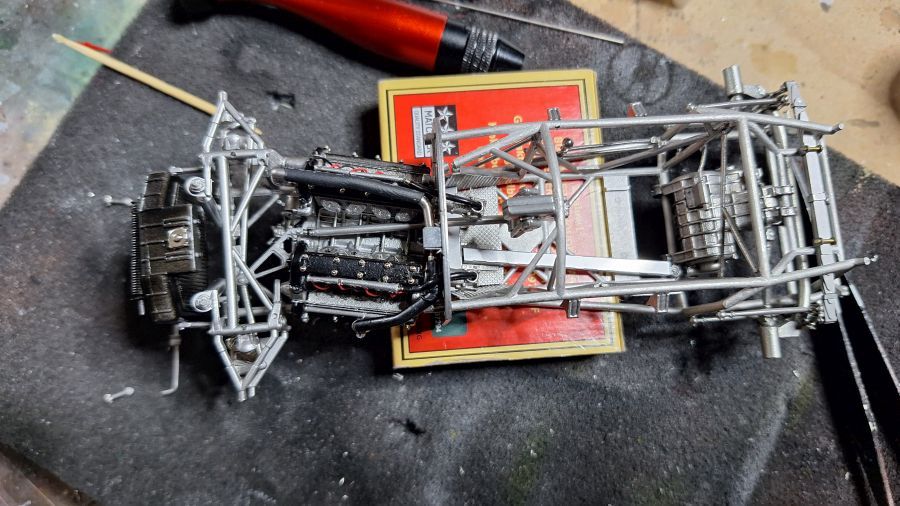
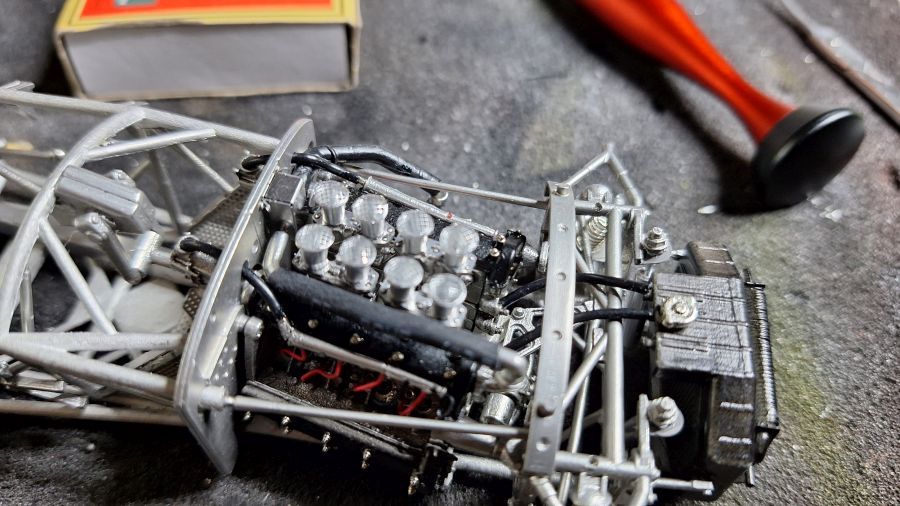
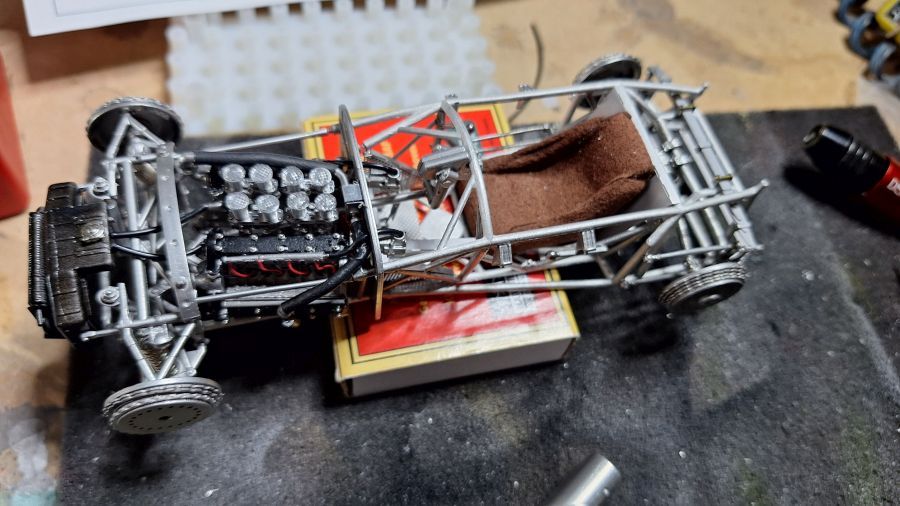
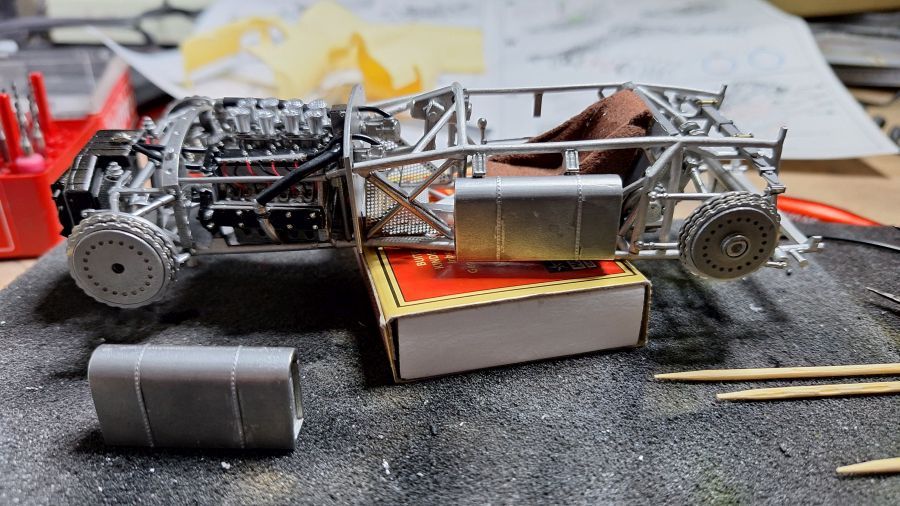
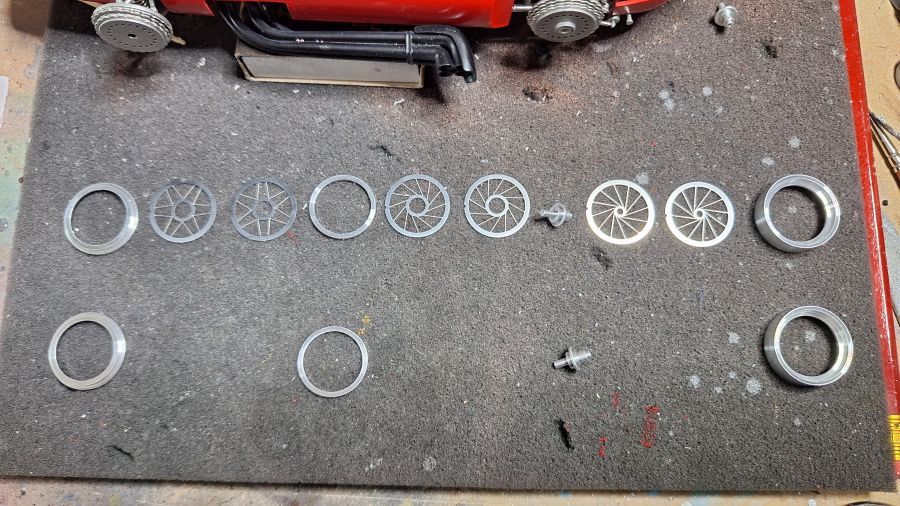
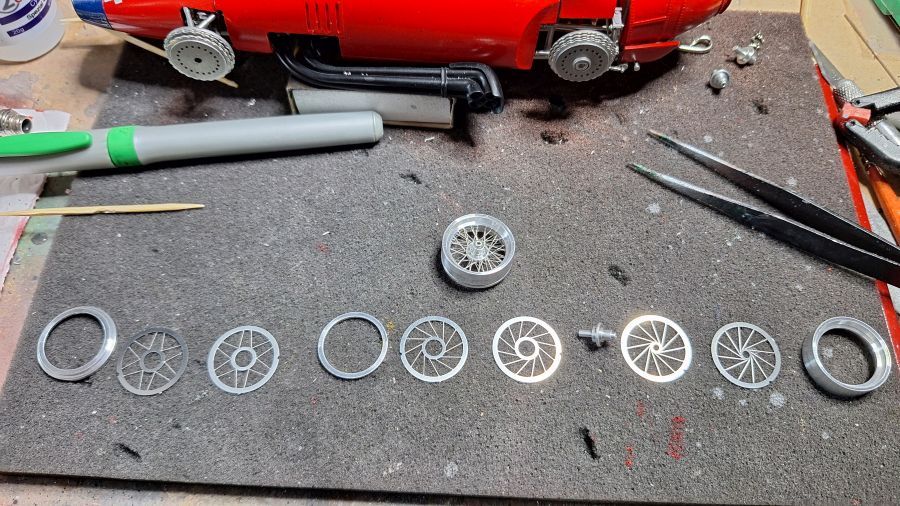
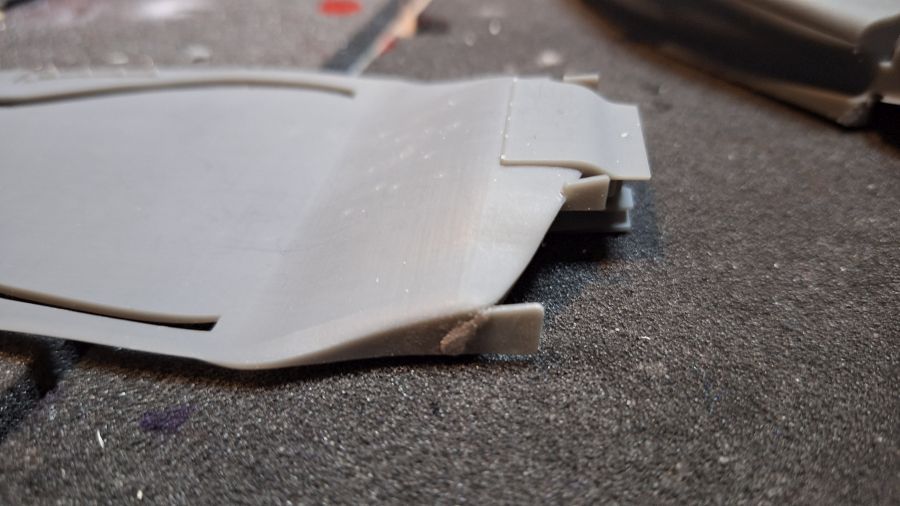
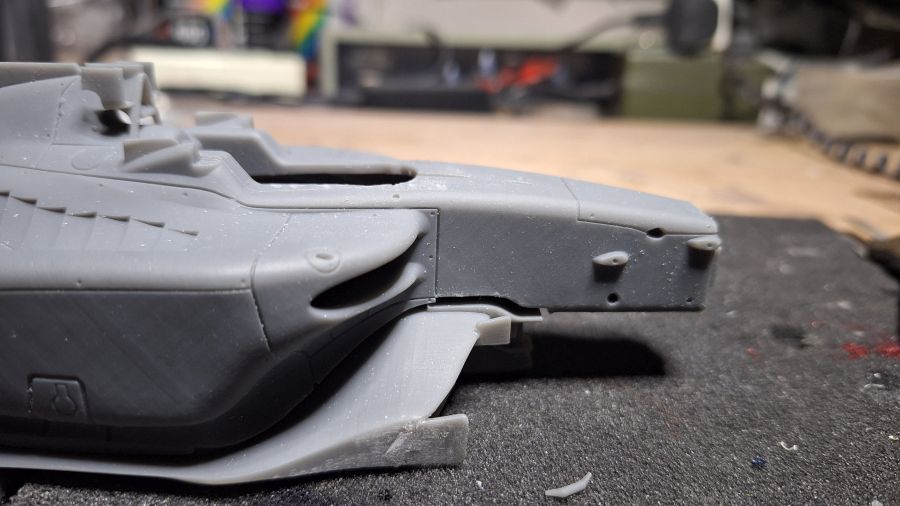
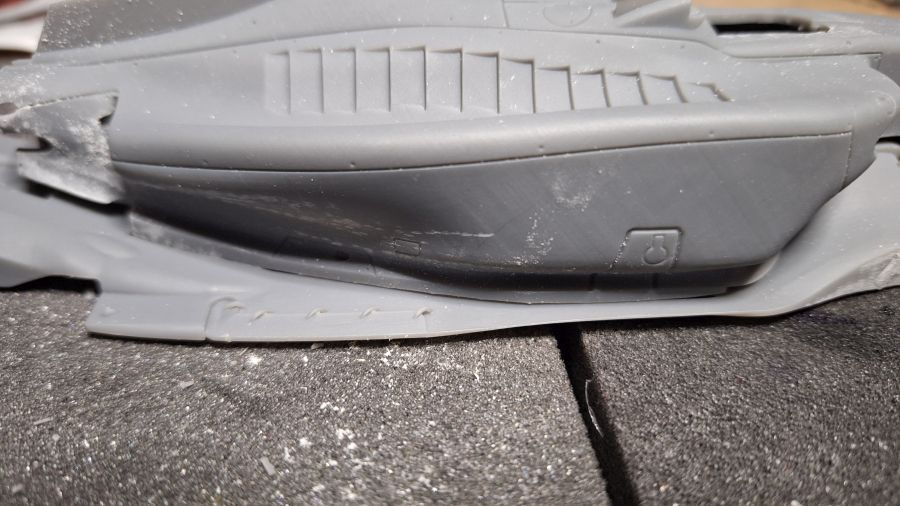
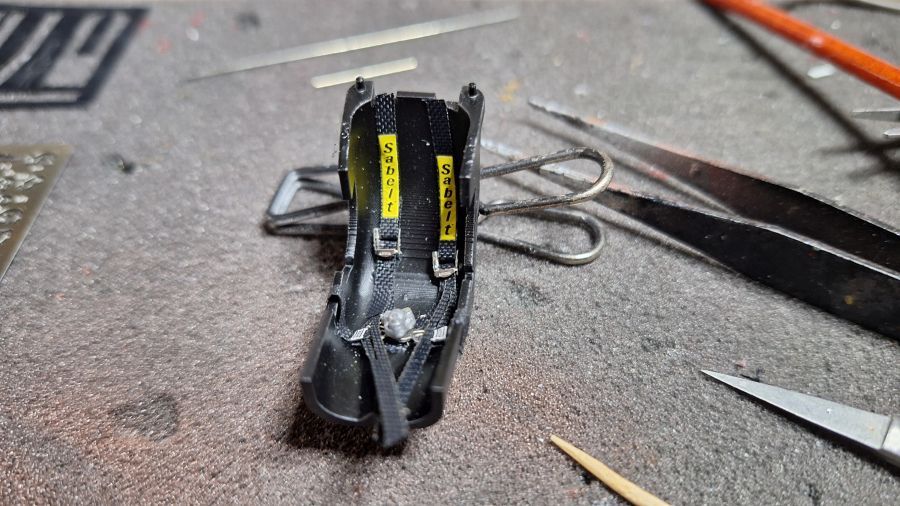
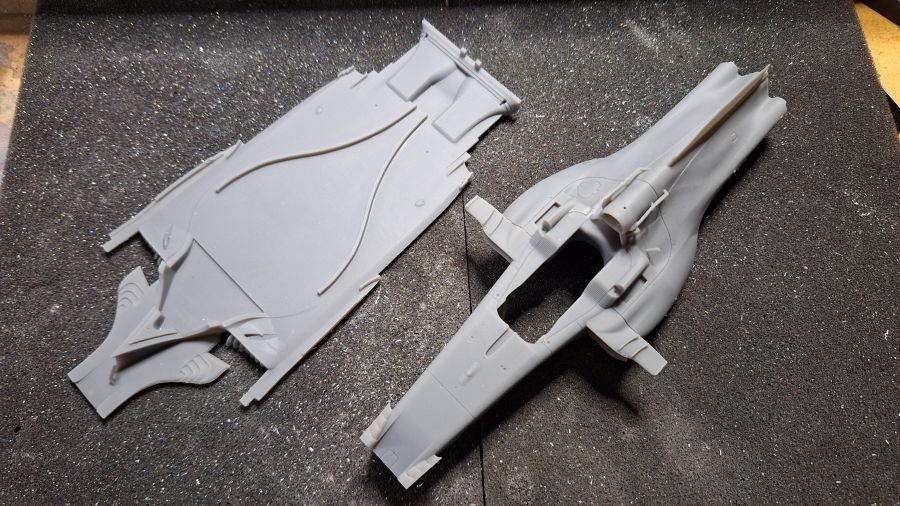
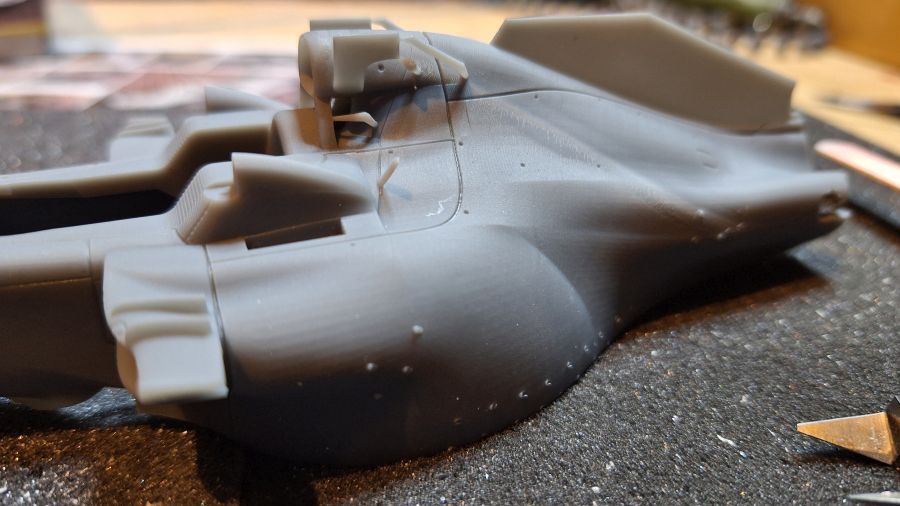
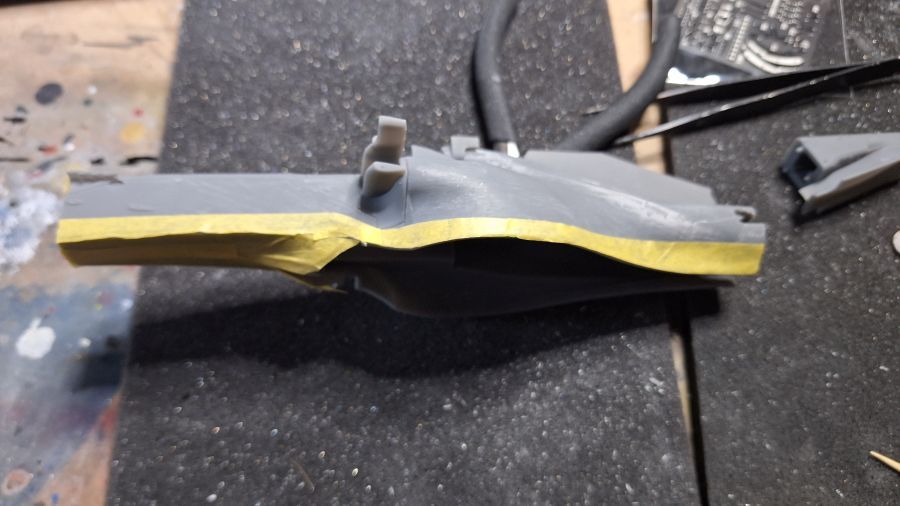
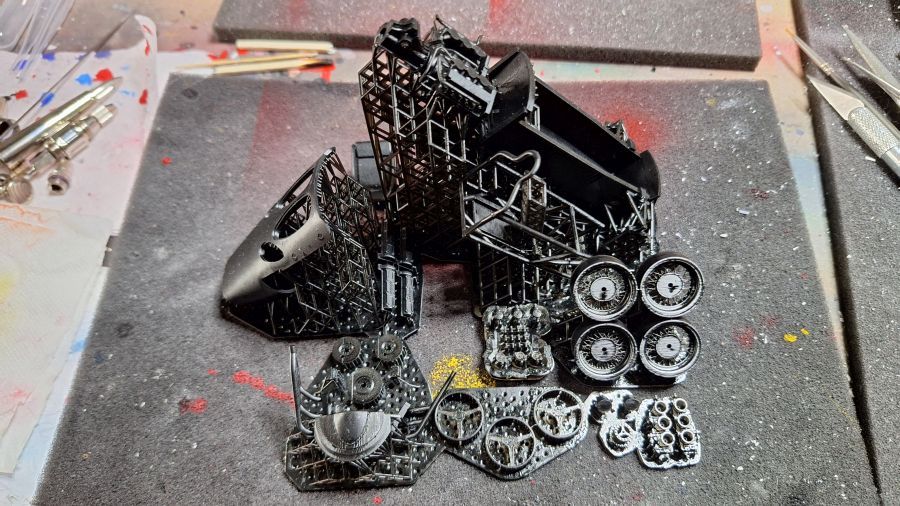
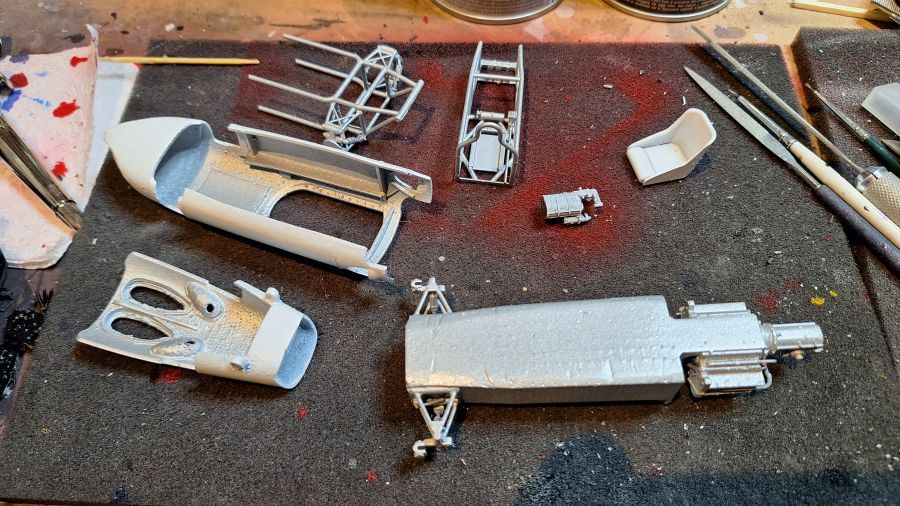
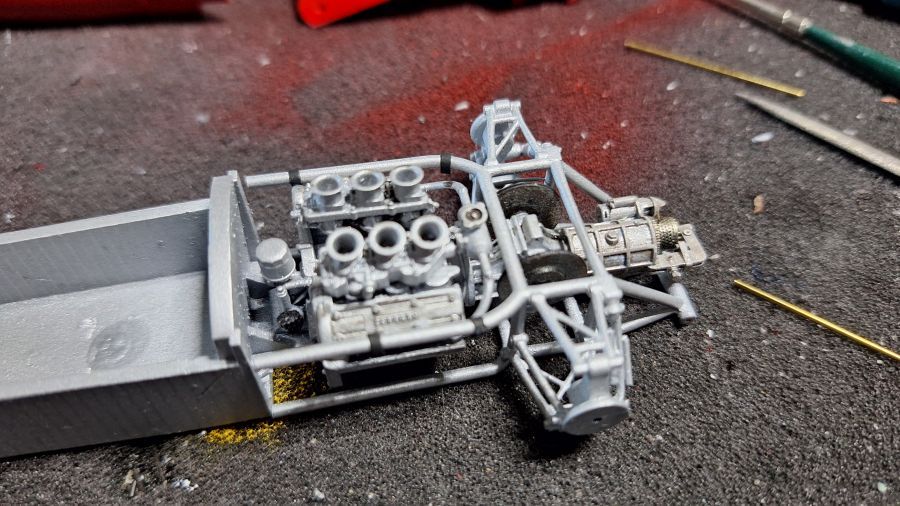
Maar het lijkt allemaal te passen.
But it looks like the fit is ok.
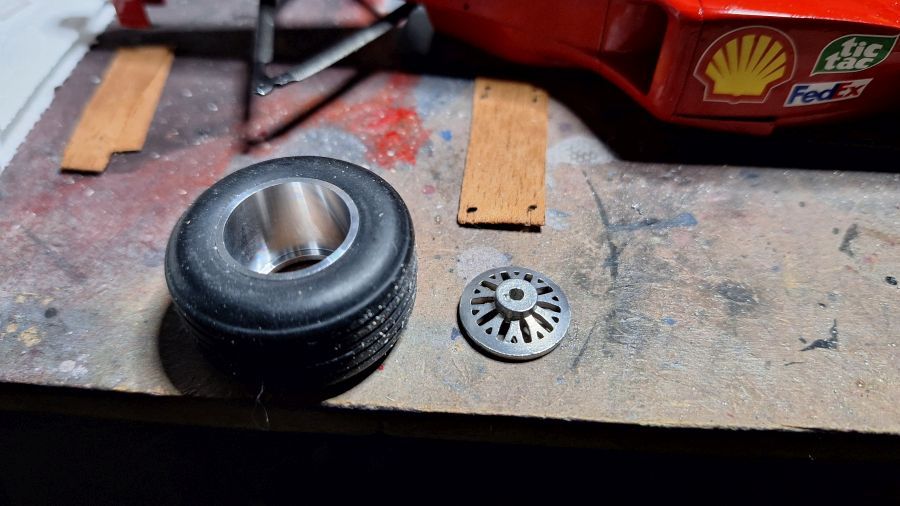
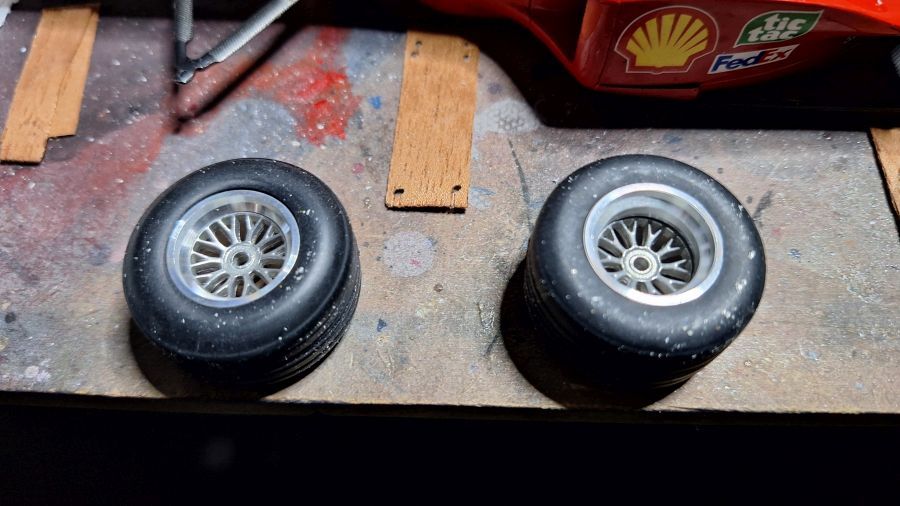
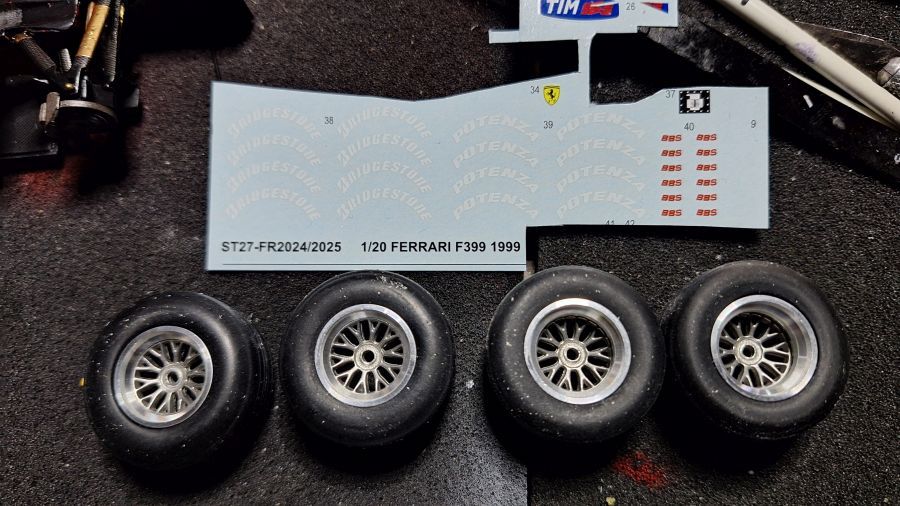
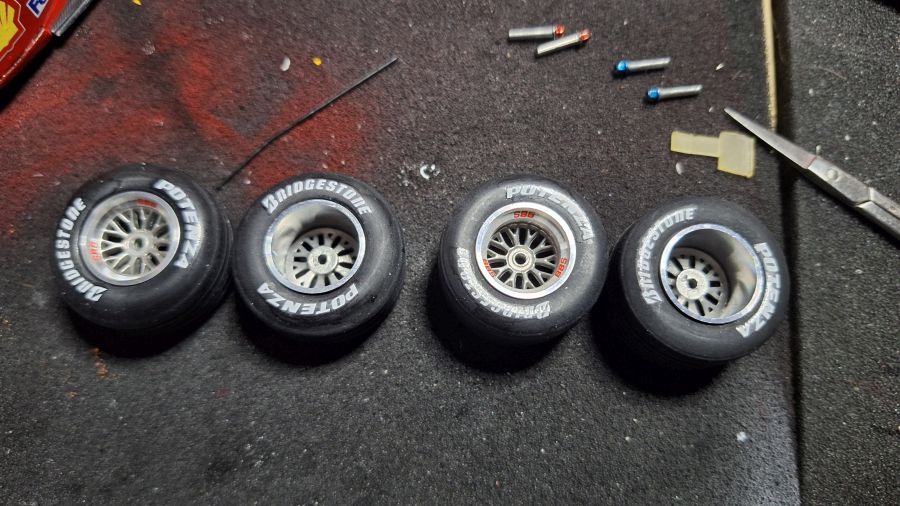
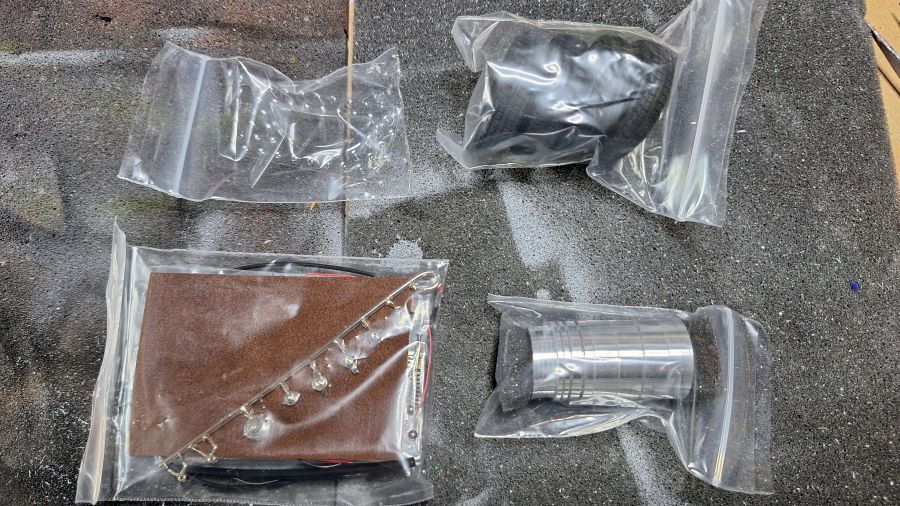
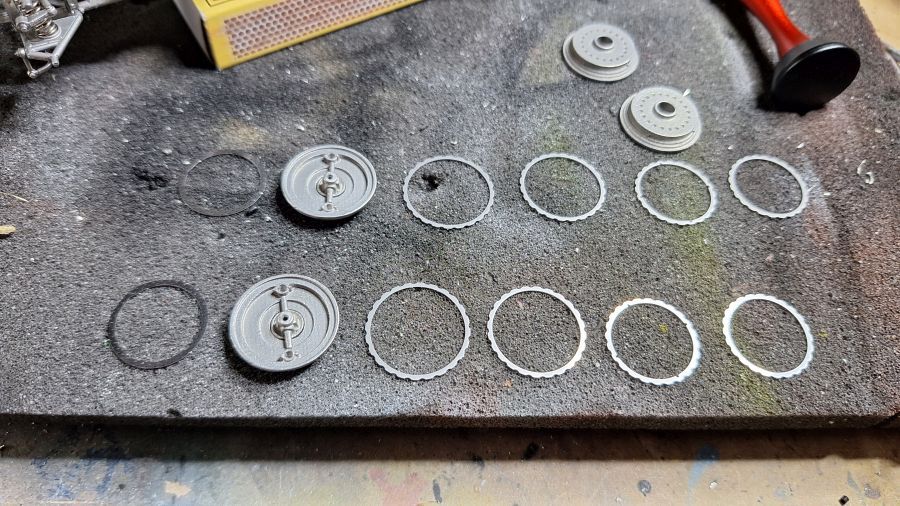
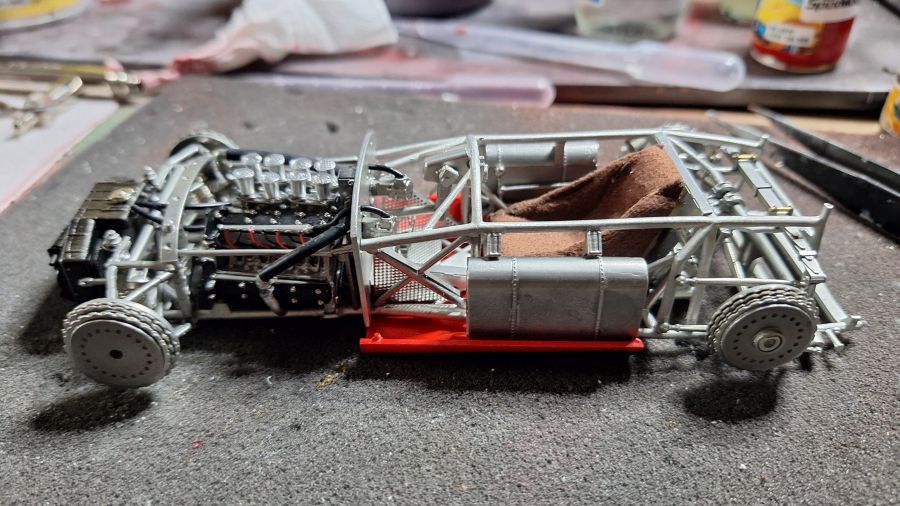
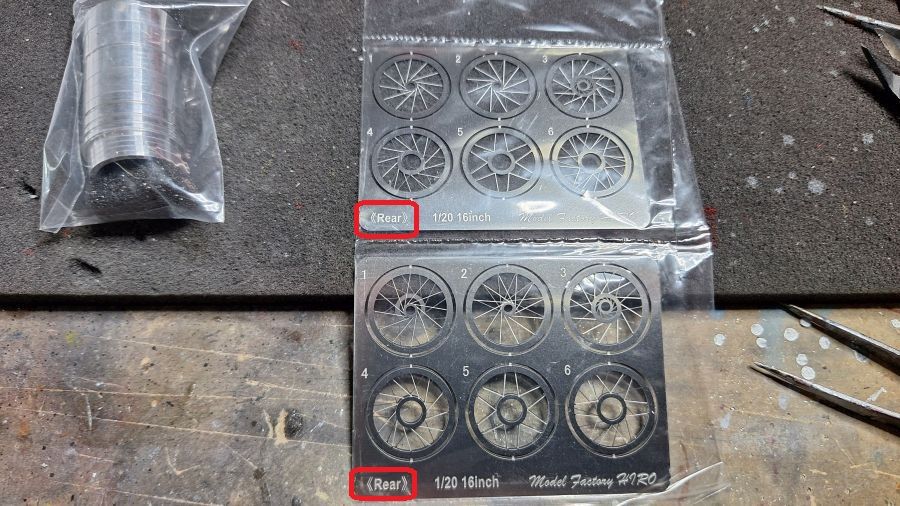
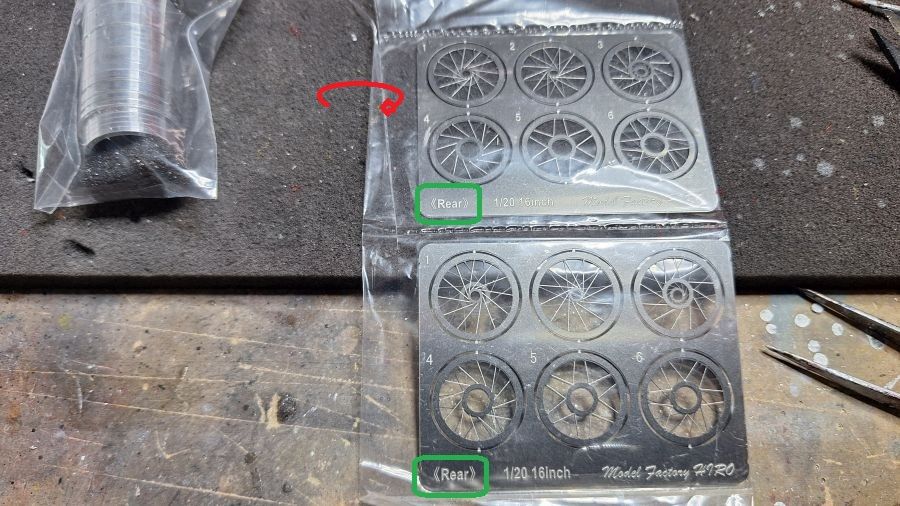
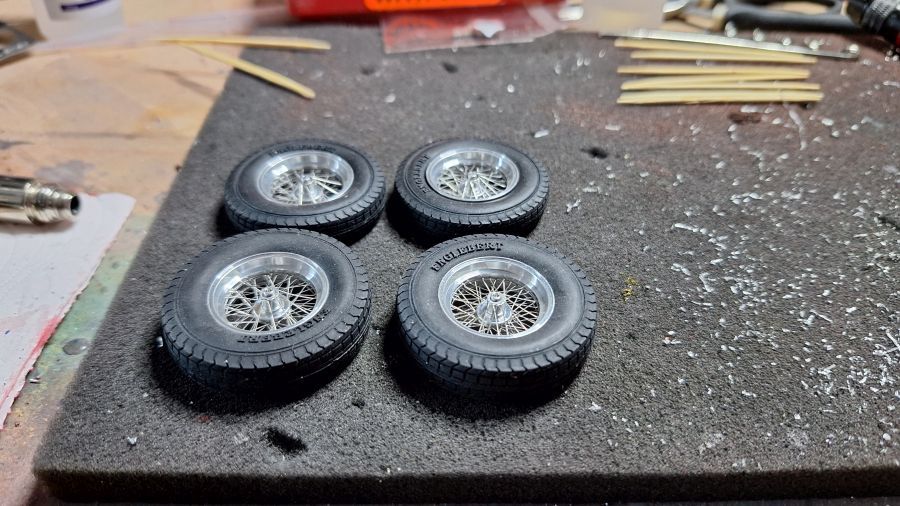
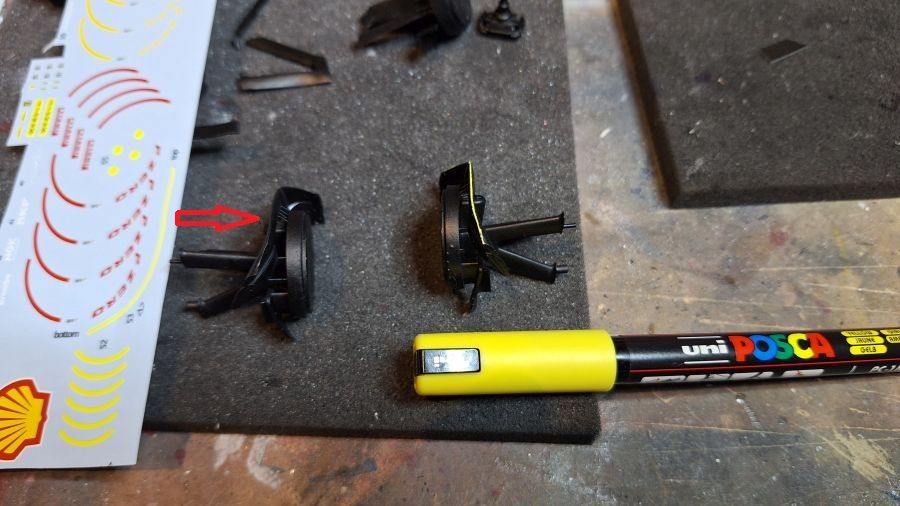
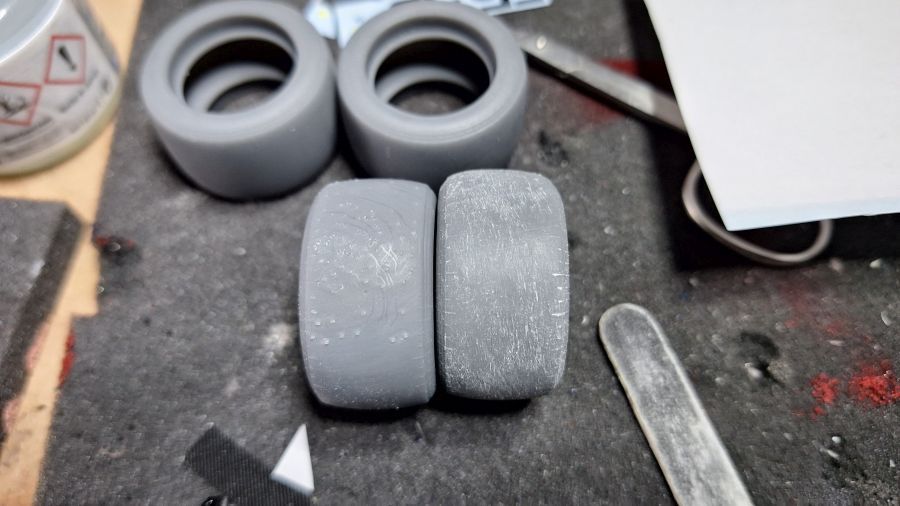
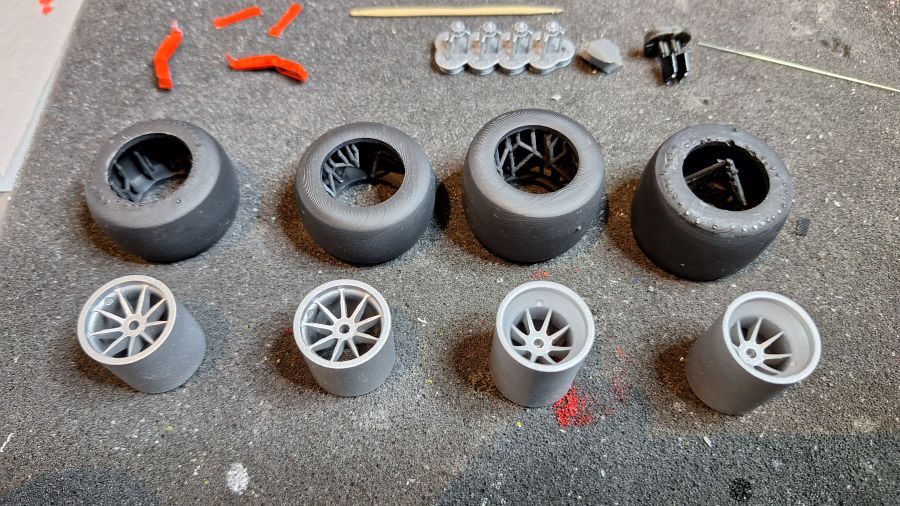
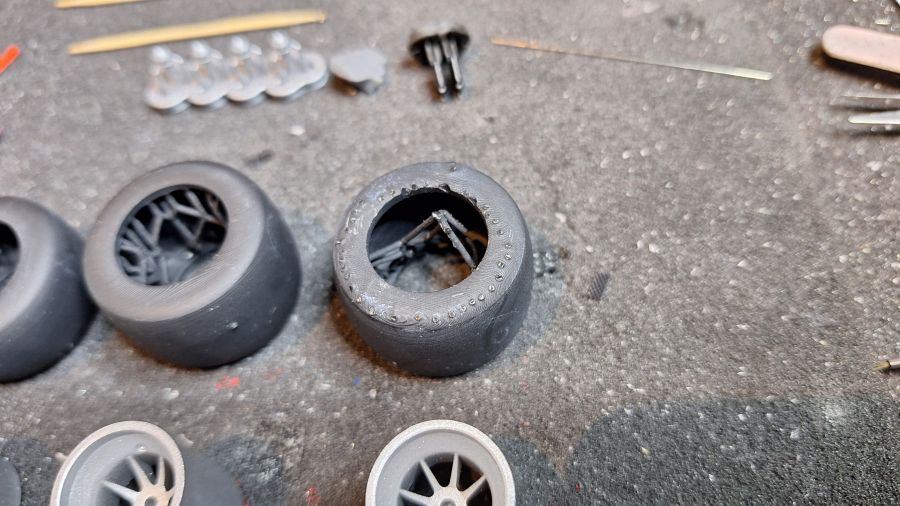
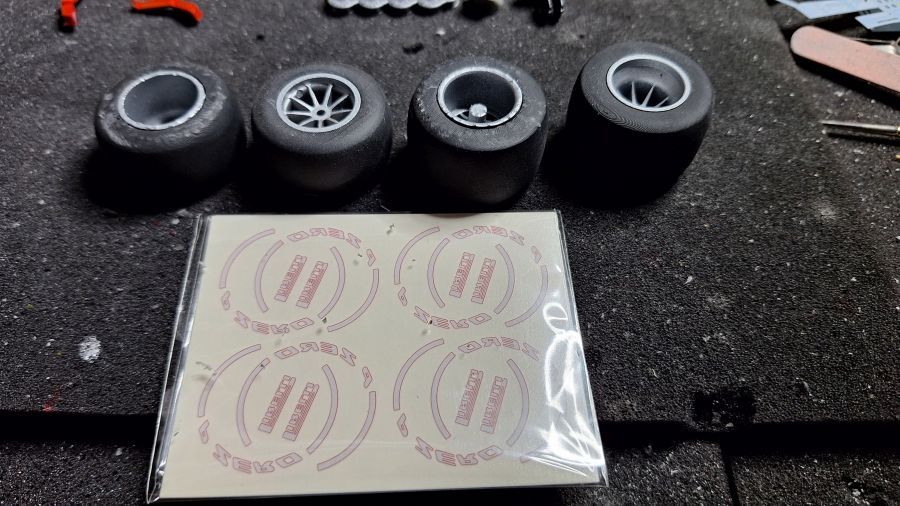
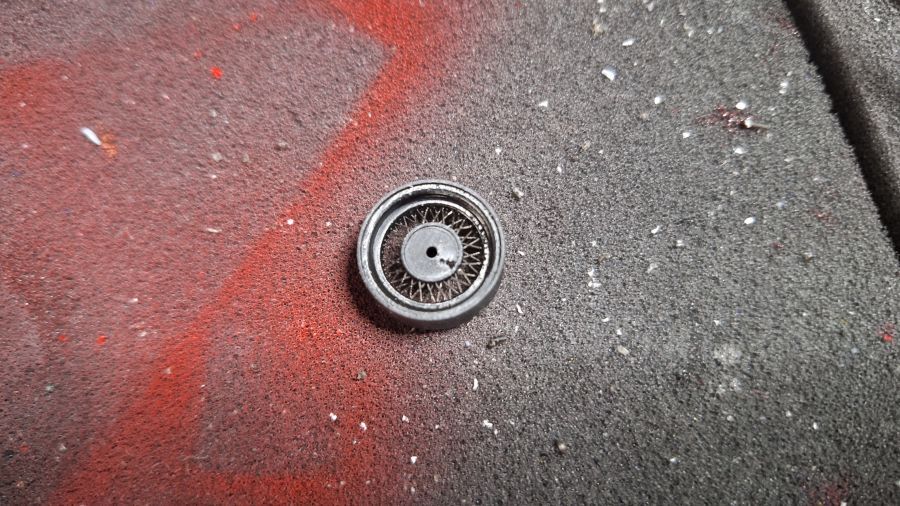
Prachtige spaakvelgen.
Beautiful spoke rims.
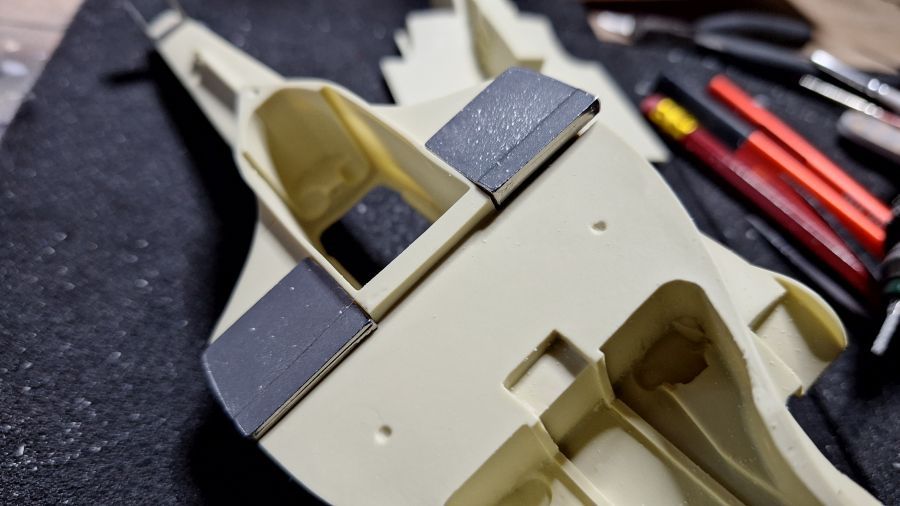
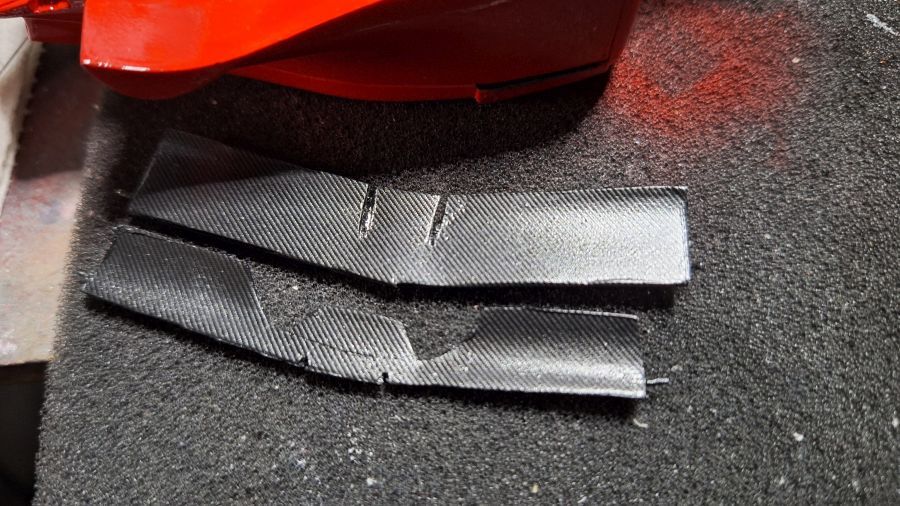
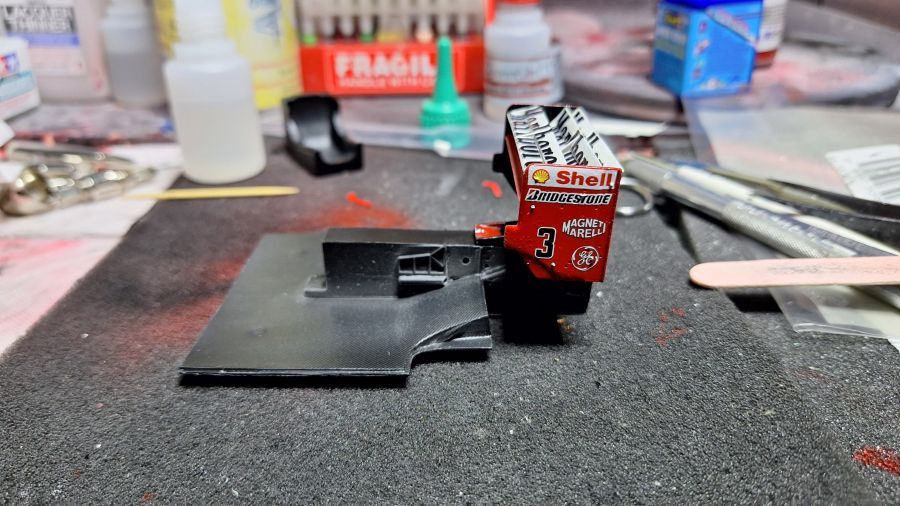
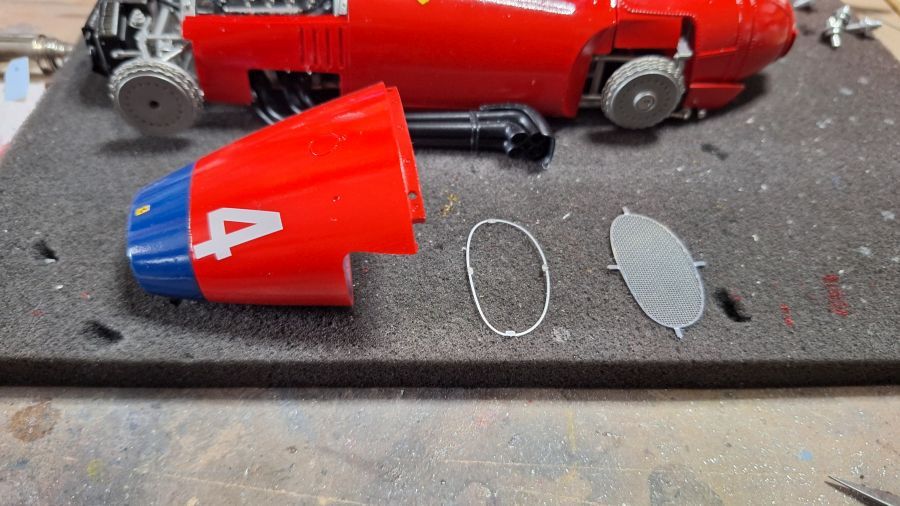
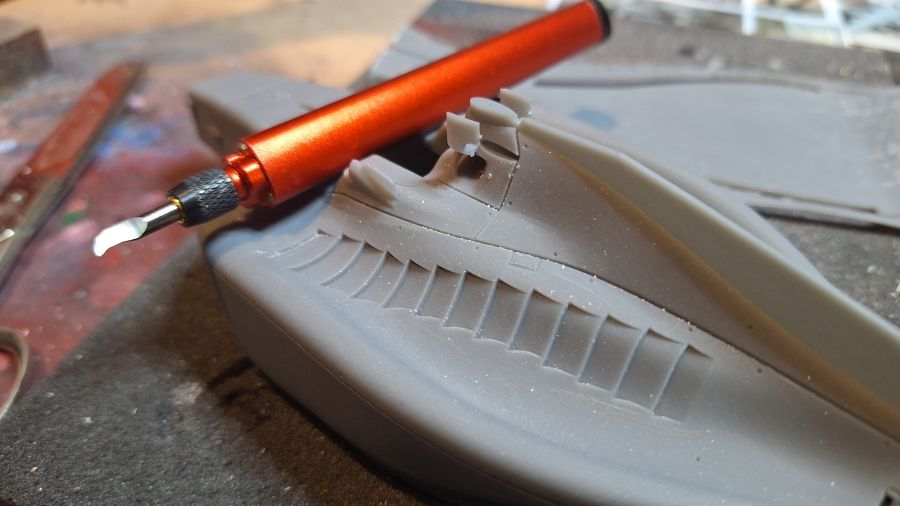
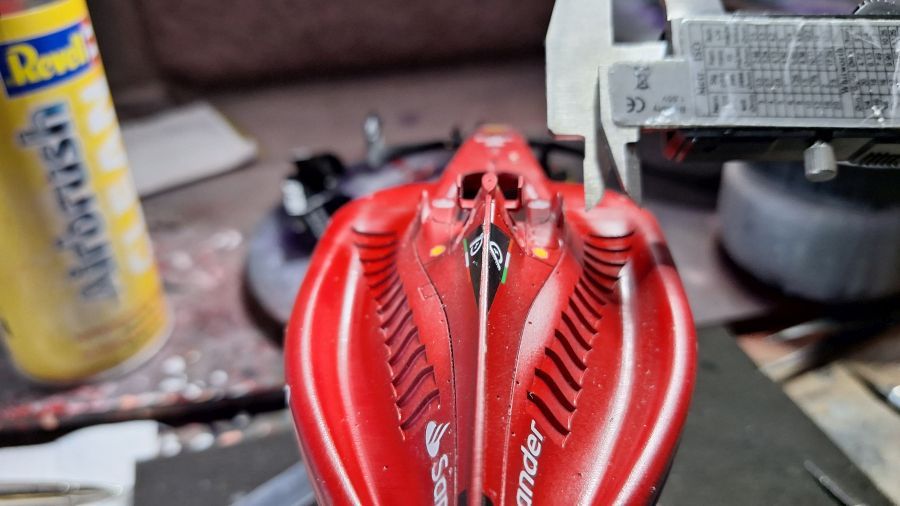
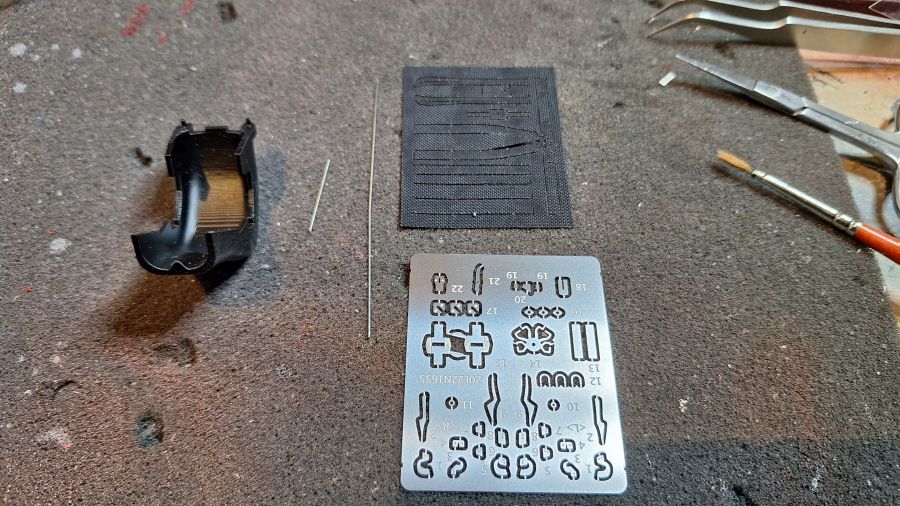
Daar gaan we alvast, in afwachting van de rest van de onderdelen. Het achterrooster wordt geplaatst.
There we go, while waiting for the rest of the parts. Adding the rear louvres.
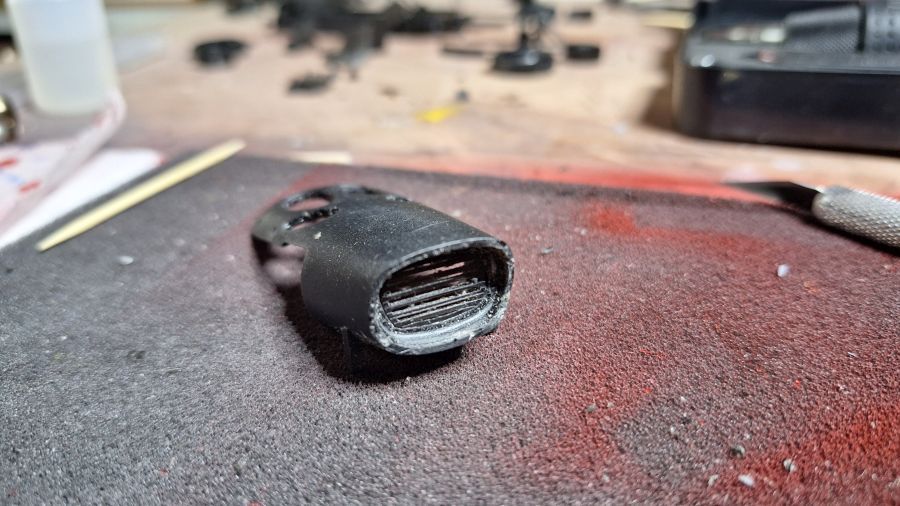
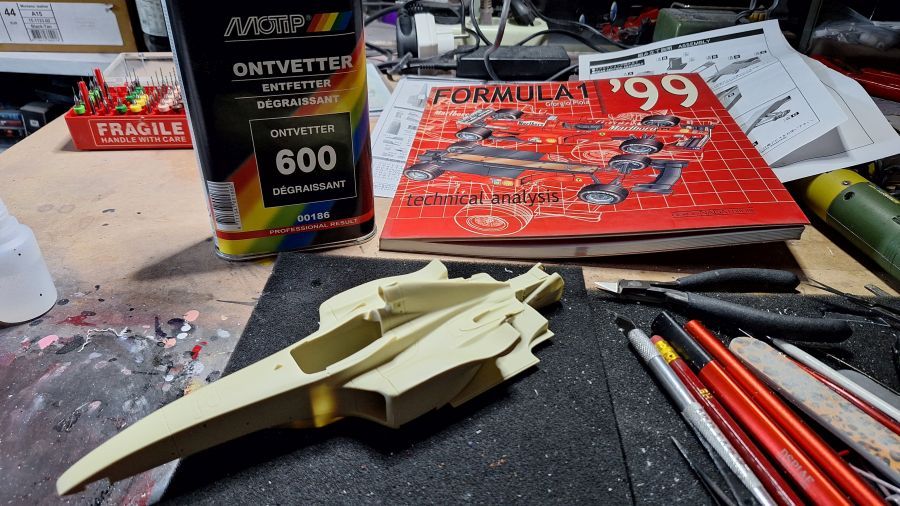
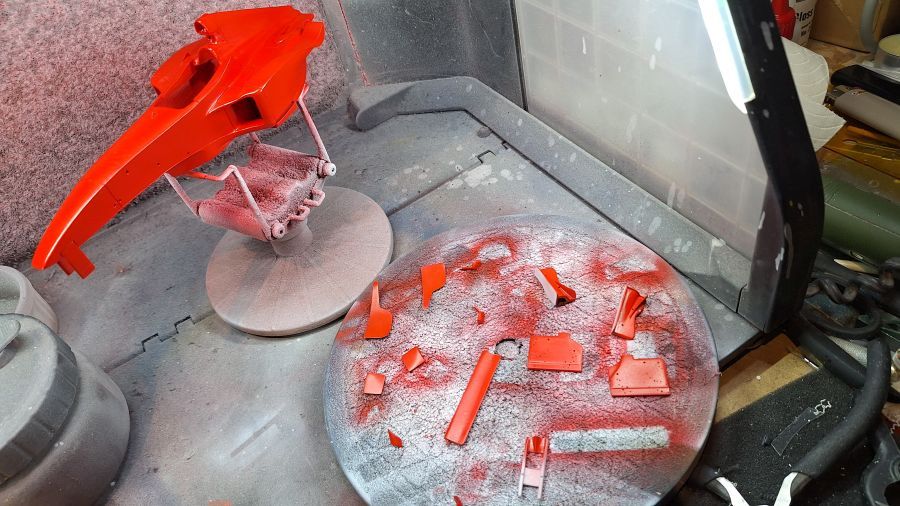
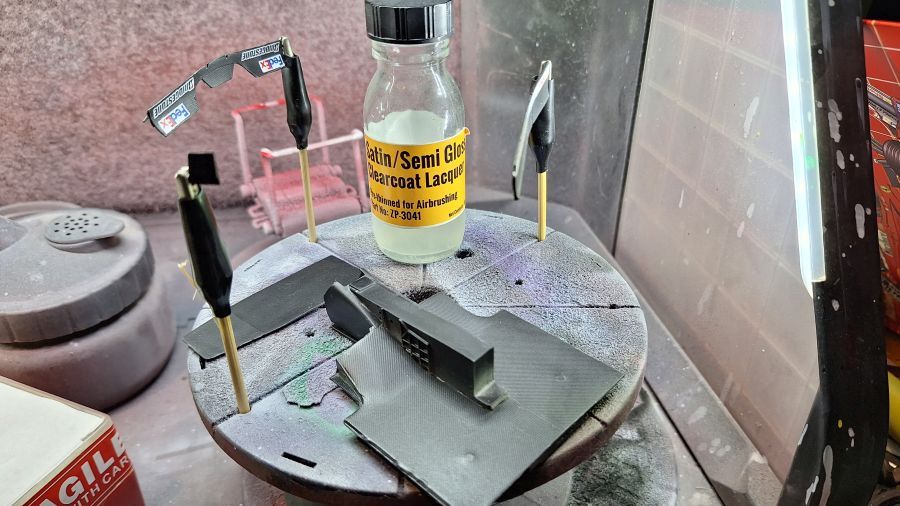
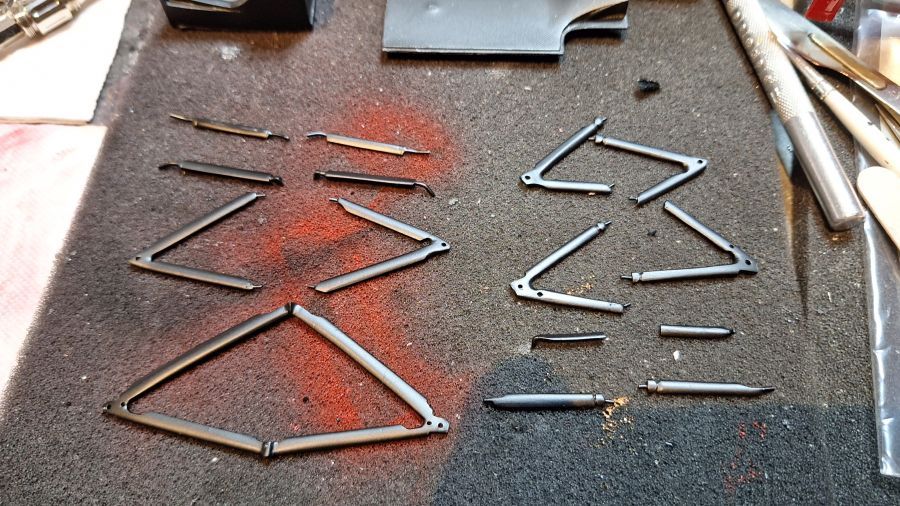
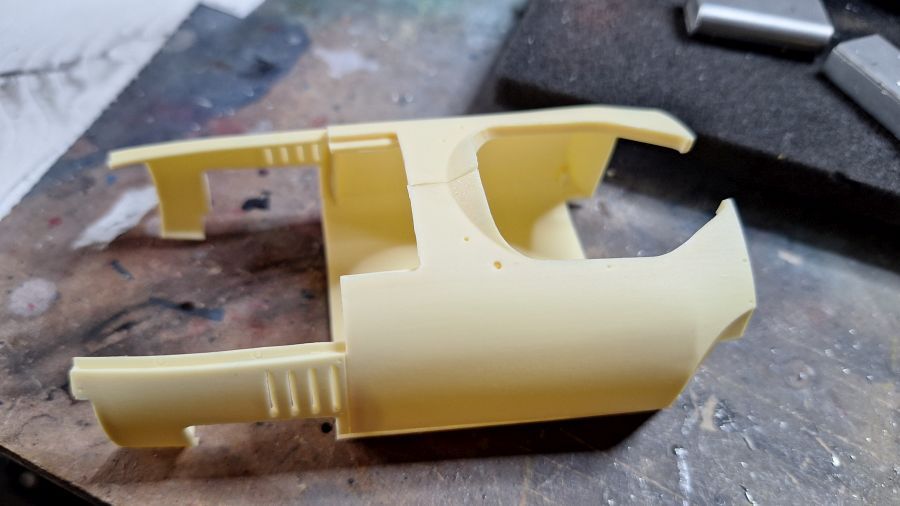
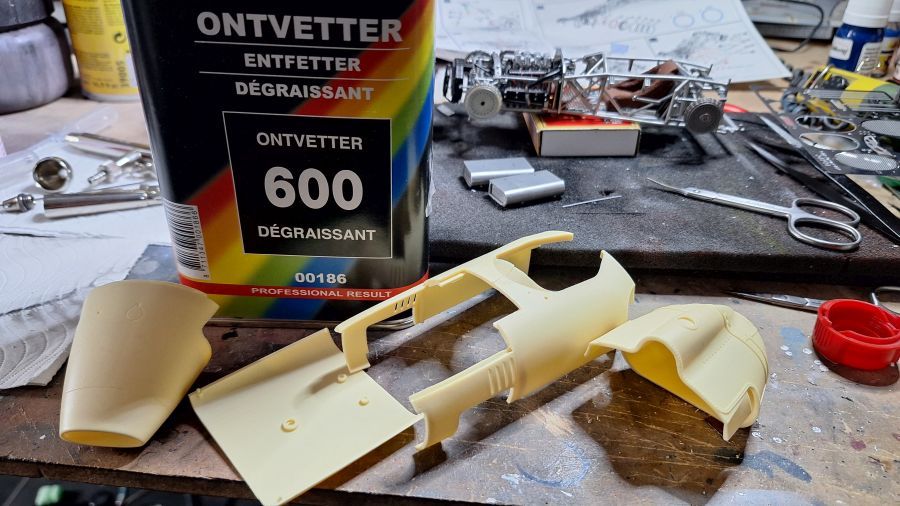
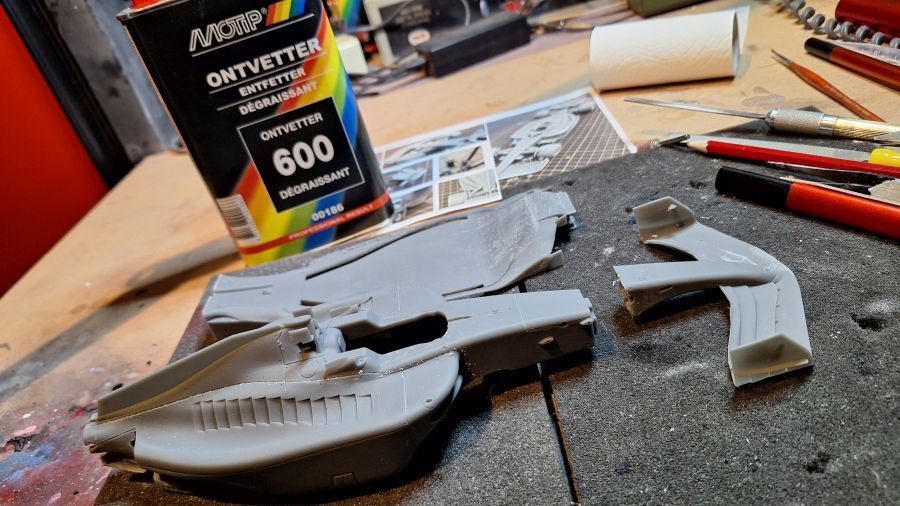
Meer onderdelen geplaats aan de achterkap en dan ontvetten voor het spuiten.
More parts added to the rear cover and then degrease before painting.

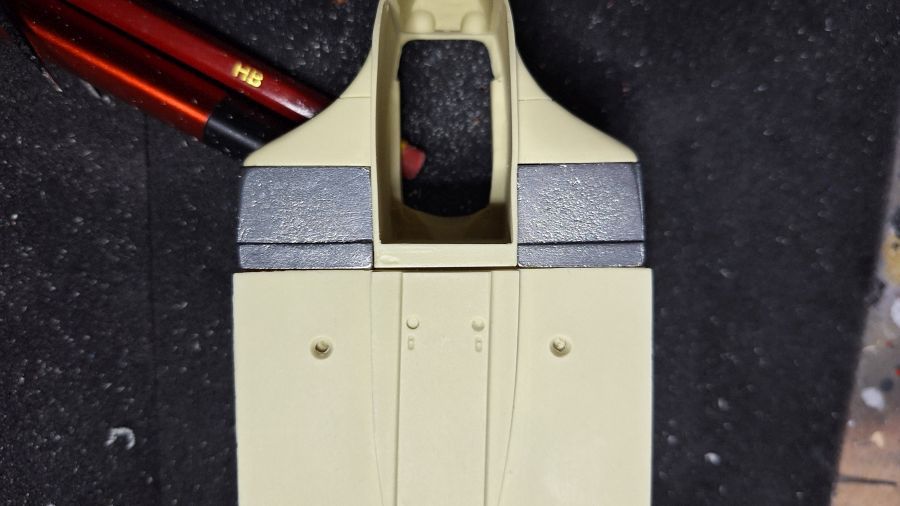
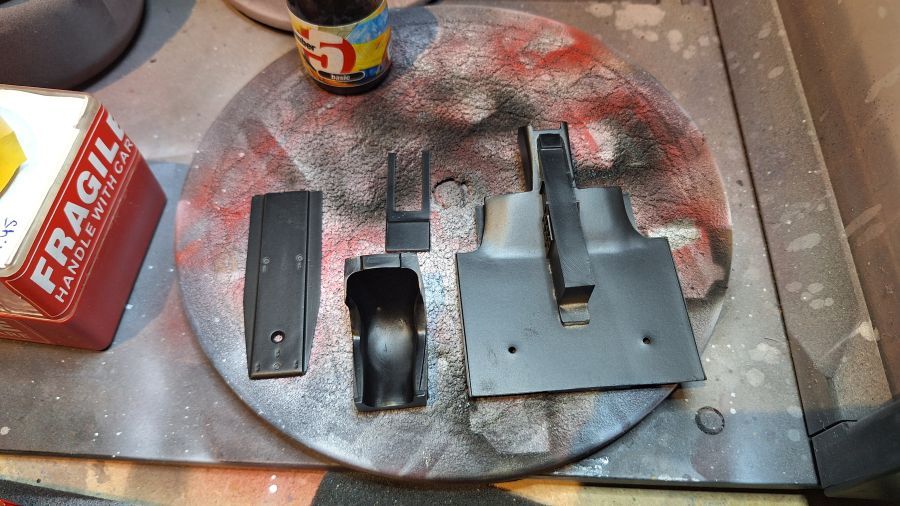
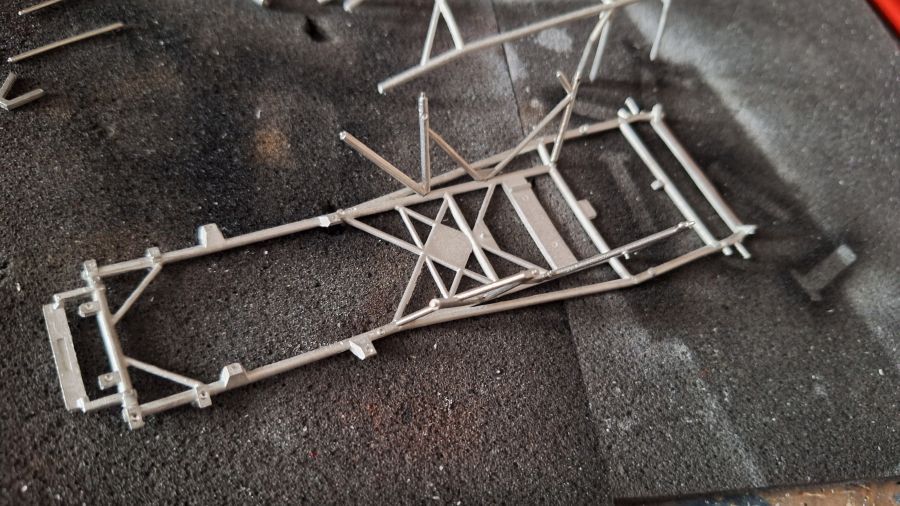
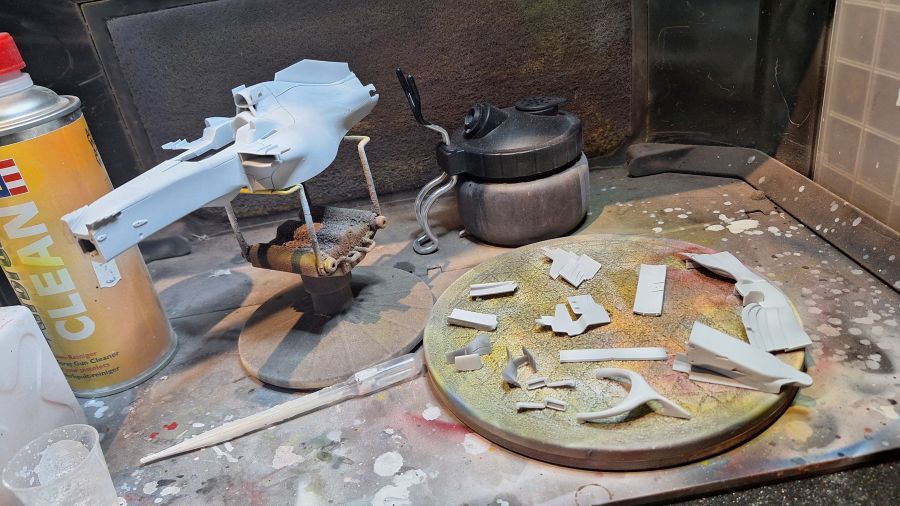
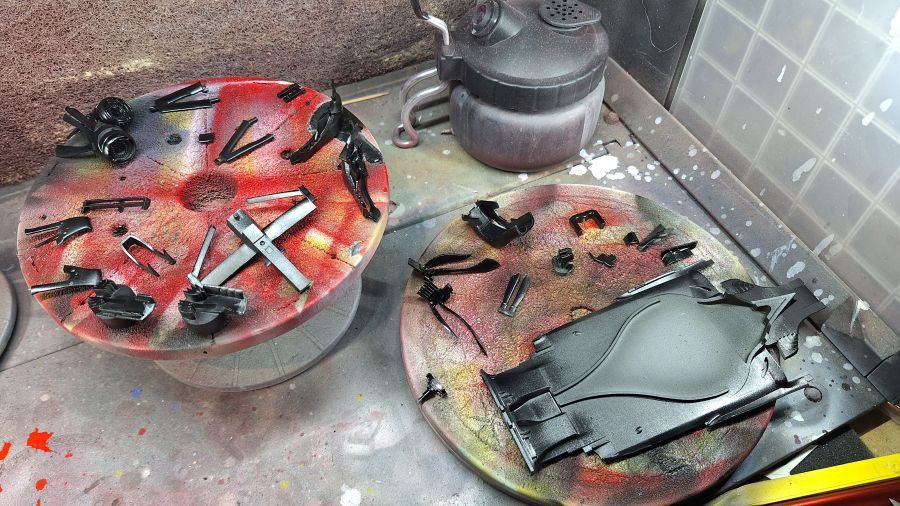
Grondverf.
Primer.
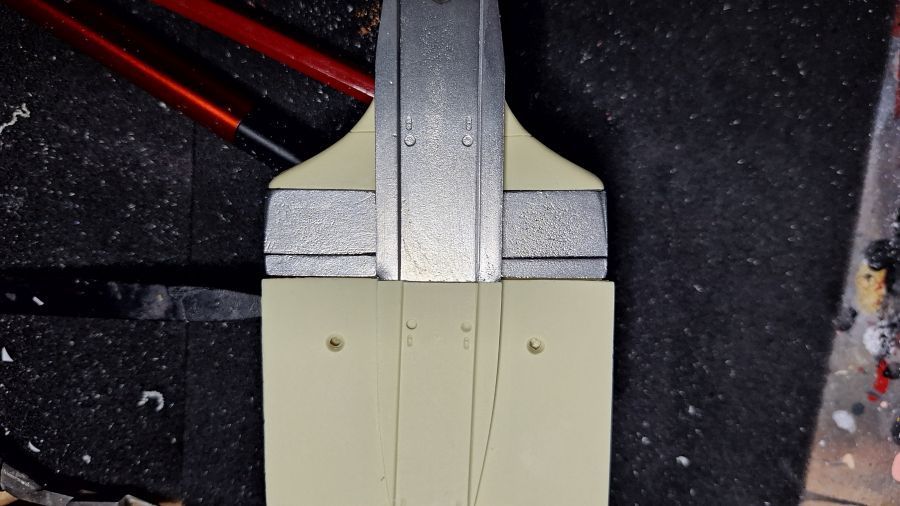
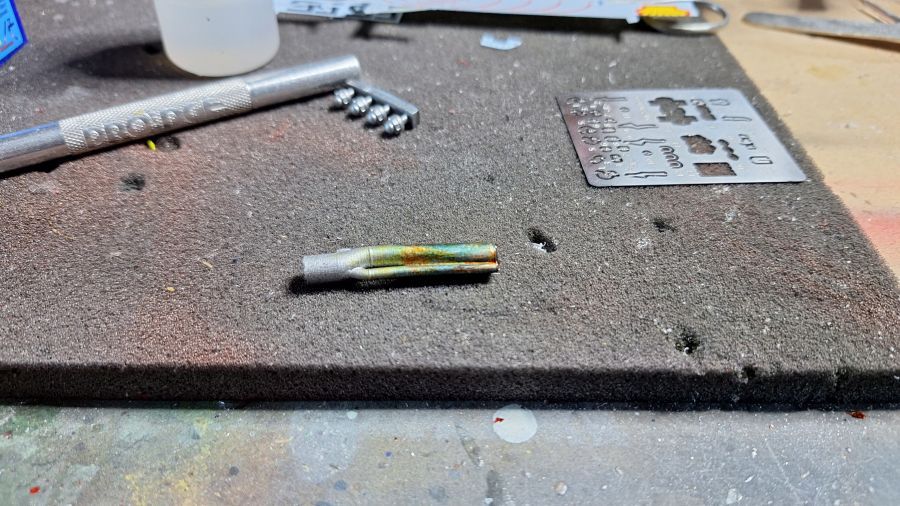
Aluminium.
Aluminium.
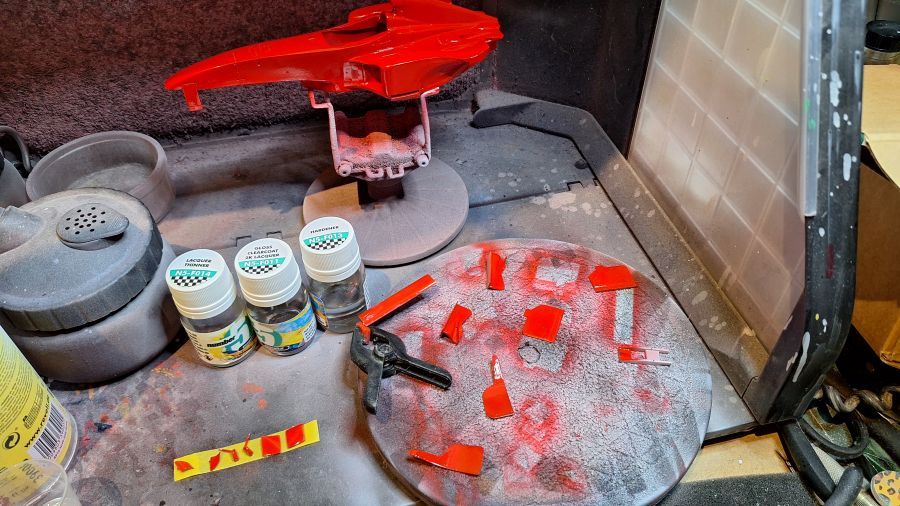
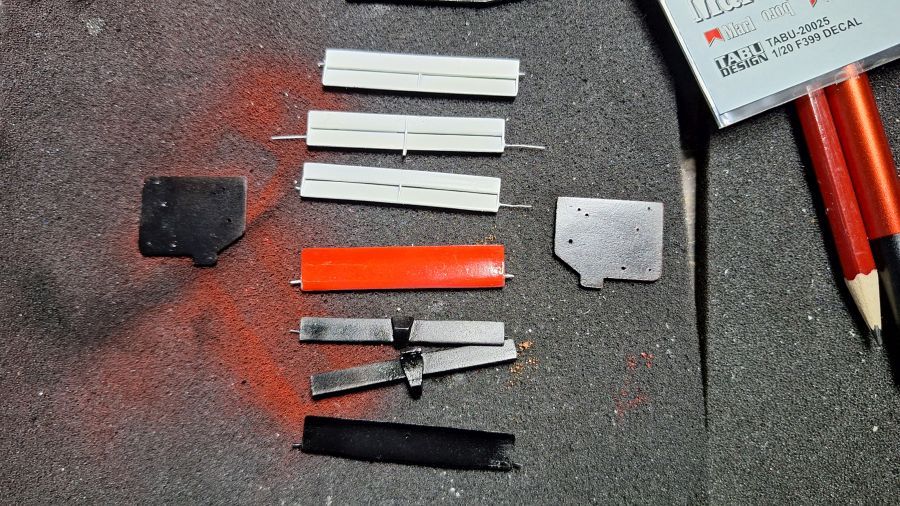
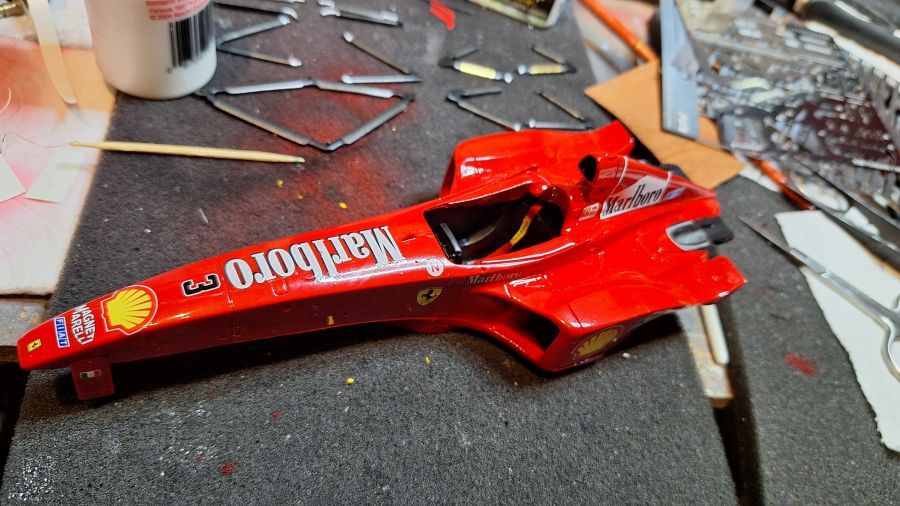
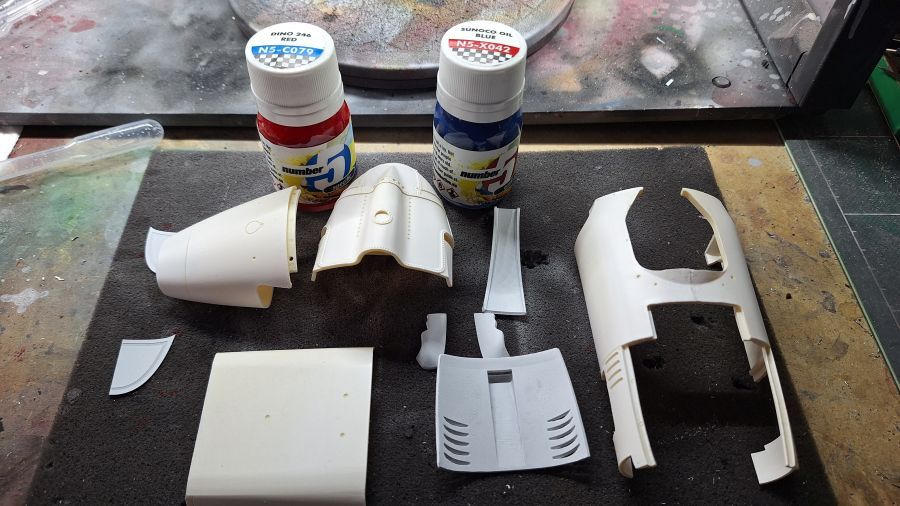
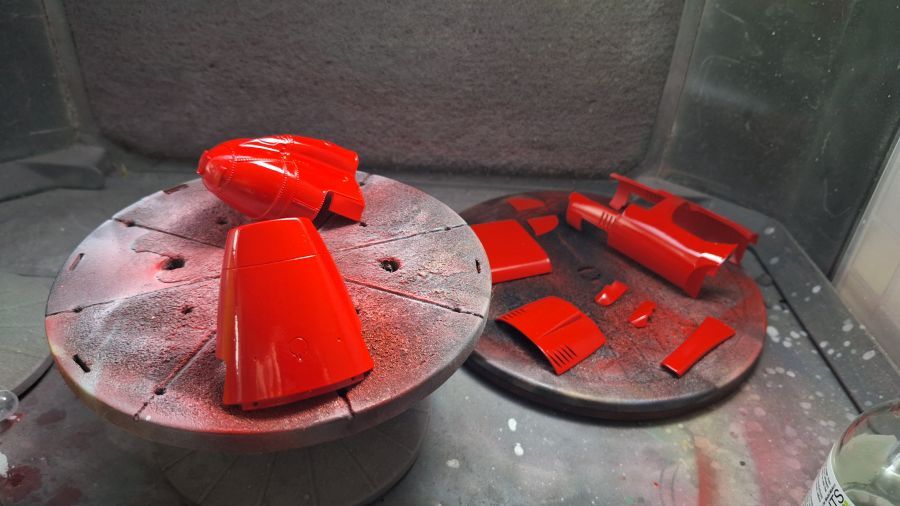
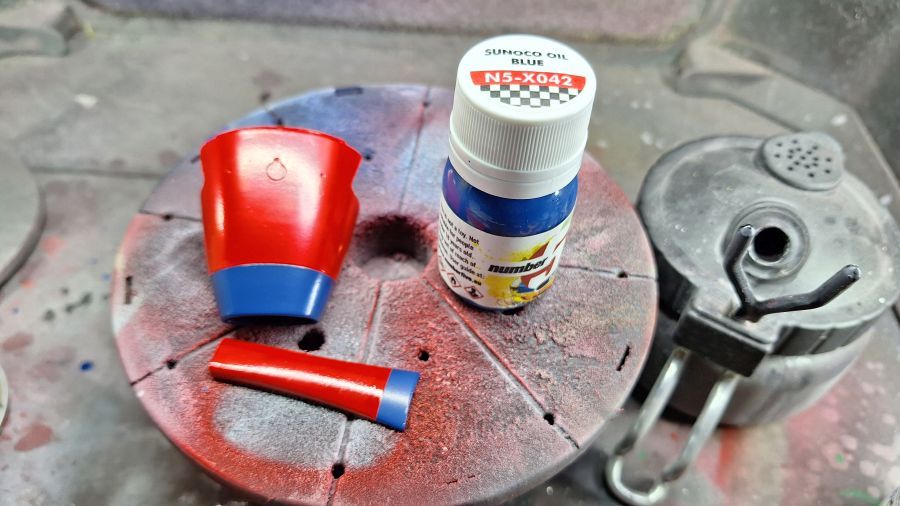
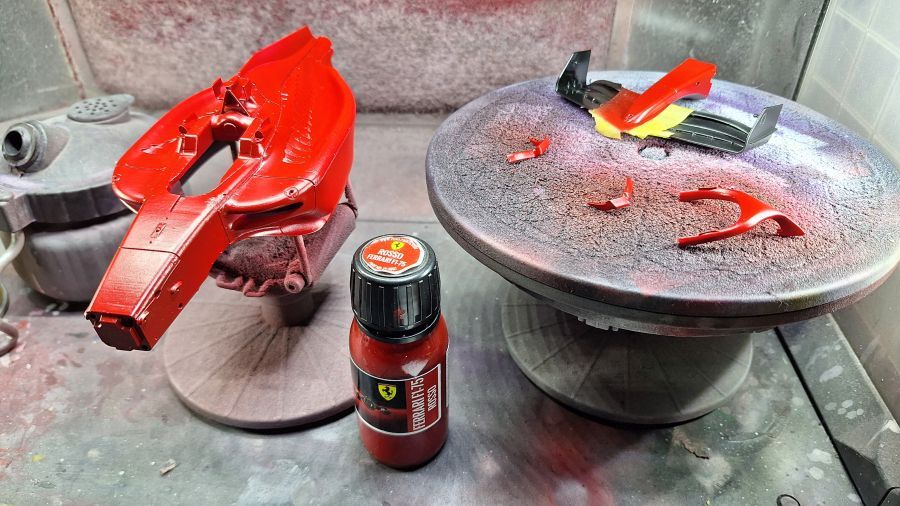
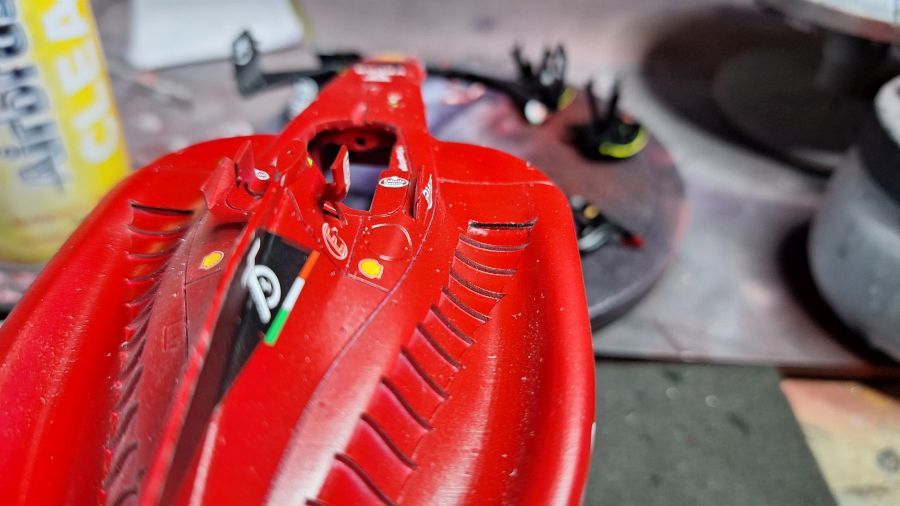
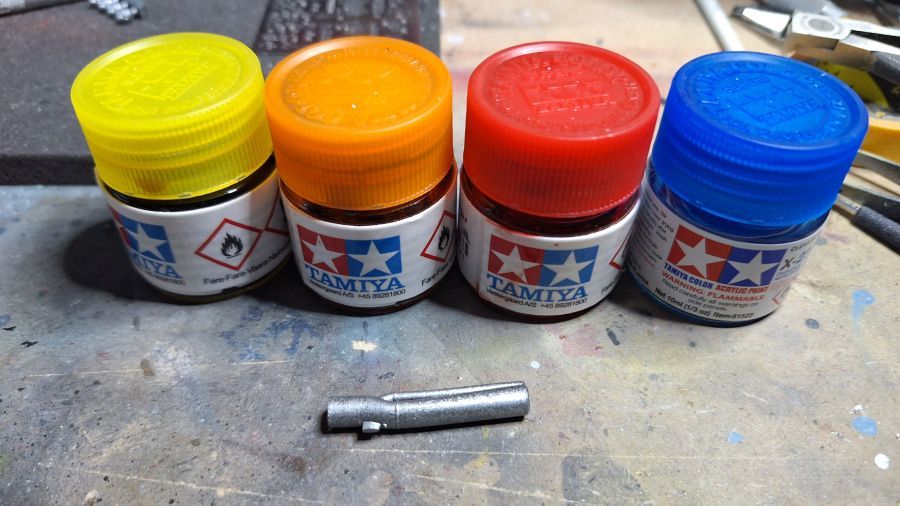
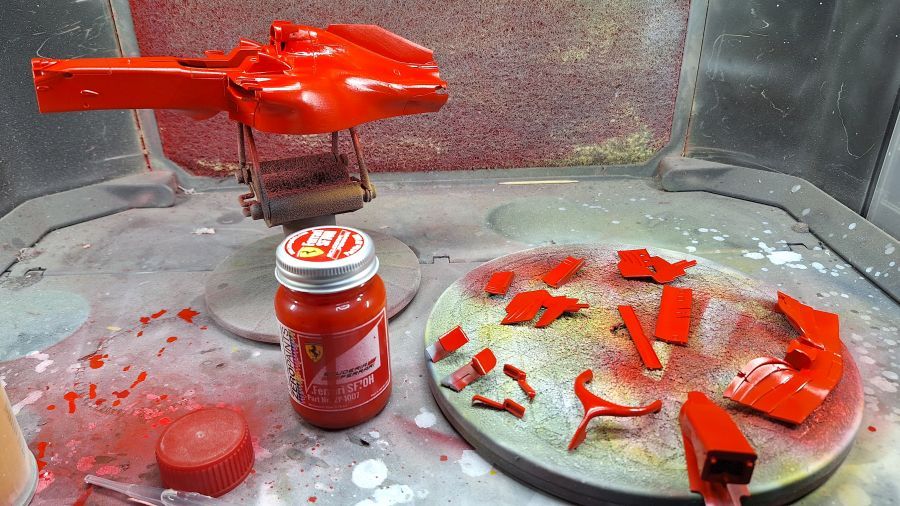
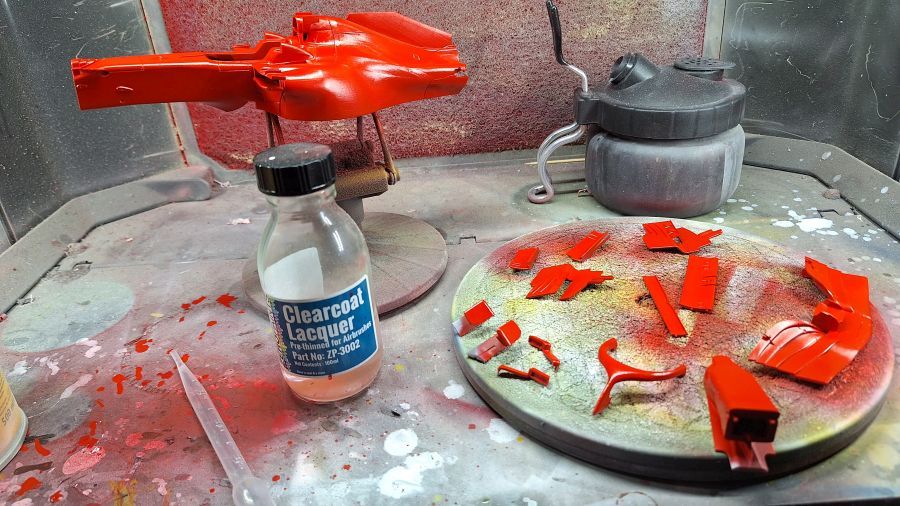
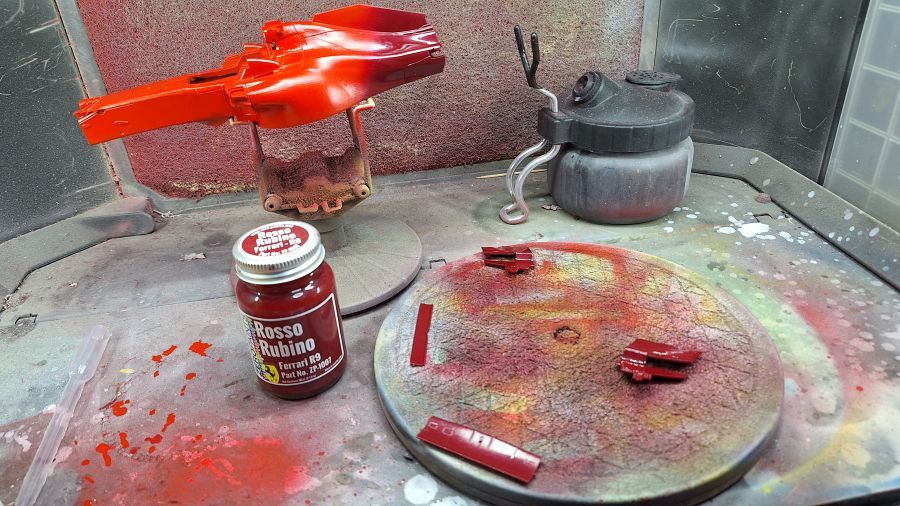
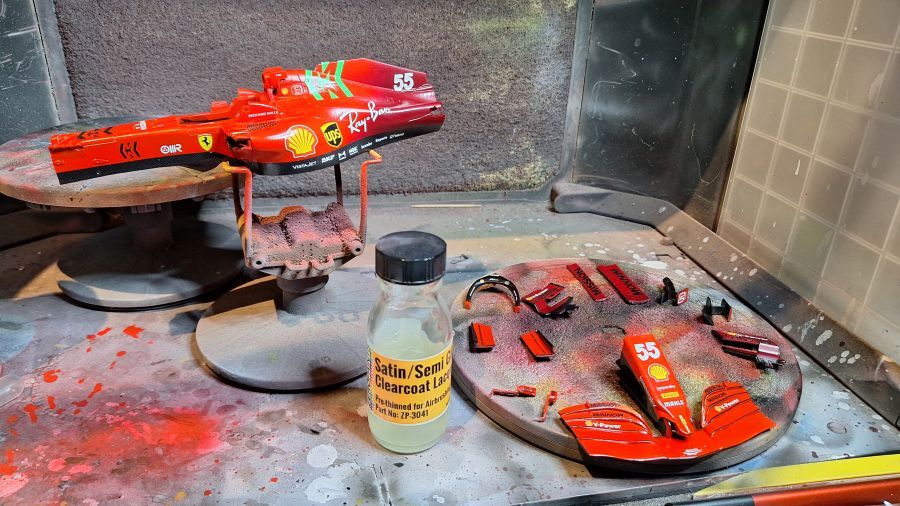
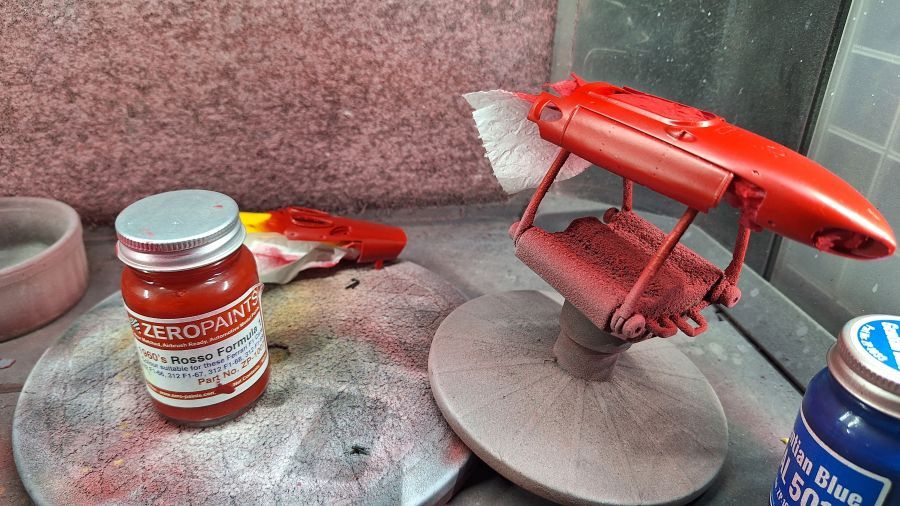
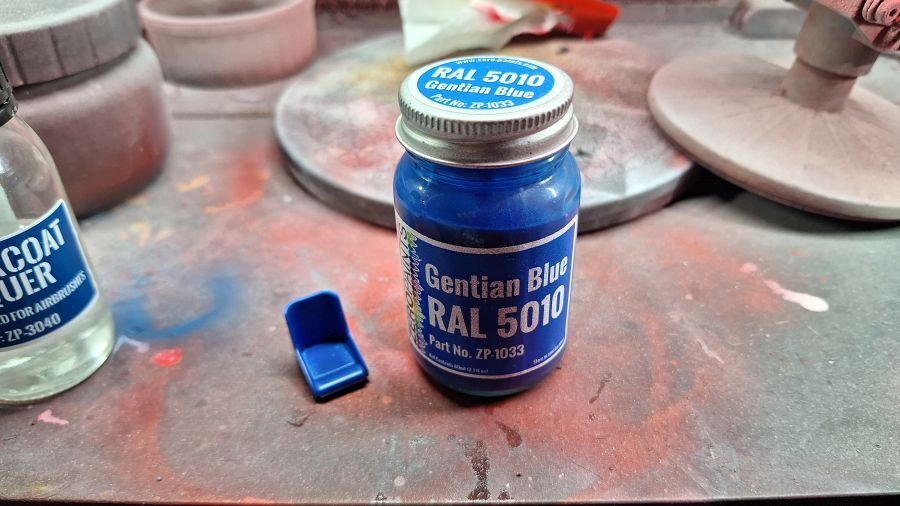
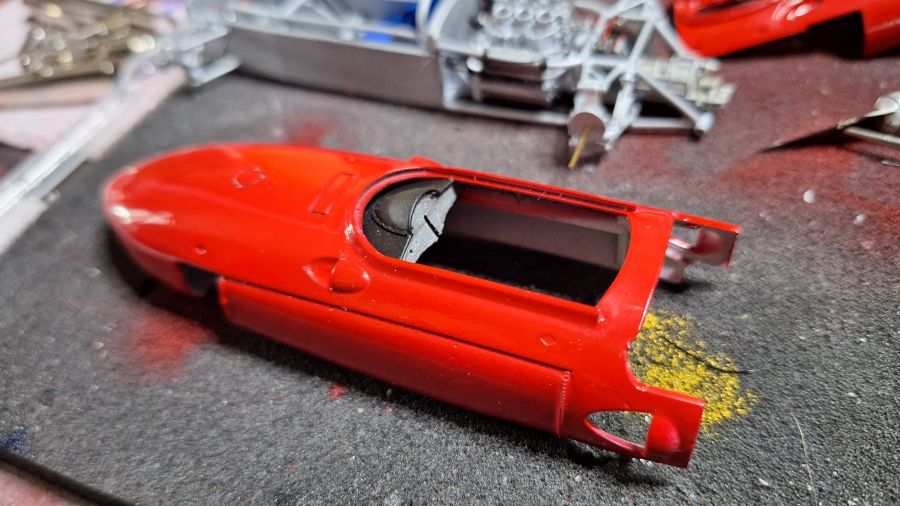
Het rood en blauw...
The red and blue...
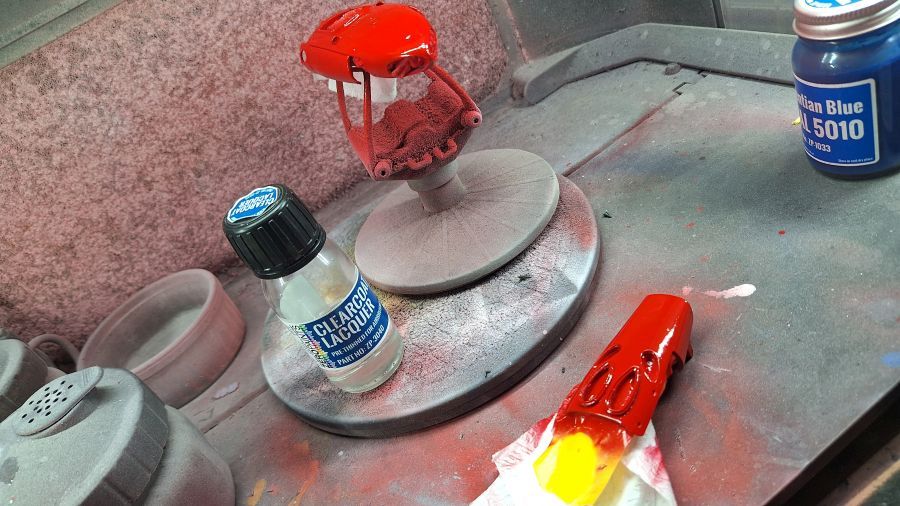
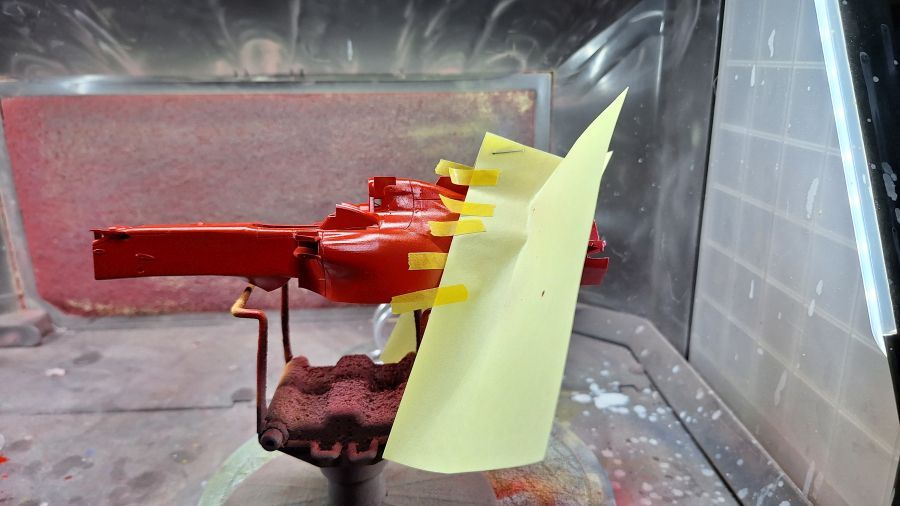
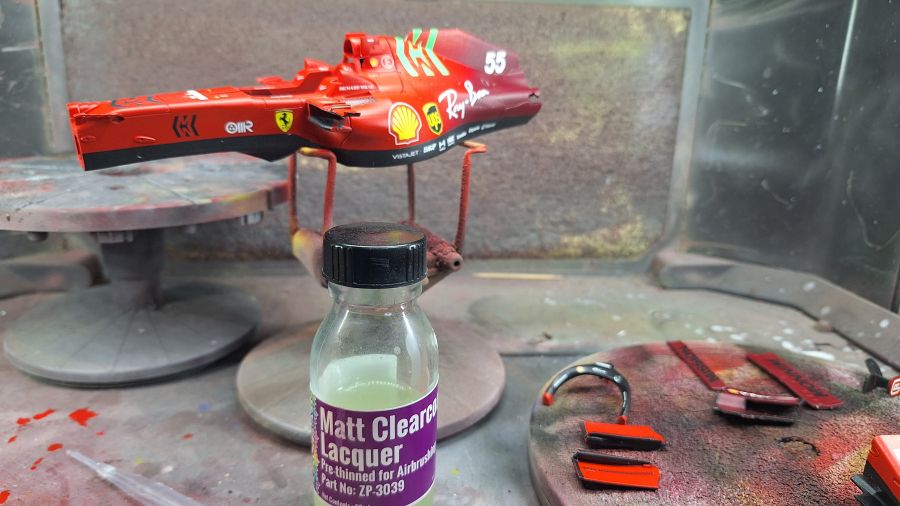
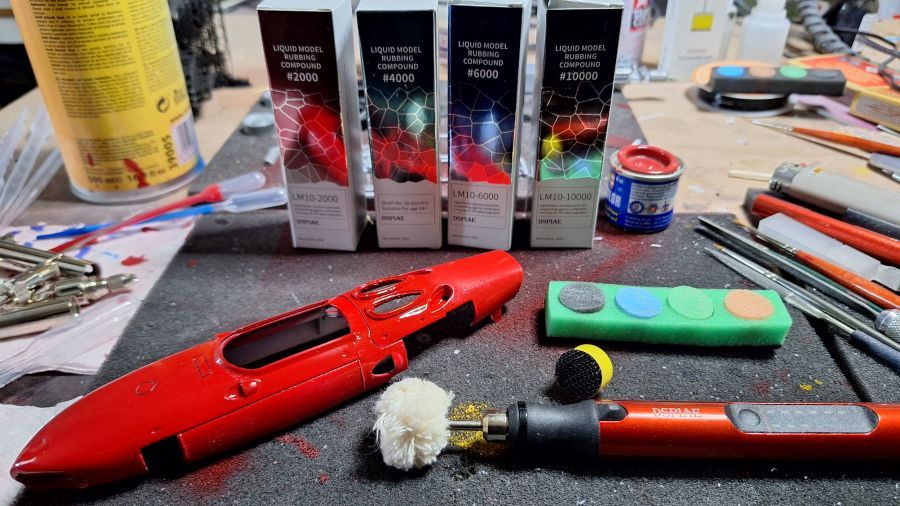
Ik wil eigenlijk niet polijsten (teveel glans voor een 60'er jaren auto), maar er moeten wat stofjes worden weggewerkt.
I didn't want to polish (too much shine for a 60's car), but i need to get rid of some dust particles.
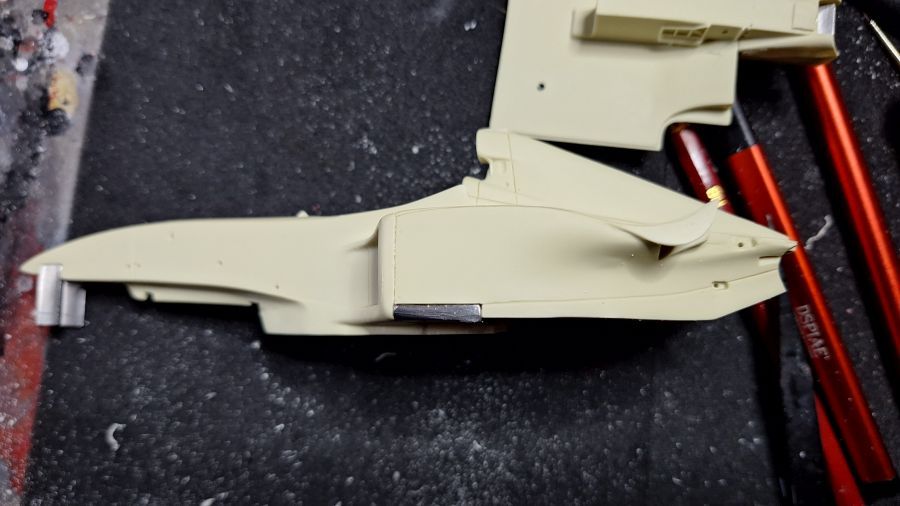
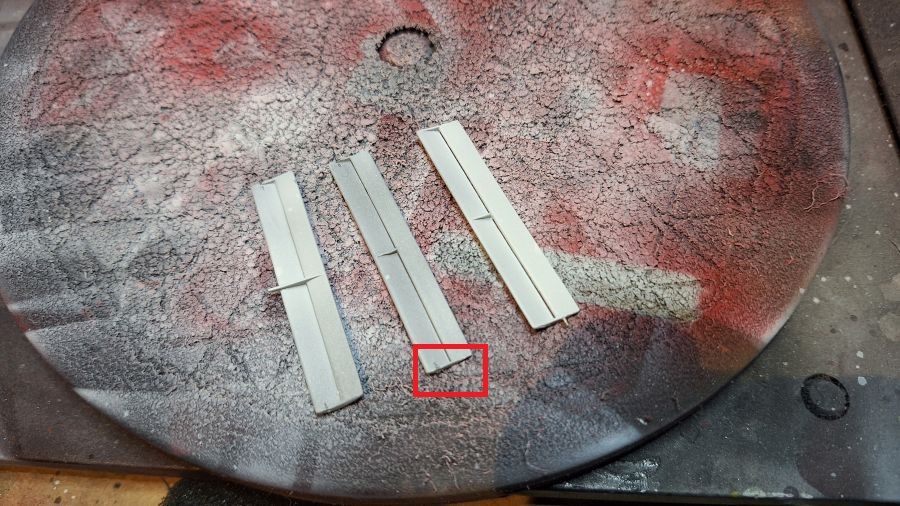
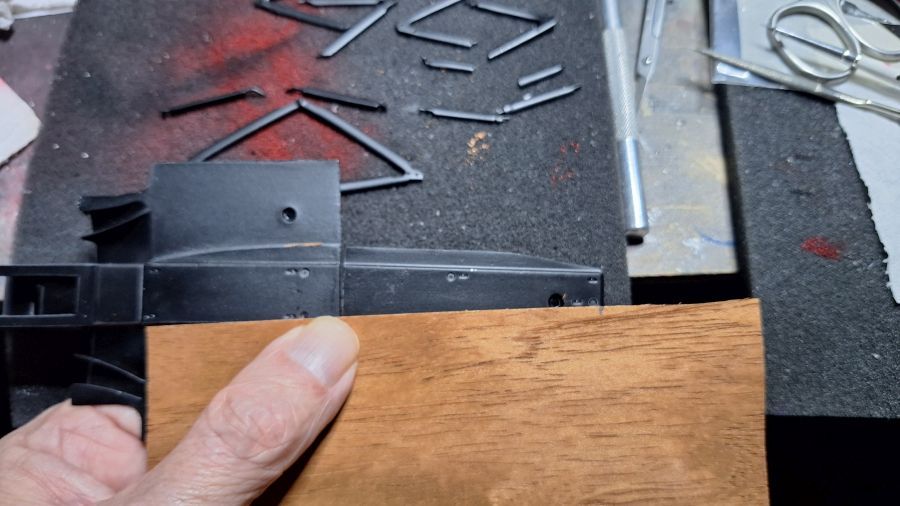
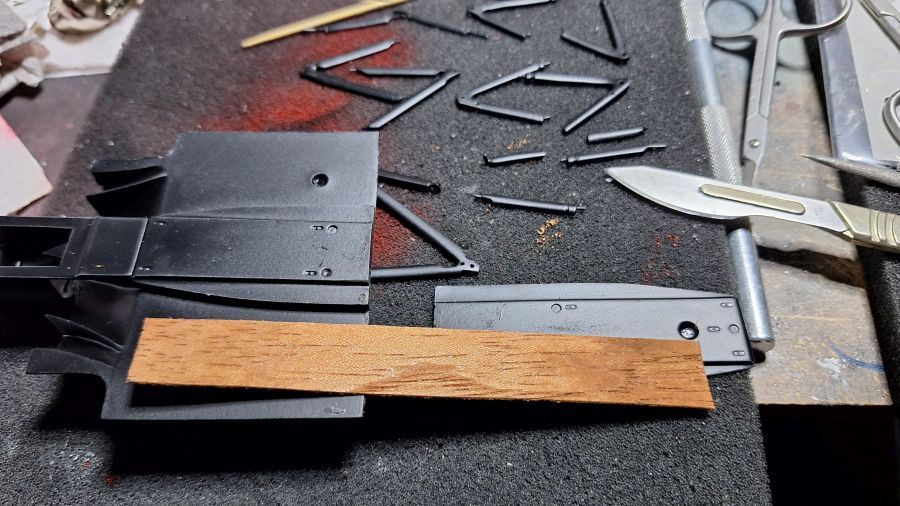
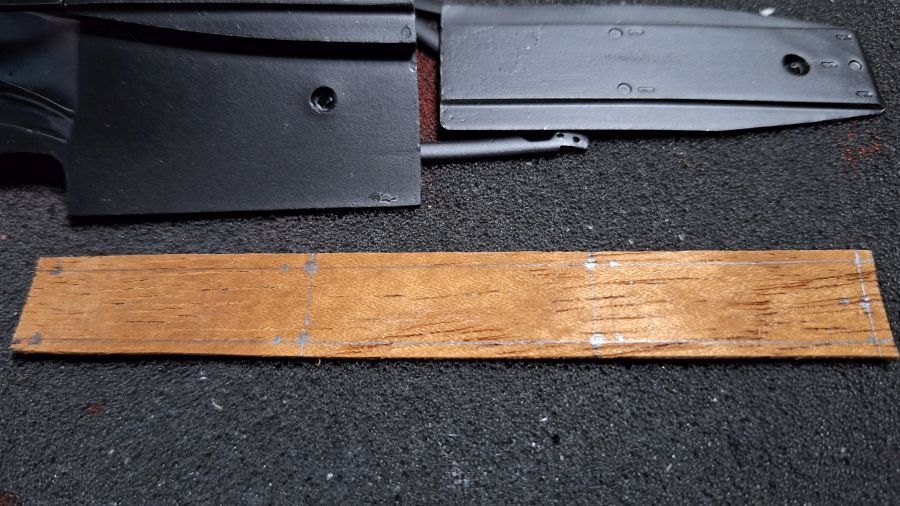
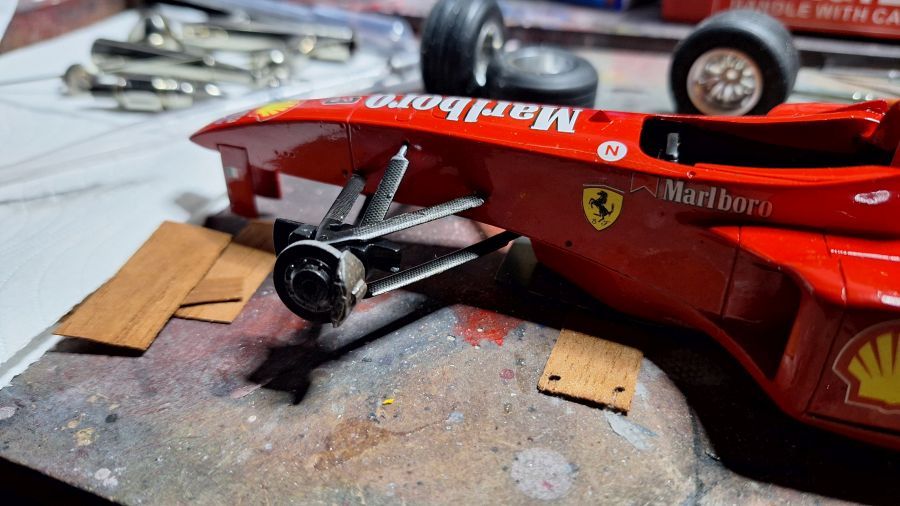
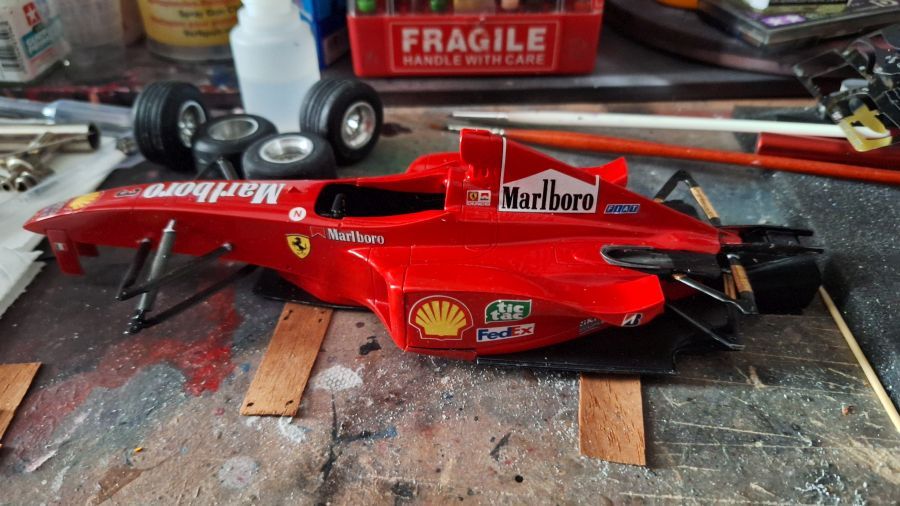
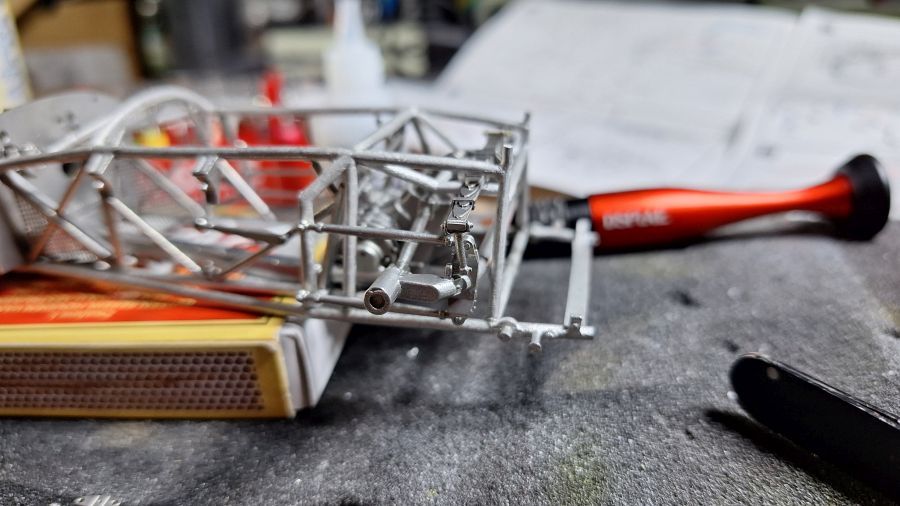
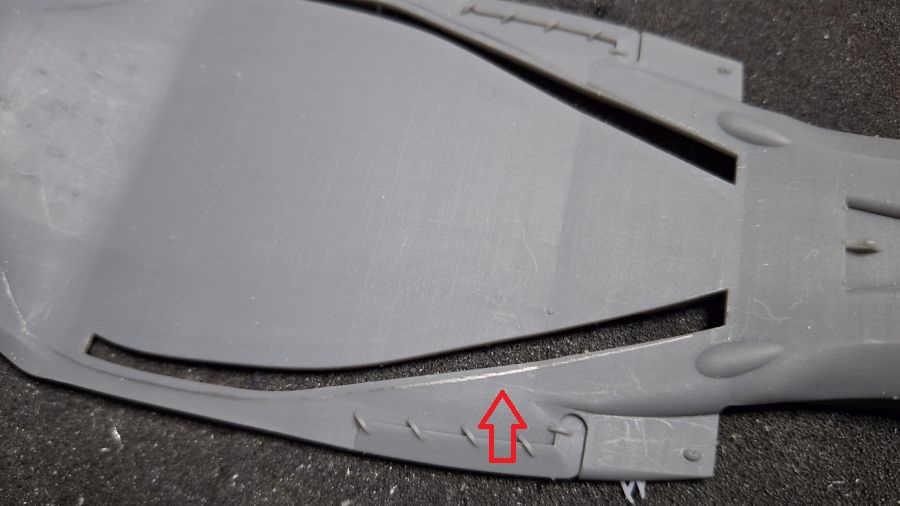
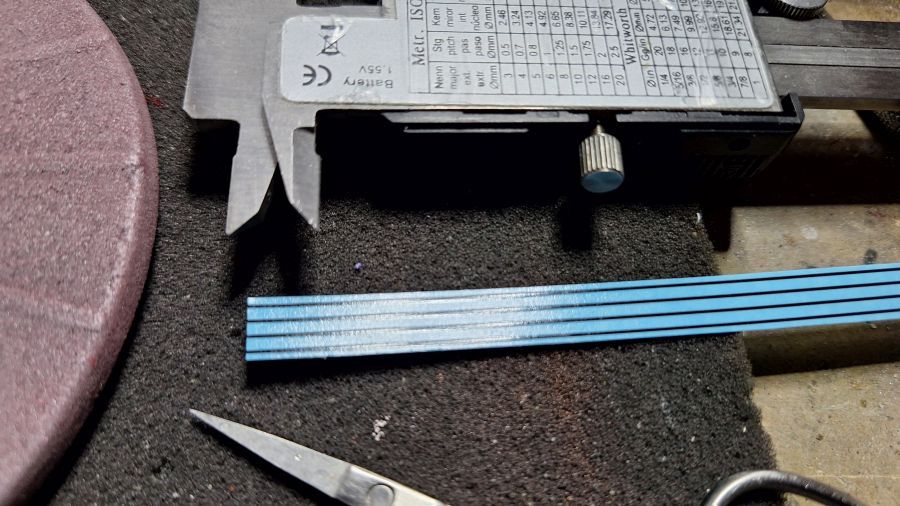
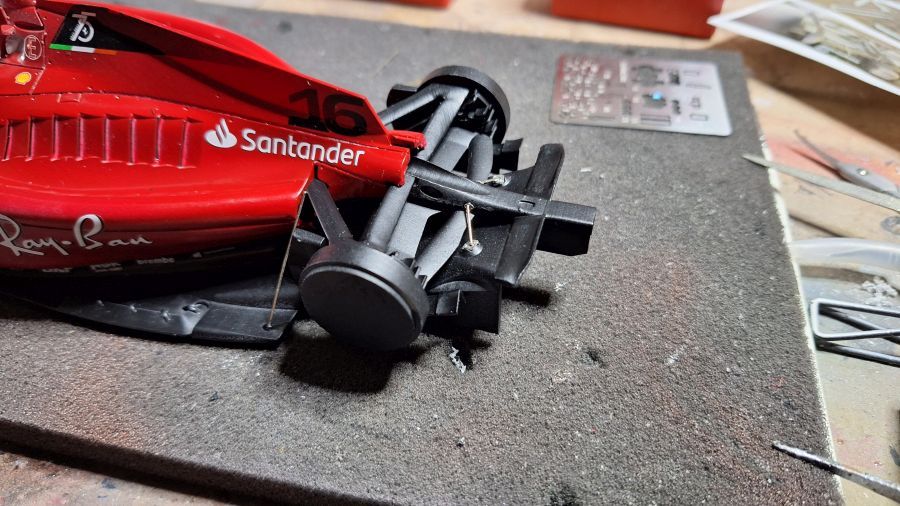
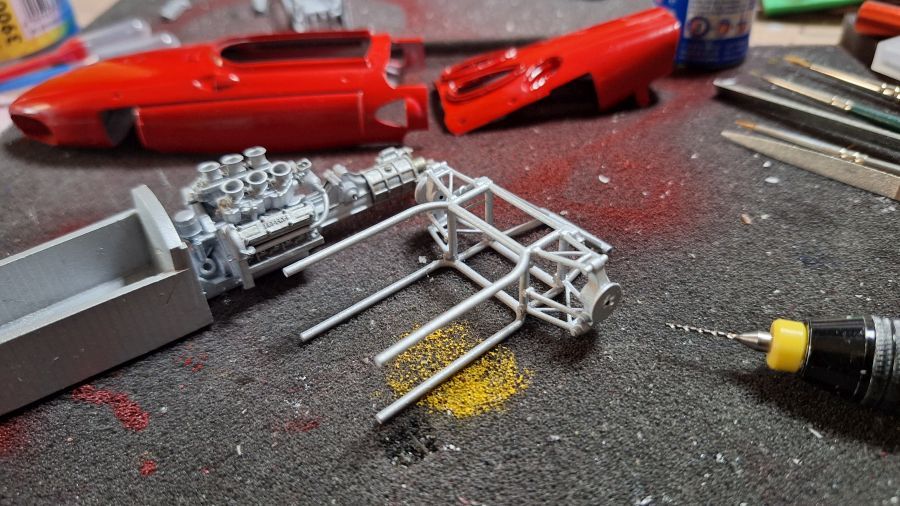
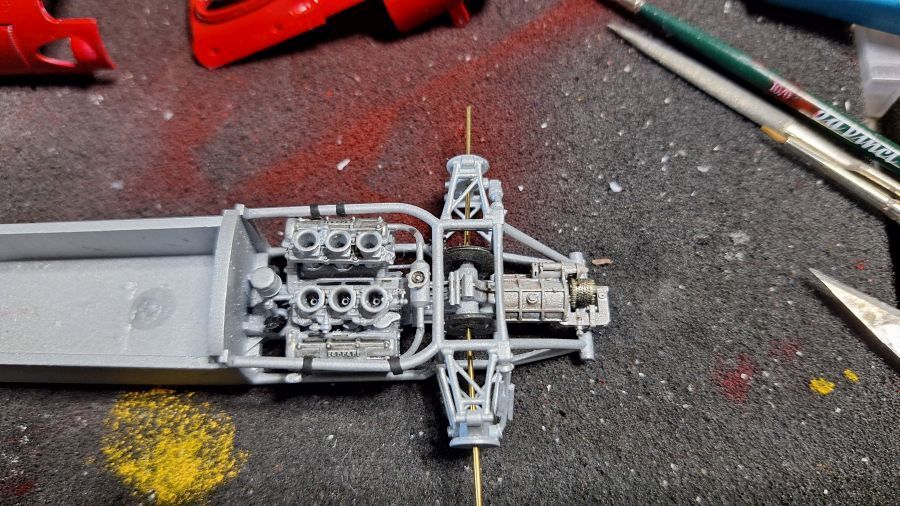
Gaatjes boren (0,9 mm) voor het test plaatsen van de assen. De lange steunen aan het bodywerk moeten op maat worden gemaakt, alvast aftekenen.
Drilling holes (0,9 mm) for a test fit of the axles. The long supports to the bodywork need to be adjusted, for now determined.
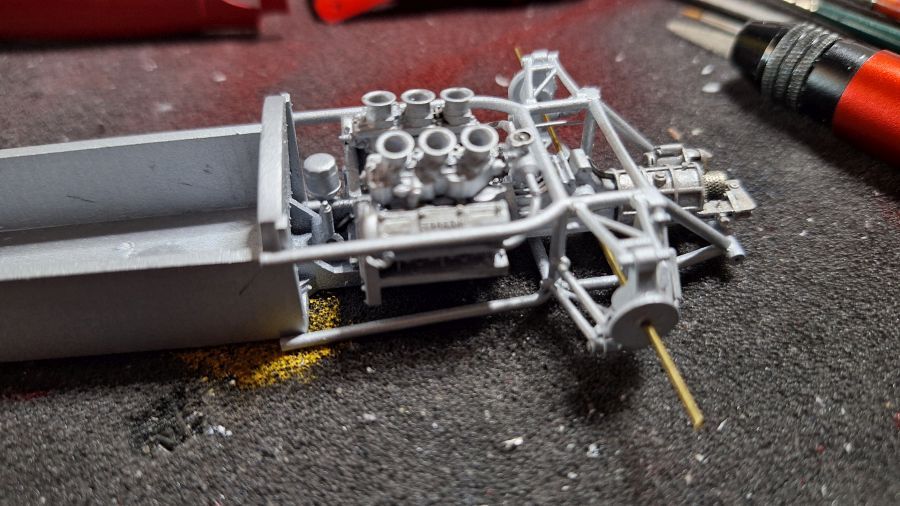
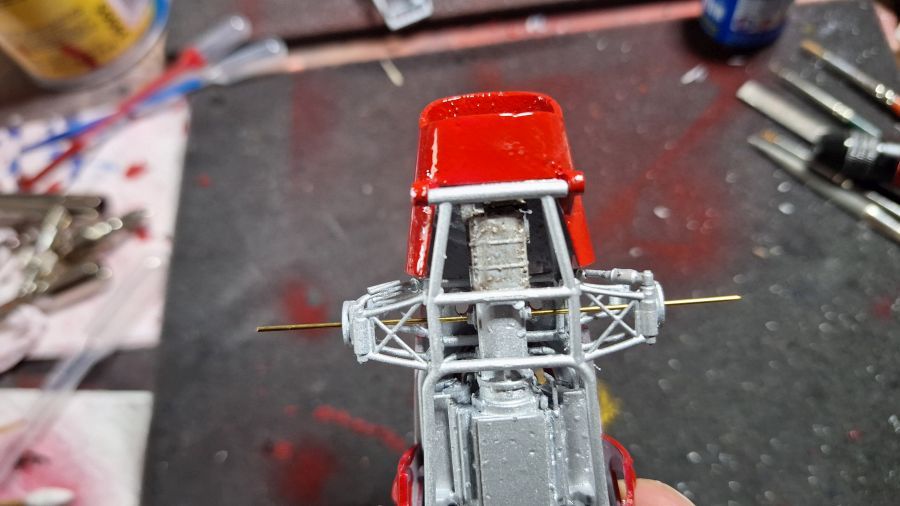
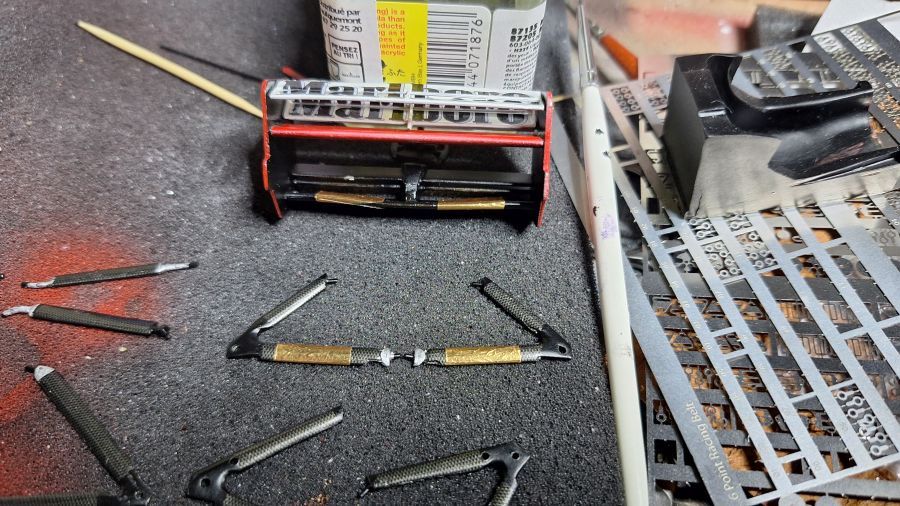
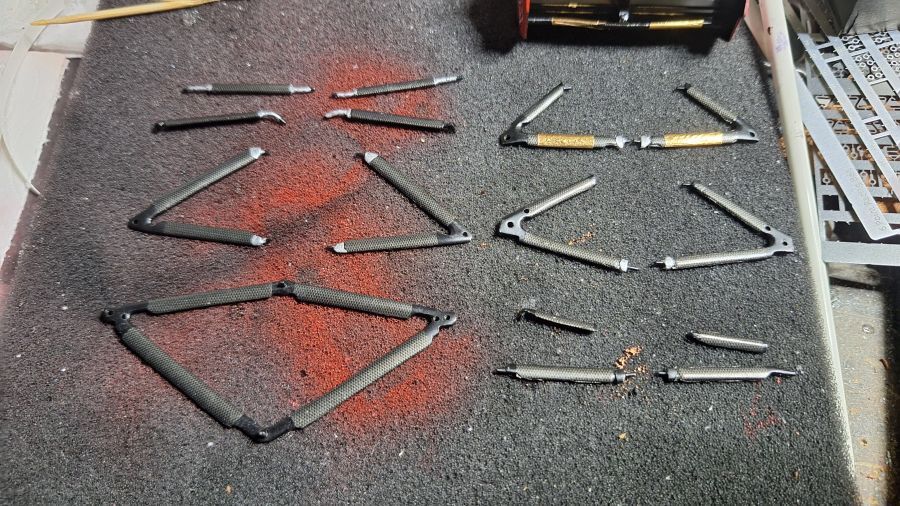
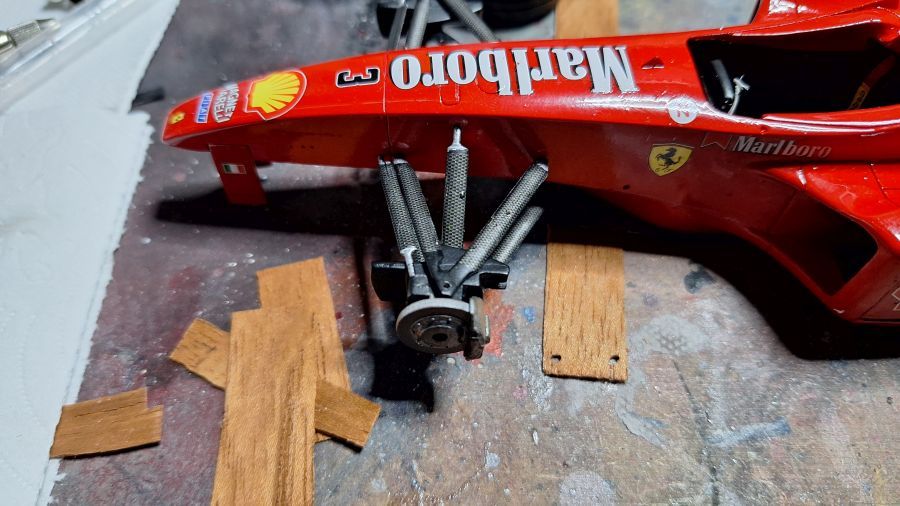
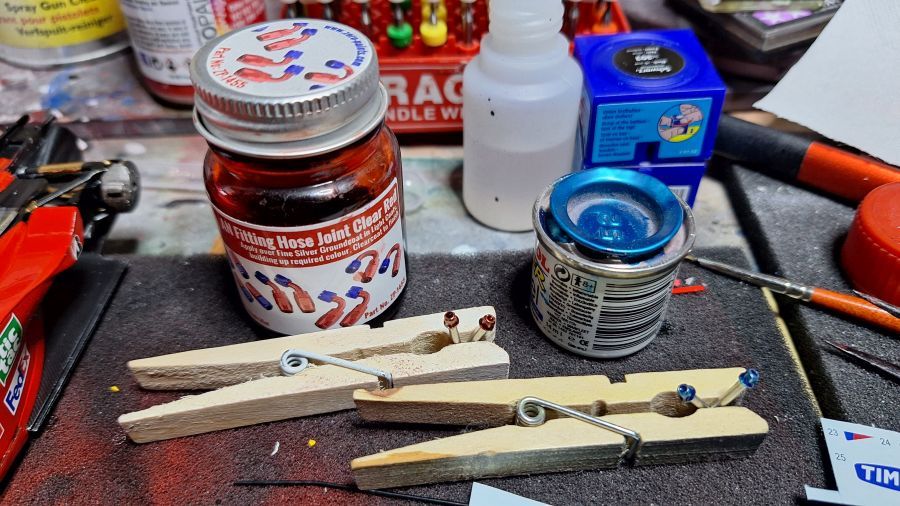
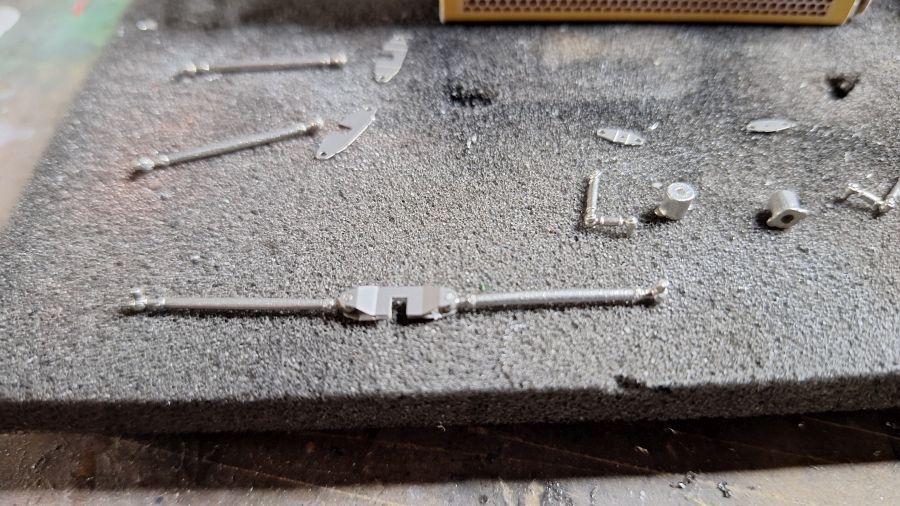
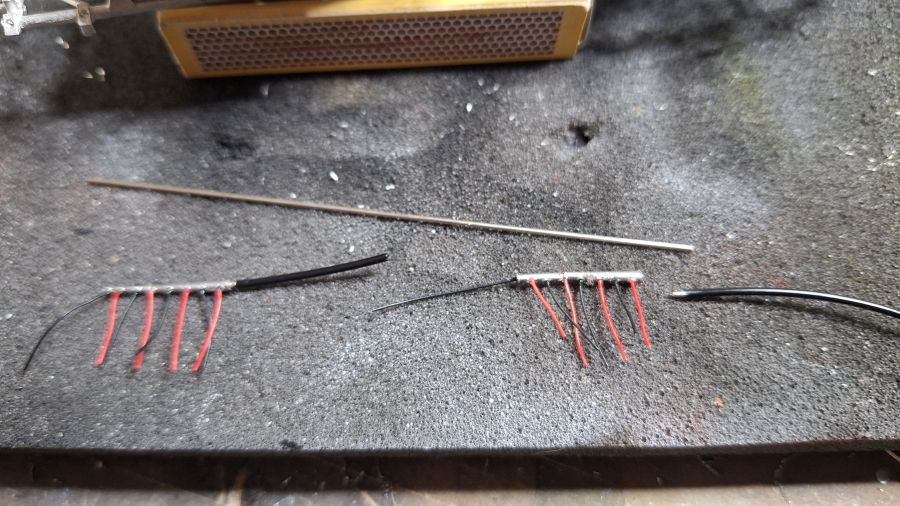
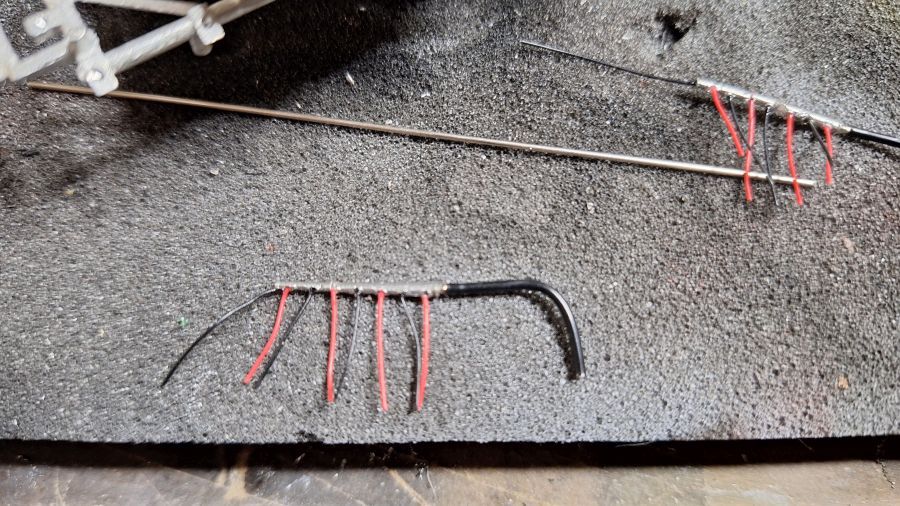
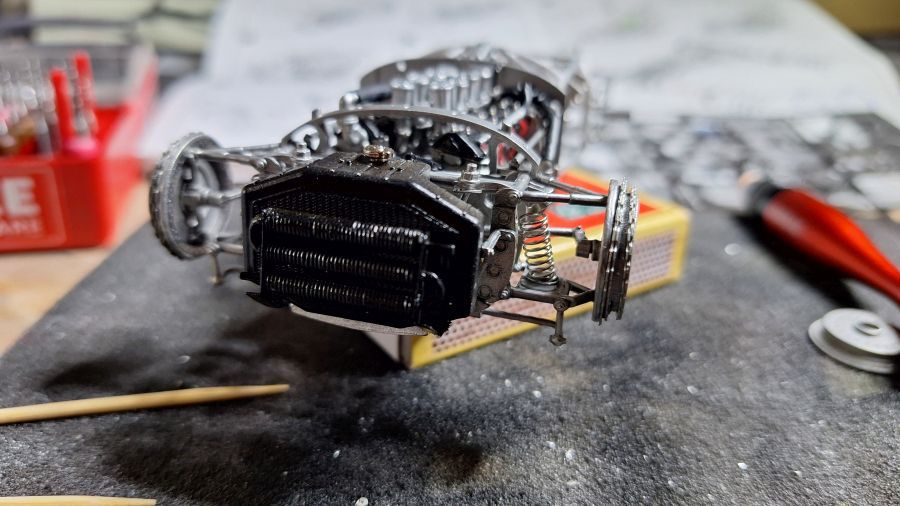
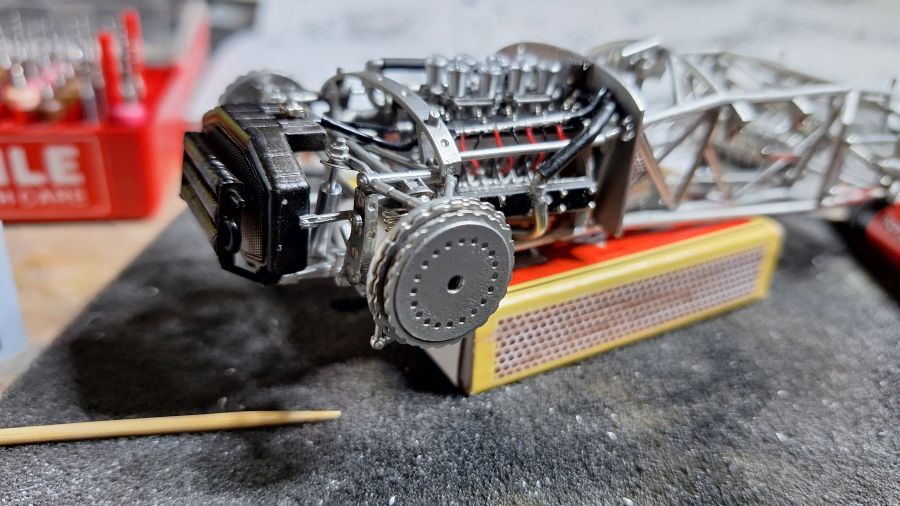
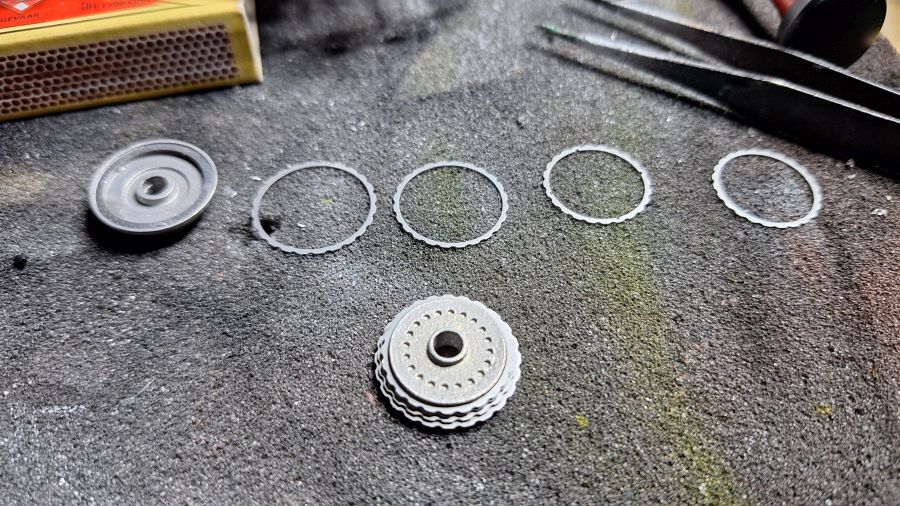
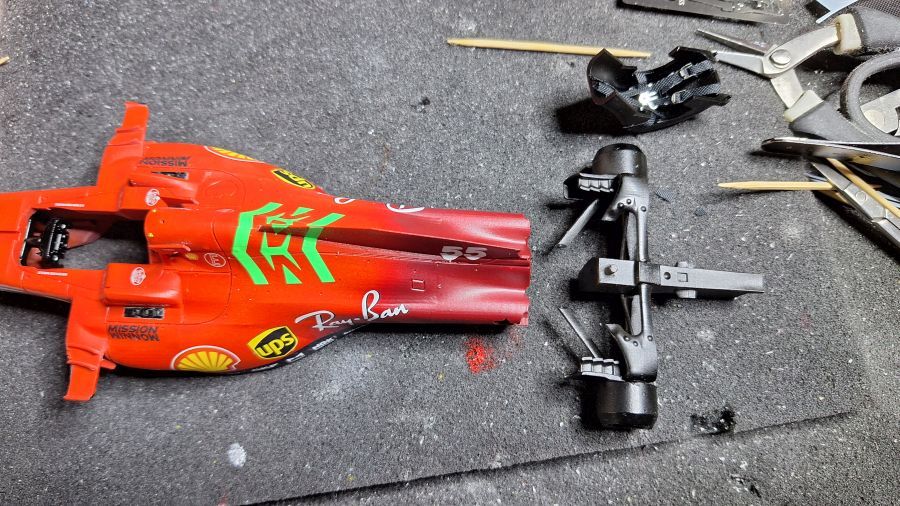
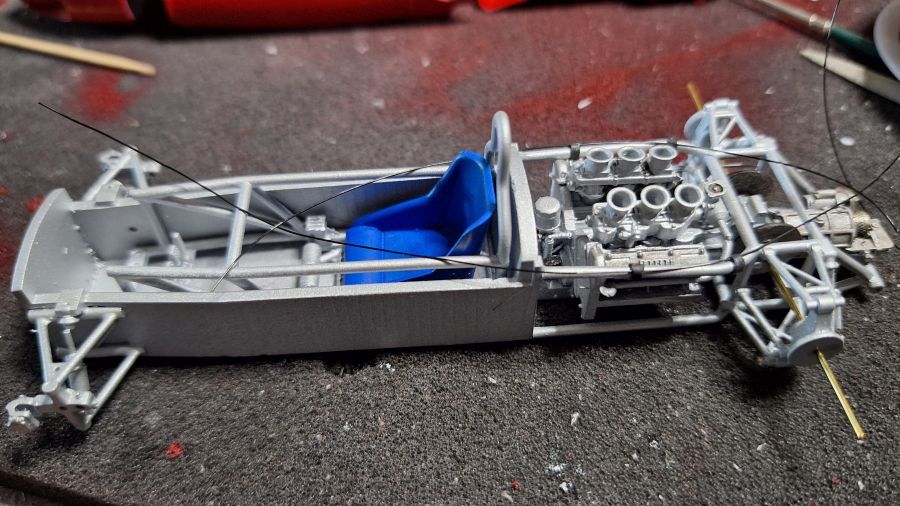
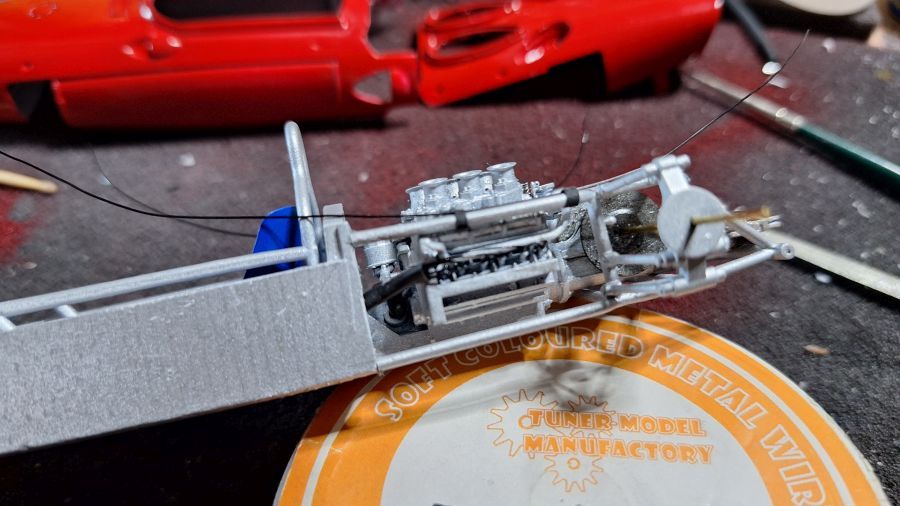
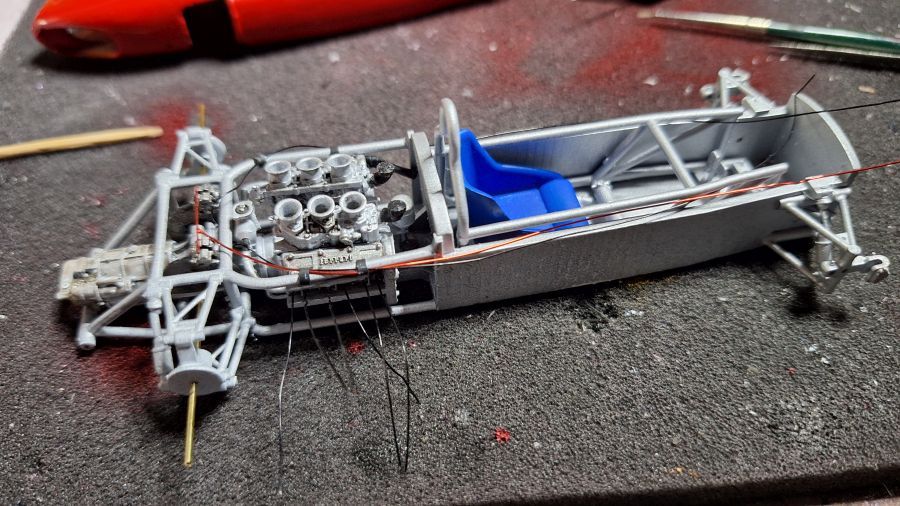
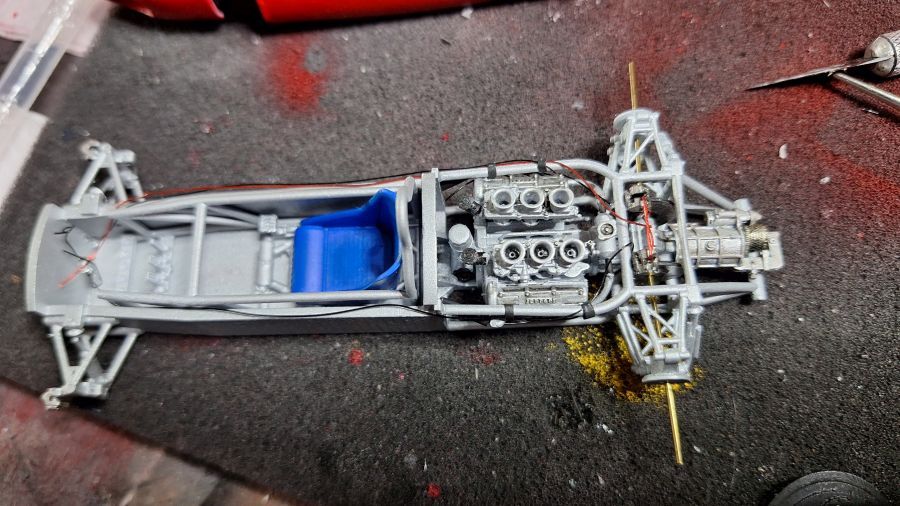
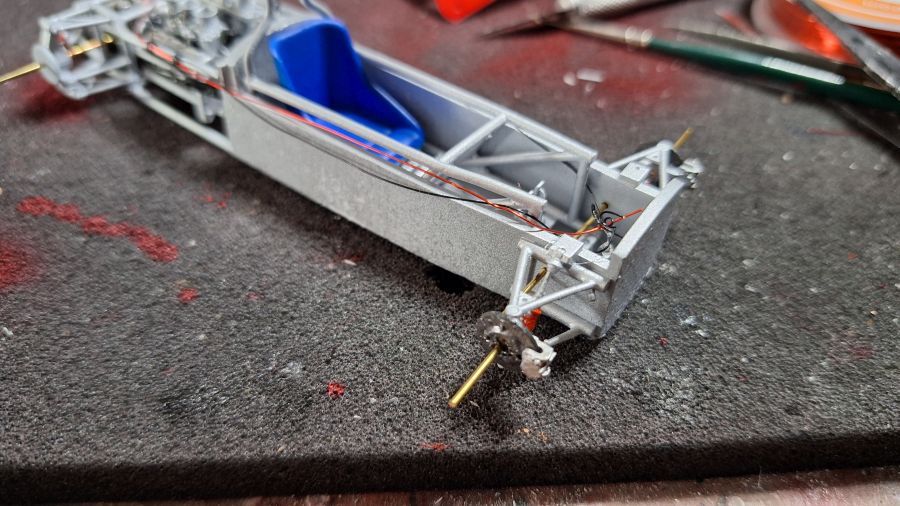
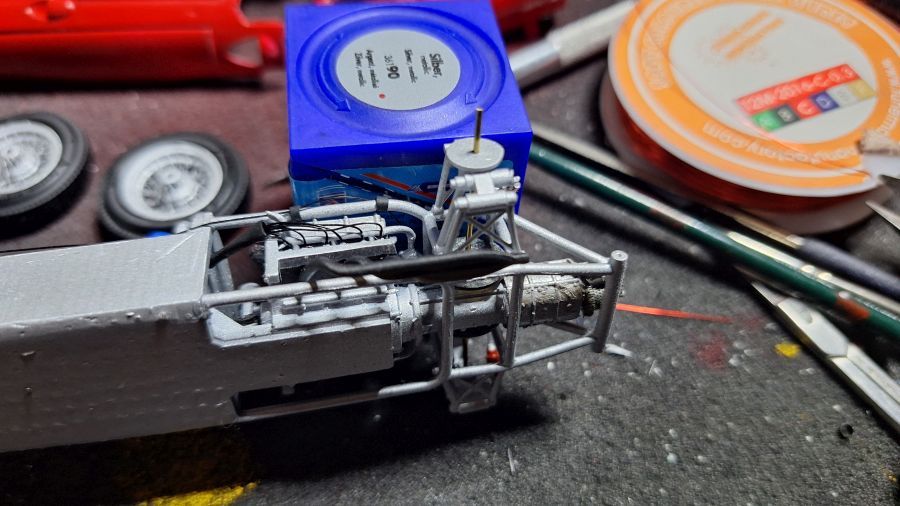
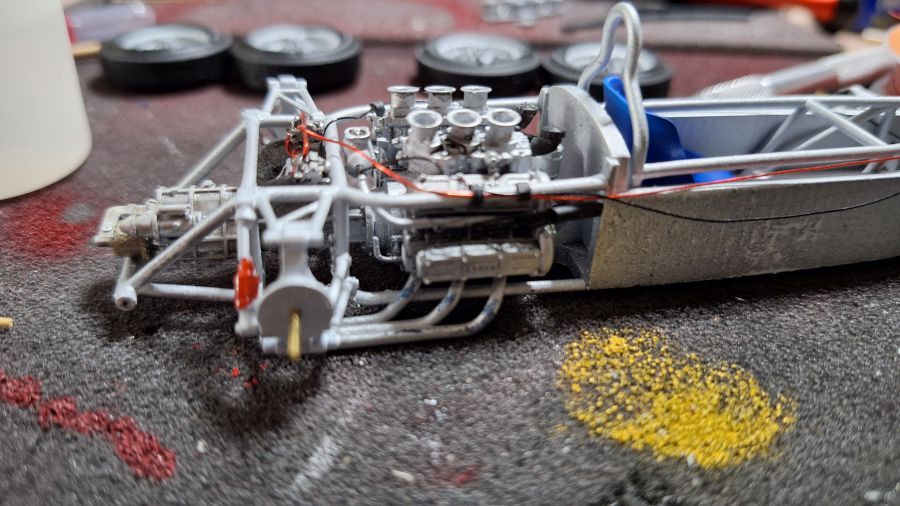
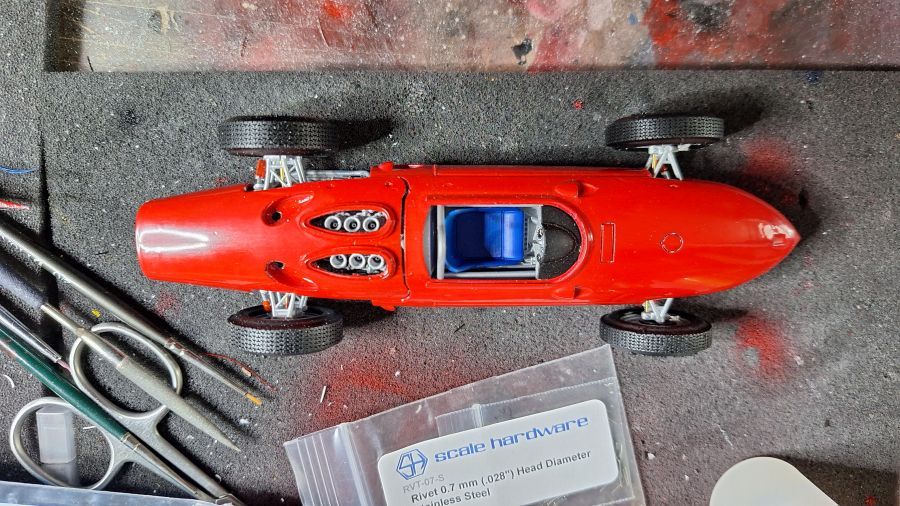
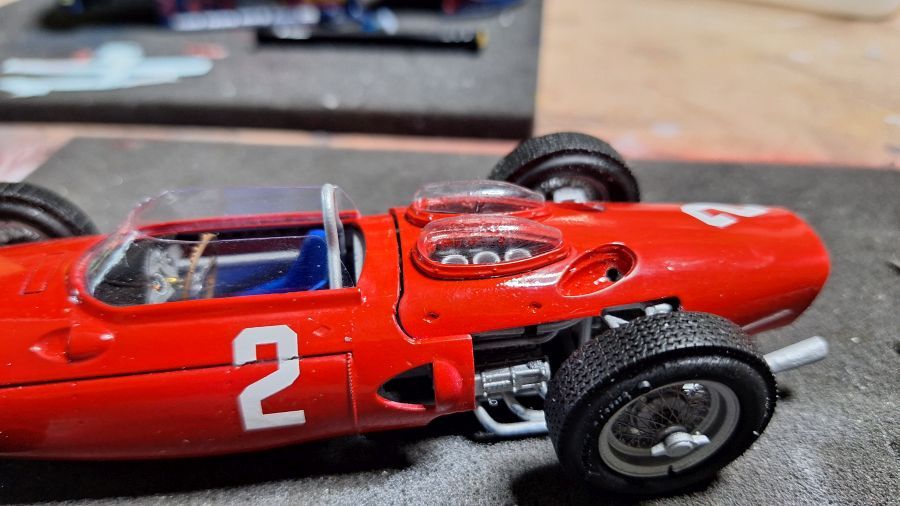
Werk aan de achterkant, remschijven, assen, bedrading, leidingen....
Work on the back, brake discs, axles, wiring, piping....

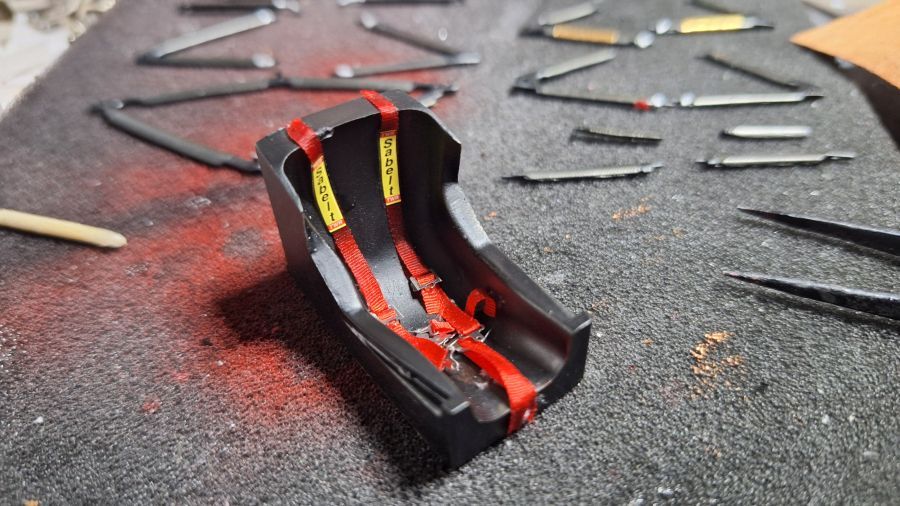
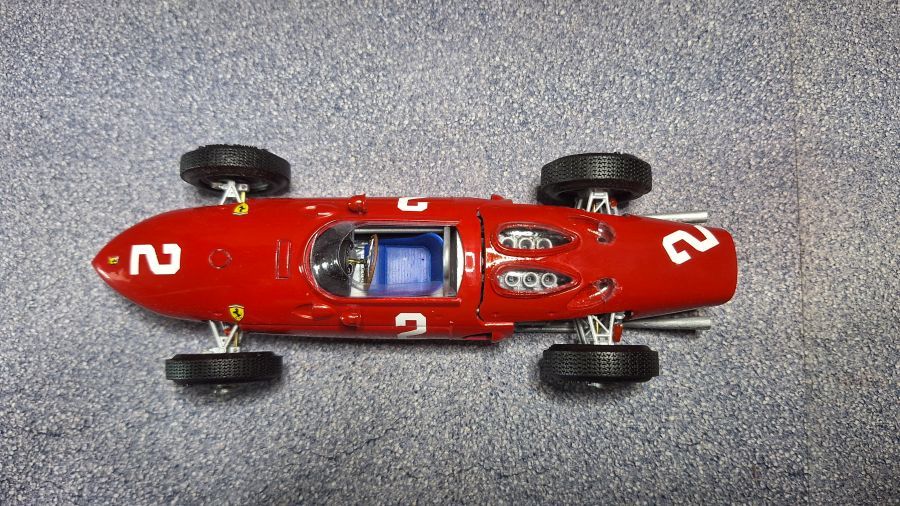
Het dashbord plaatsen.
In stalling the dash.
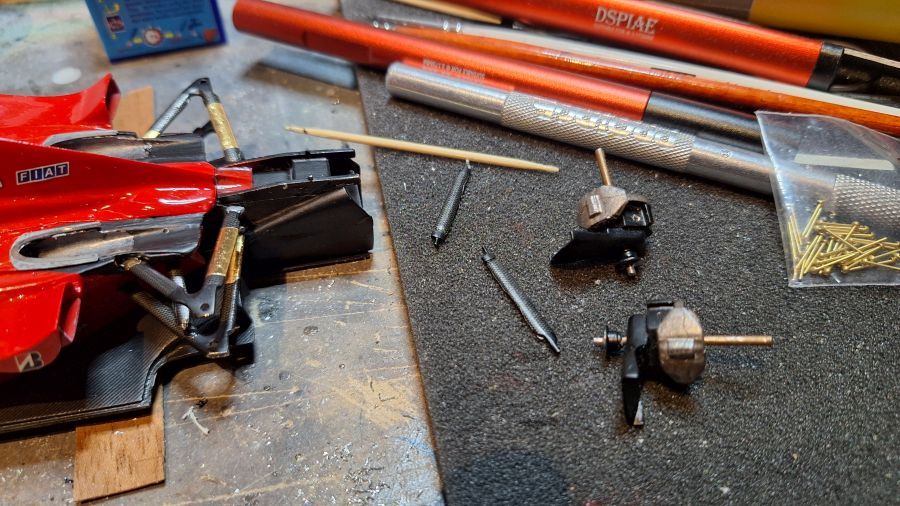
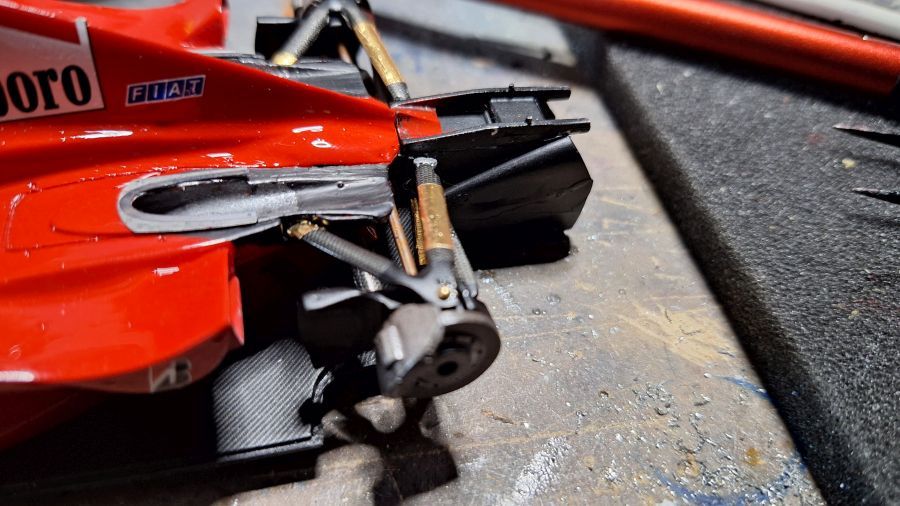
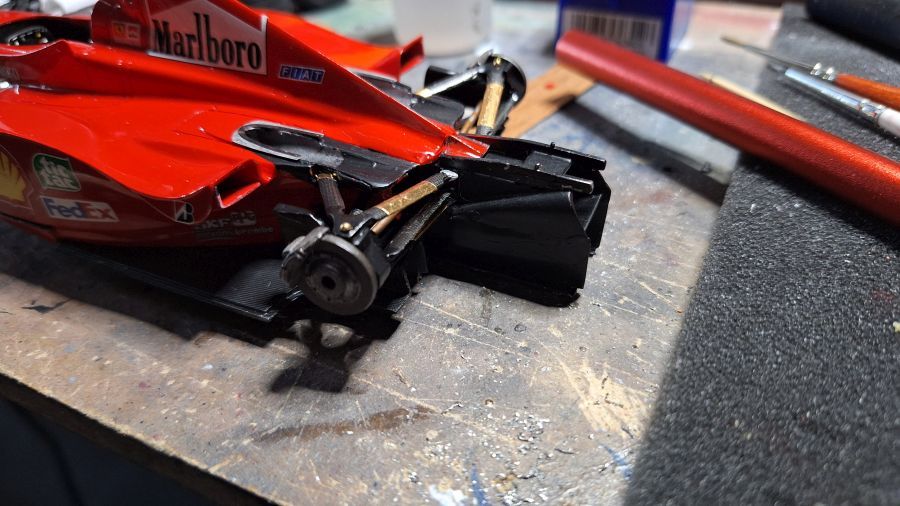
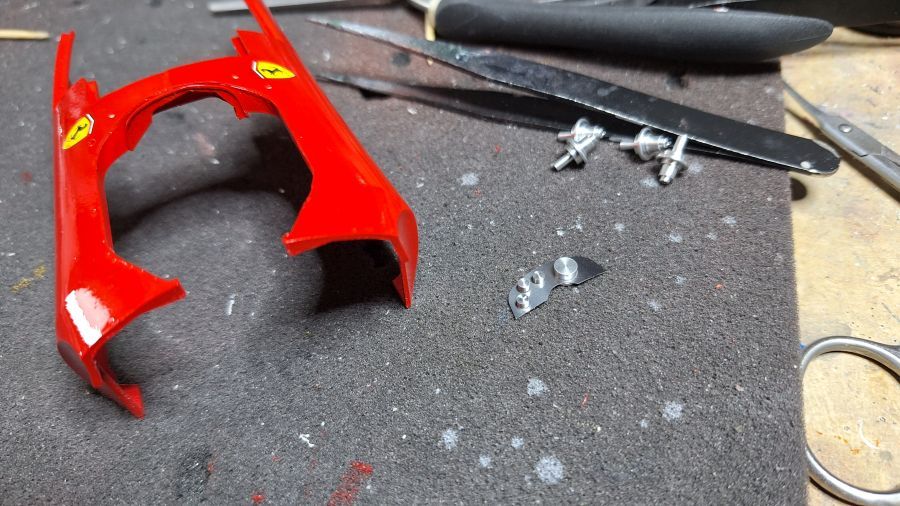
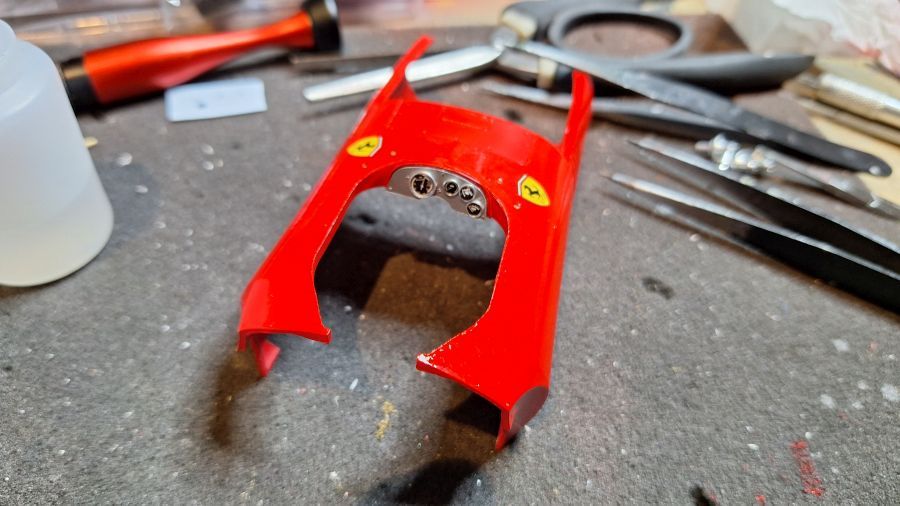
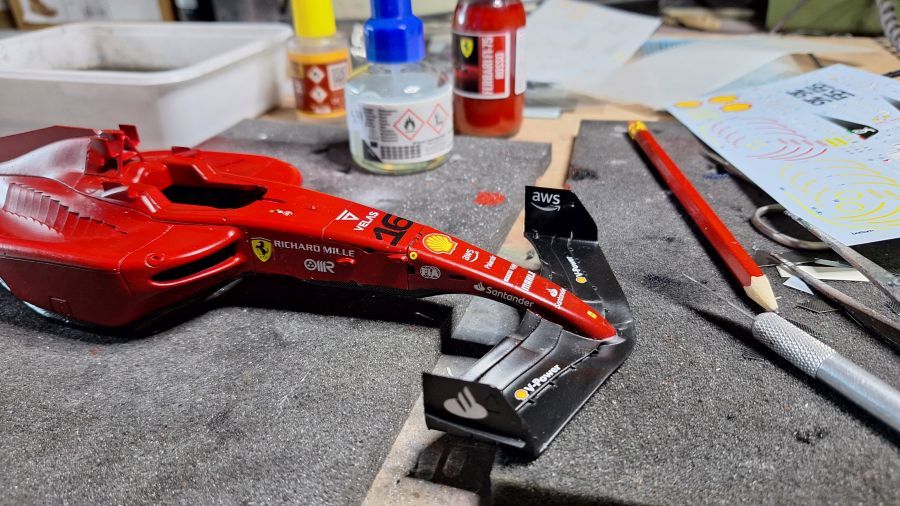
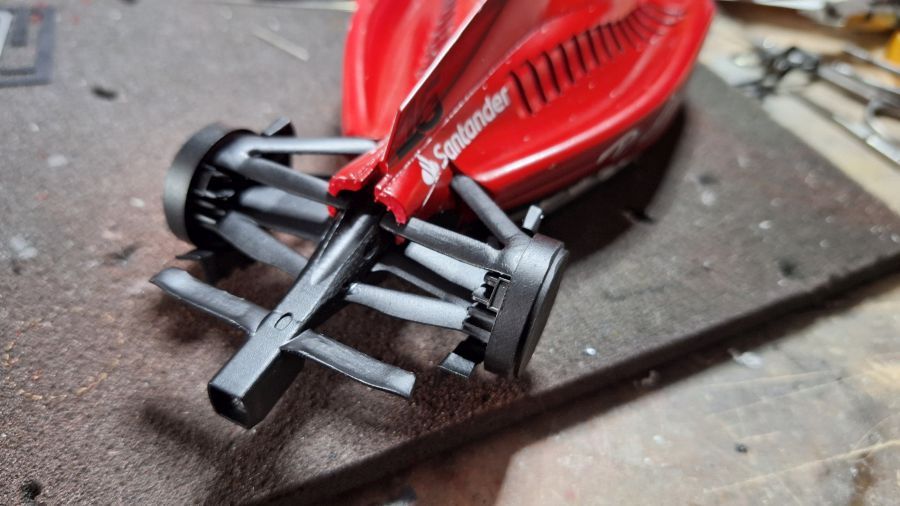
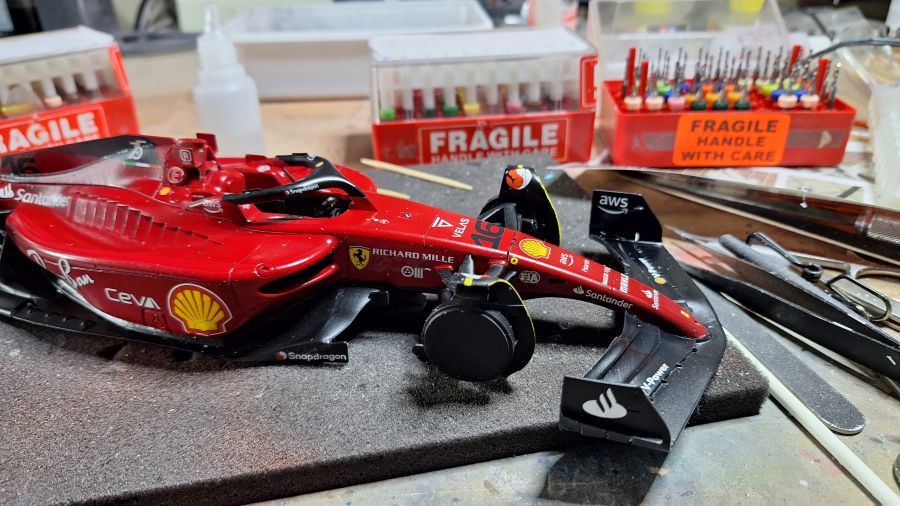
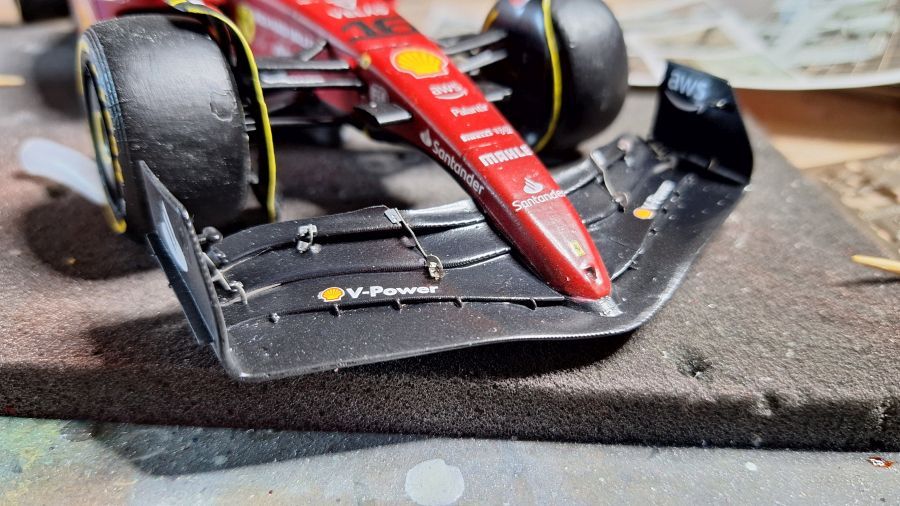
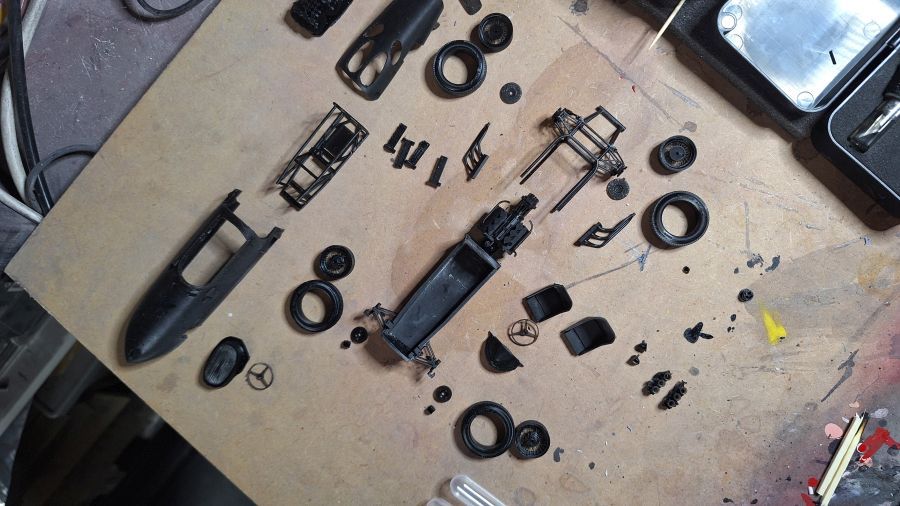
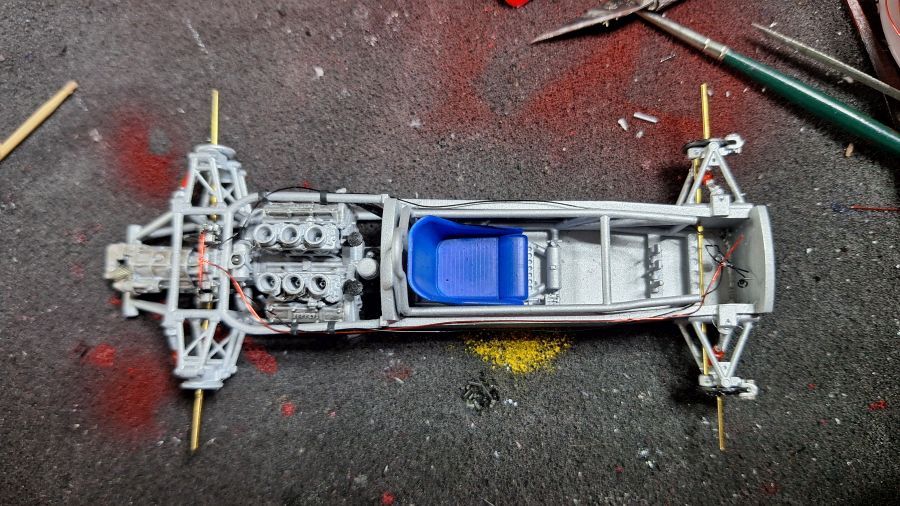
Door naar de voorkant...
On to the front...
Test.
Test.
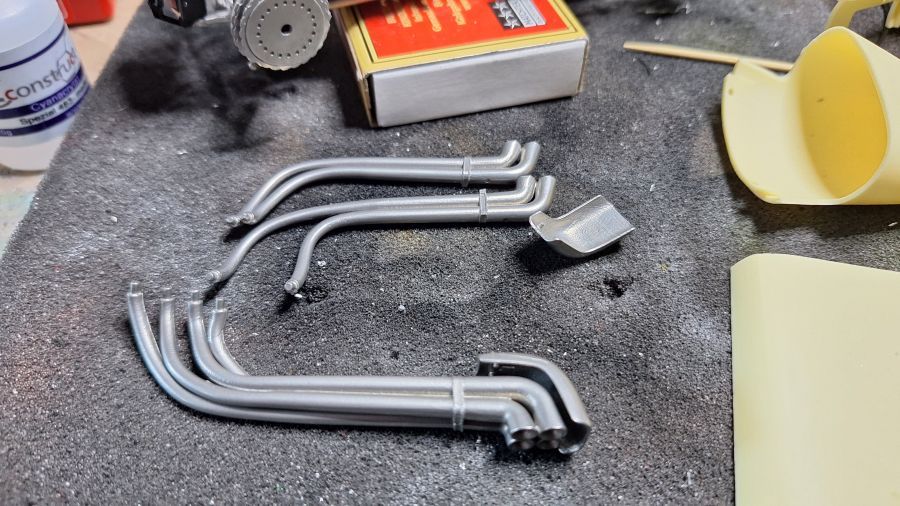
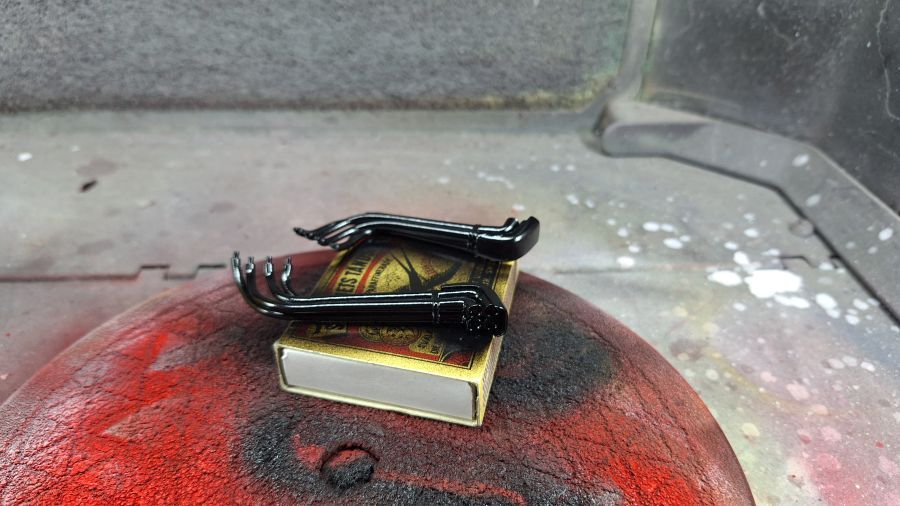
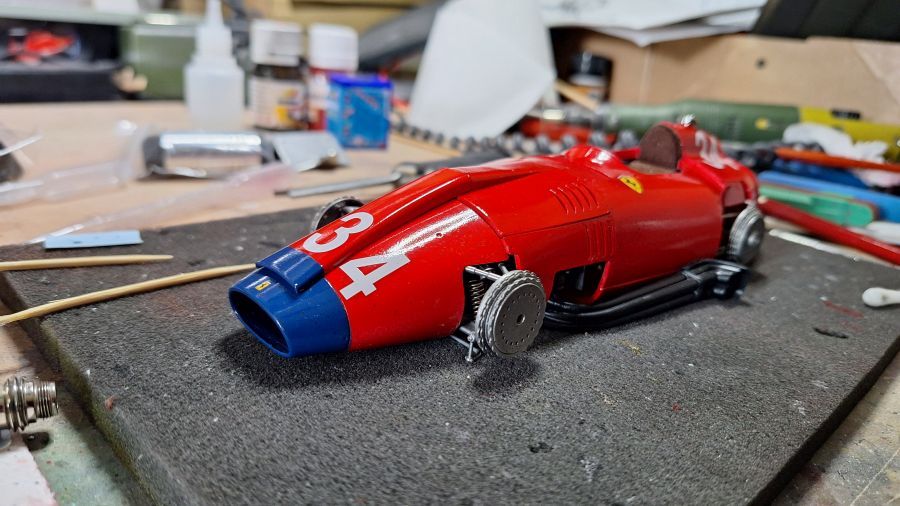
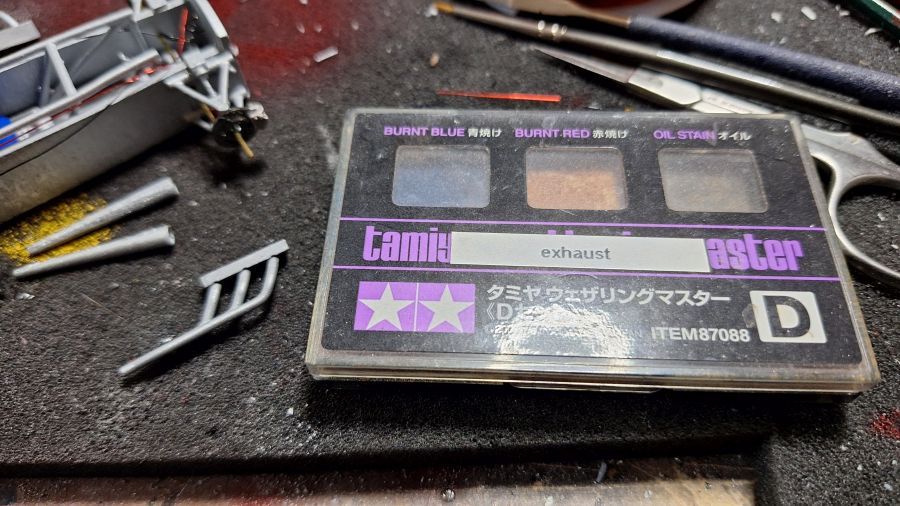
Hoe de uitlaten plaatsen...
How to install the exhausts...
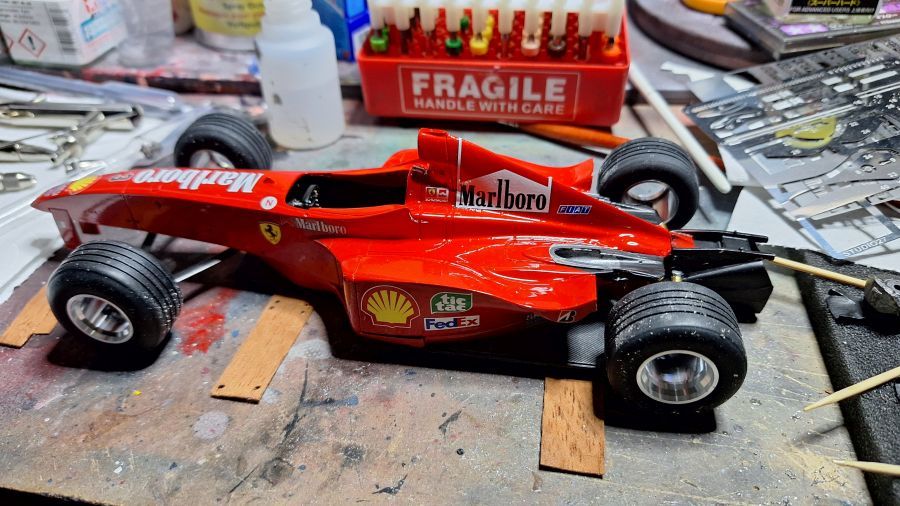
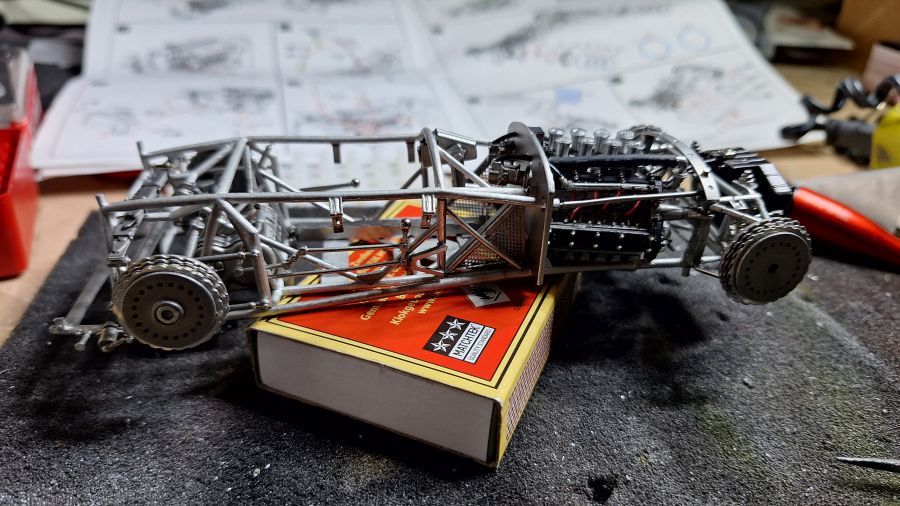
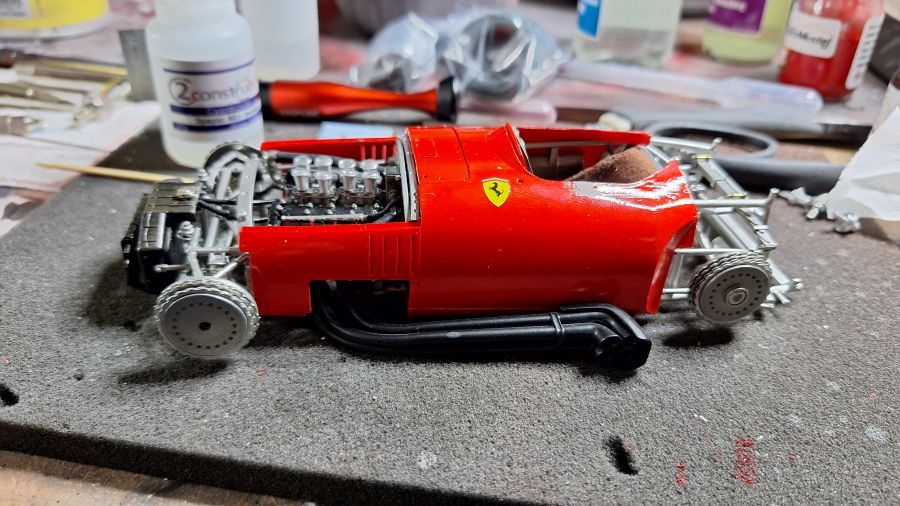
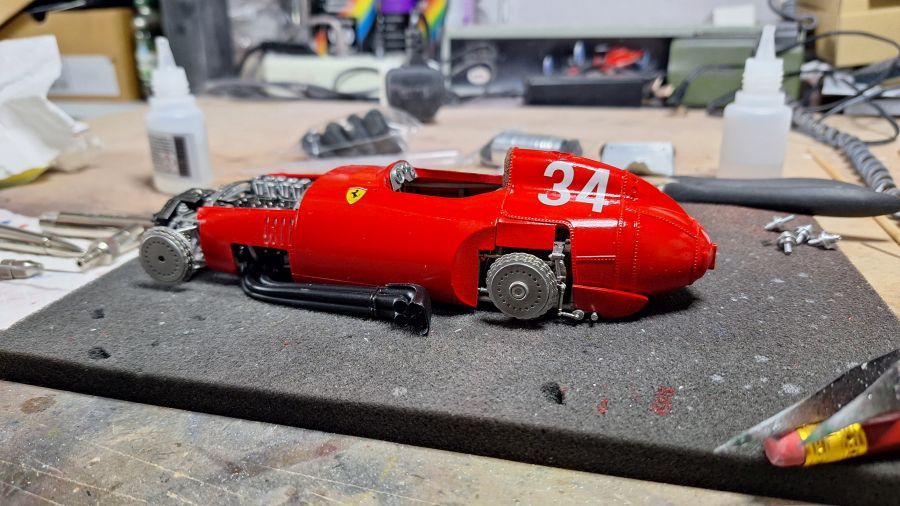
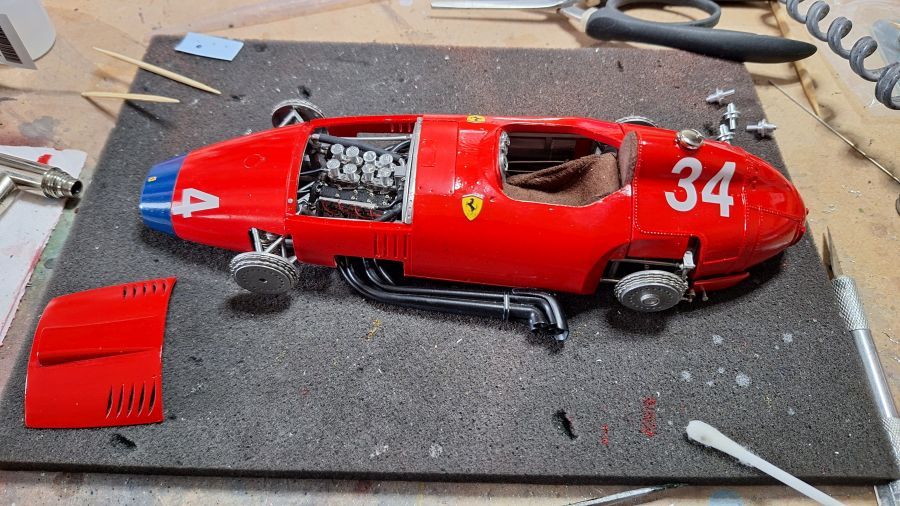
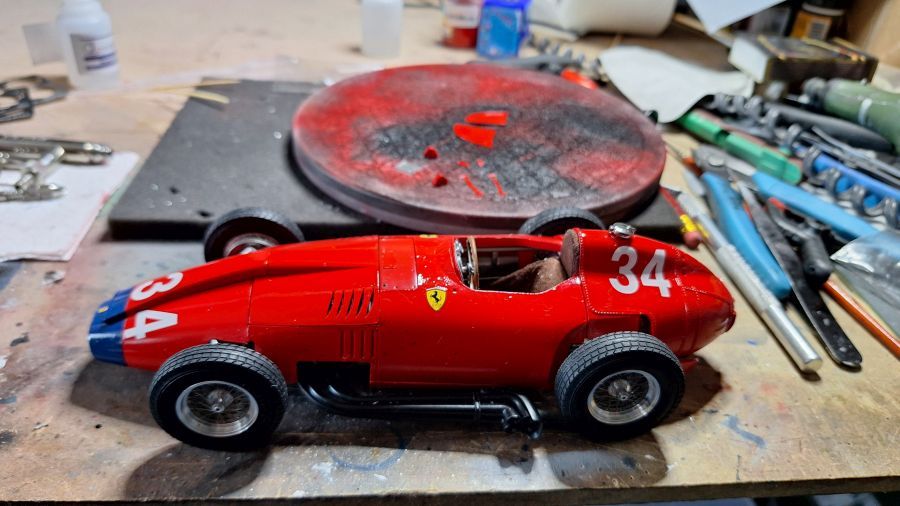
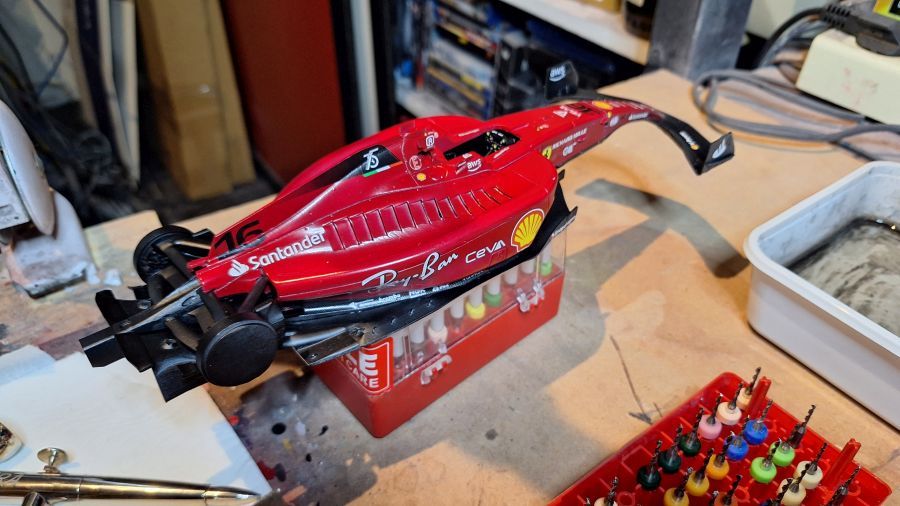
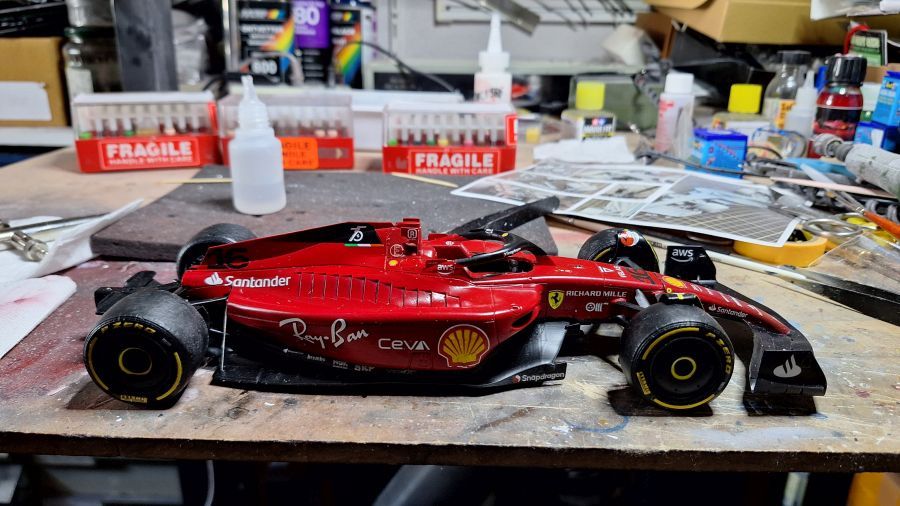
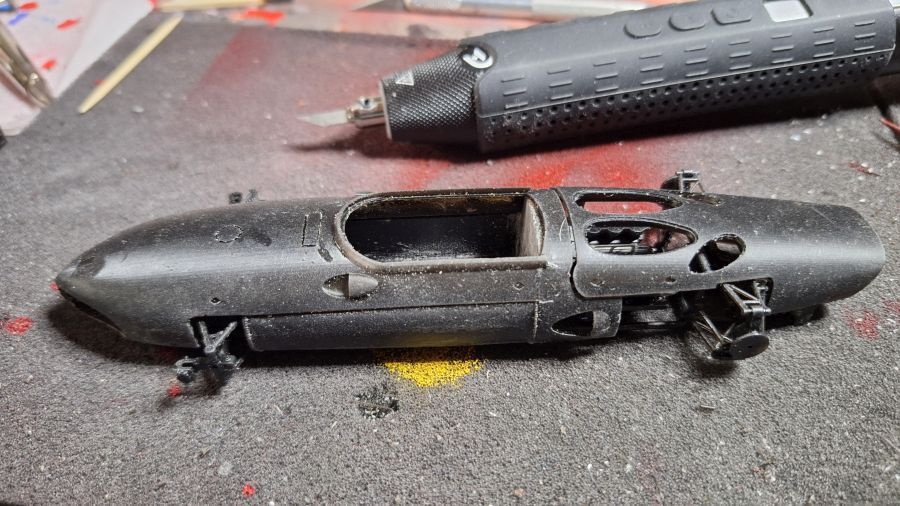
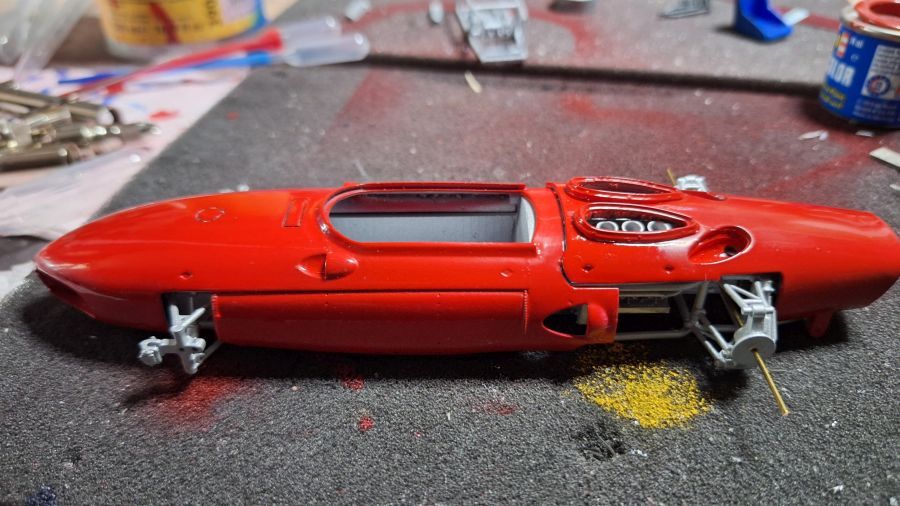
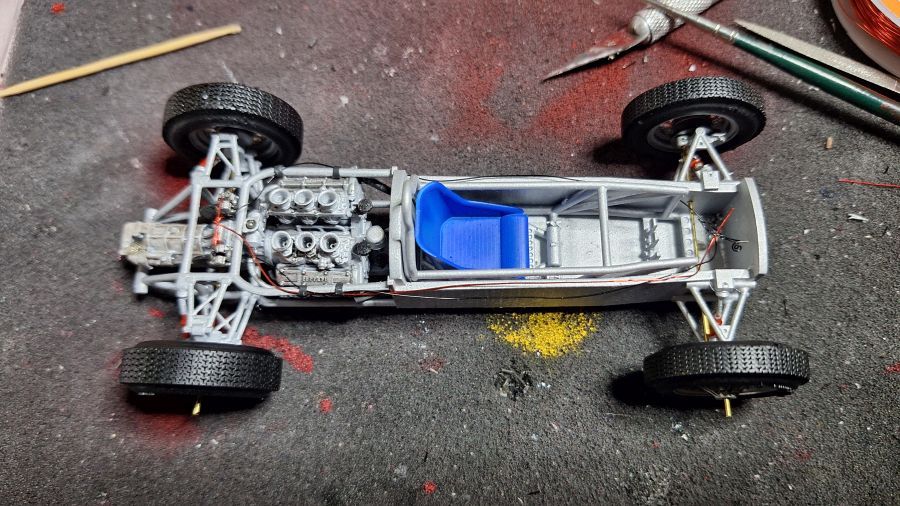
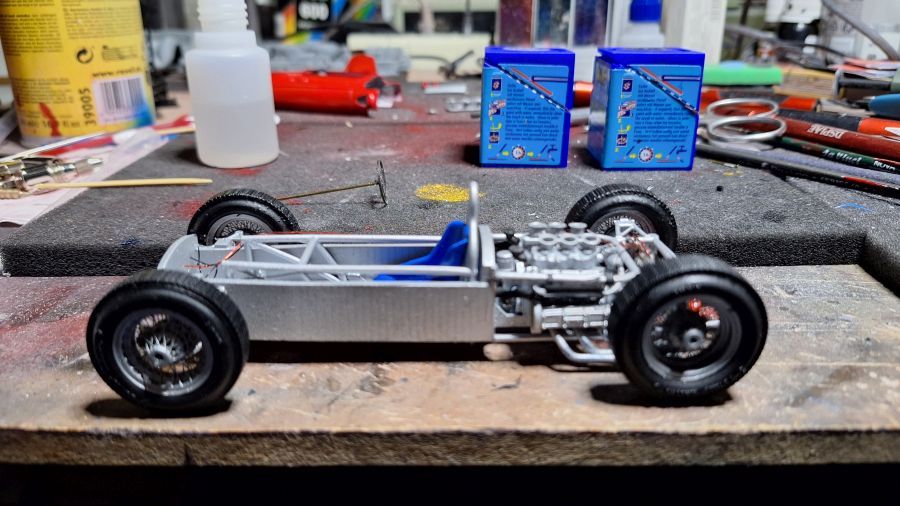
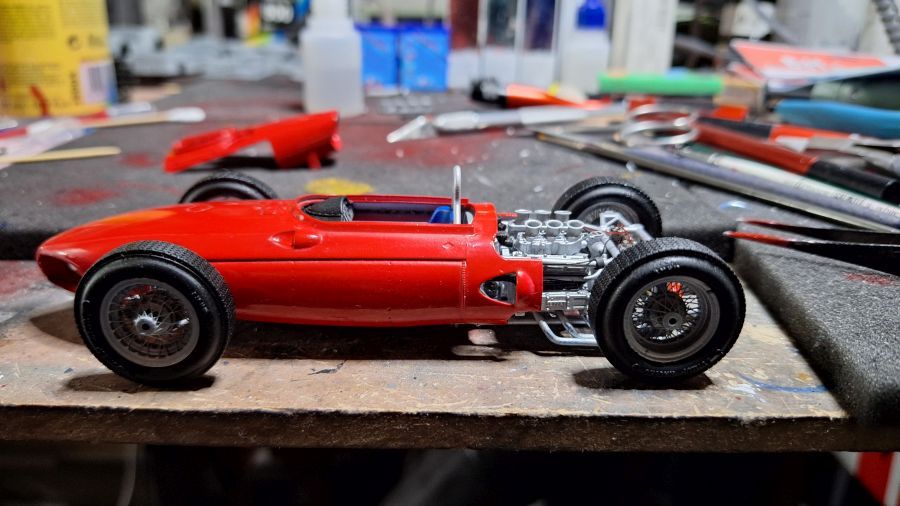
Op zijn wielen...
On it's wheels...
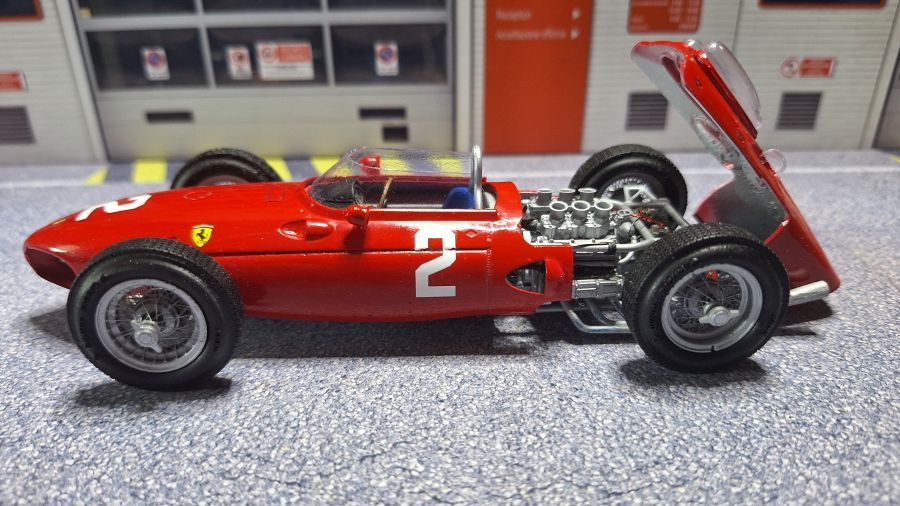
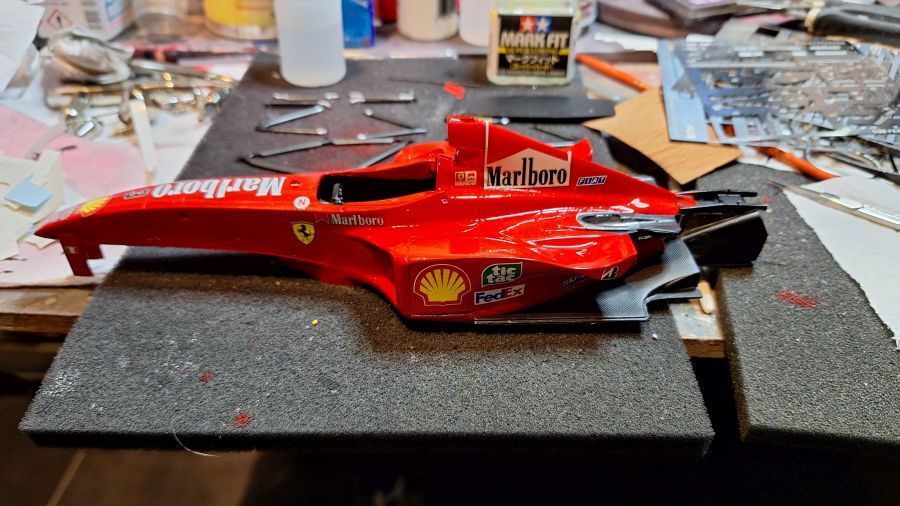
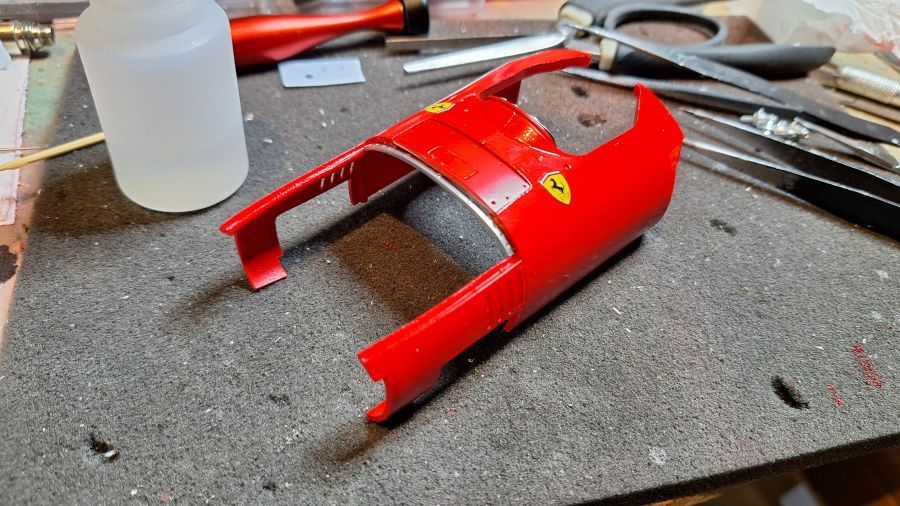
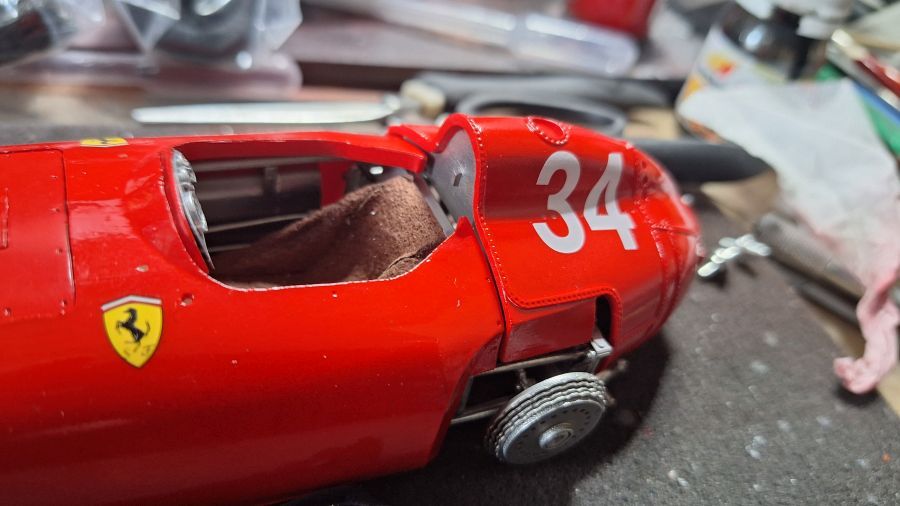
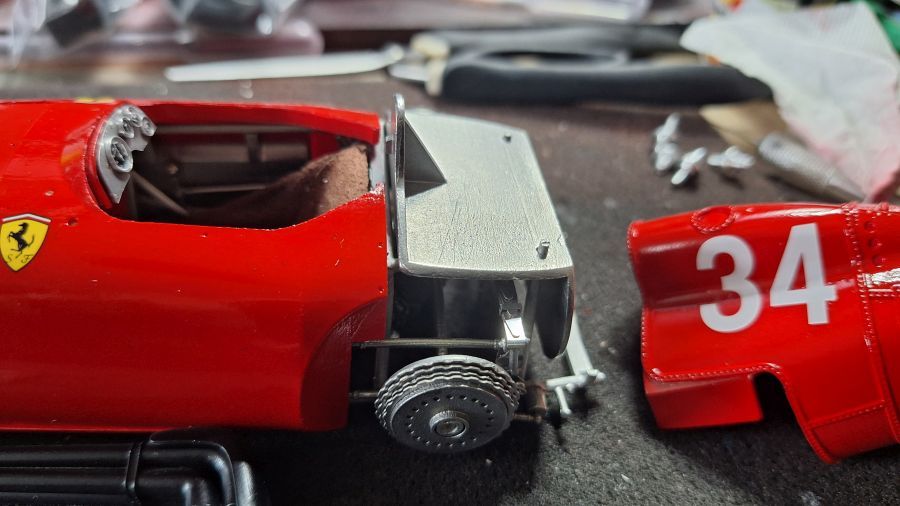
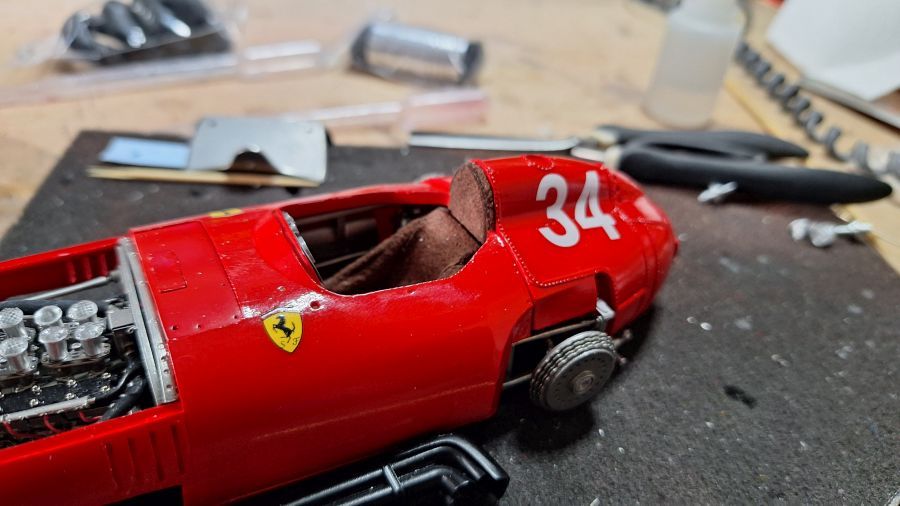
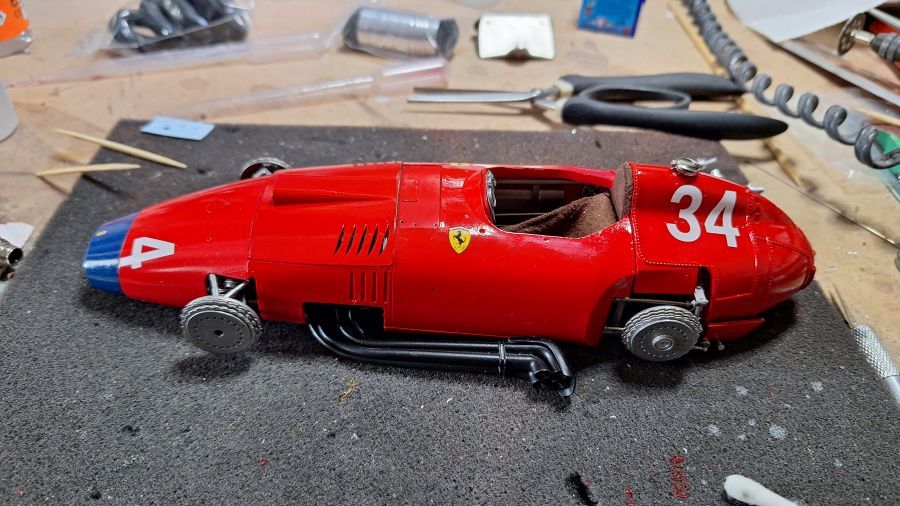
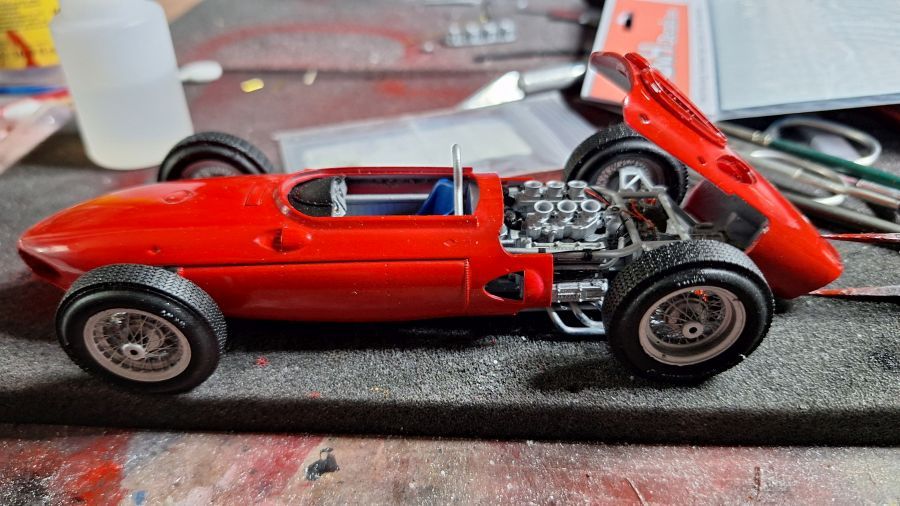
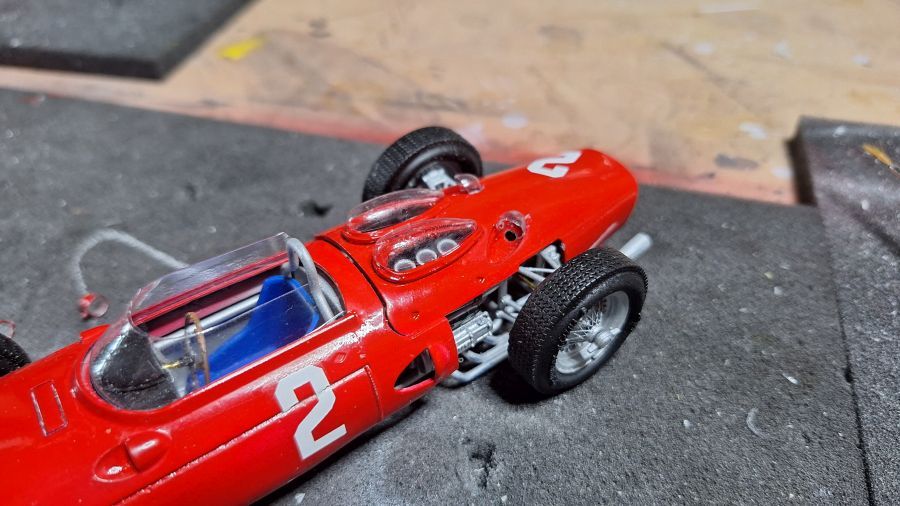
De body gaat erop. De achterkant is beweegbaar.
Adding the body. The rear cowl is movable.
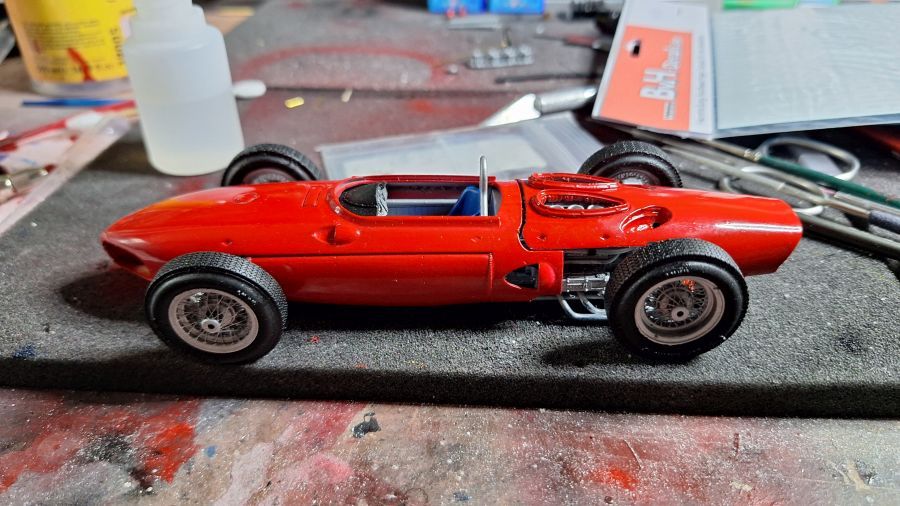
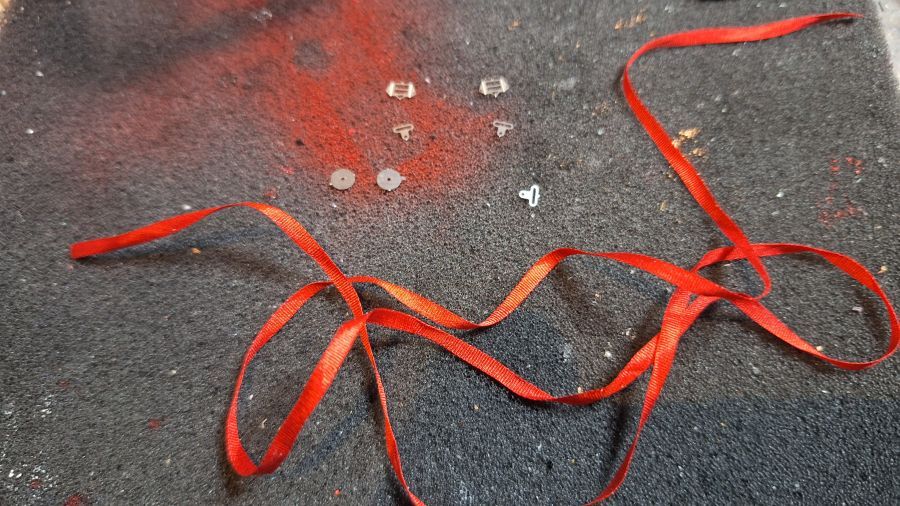
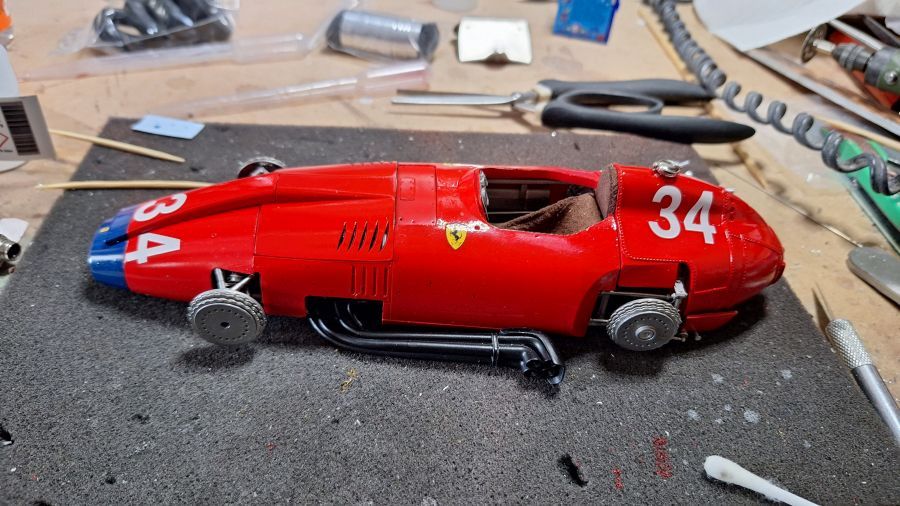
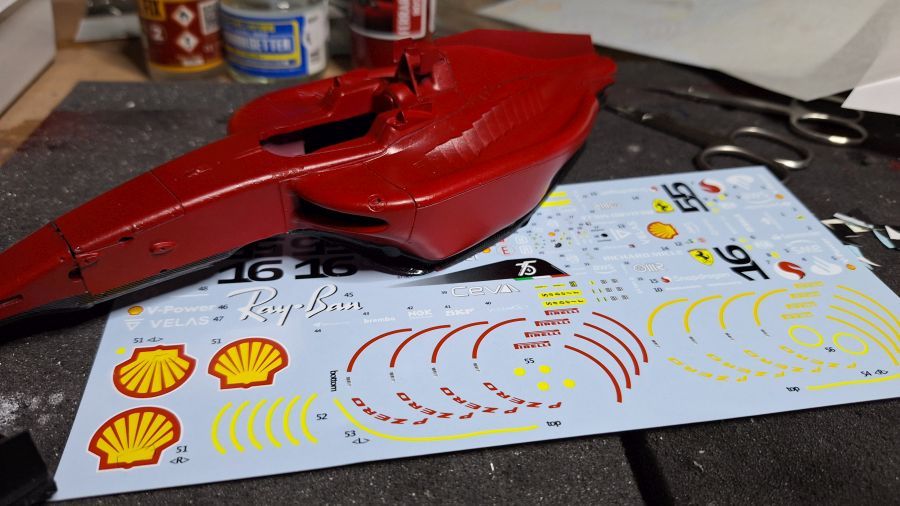
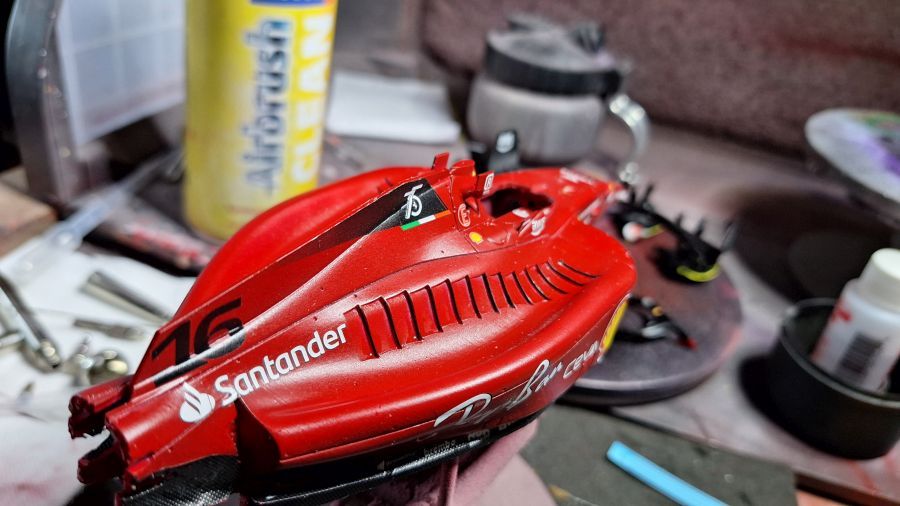
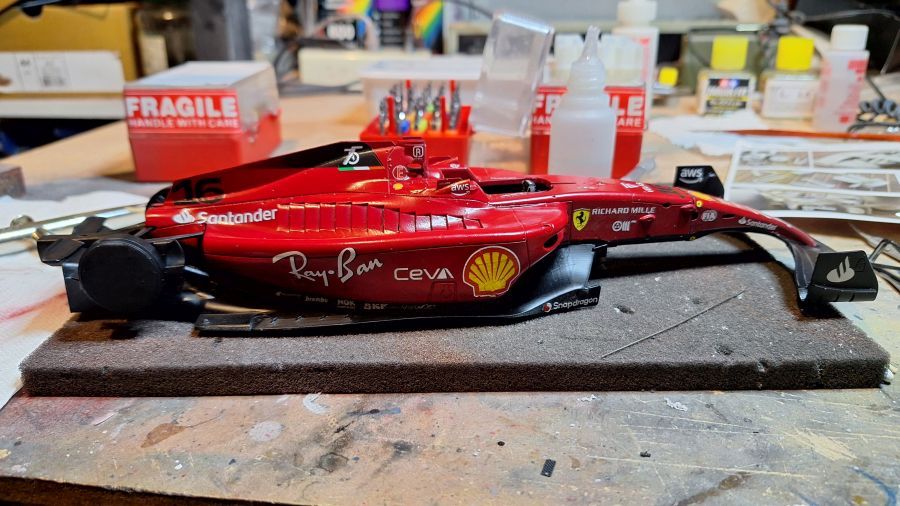
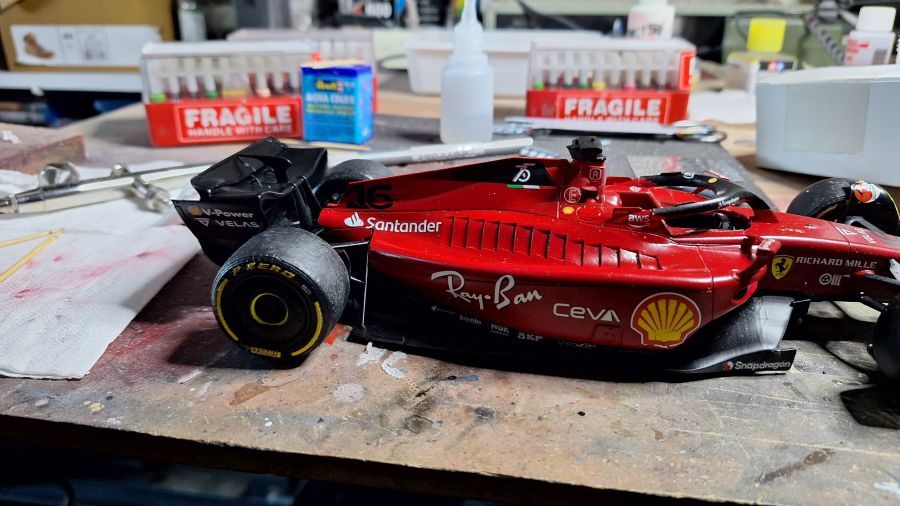
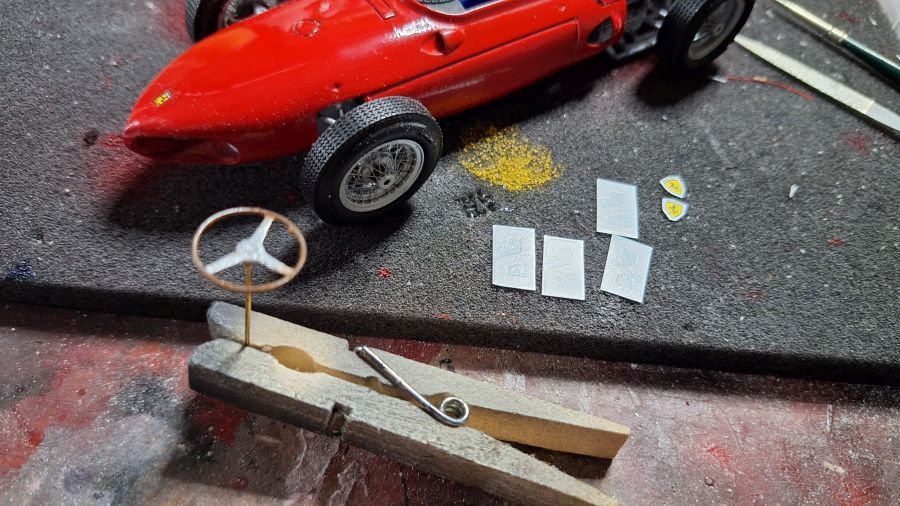
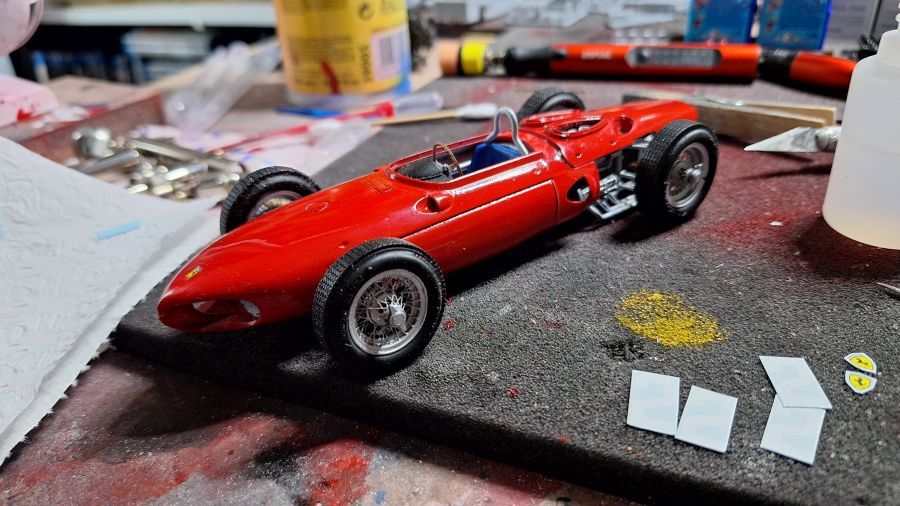
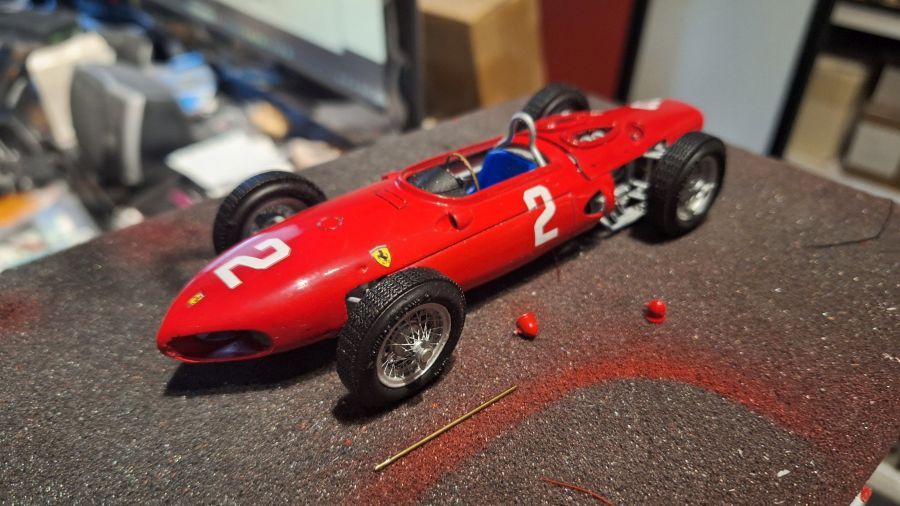
Nog wat kleine delen en de decals, dan wachten op de templates voor het glas.
Some small parts and the decals, then waiting for the molds for the glass.

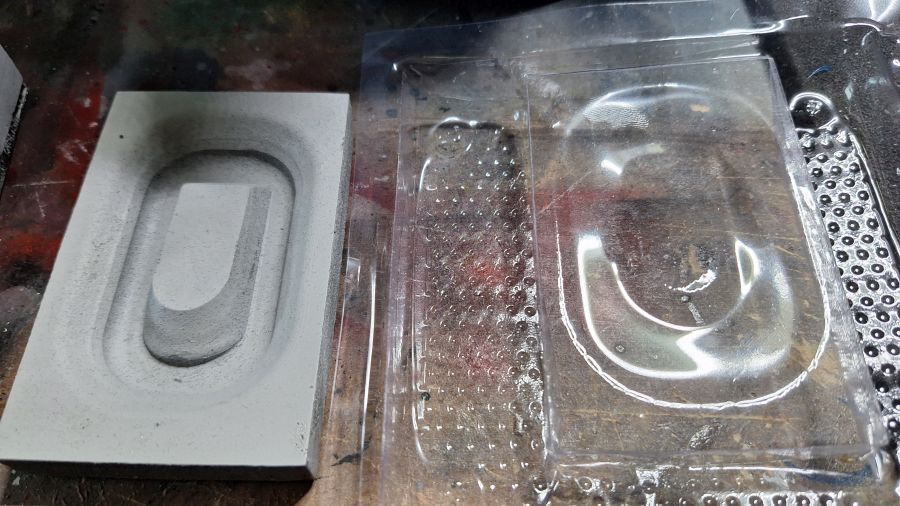
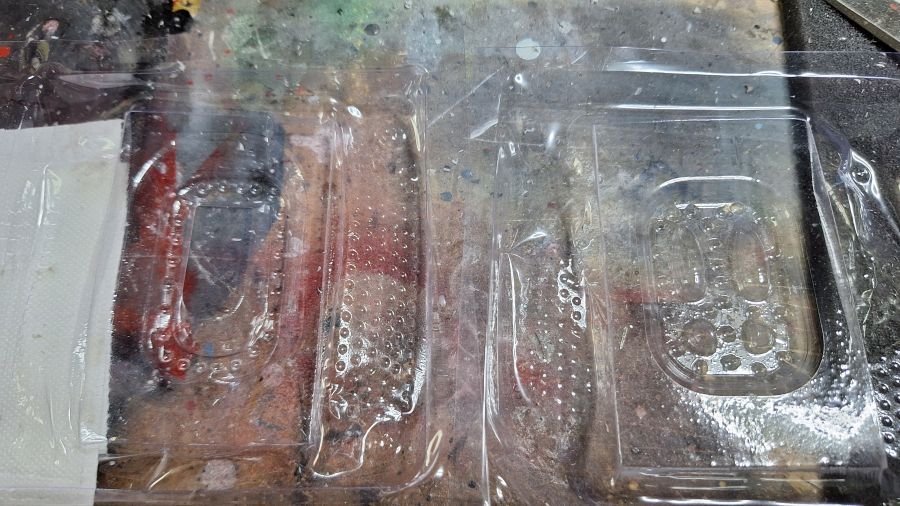
De mal voor het glas is binnen. Dit weekend vacuum trekken.
The mold for the glass is in. I will use the vacuum machine this weekend.
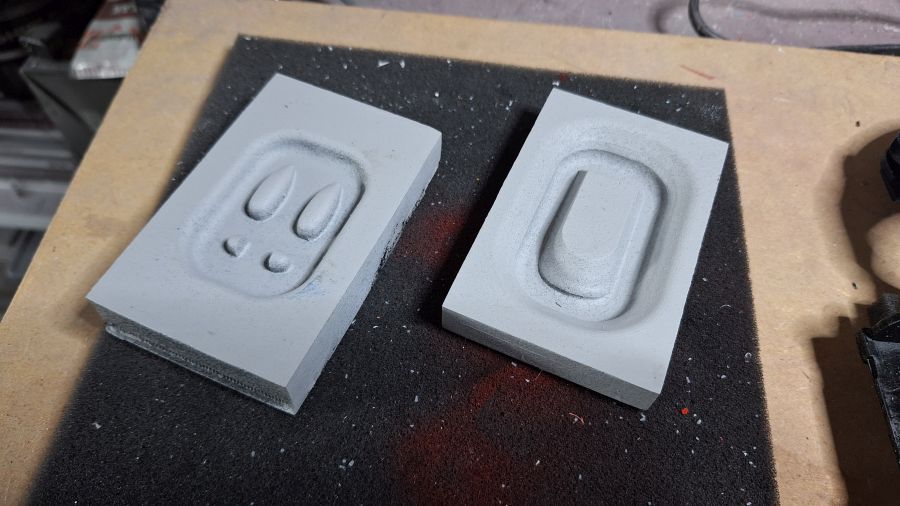
De mal is teveel 1 blok, de lucht kan er niet goed omheen om vacuum te trekken.
The mold is too much of a block, the air can't pass well enough to vacuum.
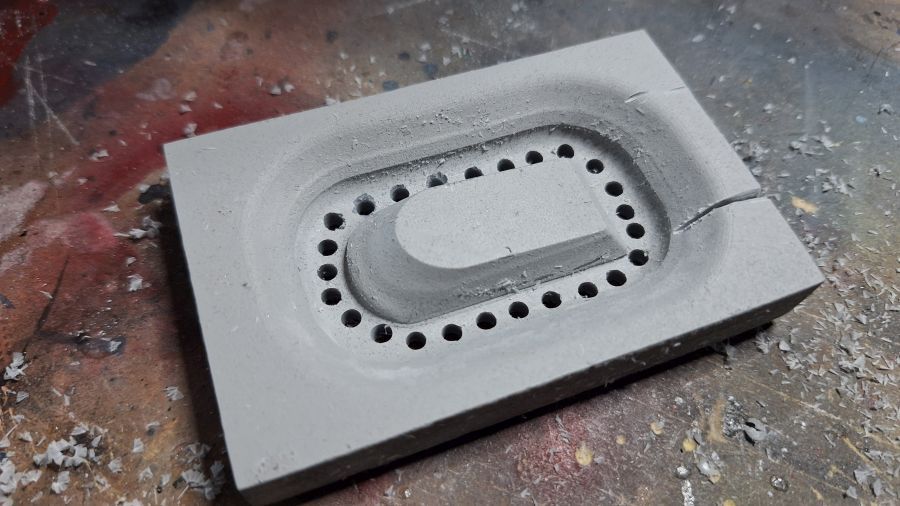
Probleem opgelost.
Problem solved.
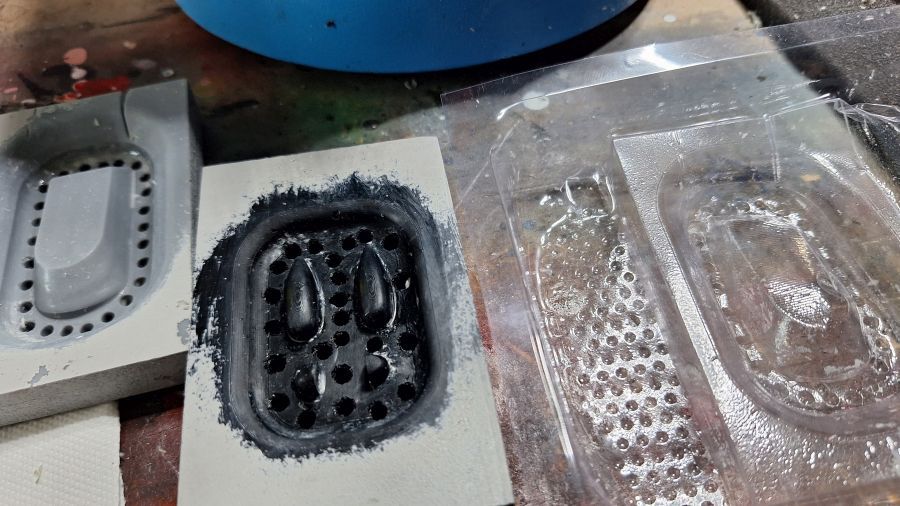
De mal was bespoten met primer, niet zo'n goed idee, dus even schoongemaakt. De primer hecht aan de acetaat.
The mold was sprayed with primer, not a good idea, so i cleaned it. The primer adheres to the acetate.
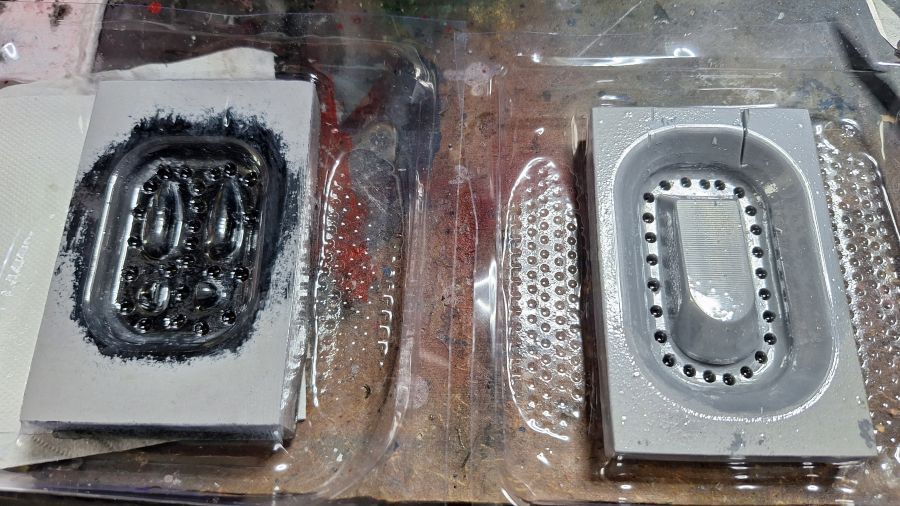
Beter!
Better!
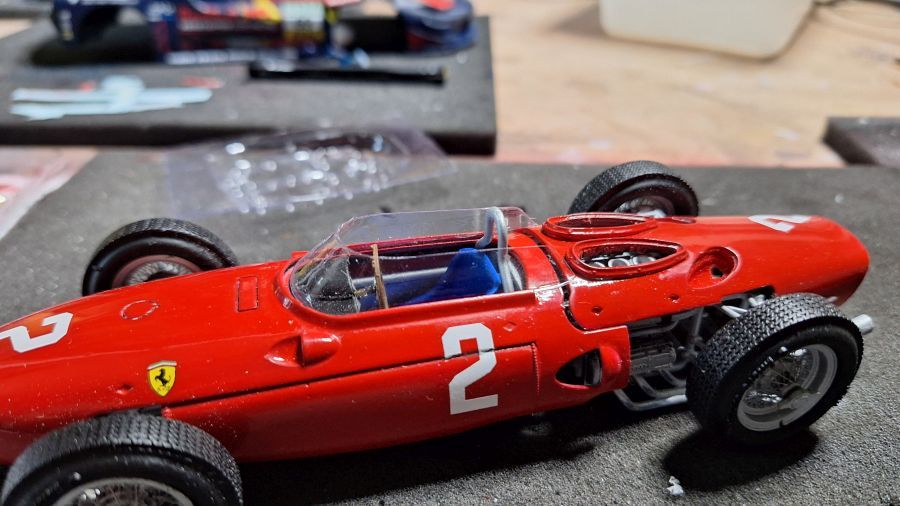
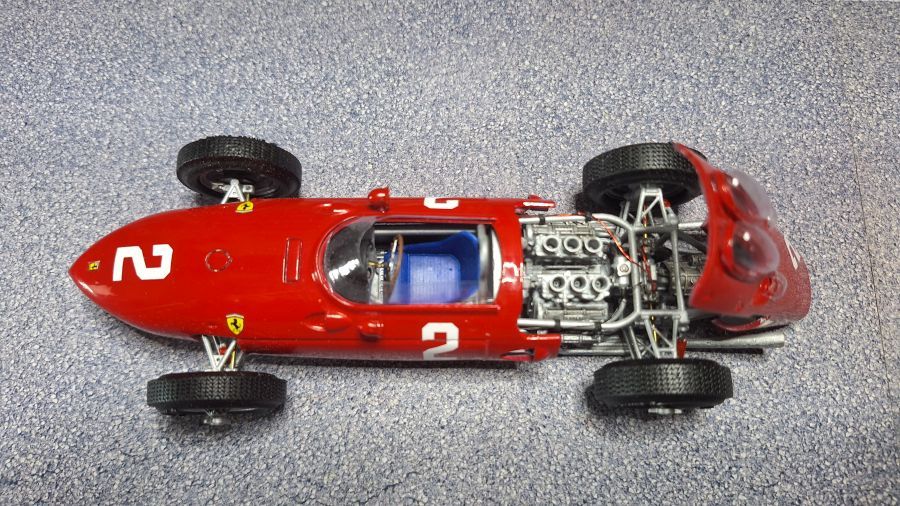
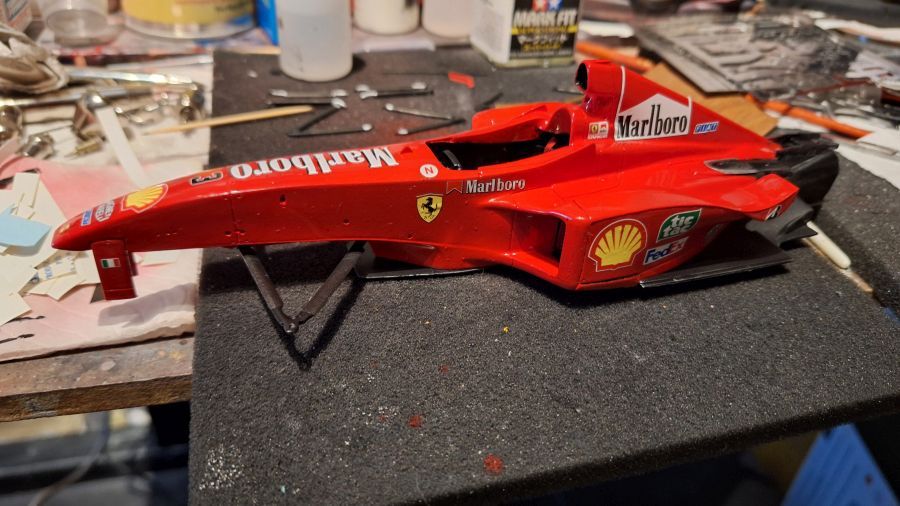
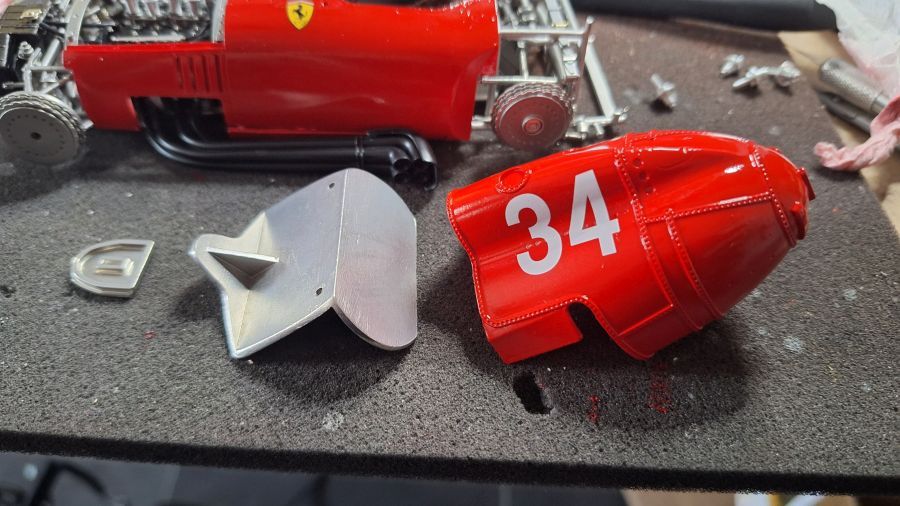
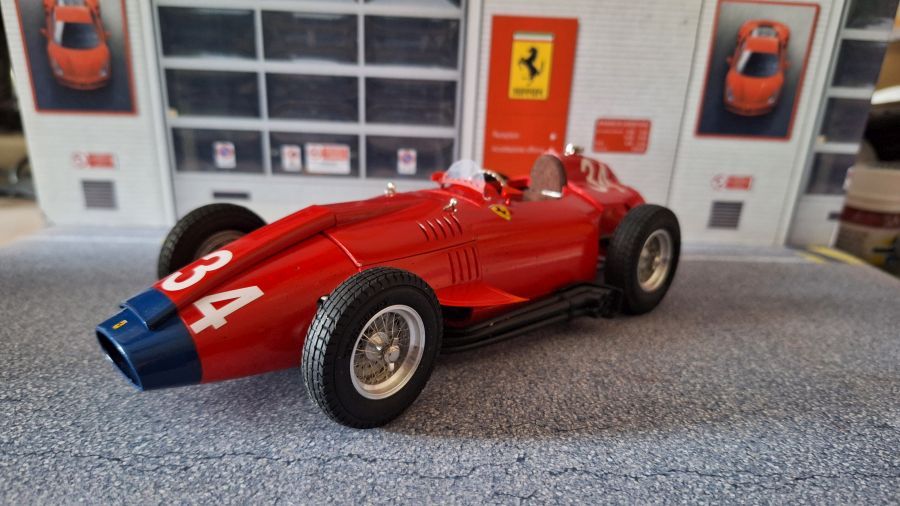
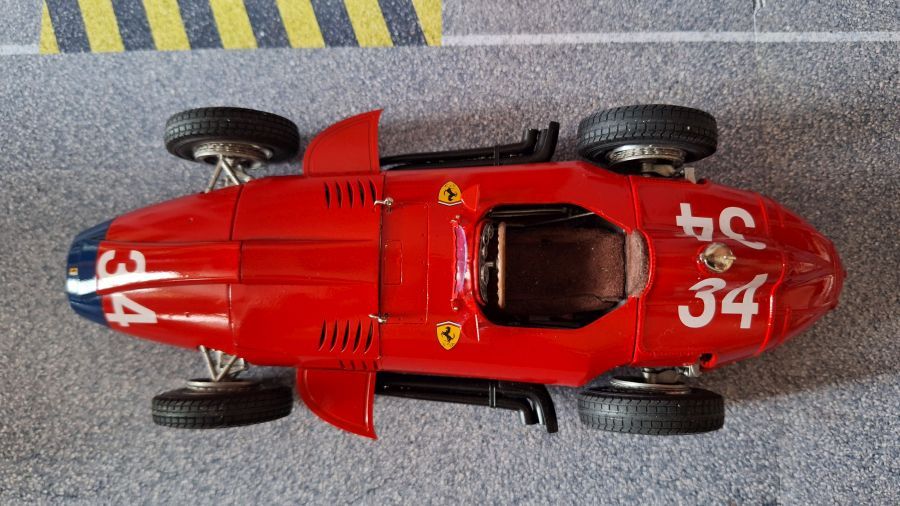
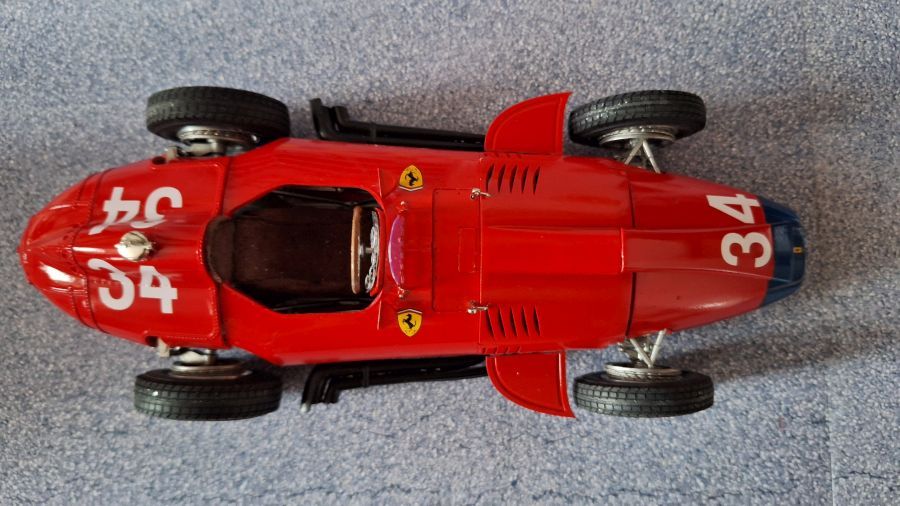
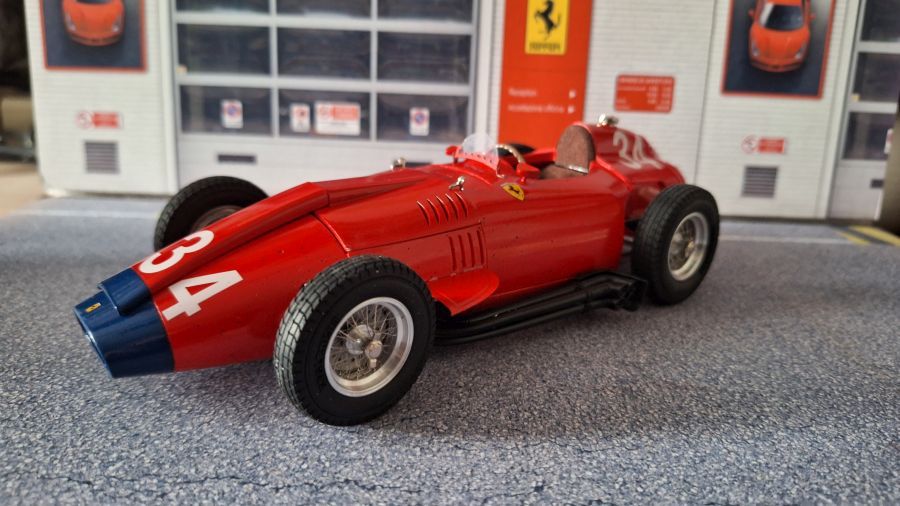
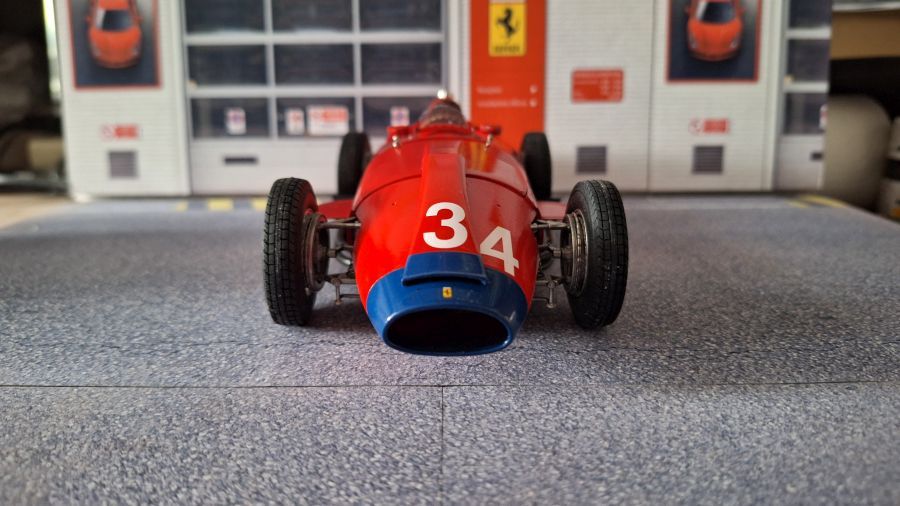
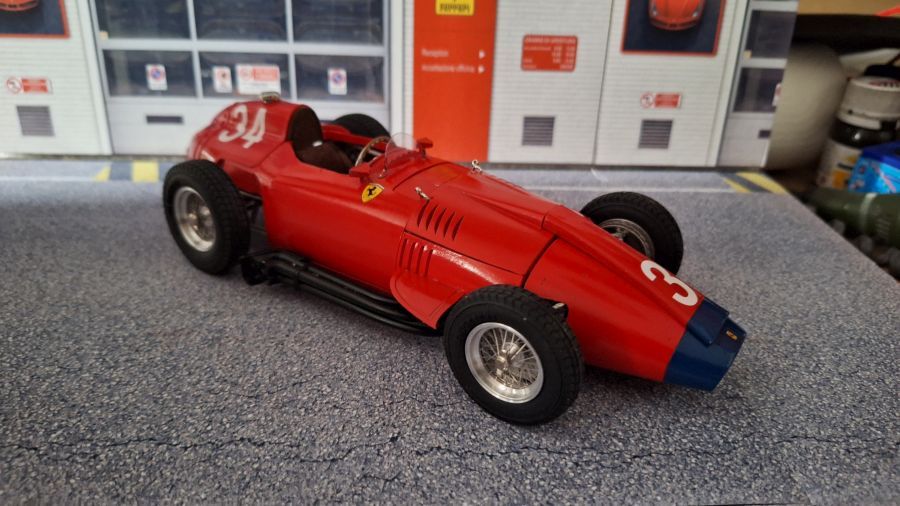
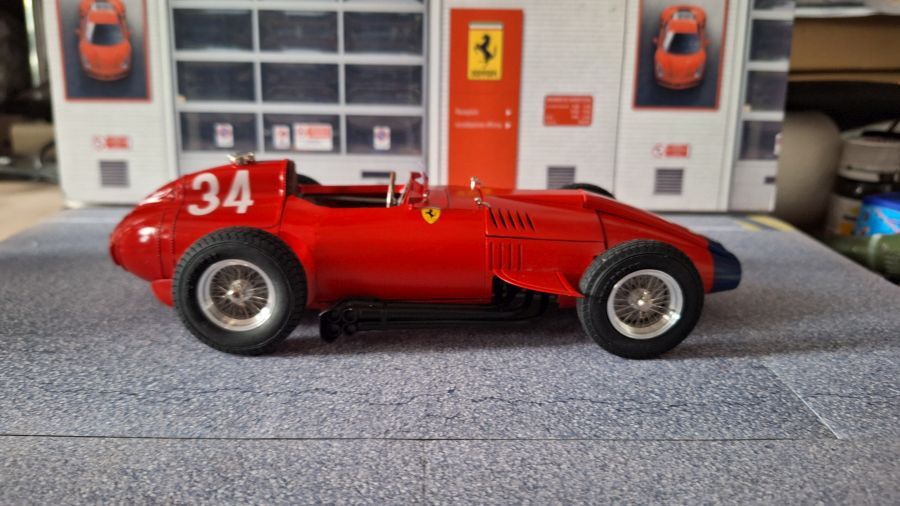
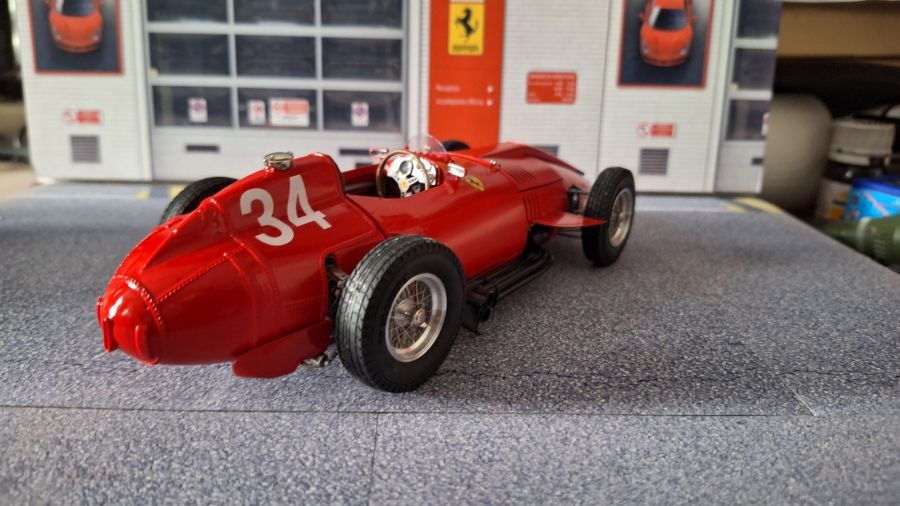
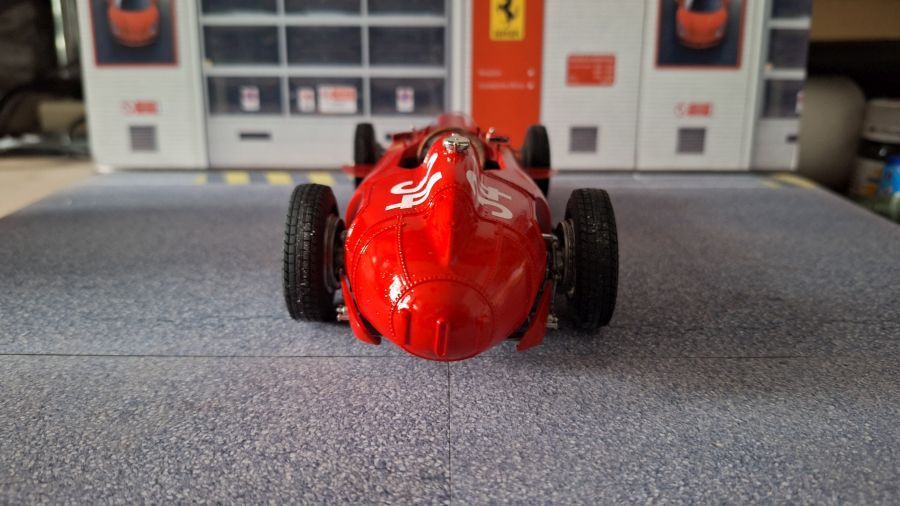
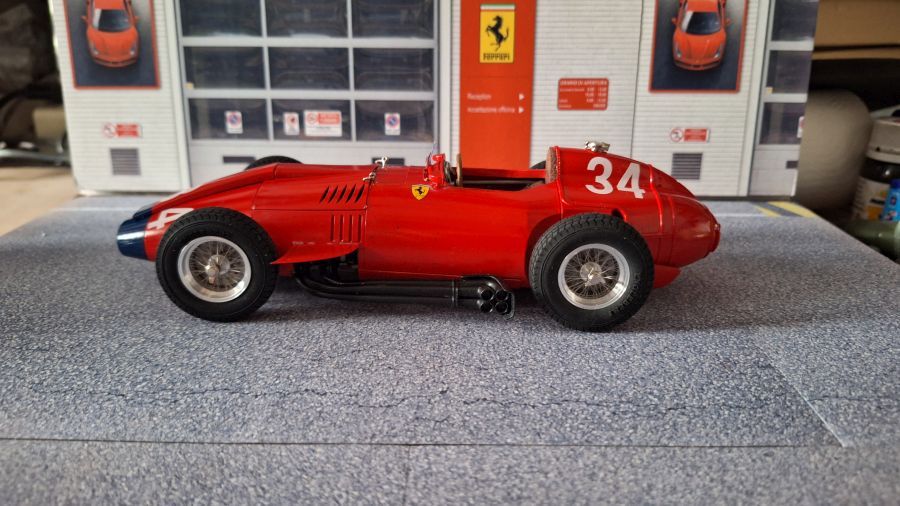
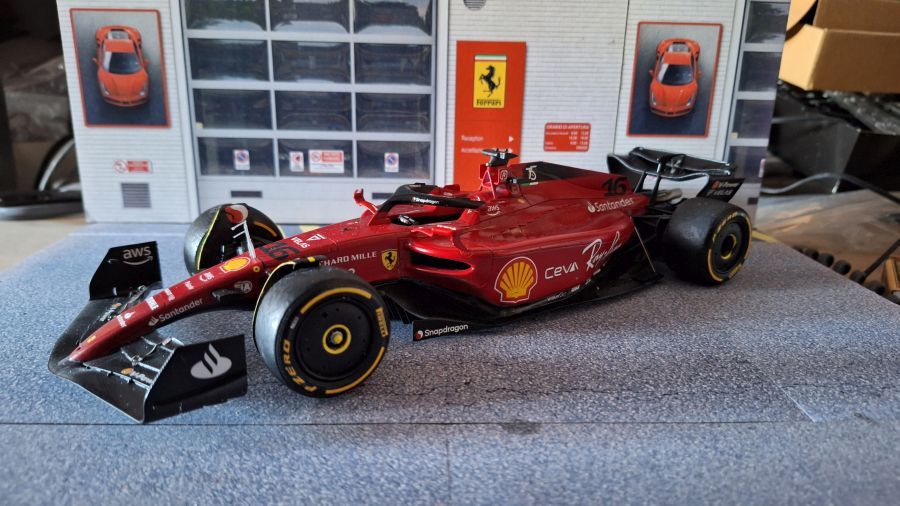
Ik denk weer klaar.
I think another one done.

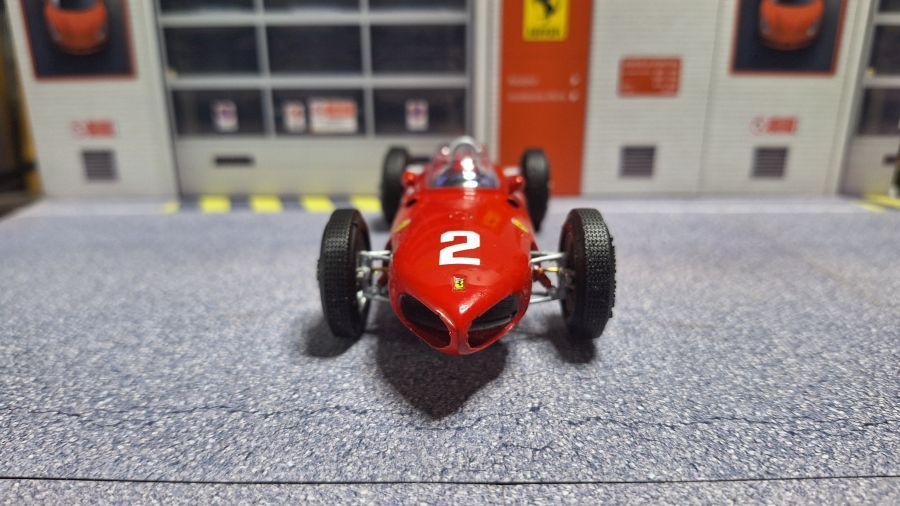
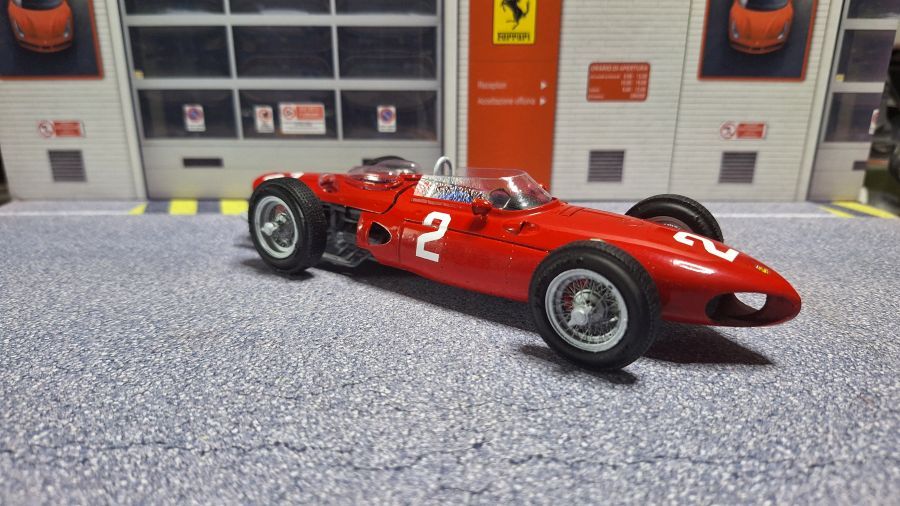
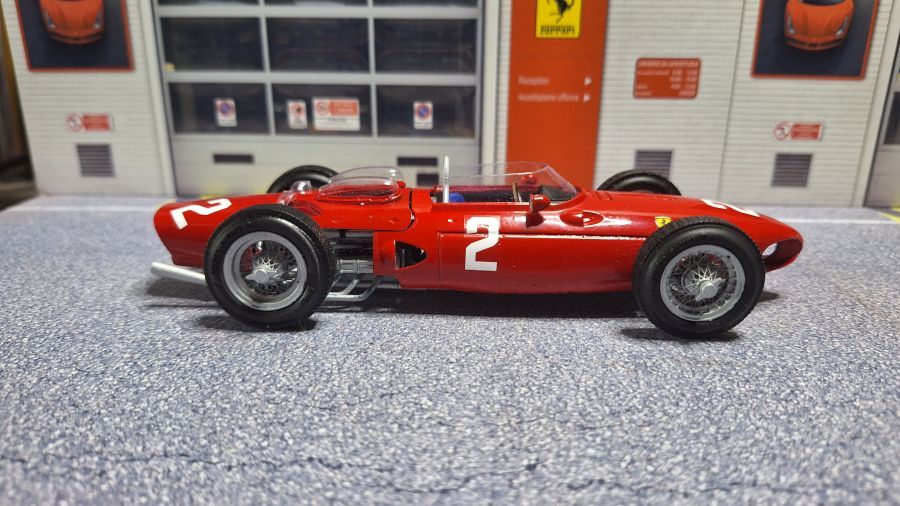
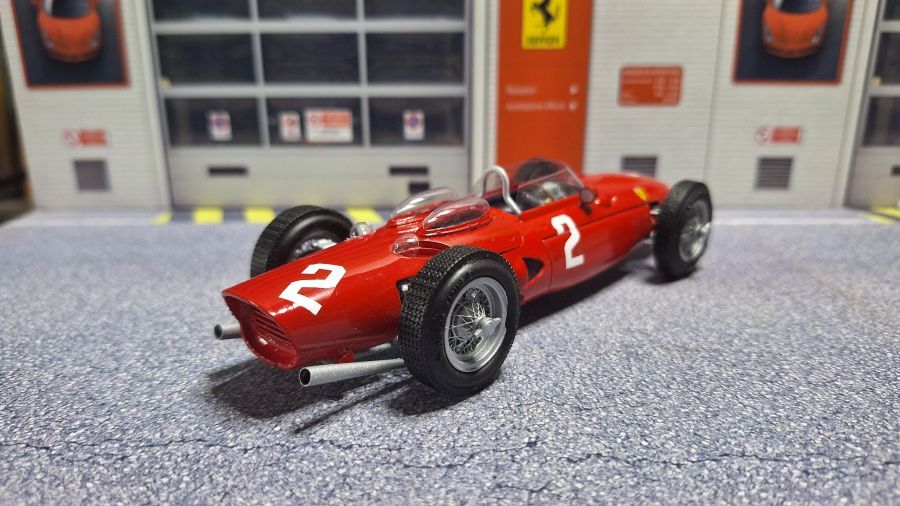
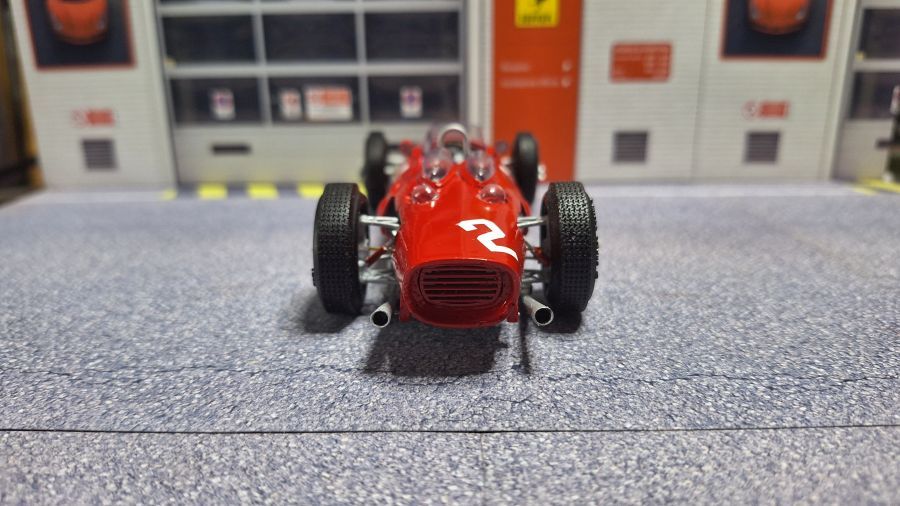
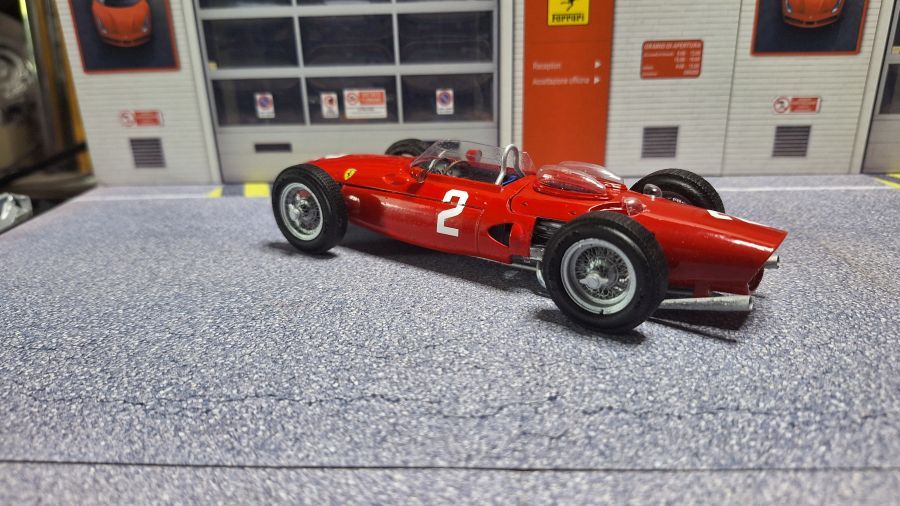
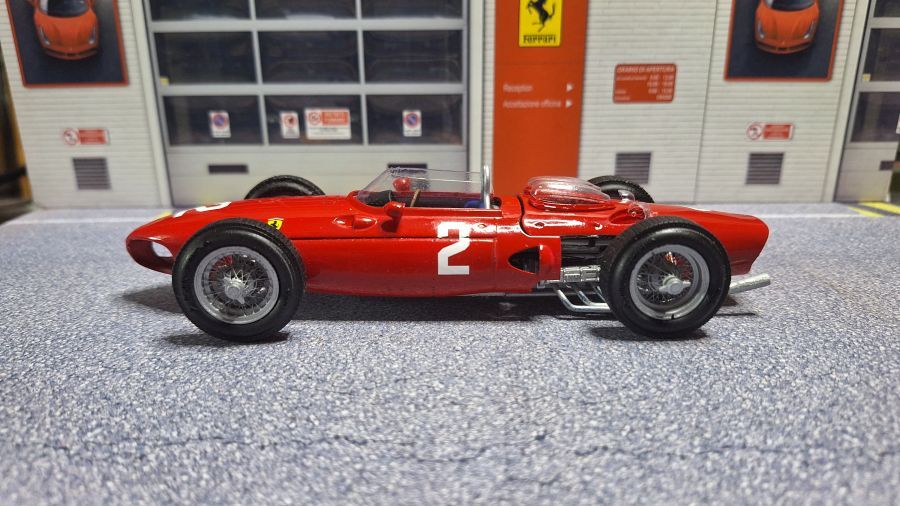
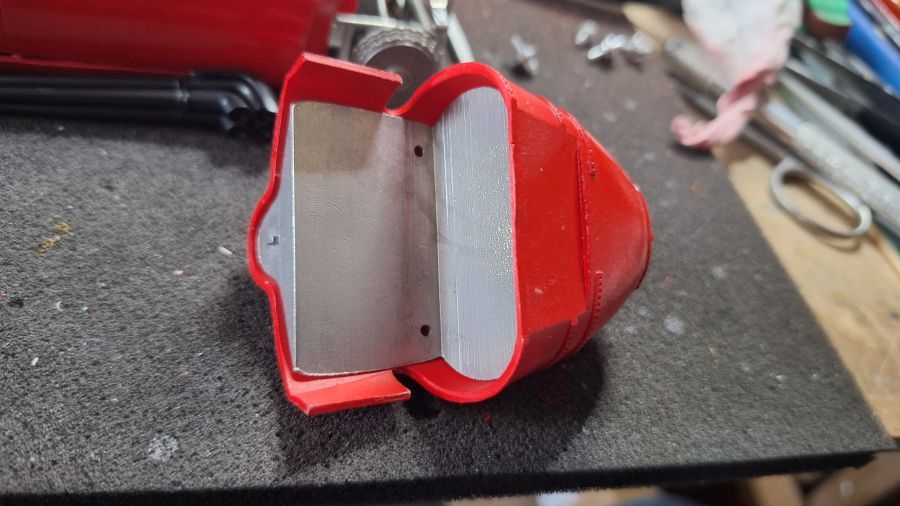
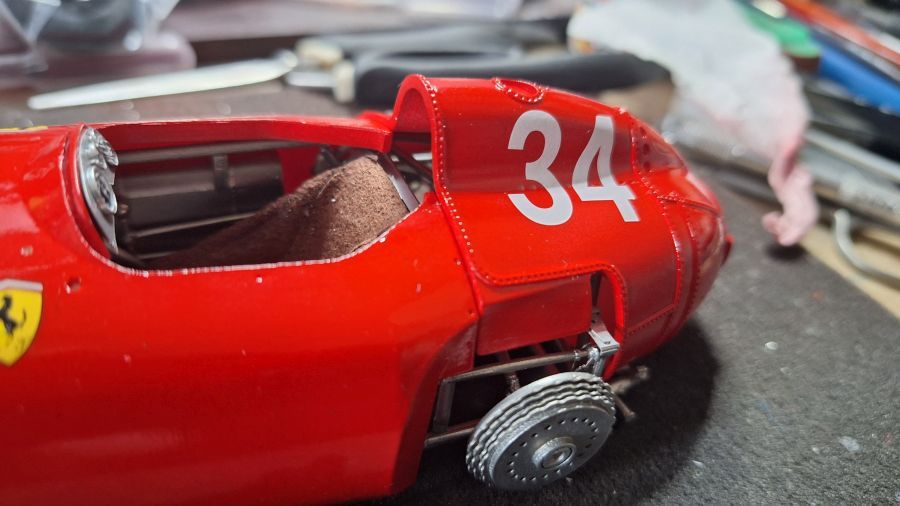
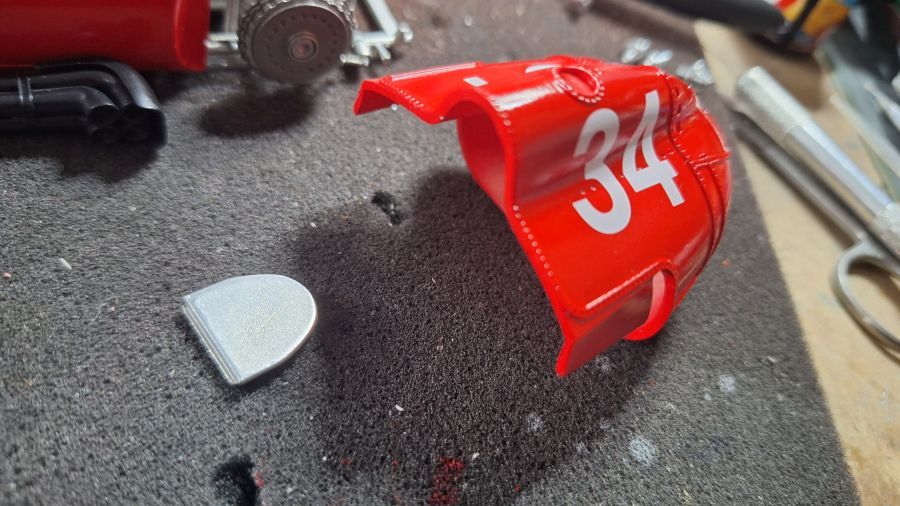
De kap is beweegbaar.
The hood is movable.