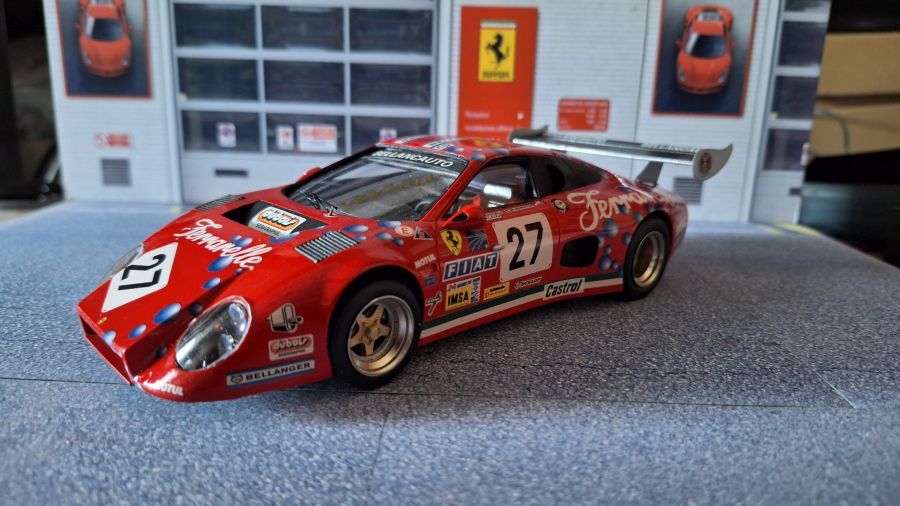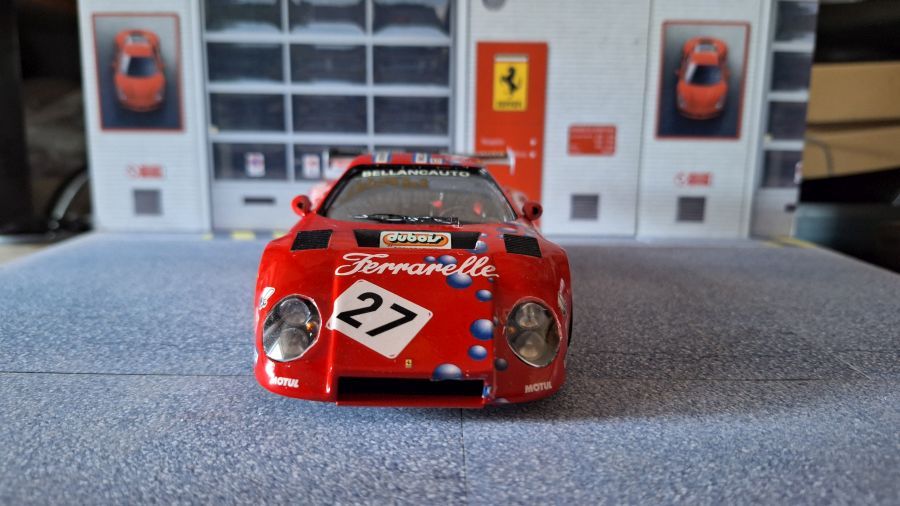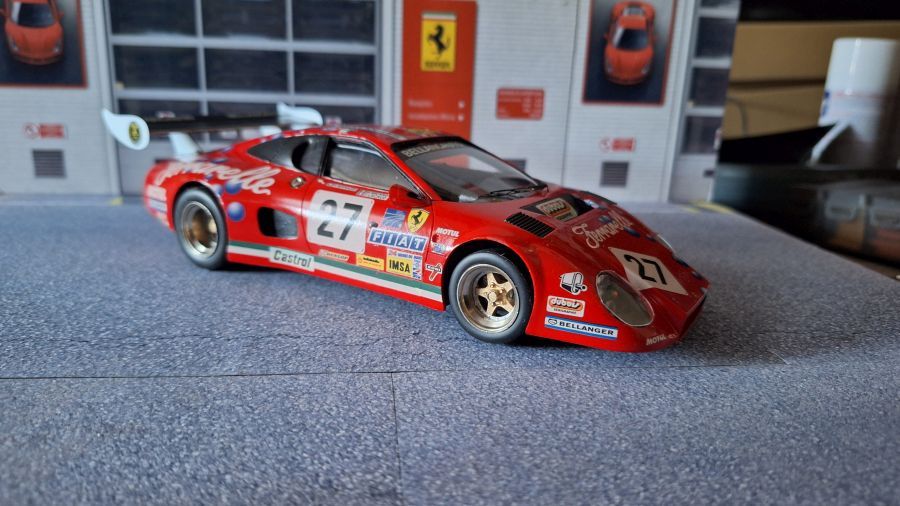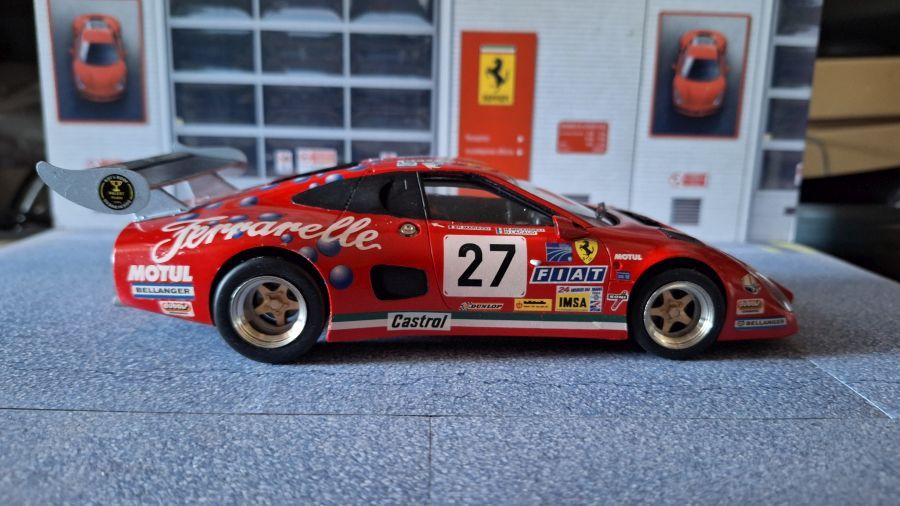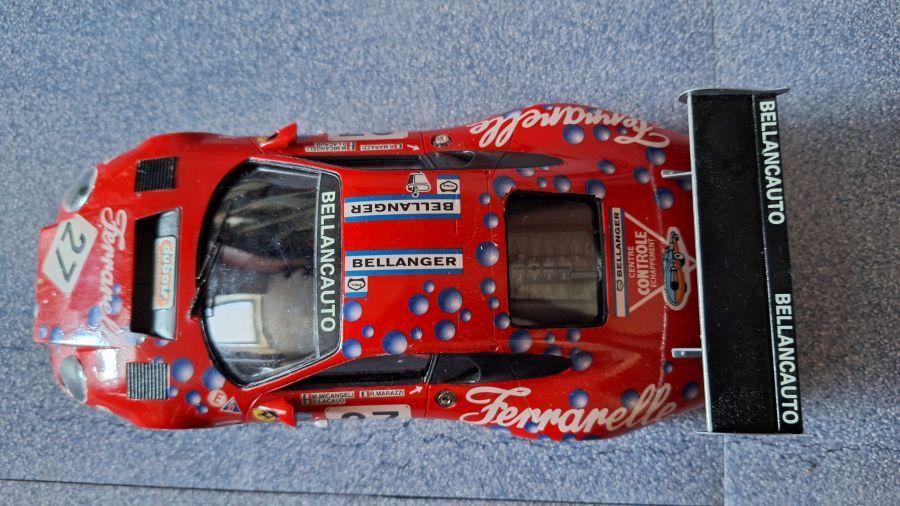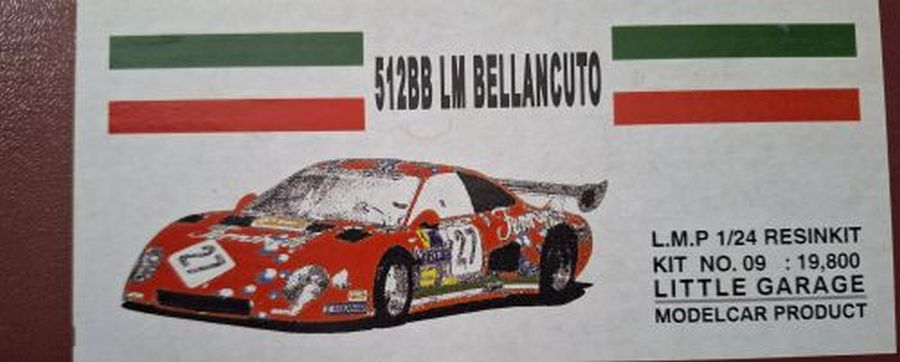
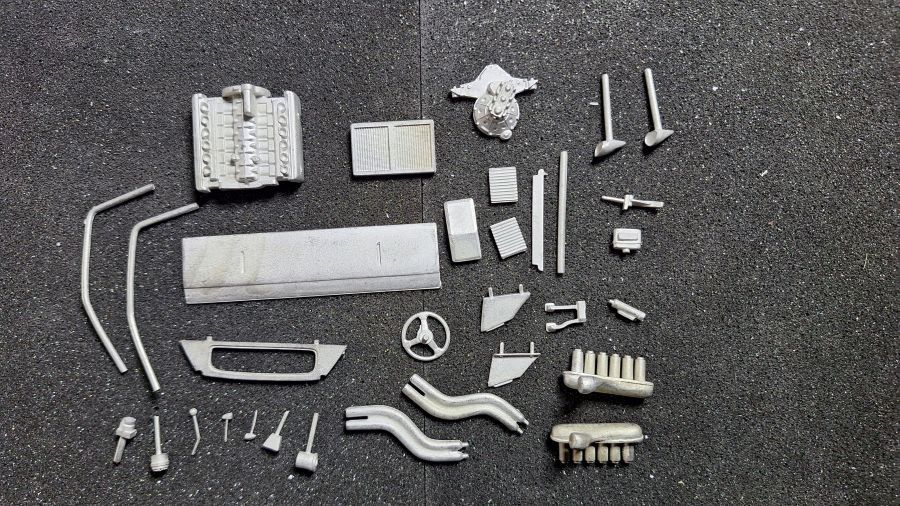
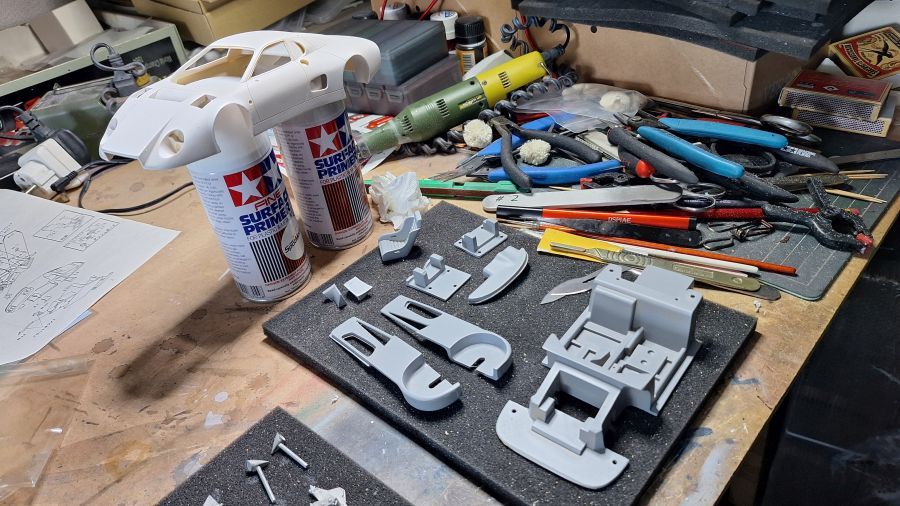
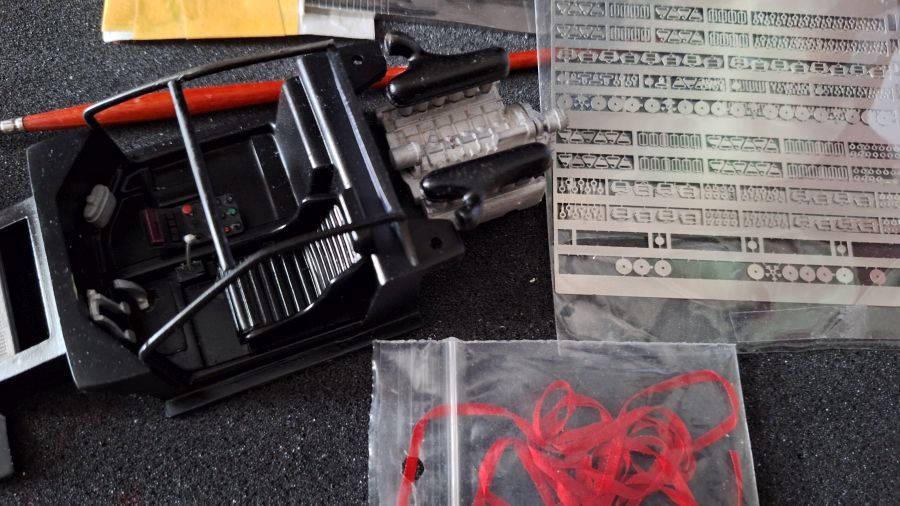
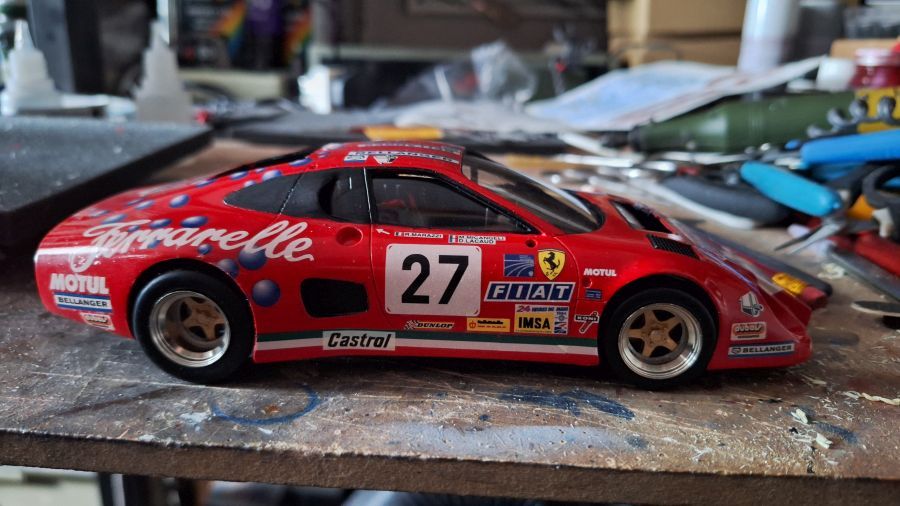
Eindelijk tijd voor 1 van mijn meest favoriete wagens. Ik heb nu 2 van deze kits. Eén bouw ik nu en de ander is de basis voor een 1981 Bellancauto conversie. Nu eerst de 1984 Ferrari 512 BB LM Bellancauto #27 zoals deze tijdens de 24 Uur van Le Mans werd gereden door Roberto Marazzi, Maurizio Micangeli en Dominique Lacaud. Het is een 1/24 kit van Little Garage (Kit nr. 09).
Finally time for 1 of my most favorite cars. I now have 2 of these kits. One i will be building now and the other is a base for a 1981 Bellancauto conversion. Now first of all the 1984 Ferrari 512 BB LM Bellancauto #27 as driven during the 24 Hrs of Le Mans by Roberto Marazzi, Maurizio Micangeli and Dominique Lacaud. It's a scale 1/24 kit from Little Garage (Kit no. 09).


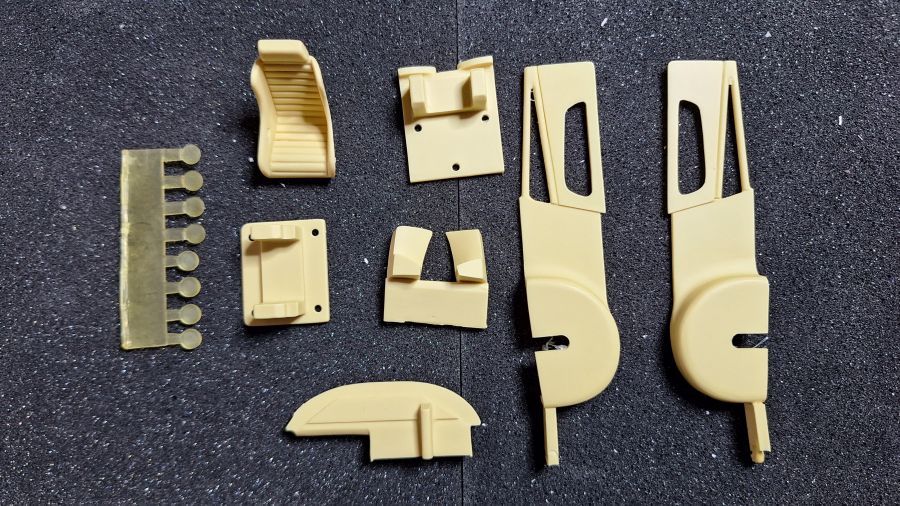

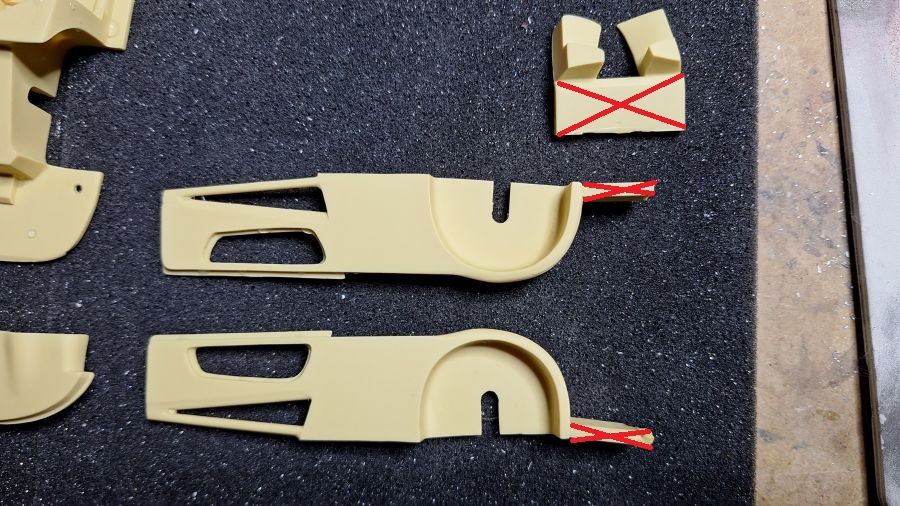
Overtollig resin verwijderen.
Removal of excess resin.
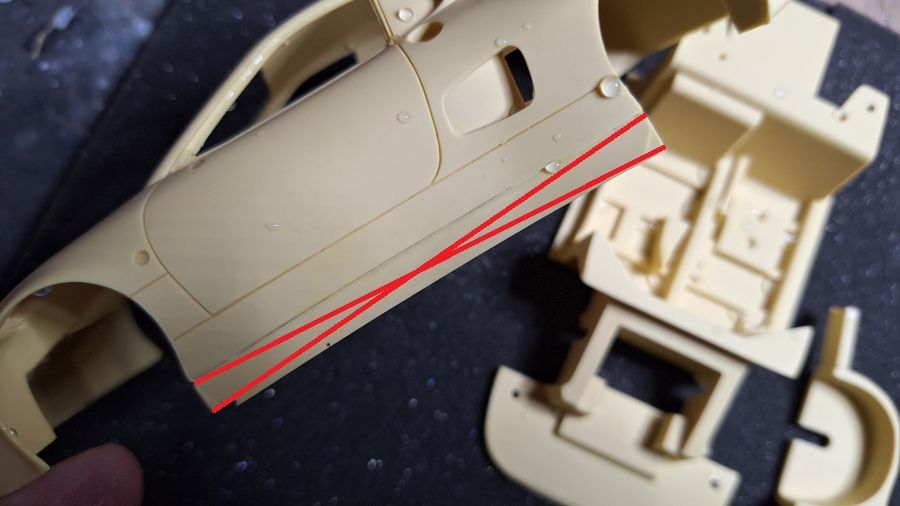
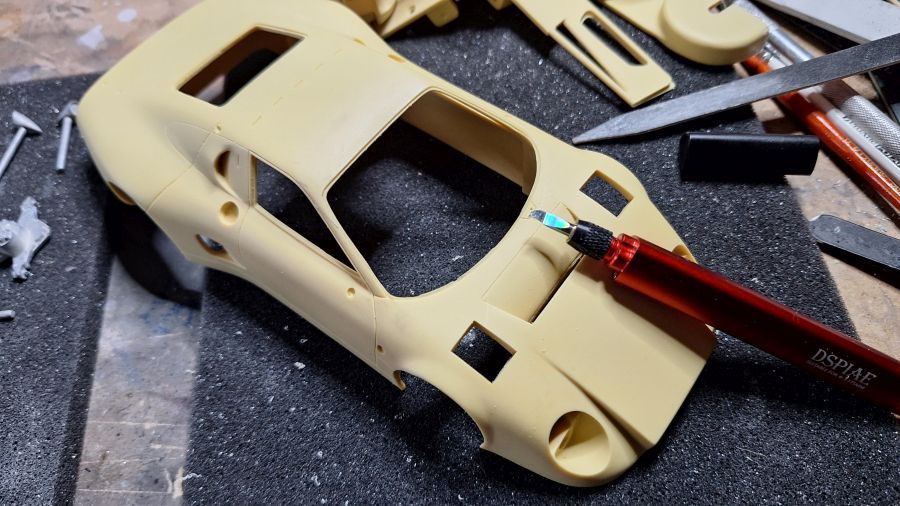
Paneellijnen dieper maken.
Scribing the panel lines.
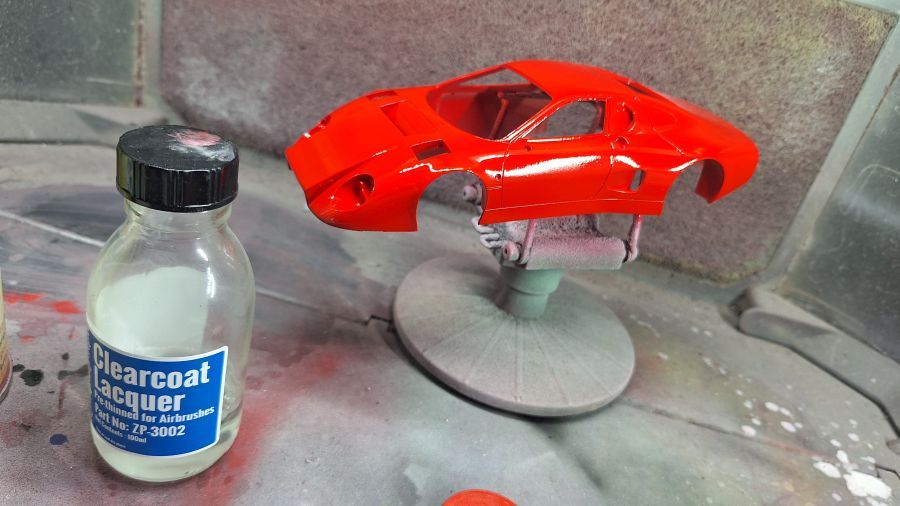
Grondverf erop... wit en grijs.
Primer added... white and grey.
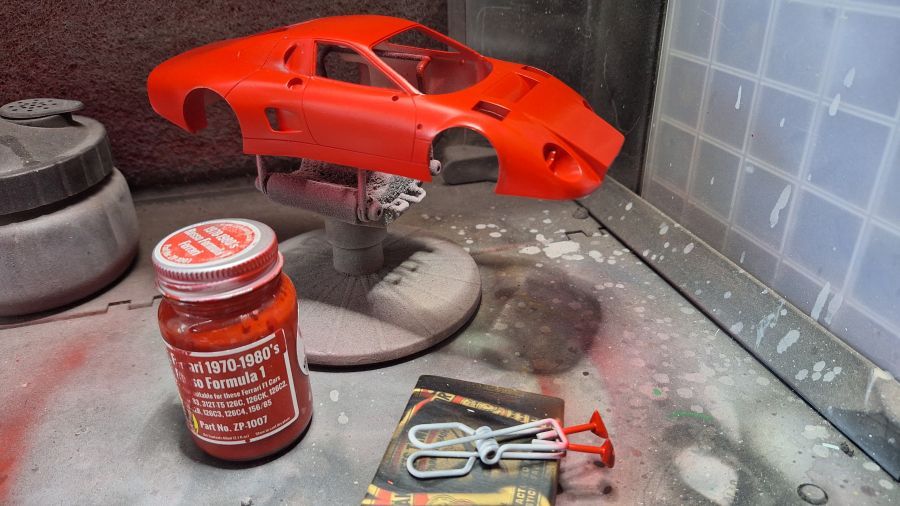
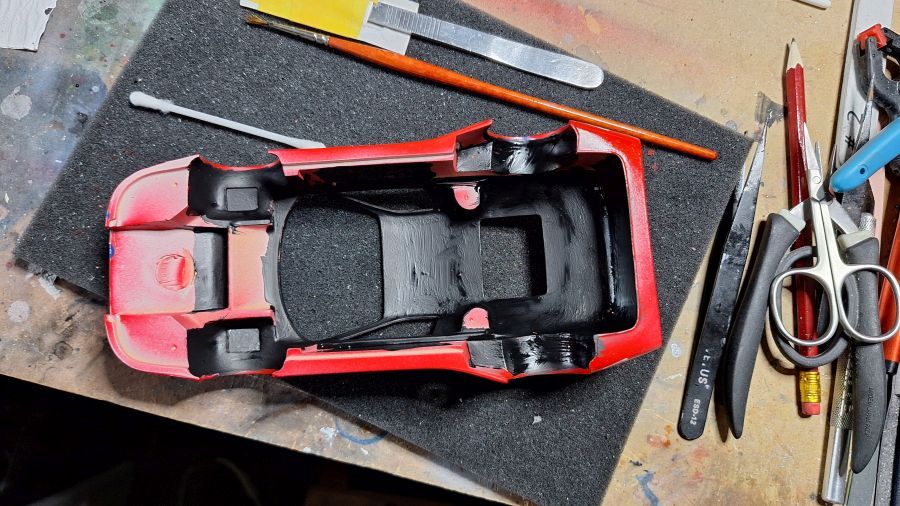
De 1e verf erop.
1st Paints applied.
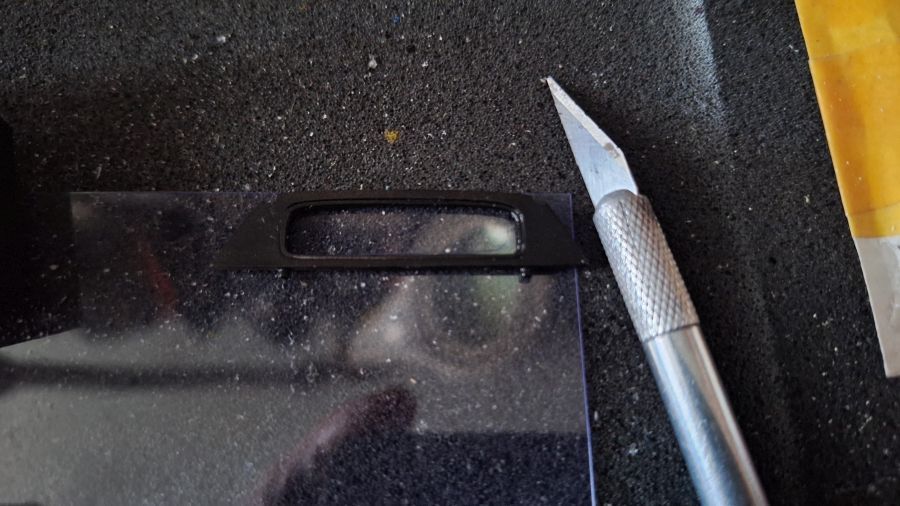
Een achterraam maken.
Creating a rear window.
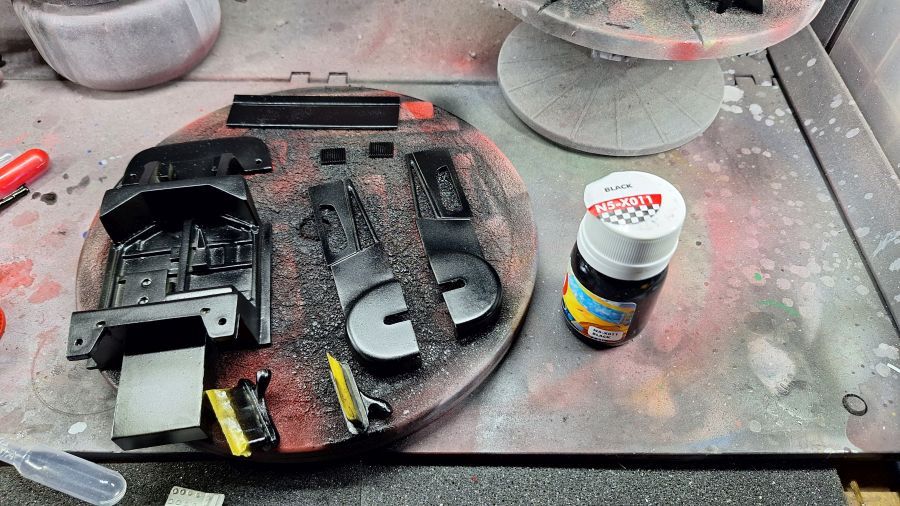
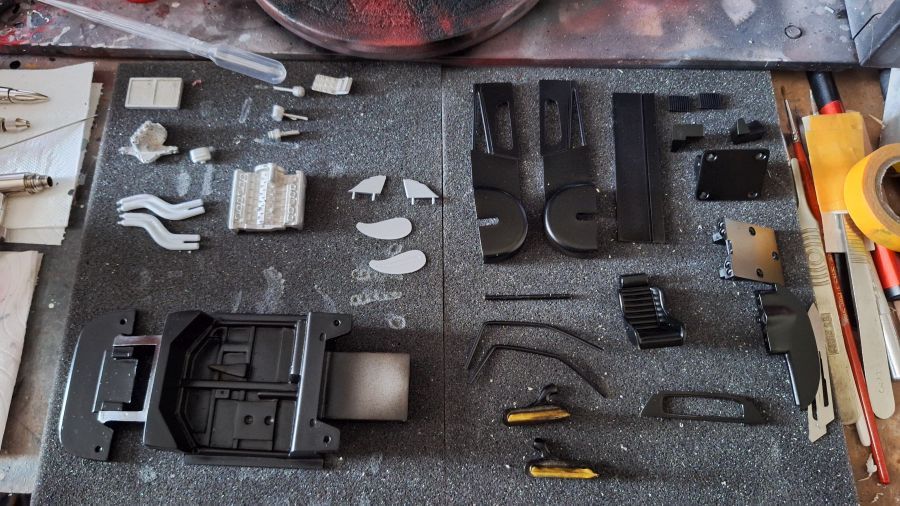
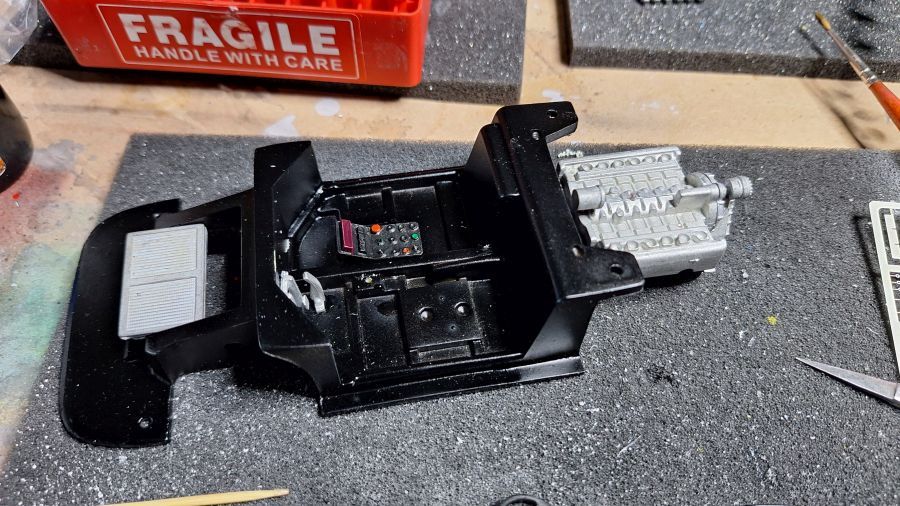
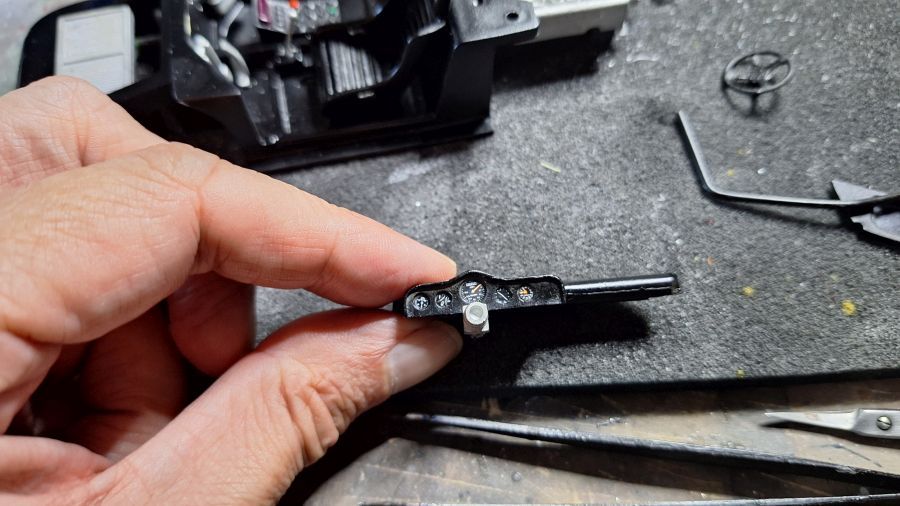
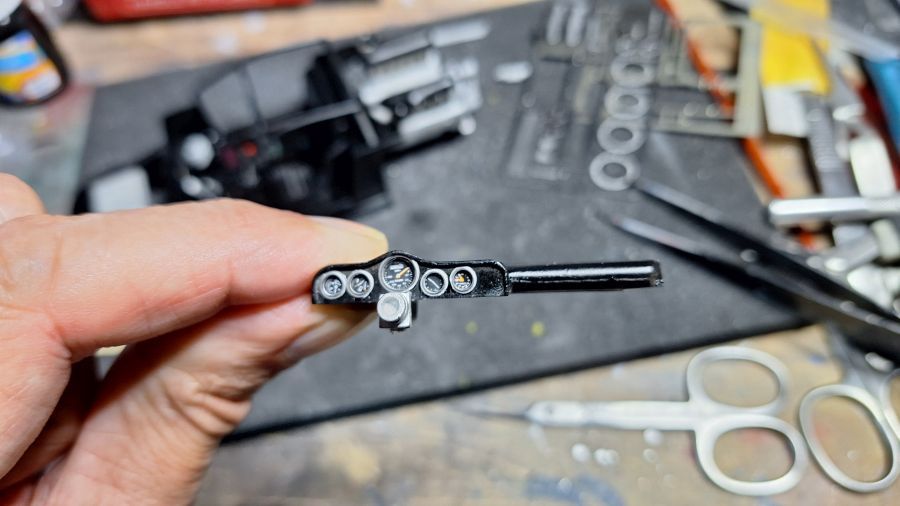
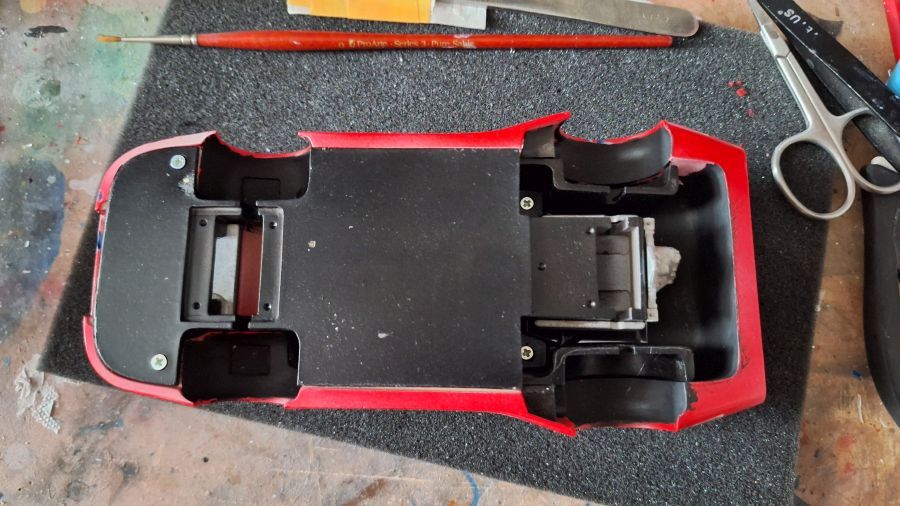
Verder met de vloer...
To continue with the floor...
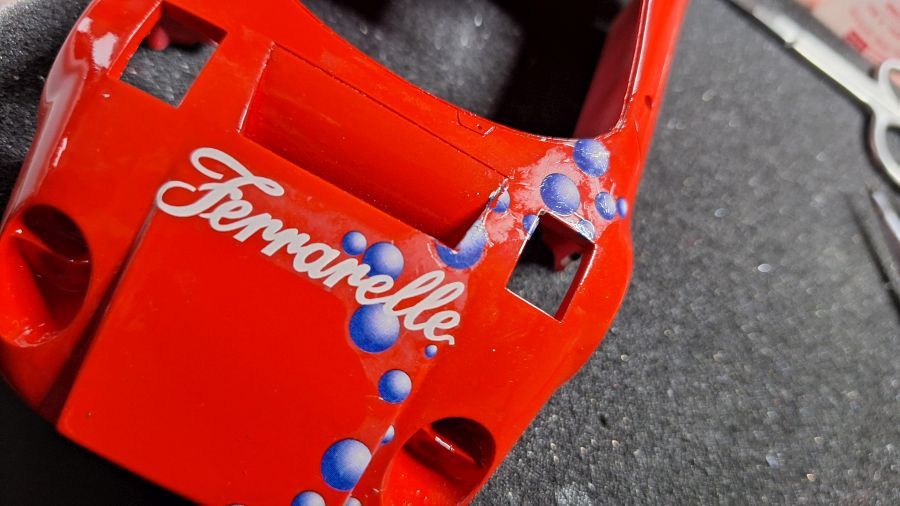
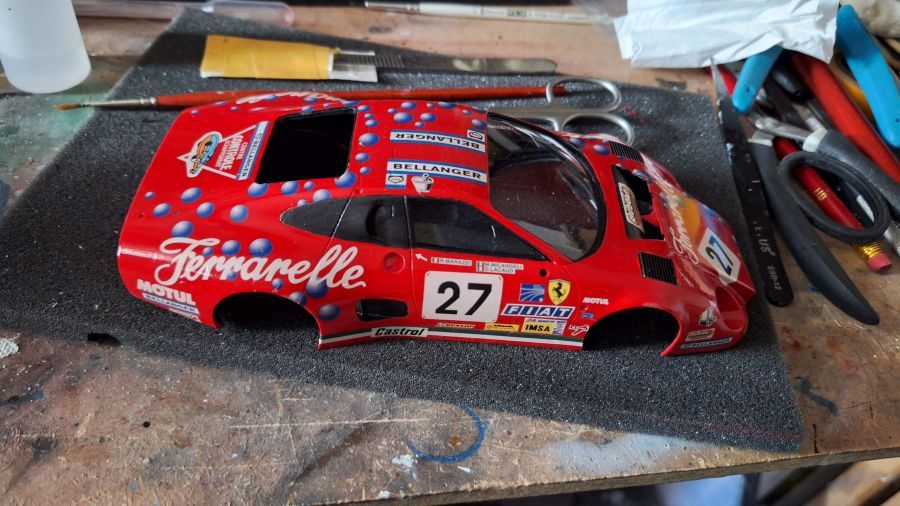
Begin met de decals. Lastig, de decals laten niet mooi los van de drager. Gelukkig zijn ze redelijk stevig en verpulveren niet.
Starting with the decals. Tricky, the decals don't come loose from the carrier. Luckily they are a bit stiff and don't fall apart.
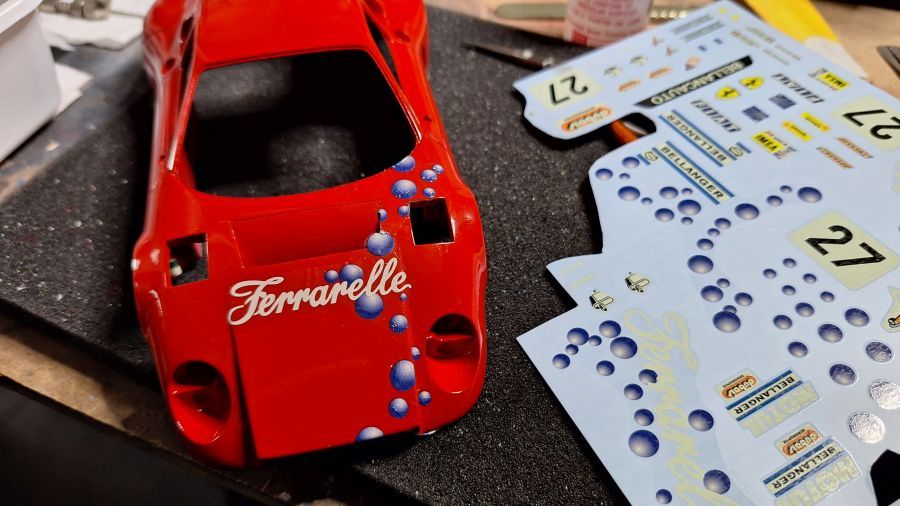
Terwijl het oppervlak glad is, lijkt het of de decals beginnen met 'silvering'. Ik hoop dat dat goed komt als de lak er weer overheen gaat.
While the surface is smooth, it looks like the decals are 'silvering'. I hope it will be o.k. when i spray the lacquer over them.
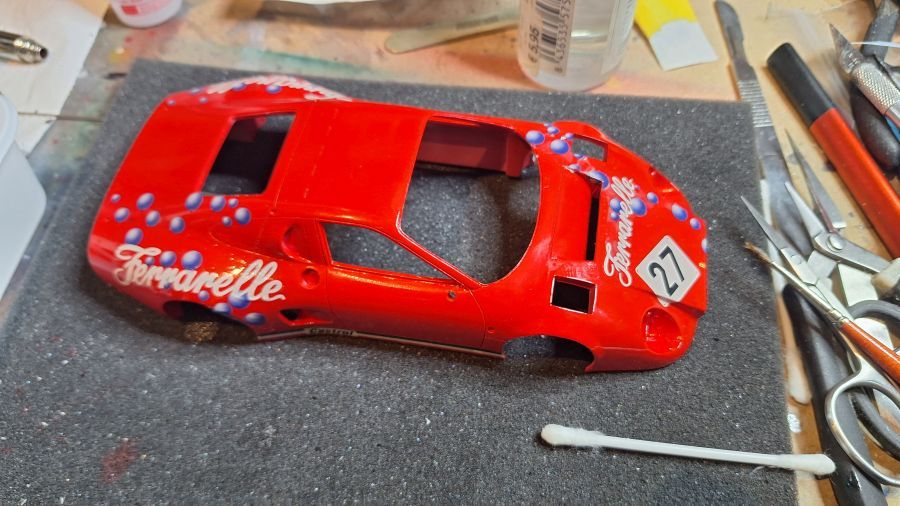
Ik ga langzaam met de decals, ik moet erg voorzichtig zijn.
I am going slow on these decals, i need to be very careful.
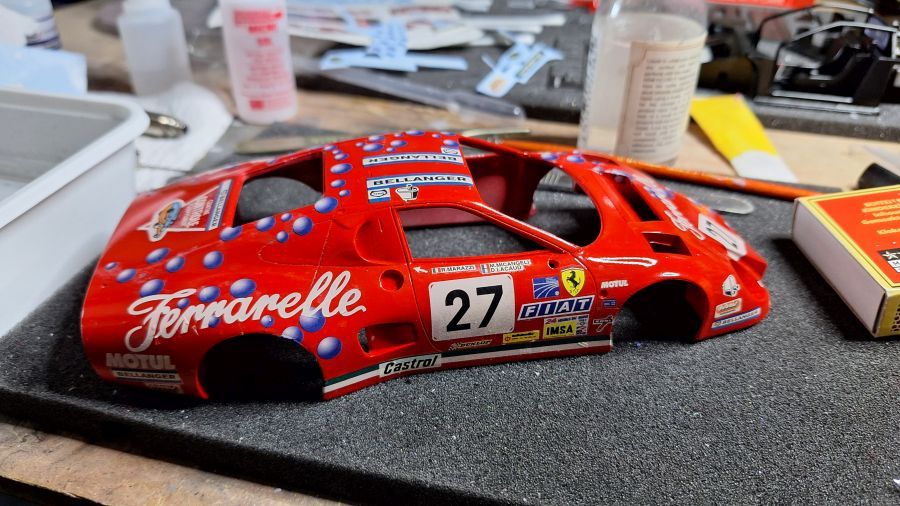
De heldere lak doet goed werk. De 'silvering' van de decals verdwijnt mooi.
The clear lacquer does a good job. The 'silvering' of the decals disappears nicely.
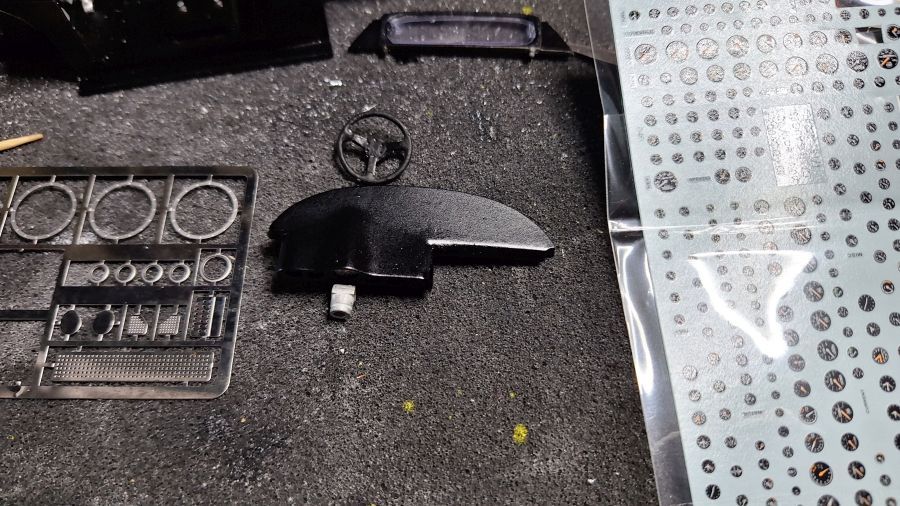
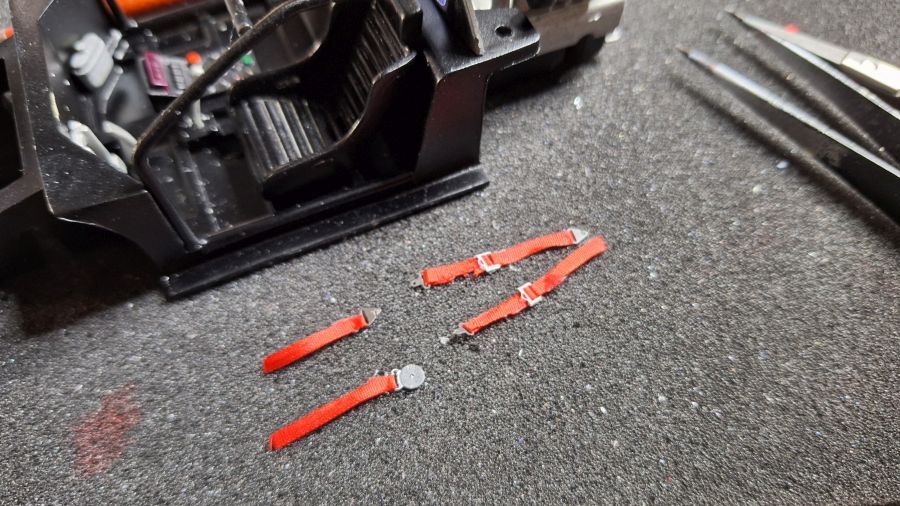
En weer even terug naar het interieur. Op een oude foto zie ik rode gordels.
And back to the interior. On an old photo i spot read belts.

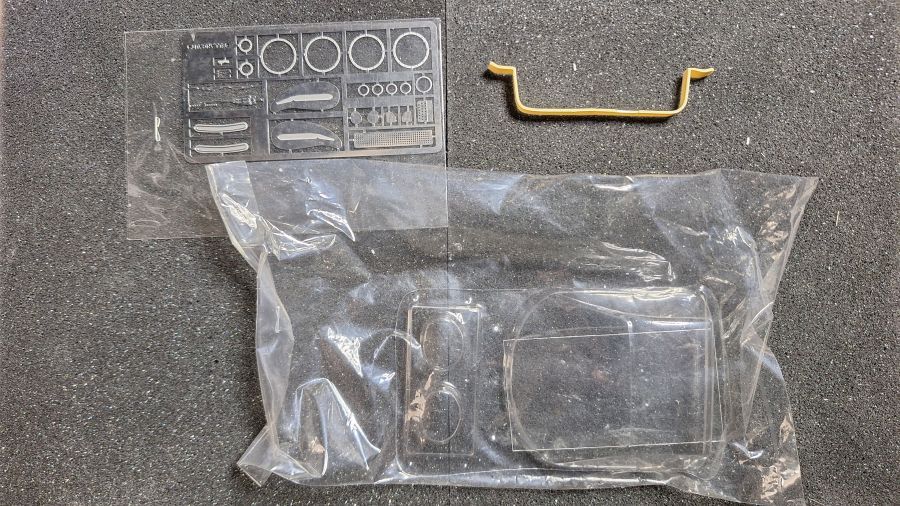
Glas erin. Er was veel knipwerk nodig.
Glass added. It needed a lot of cutting.
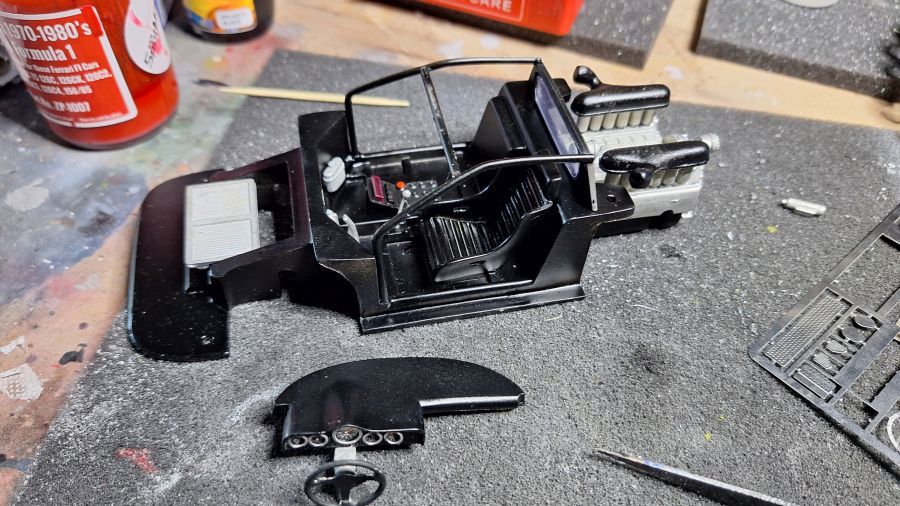
De vloer kan geplaatst.
The floor can be mounted.
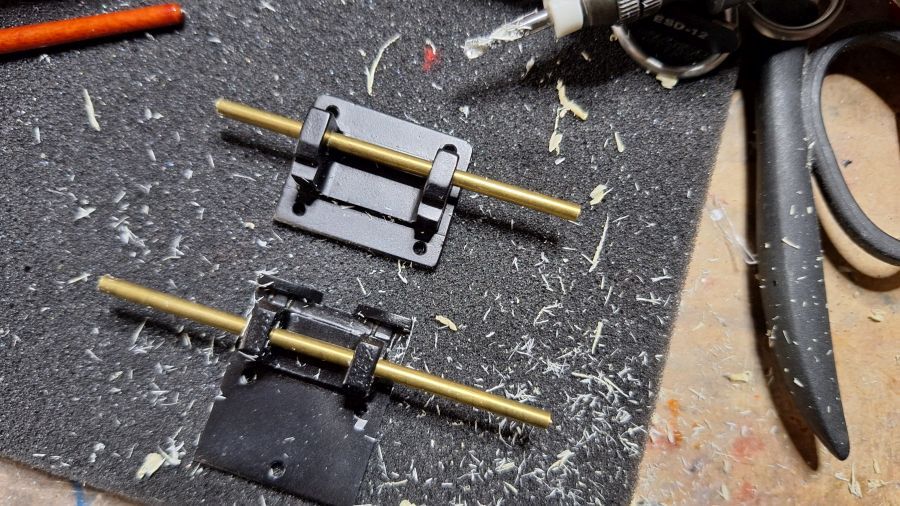
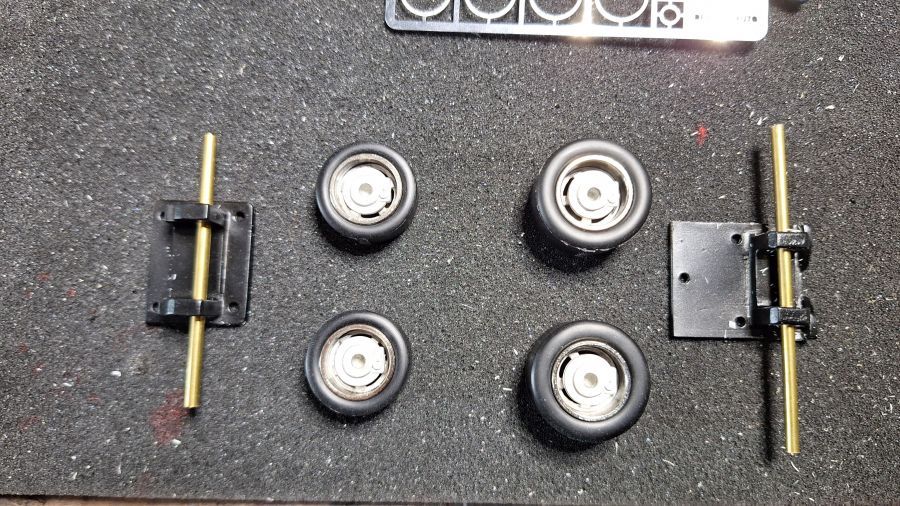
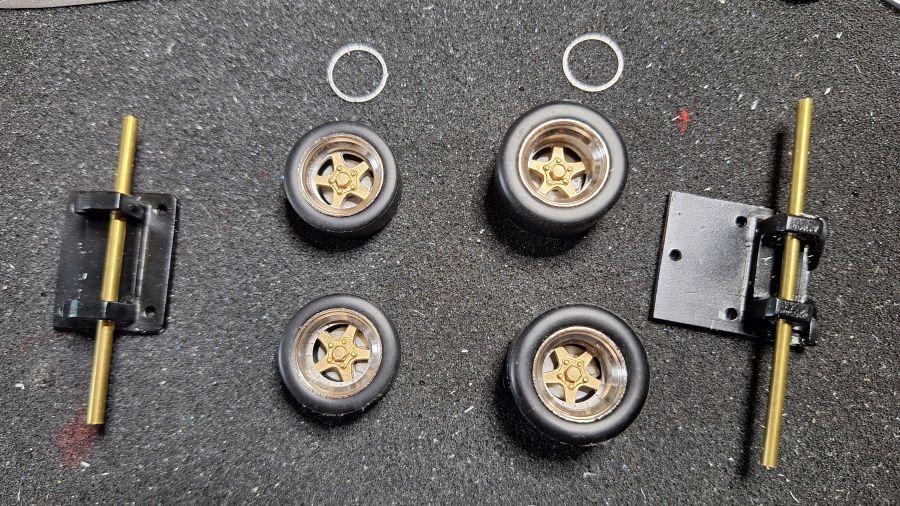
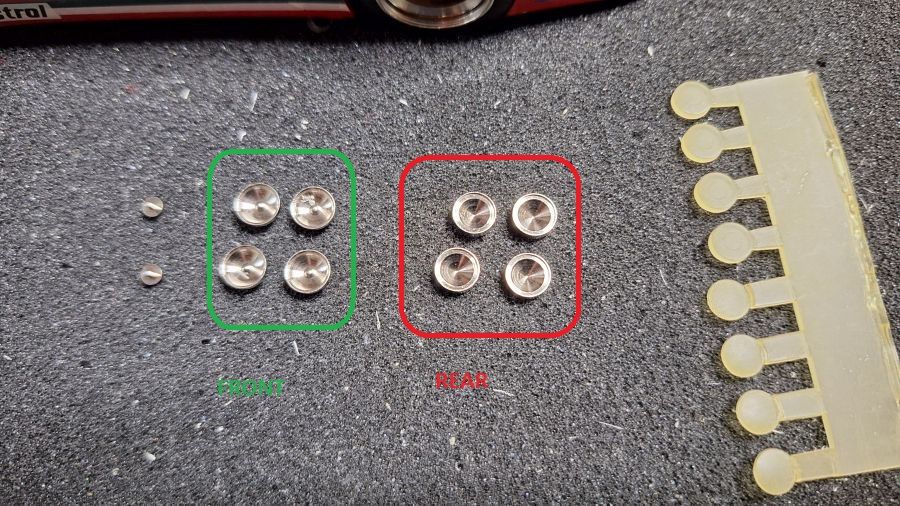
De assen boren van de inlays.
Drilling the axles to the inlays.
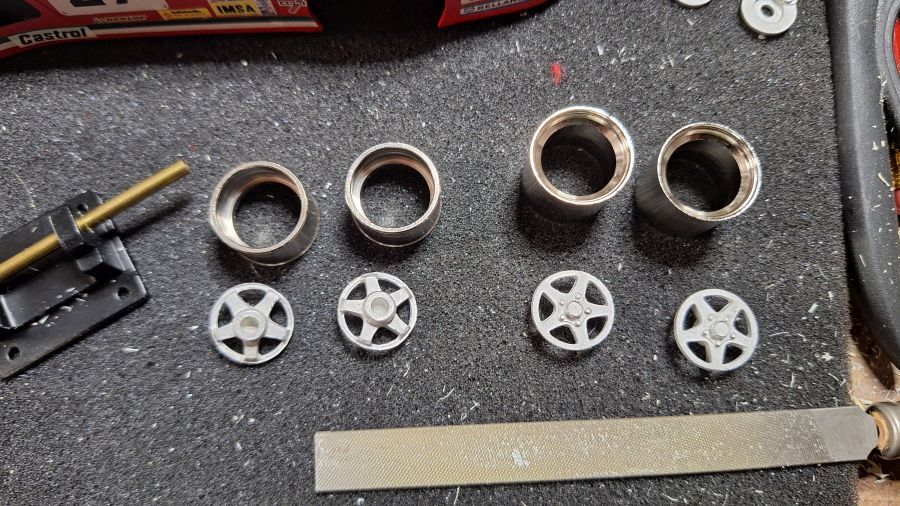
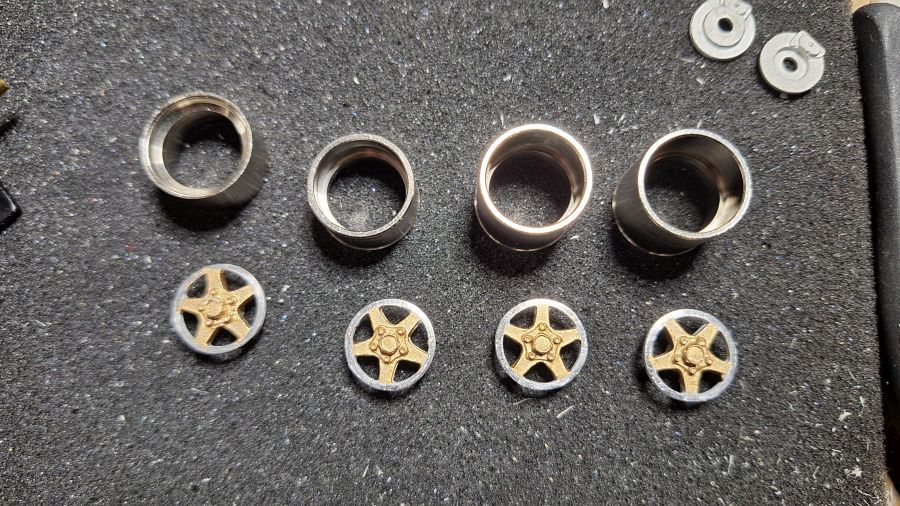
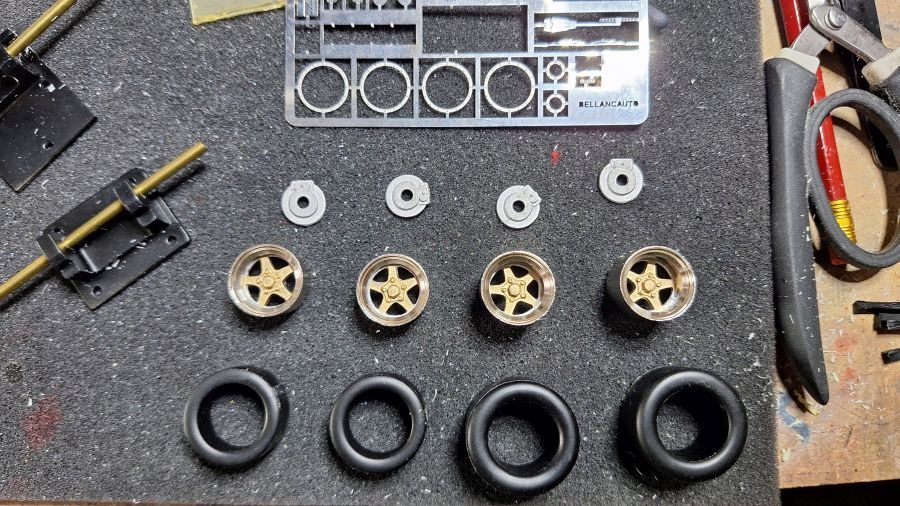
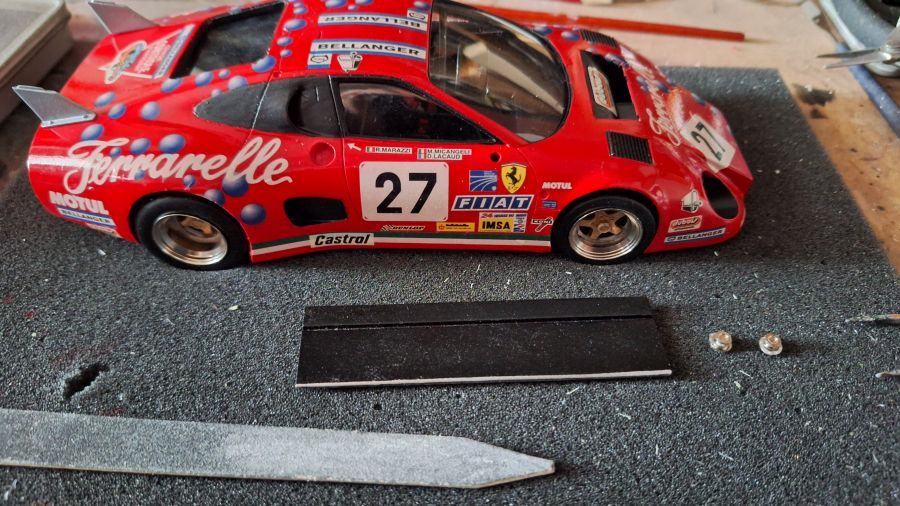
Dan de velgen. De inserts worden op maat gevijld. En dan verf erop.
Next are the rims. The inserts are filed to shape. And then painted.
De achtervleugel heeft zijn aluminium rand.
The rear wing has the aluminium edge.
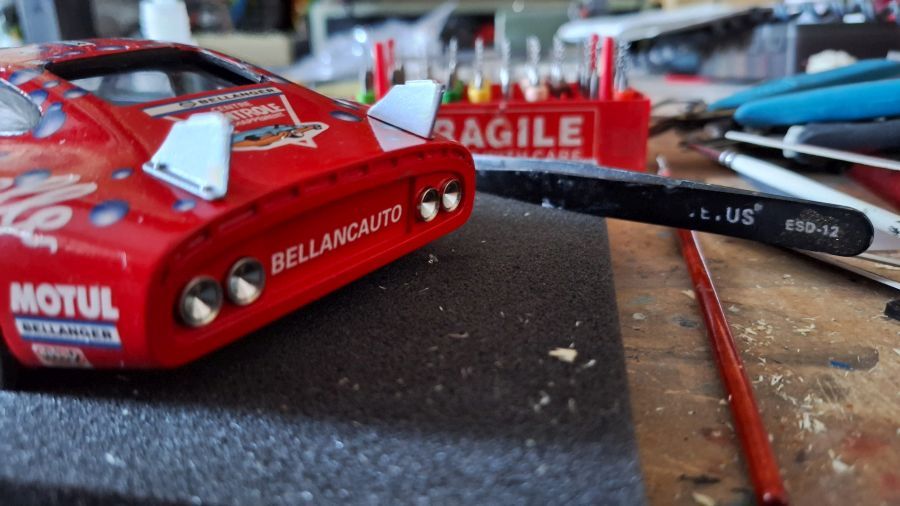
Dan de lichten.
On to the lights.
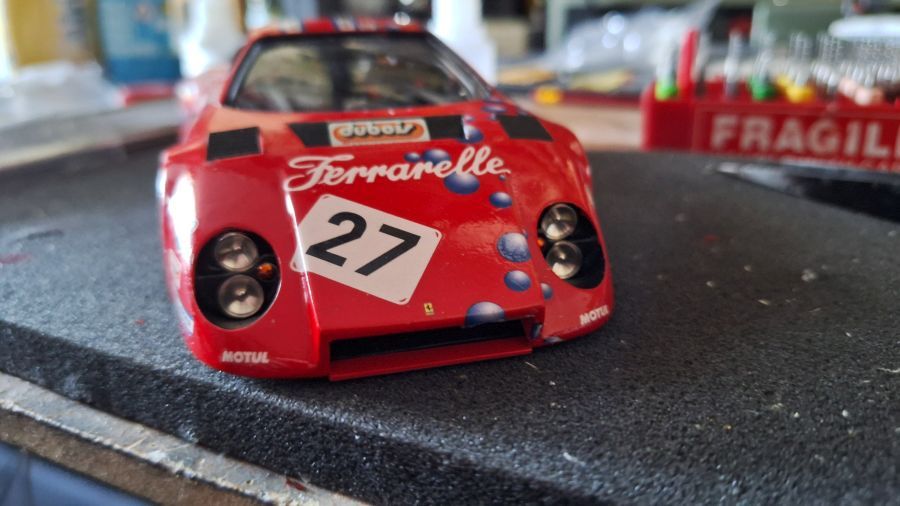
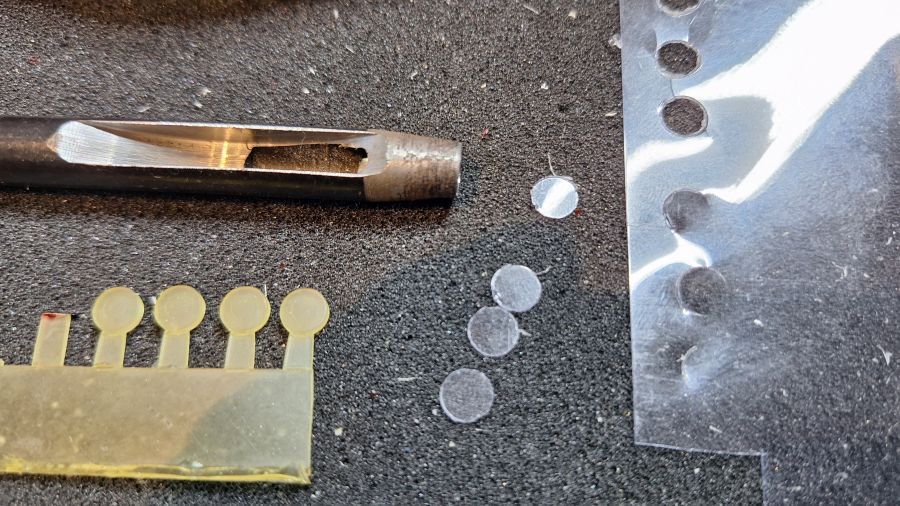
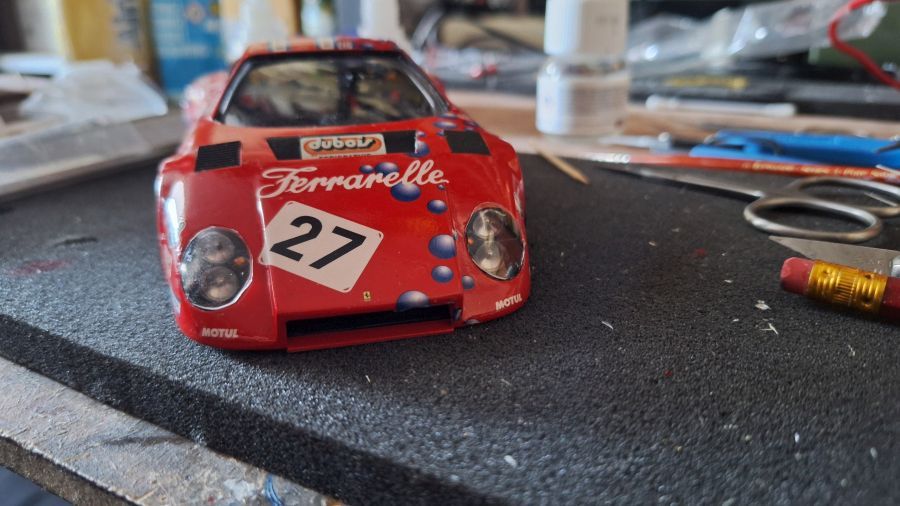
De voorlichten zijn teveel vergeeld naar mijn smaak. Ik maak nieuwe...
The head lights yellowed too much to my taste. Creating new ones...
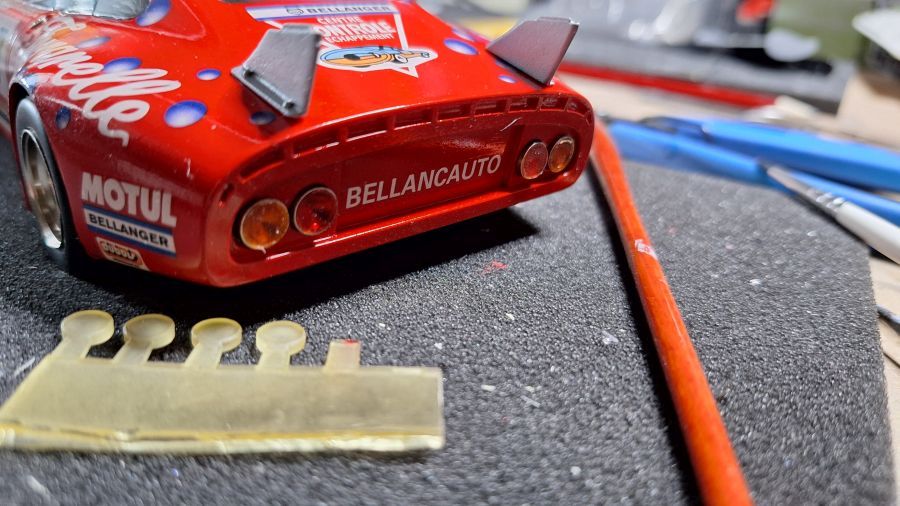
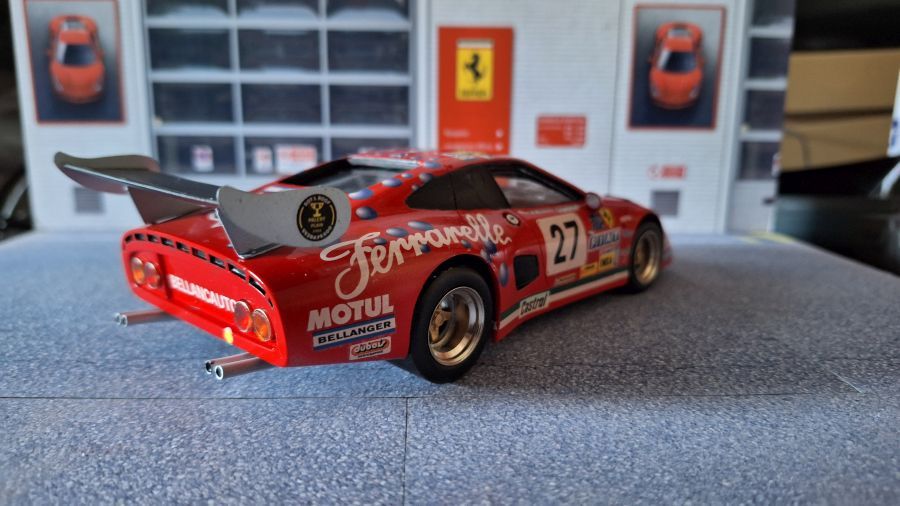
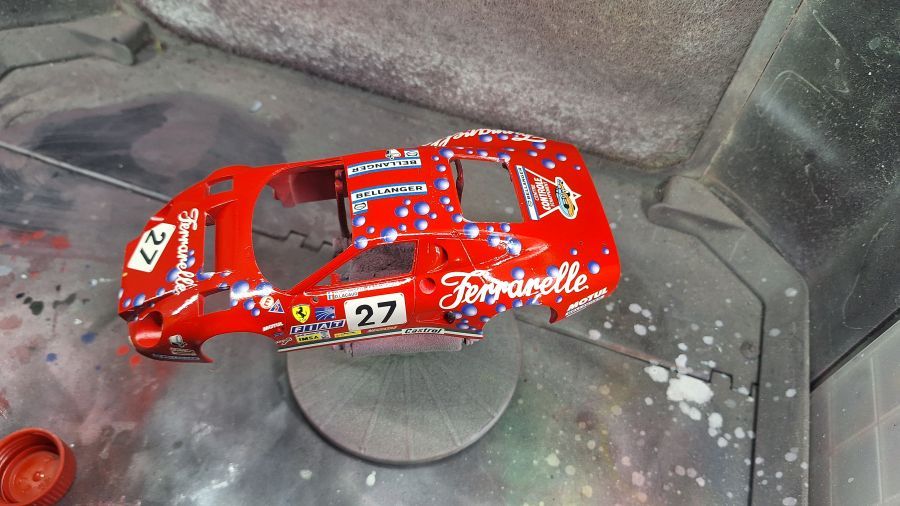
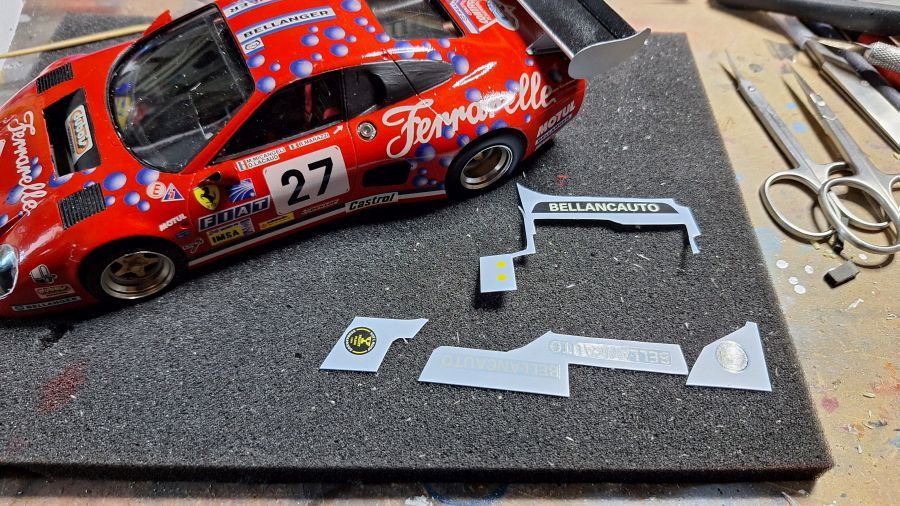
De laatste decals..
The decals left...
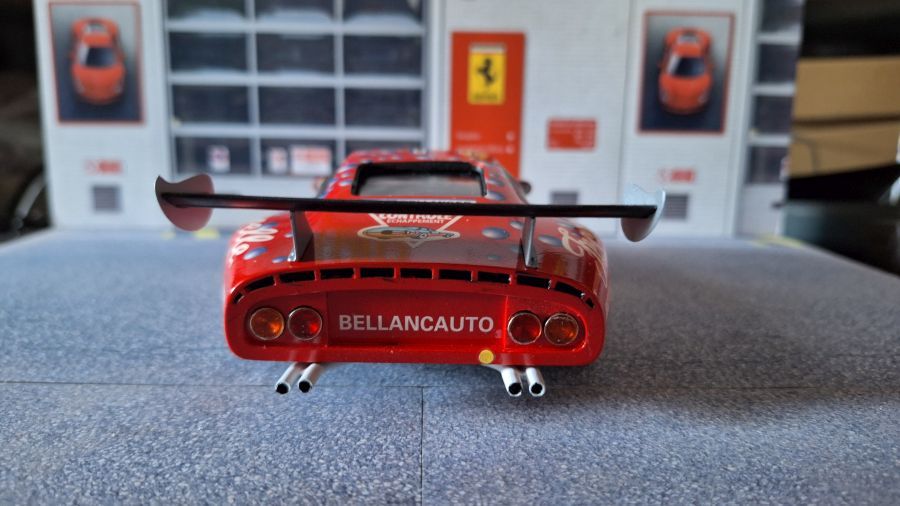
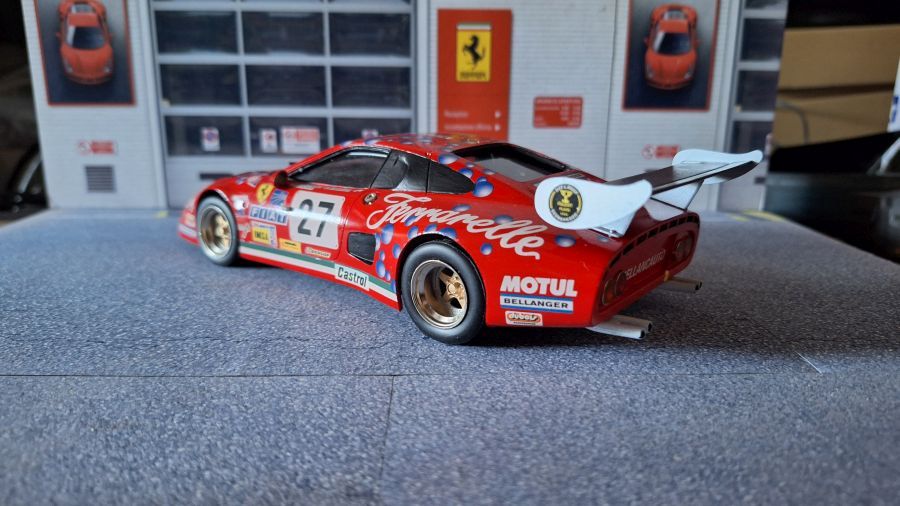
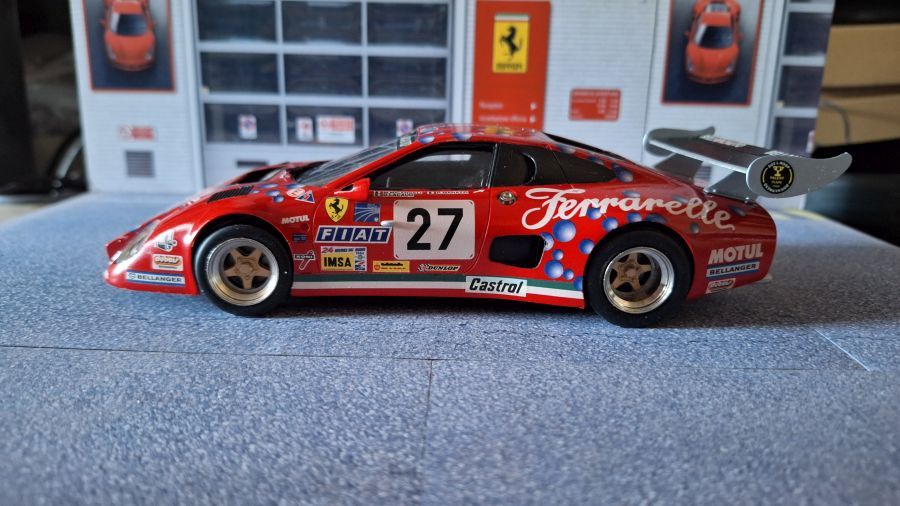
Na nog wat kleine onderdelen...
After adding some small parts...