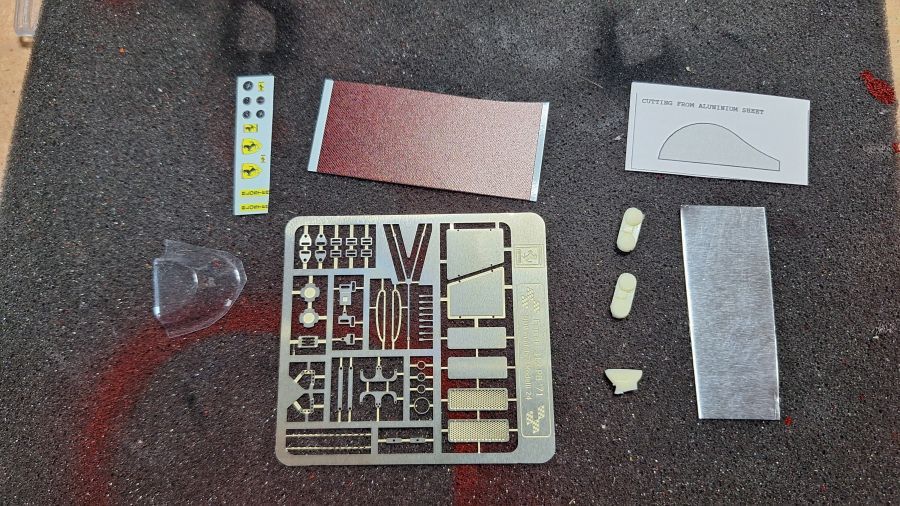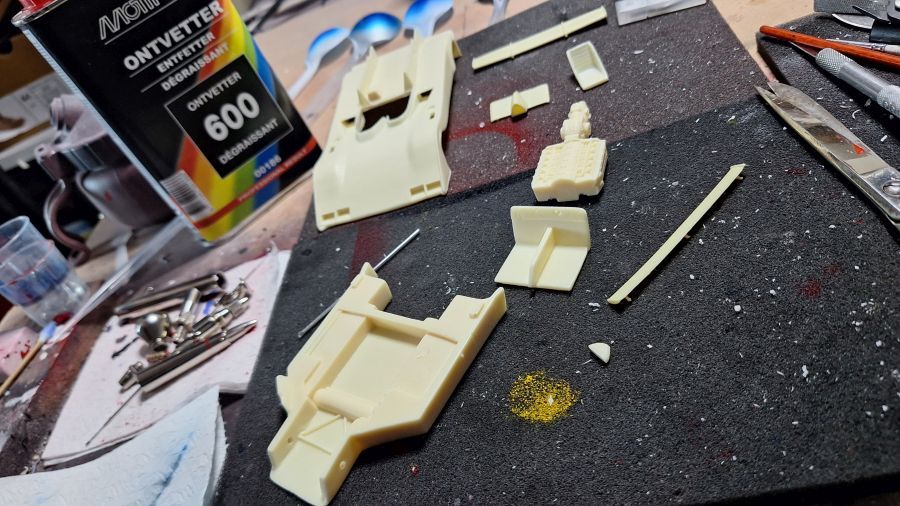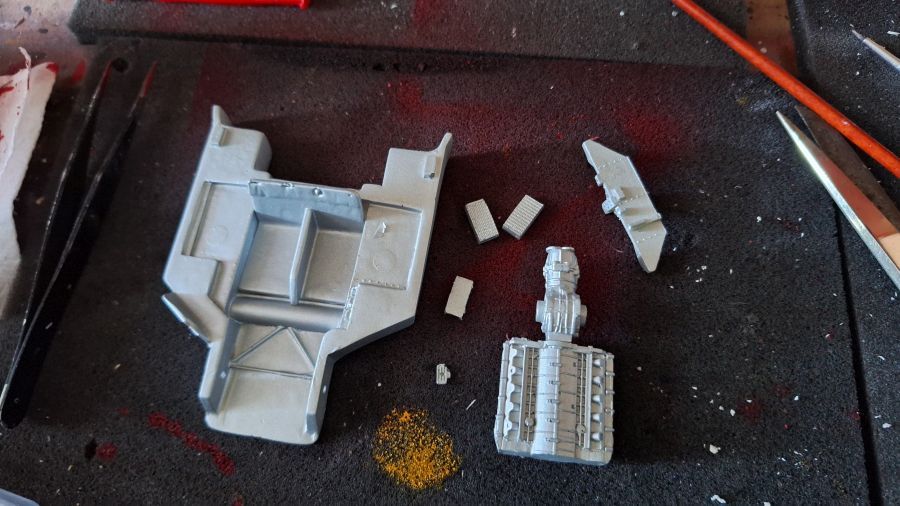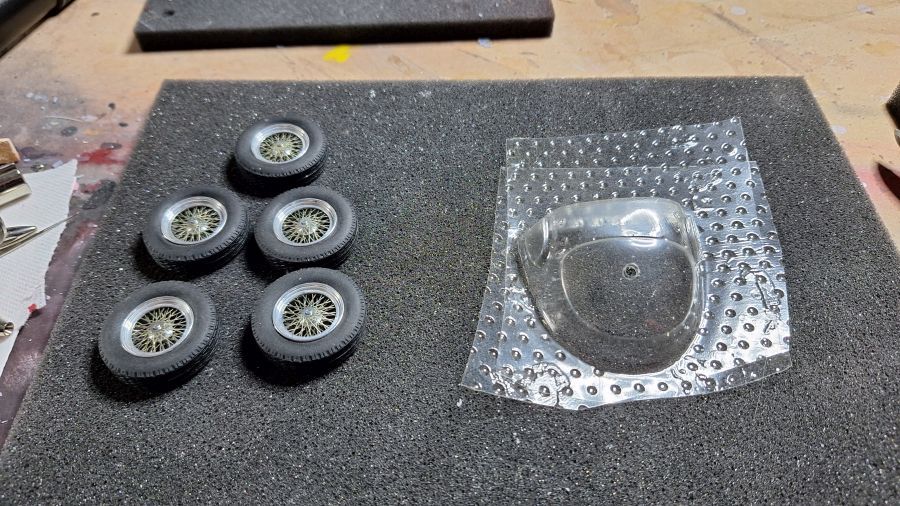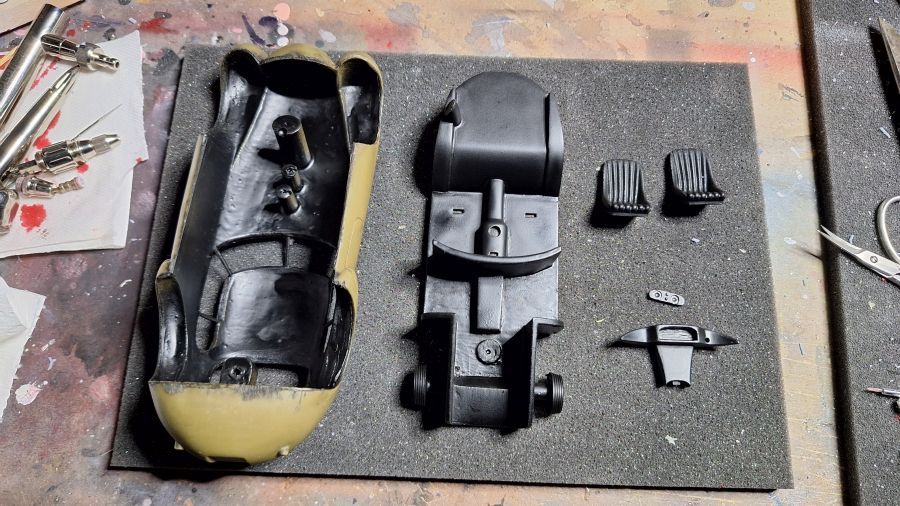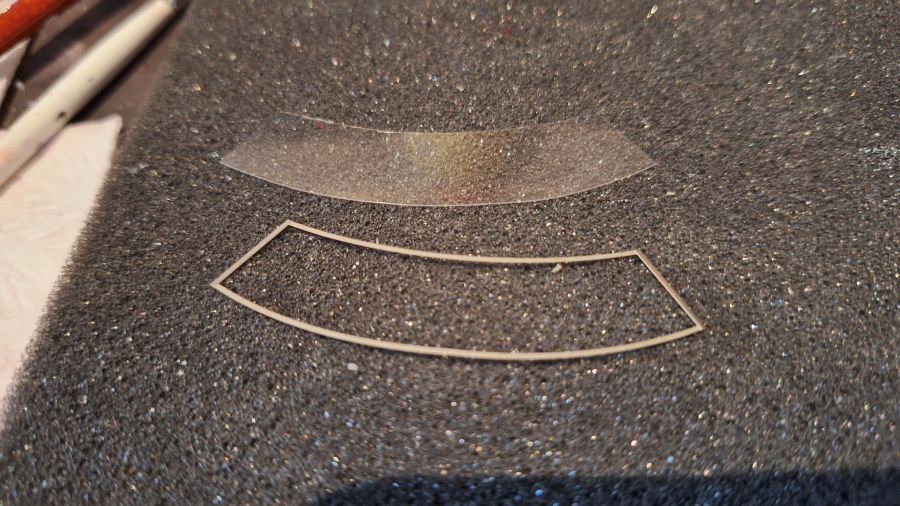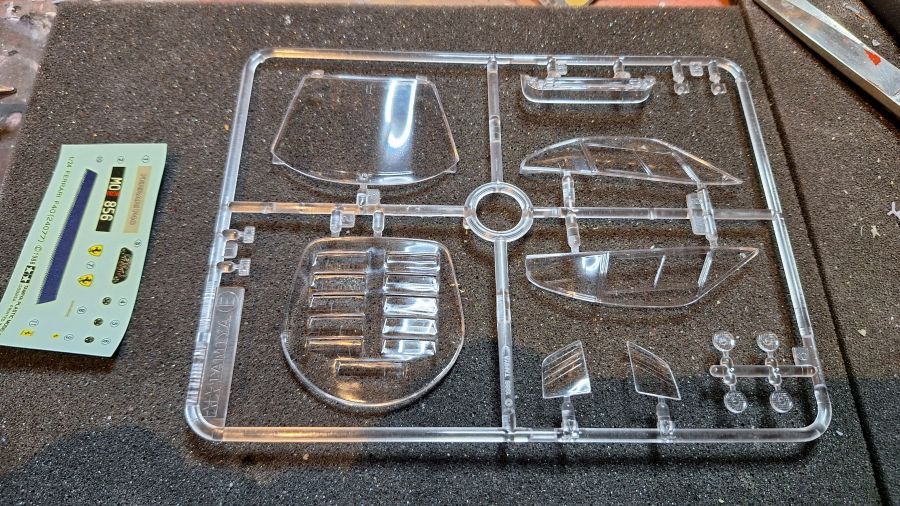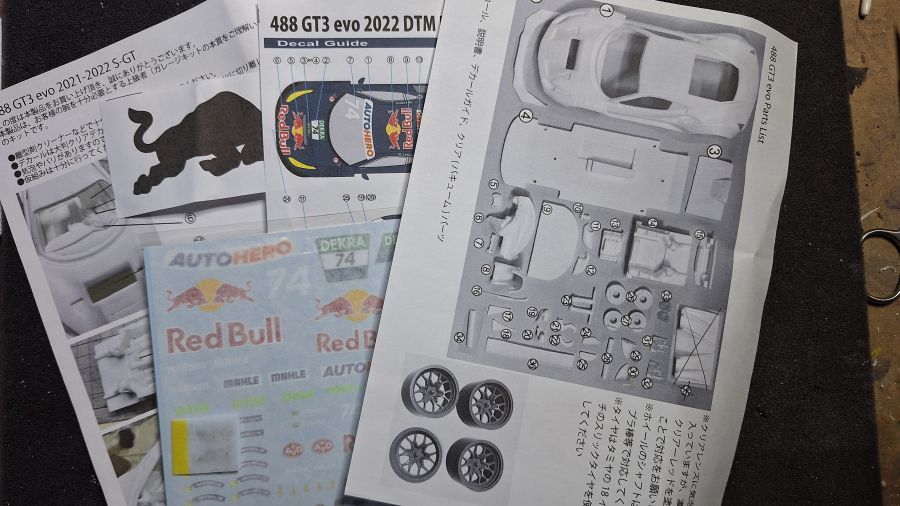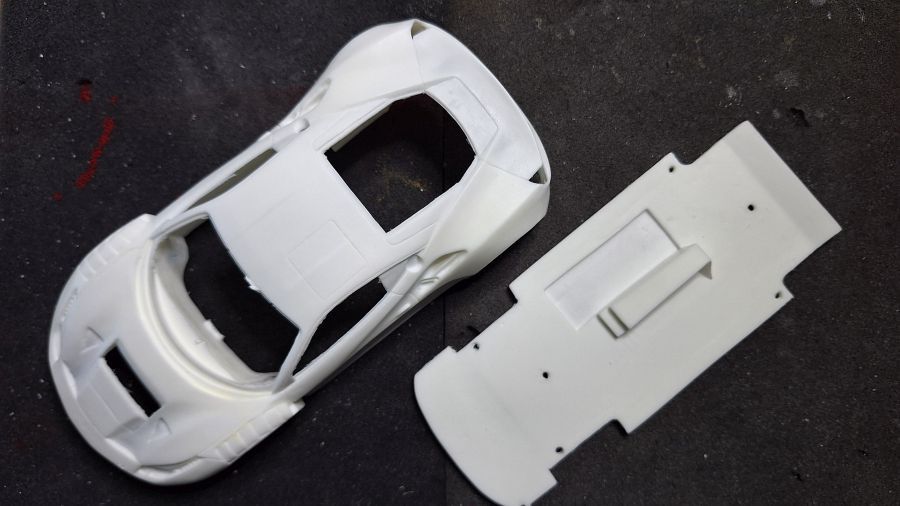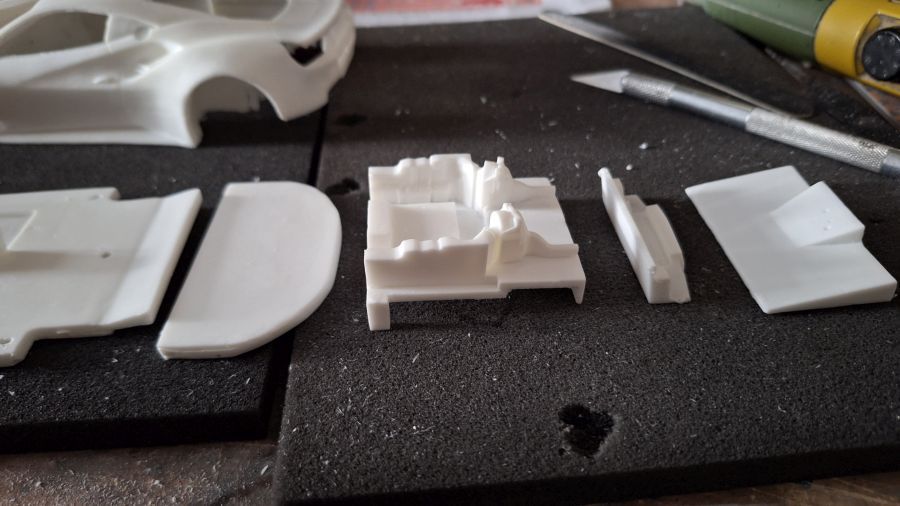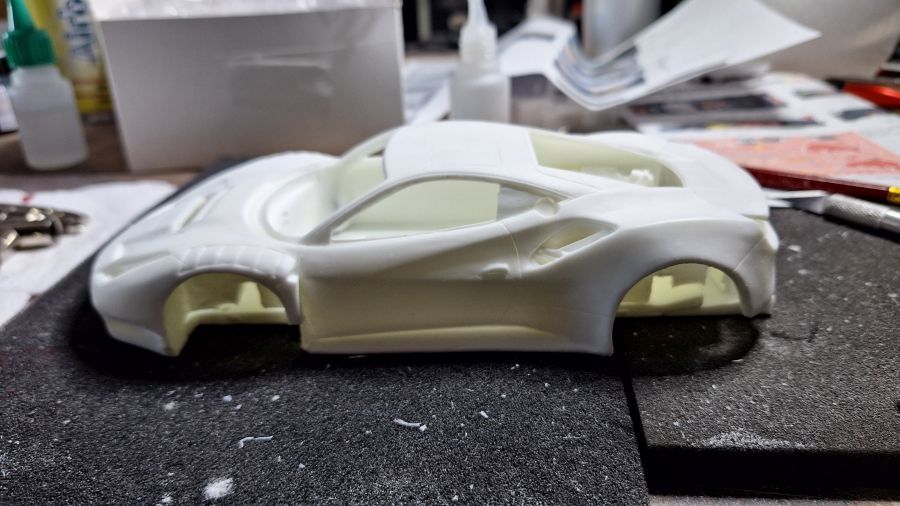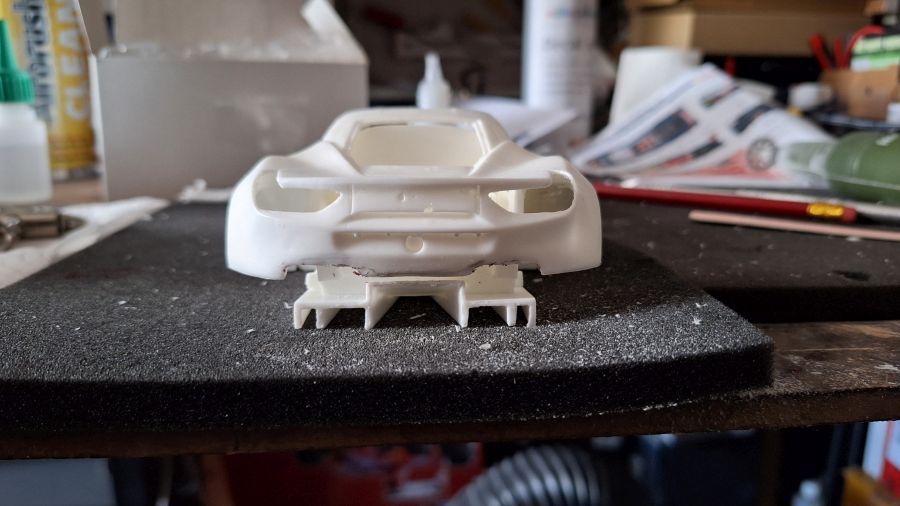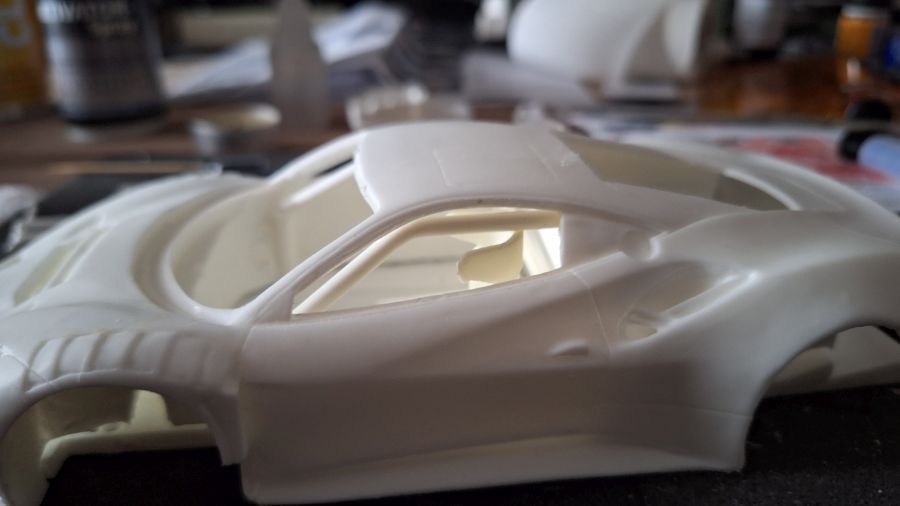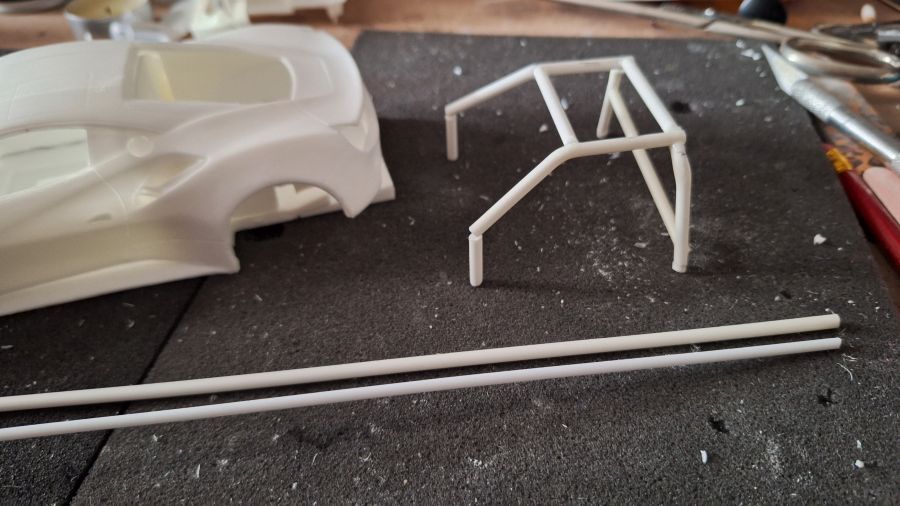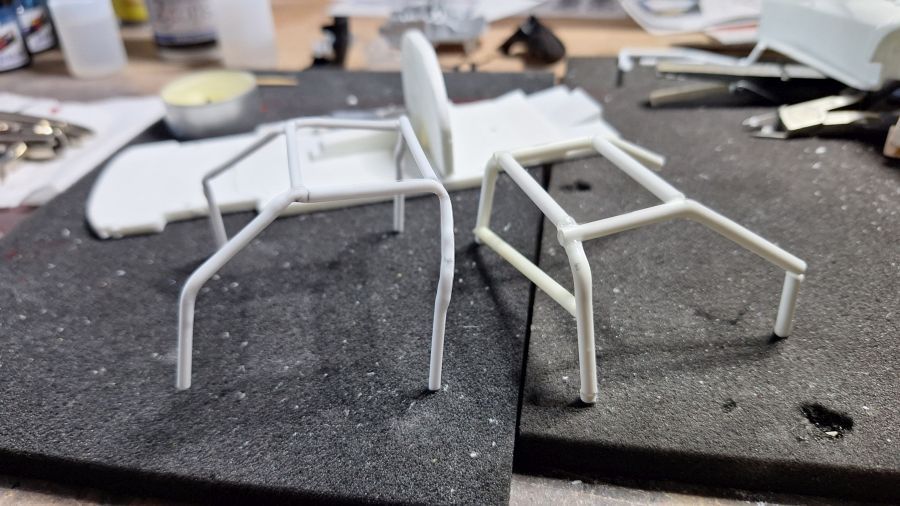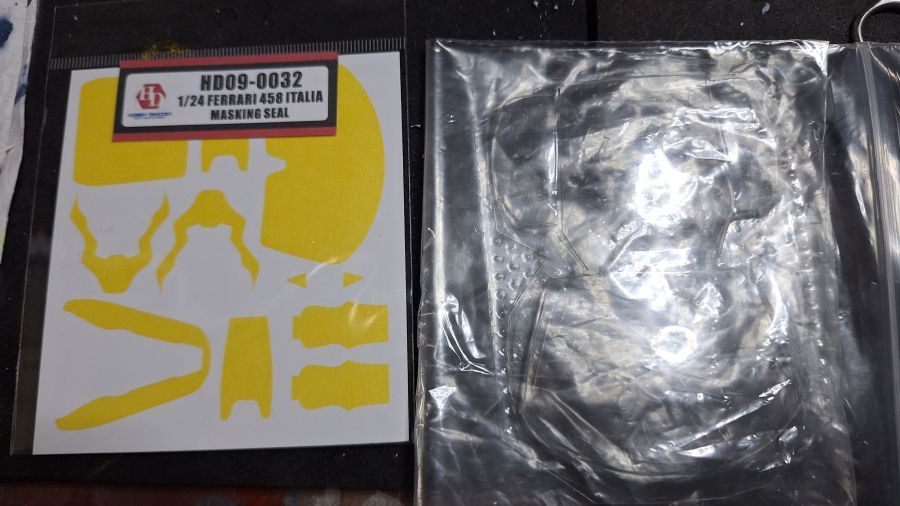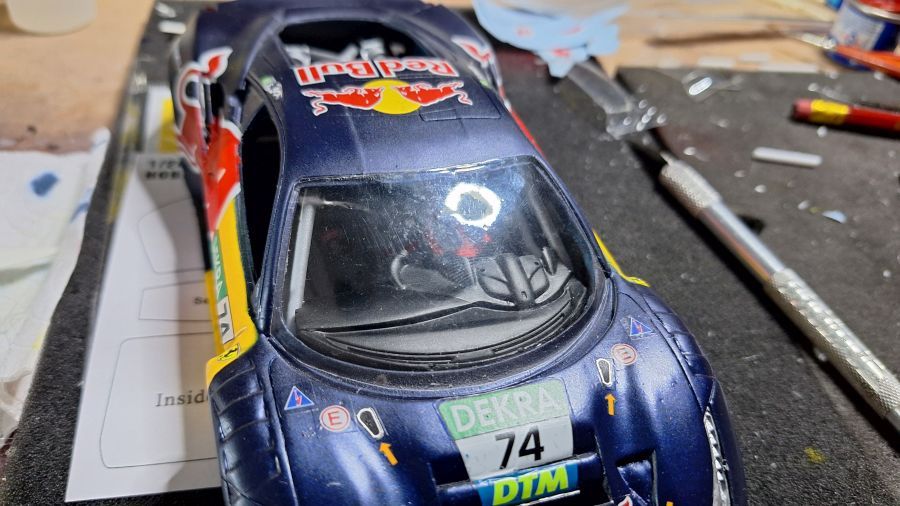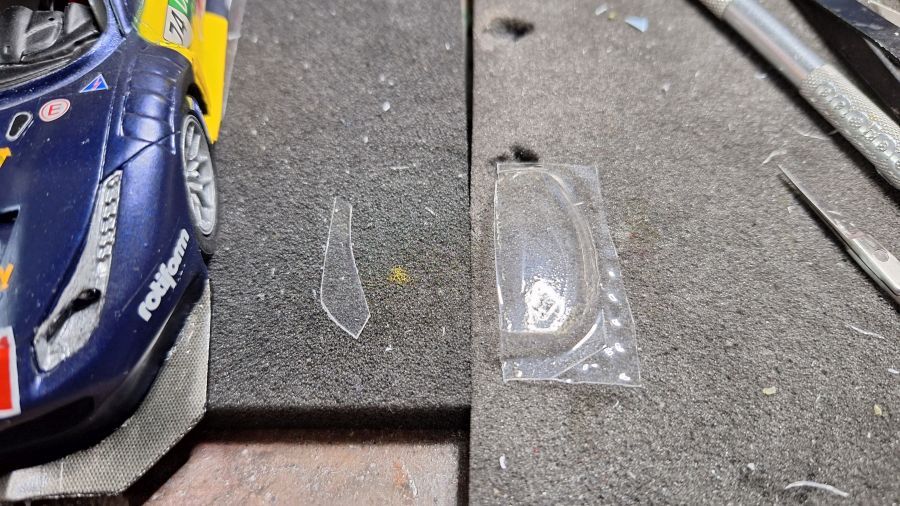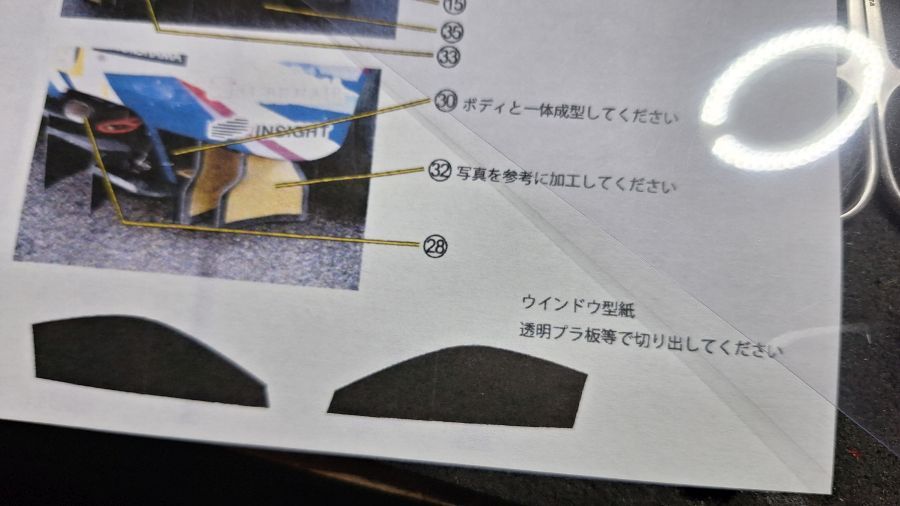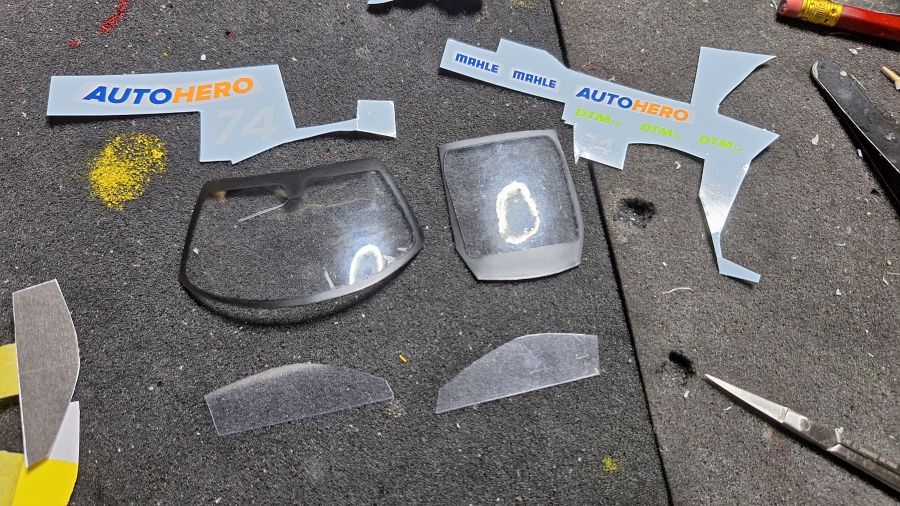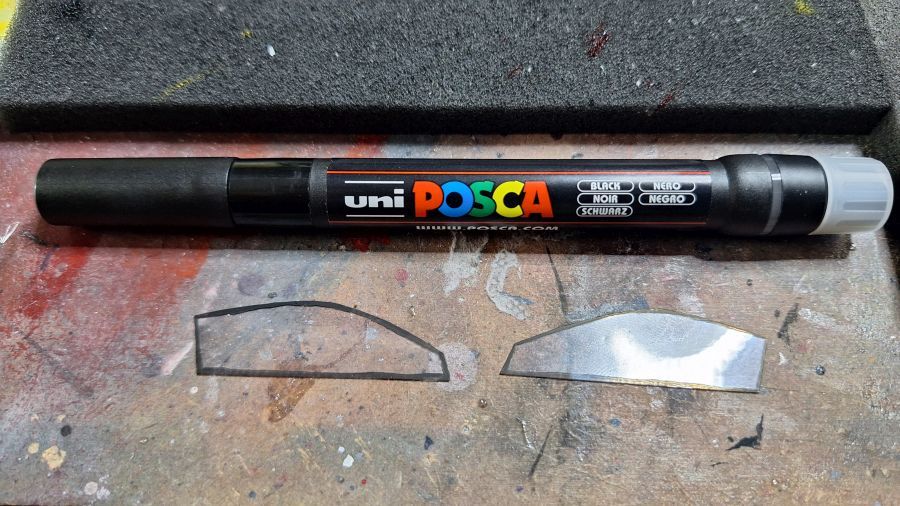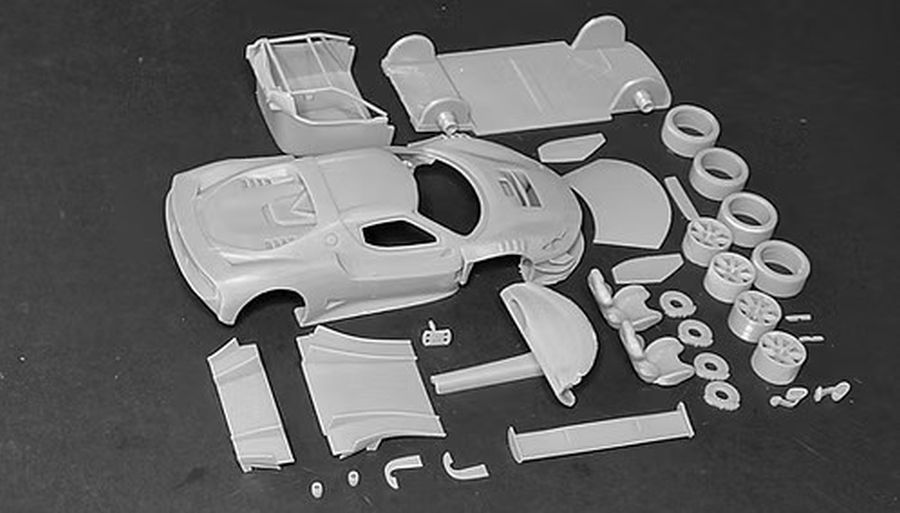
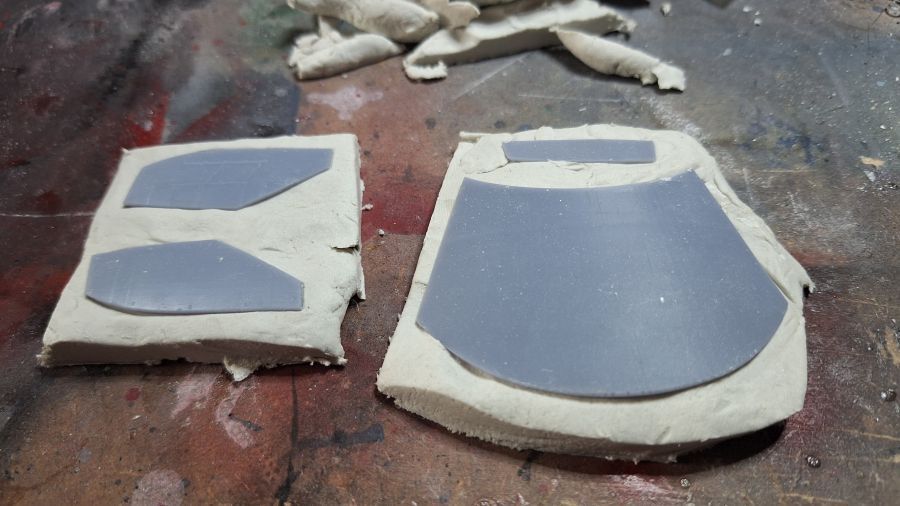
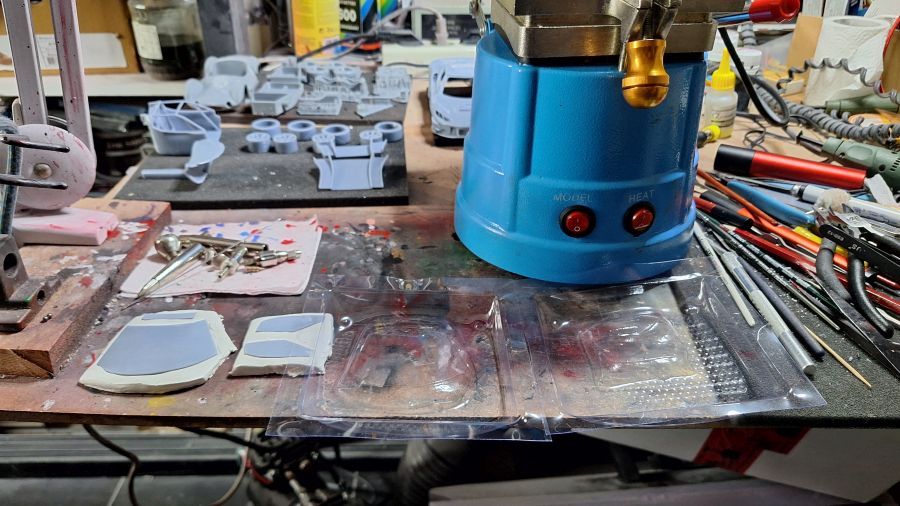
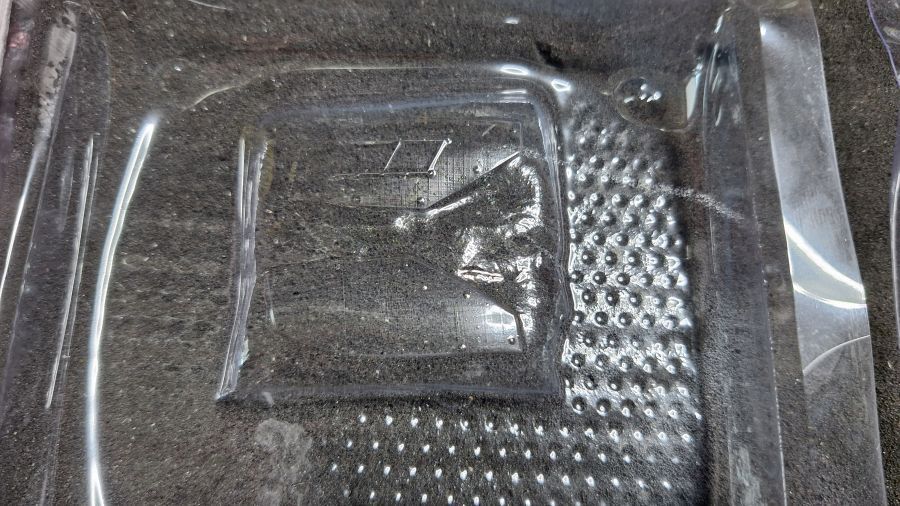
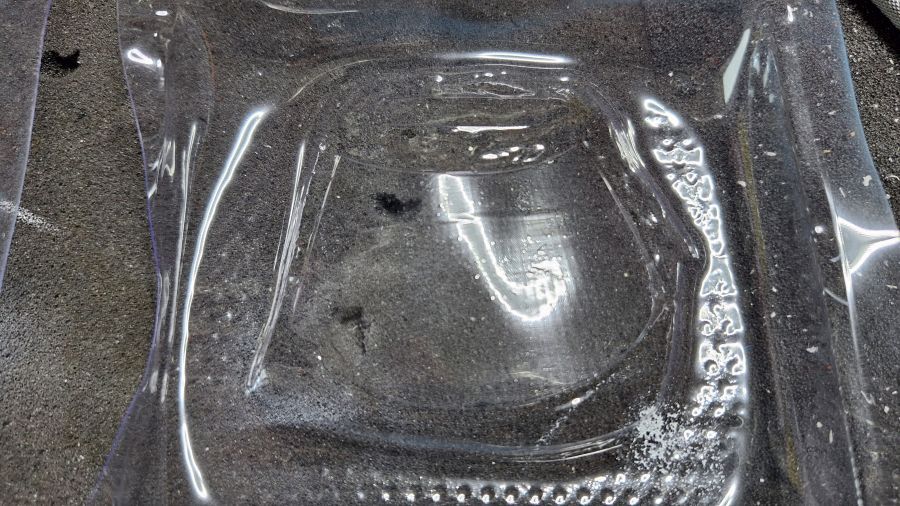
Nog maar een 3D geprint project. Hiervan ik ik uiteindelijk 3 verschillen de versies maken. Tenminste, als de 1e versie me bevalt. Dit wordt de Ferrari 296 GT3 DTM #69 versie, zoals in 2023 bestuurd door Thierry Vermeulen. Het is een redelijk eenvoudige kit. Ik maak er gewoon een curbside model van, dus niet teveel toevoegingen. Voor een uitgebreide versie maak ik later gebruik van de Alpha Model kit. Allereerst ga ik de ramen vacuum trekken alvast voor 3 kits.
Again another 3D printed project. Eventually i plan to make 3 different versions. That is, if i like the 1st version. This will be the Ferrari 296 GT3 DTM #69 version, as driven by Thierry Vermeulen. It's a simple kit. I will make a curbside model of it, so not much to add. For a detailed version i will use the kit from Alpha Model at a later time. First of all i will create vacuum formed windows for 3 kits.
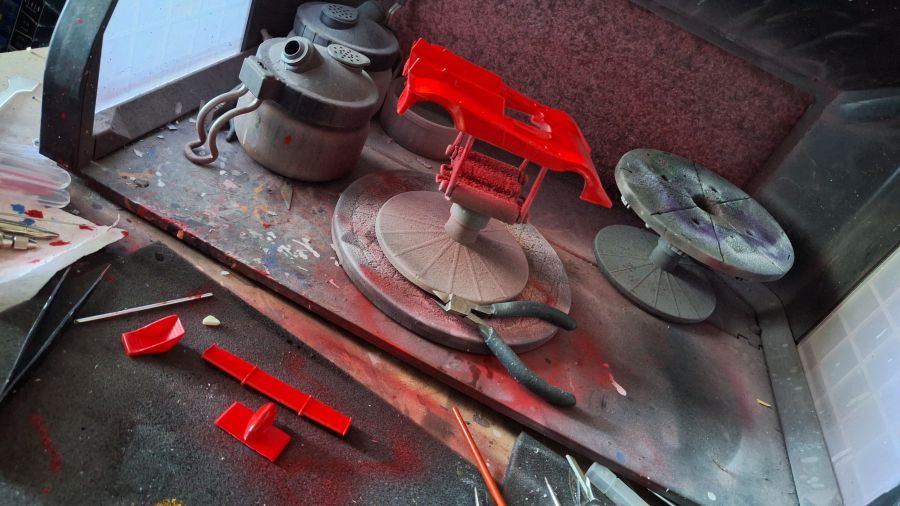
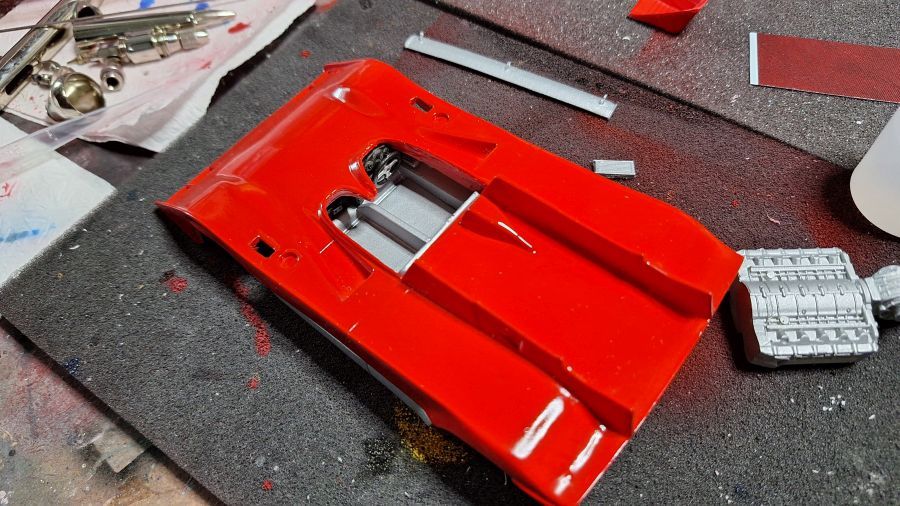
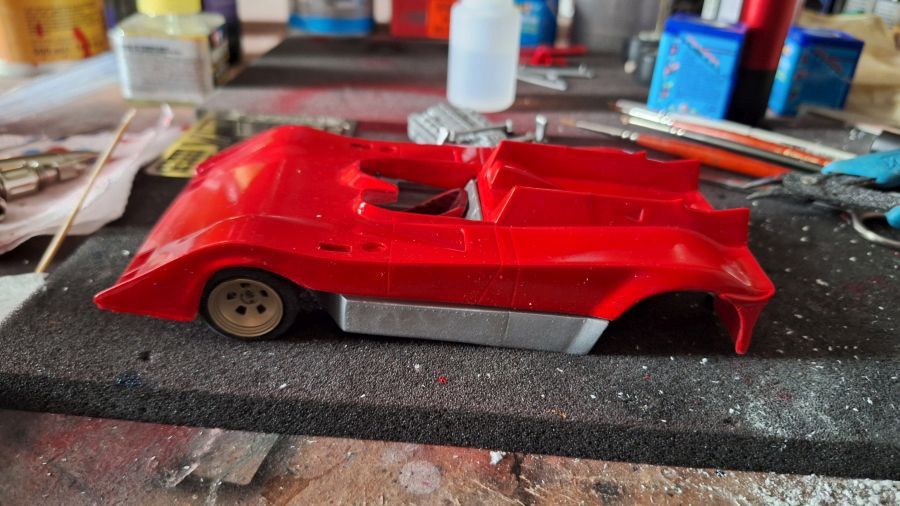
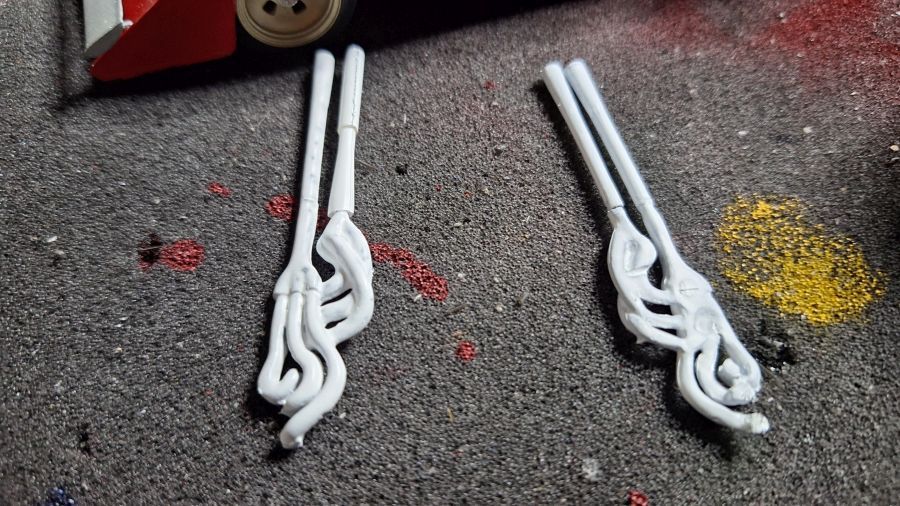
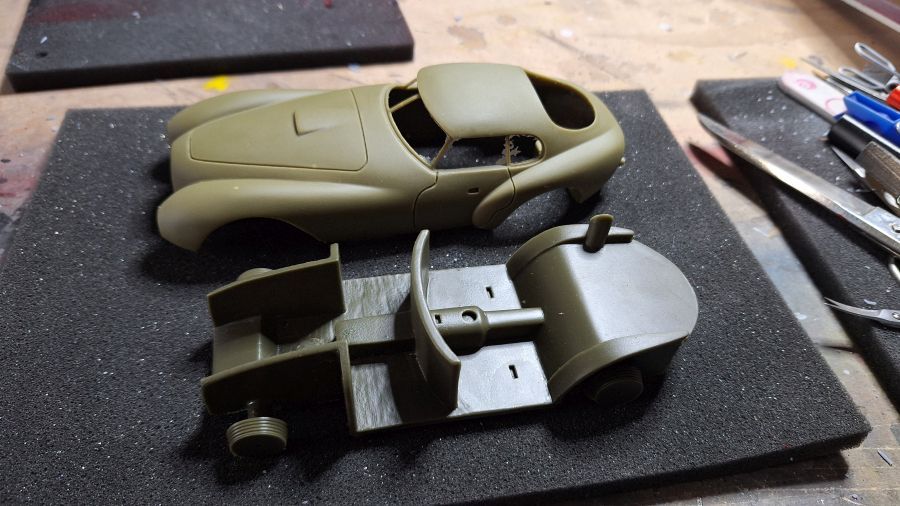
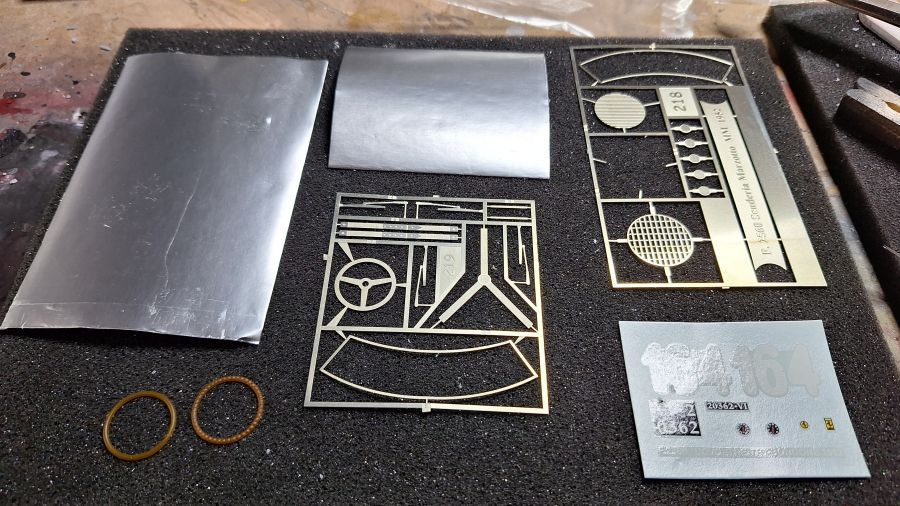
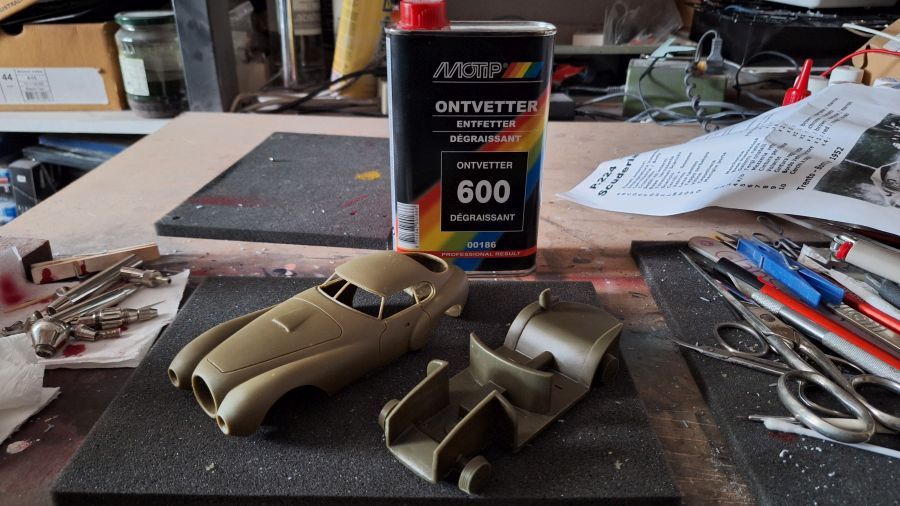
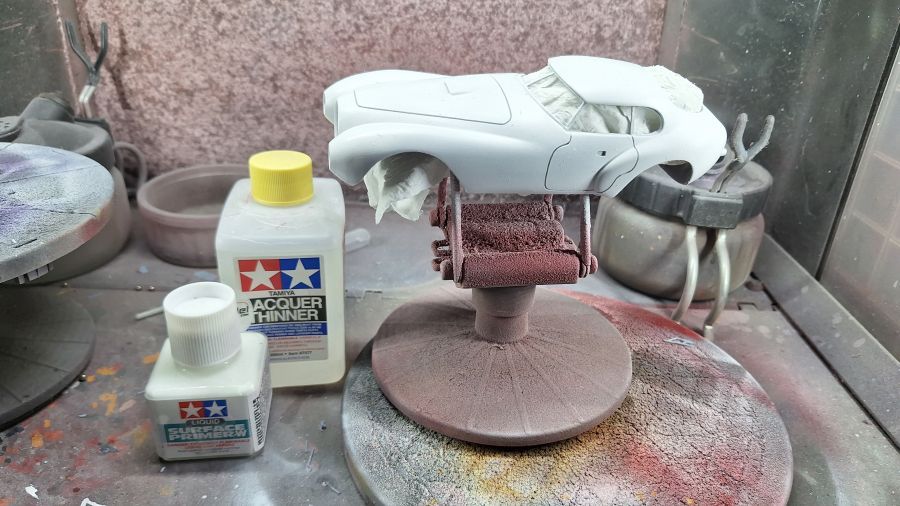
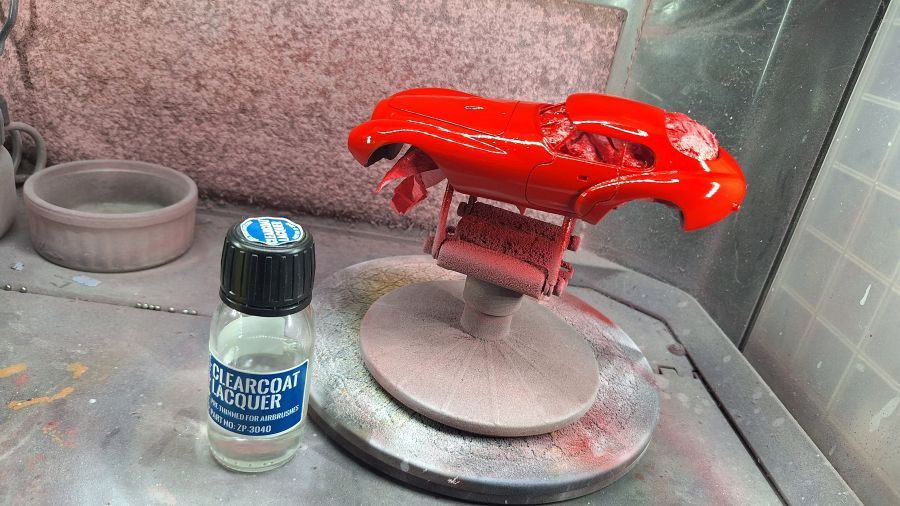
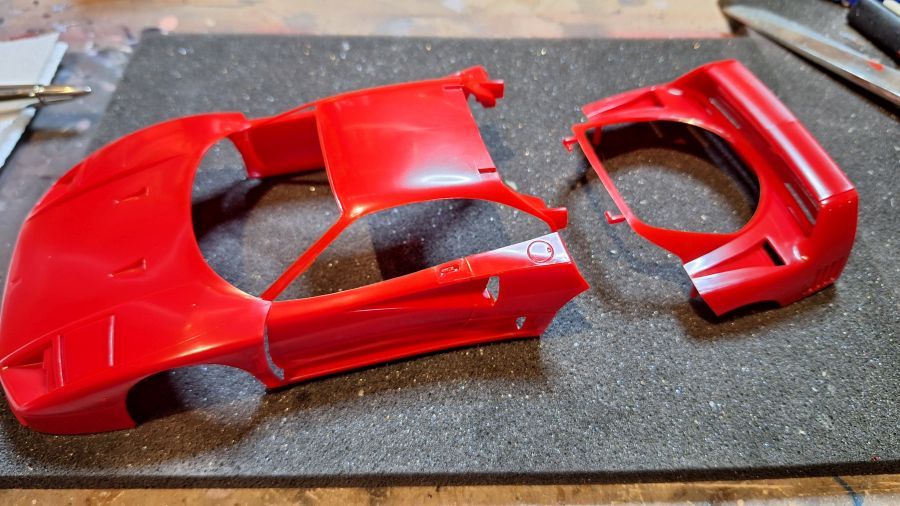
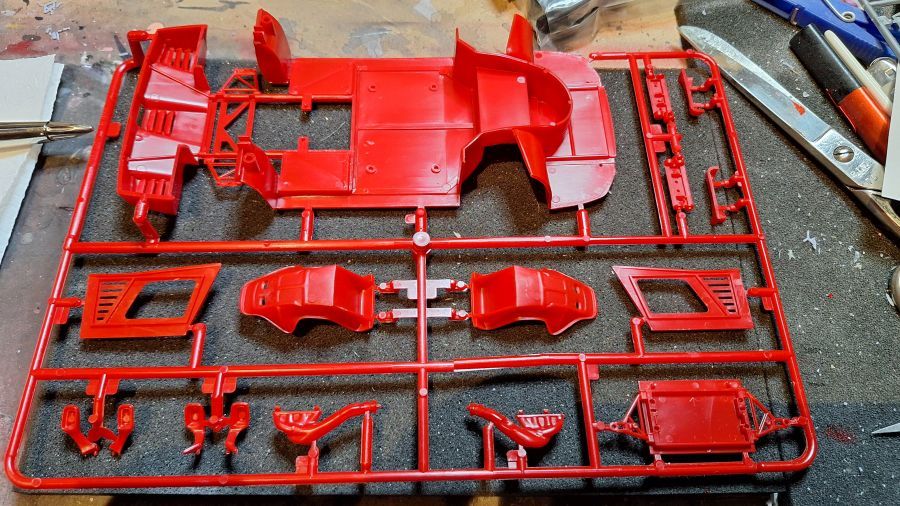
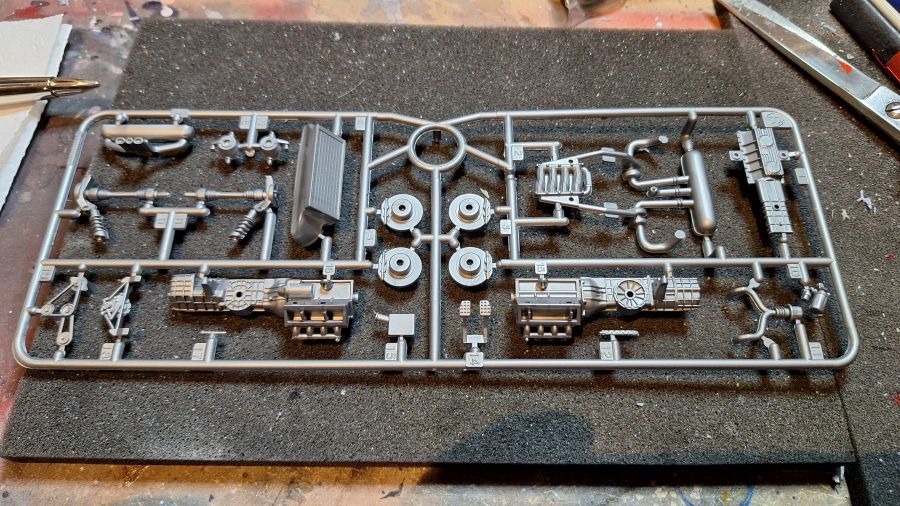
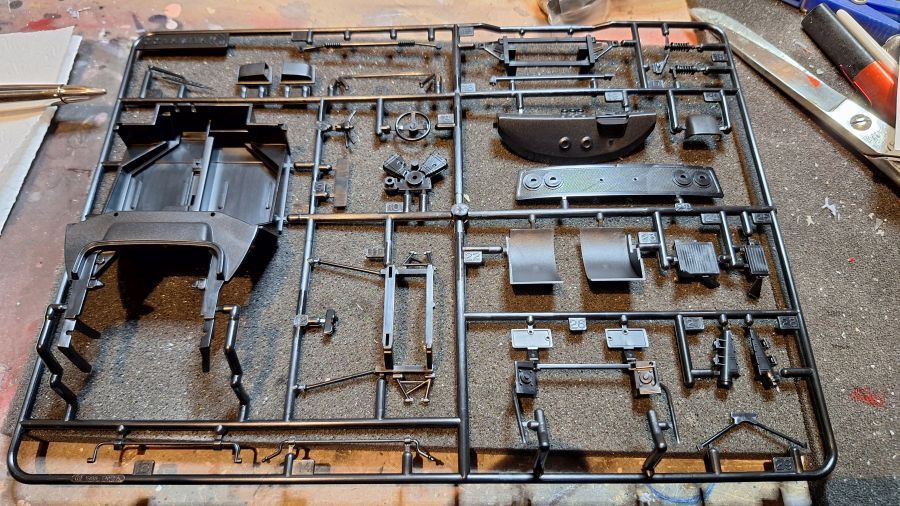
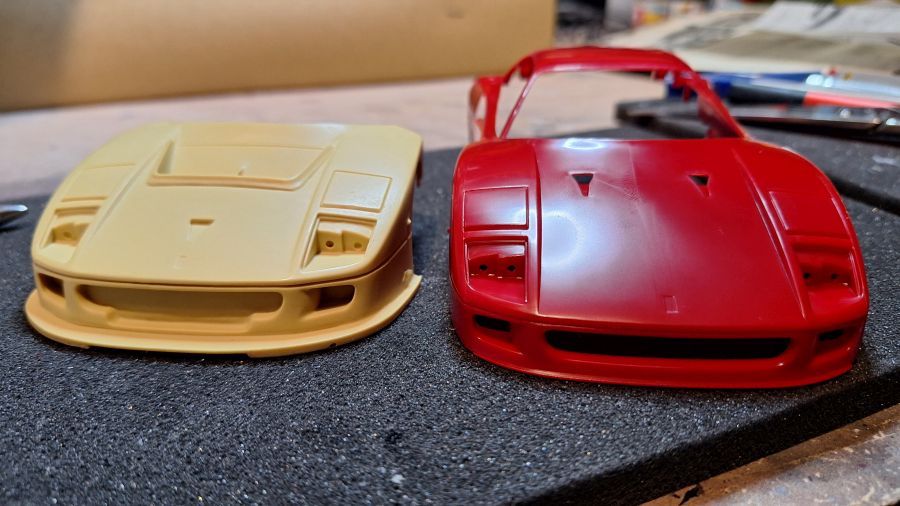
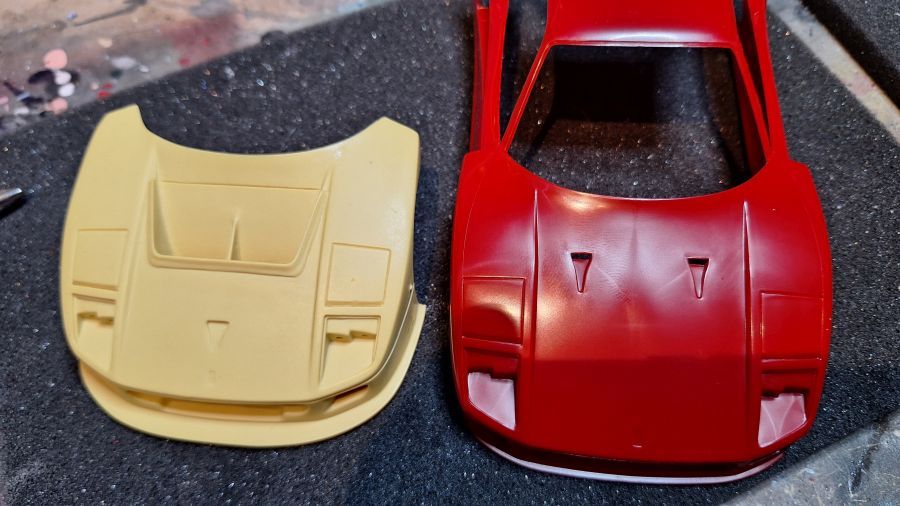
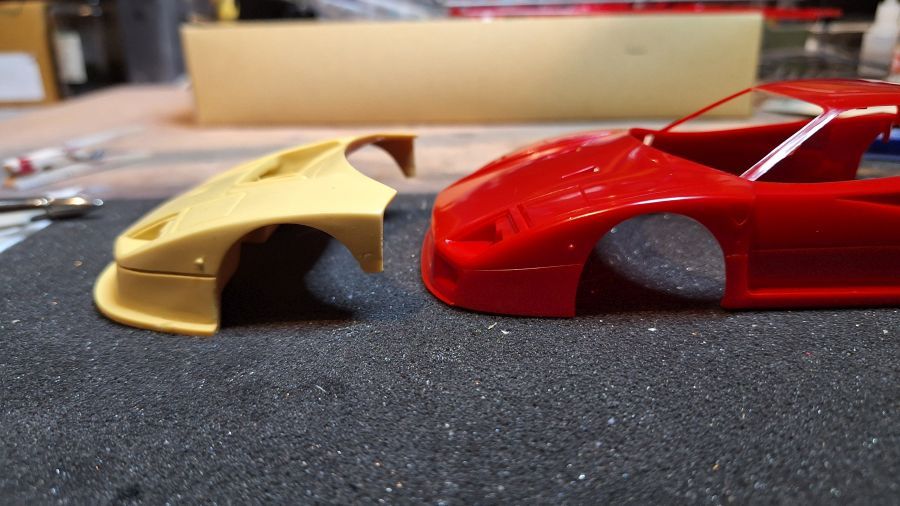
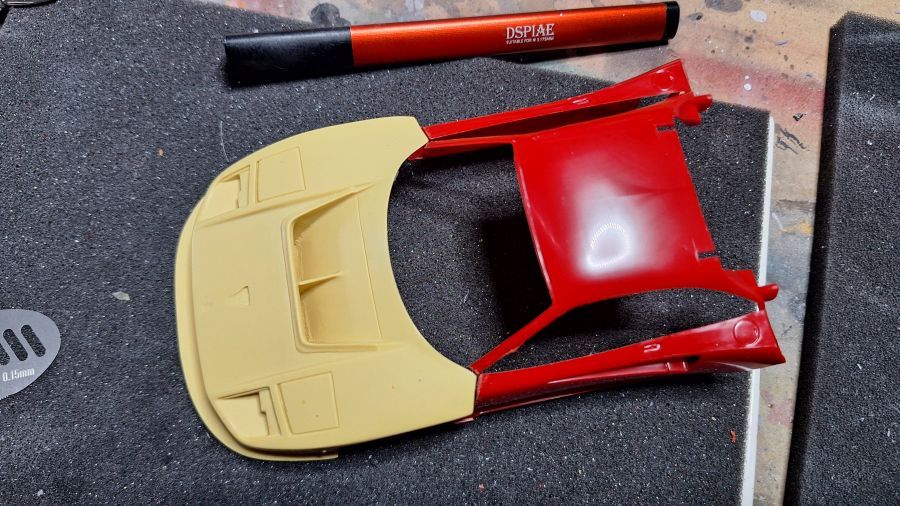
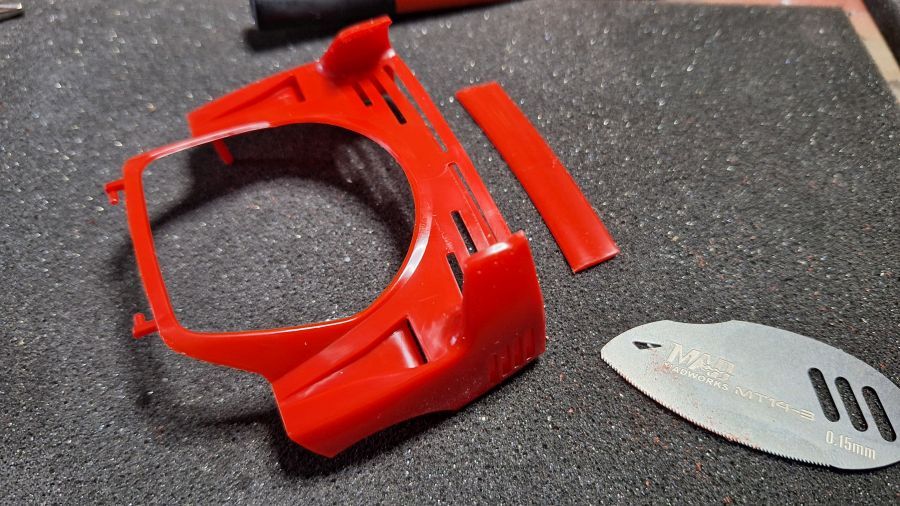
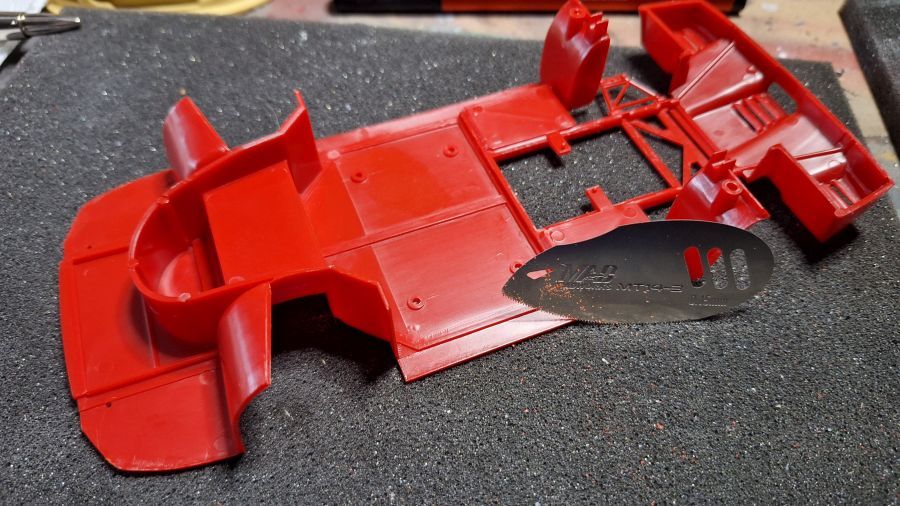
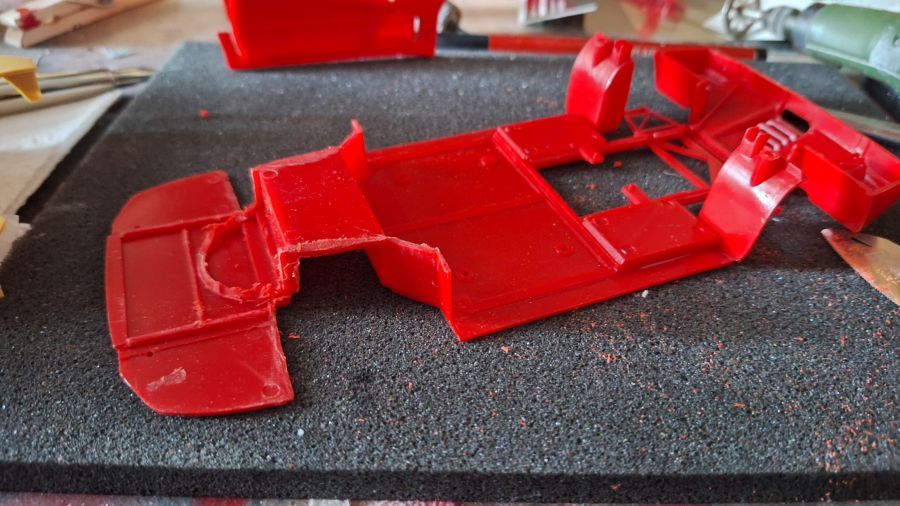
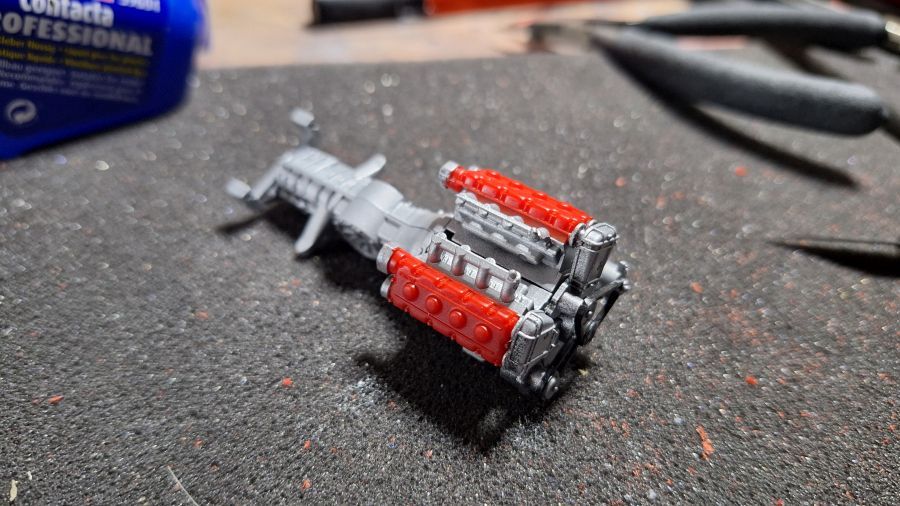
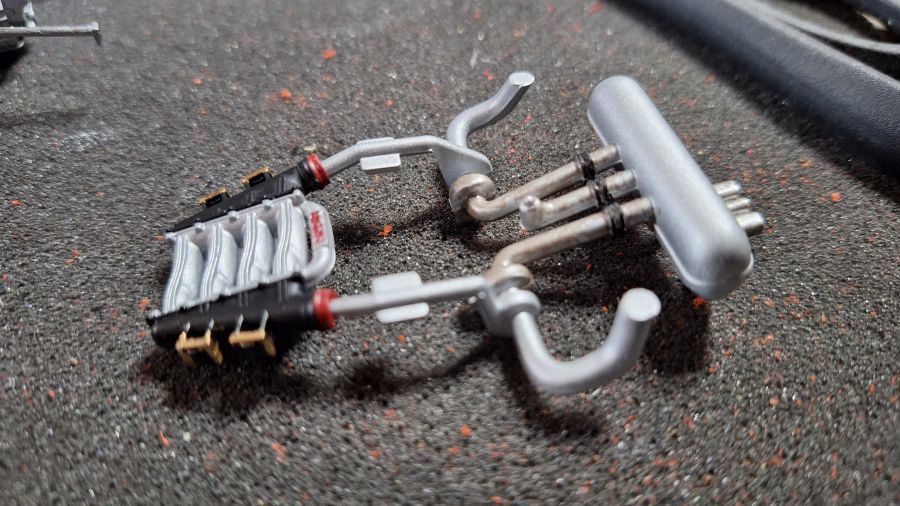
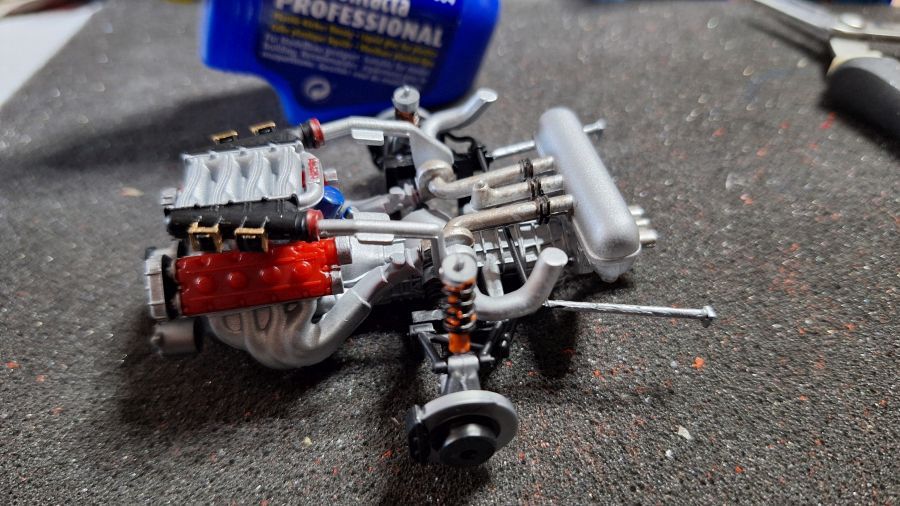
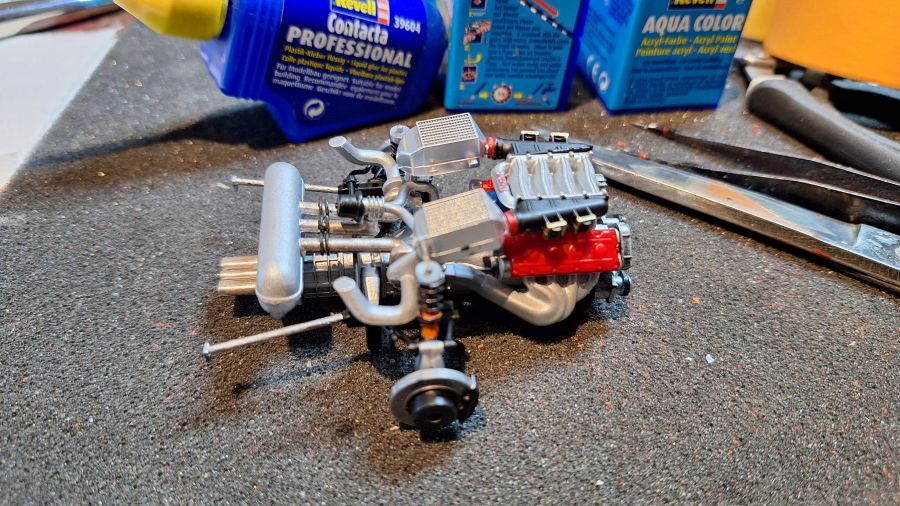
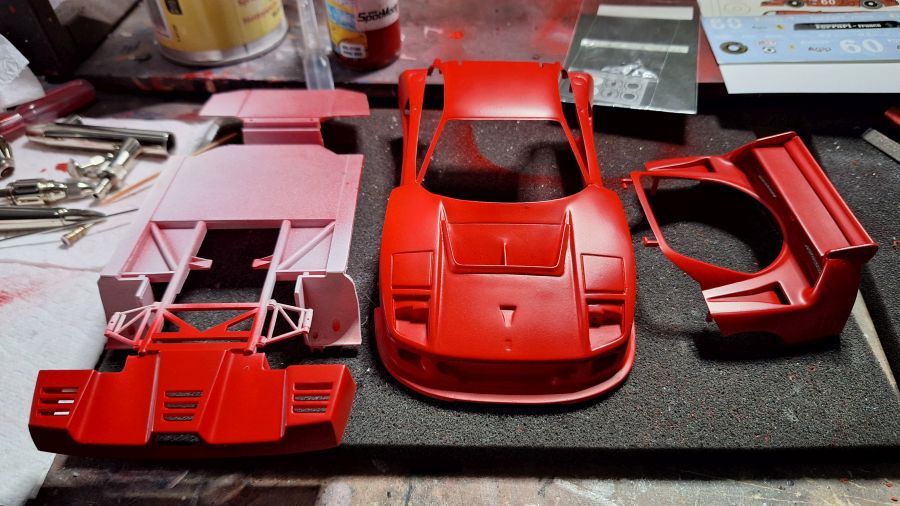
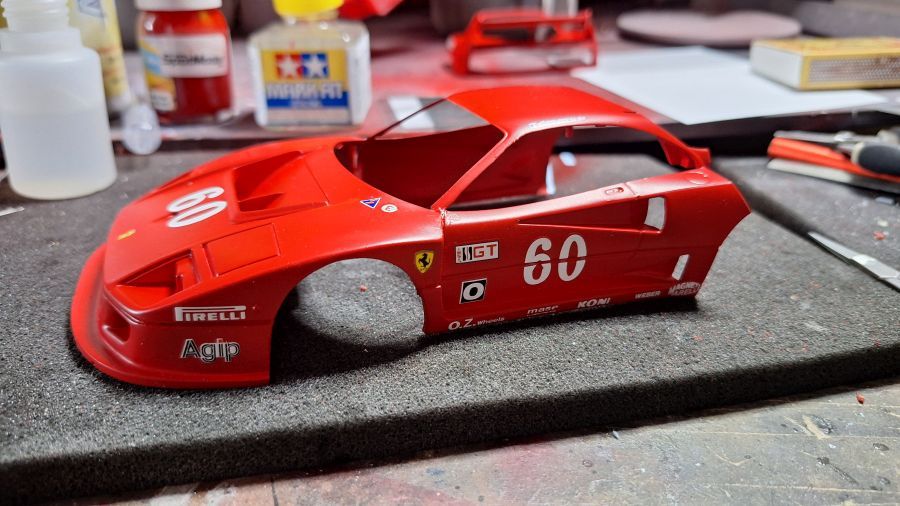
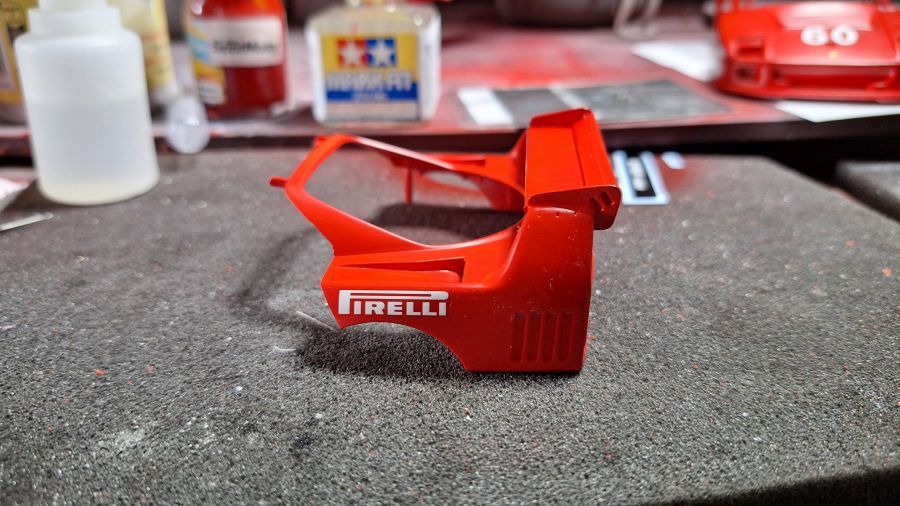
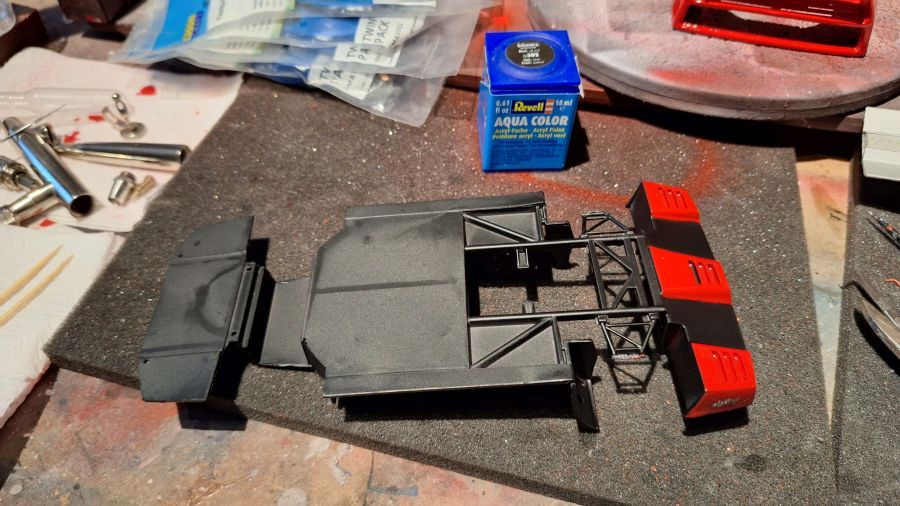
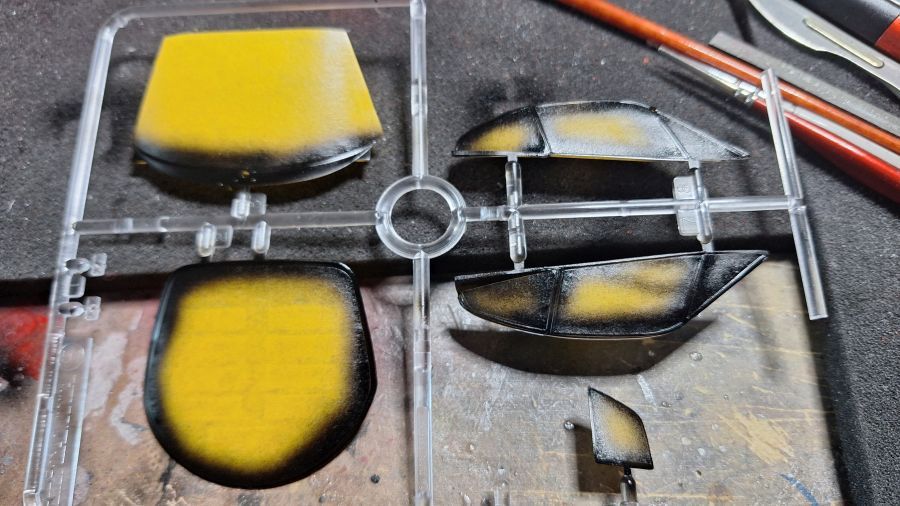
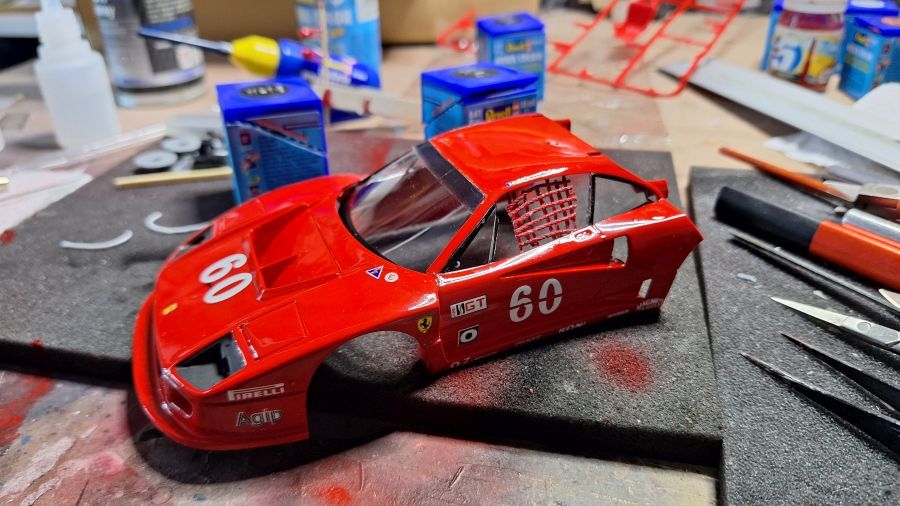
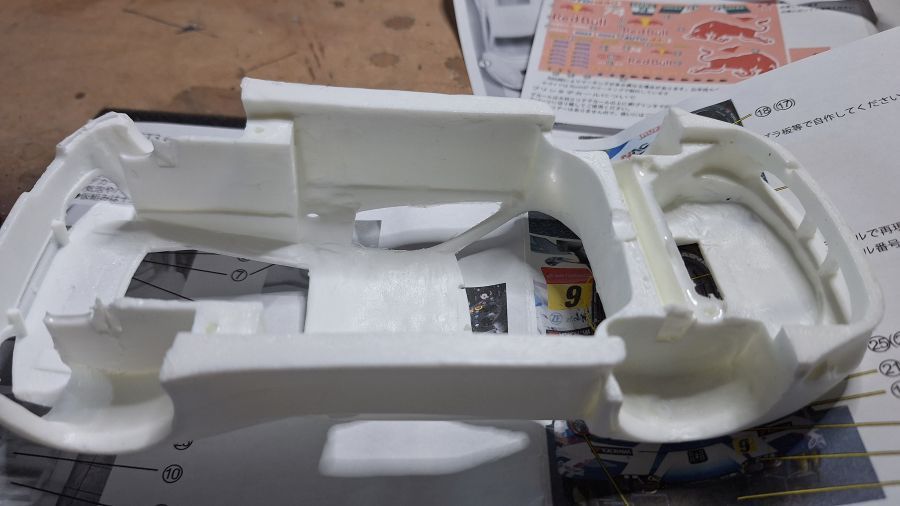
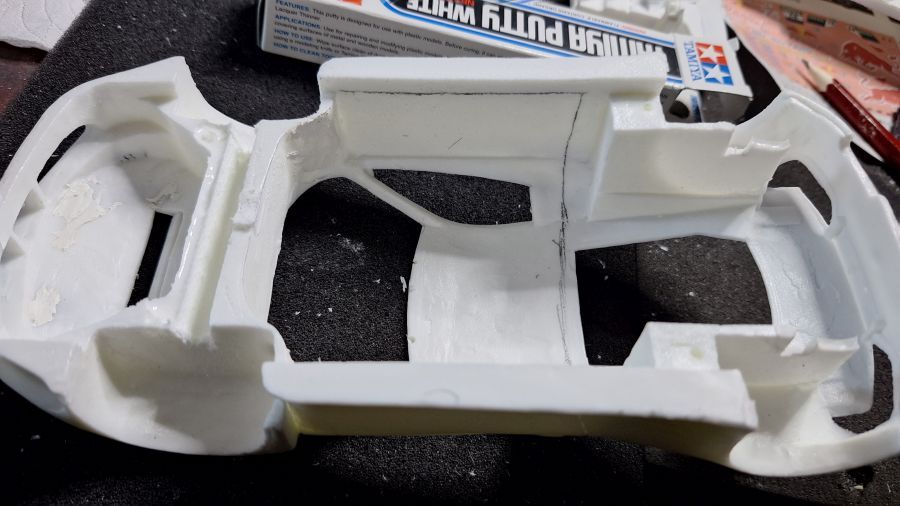
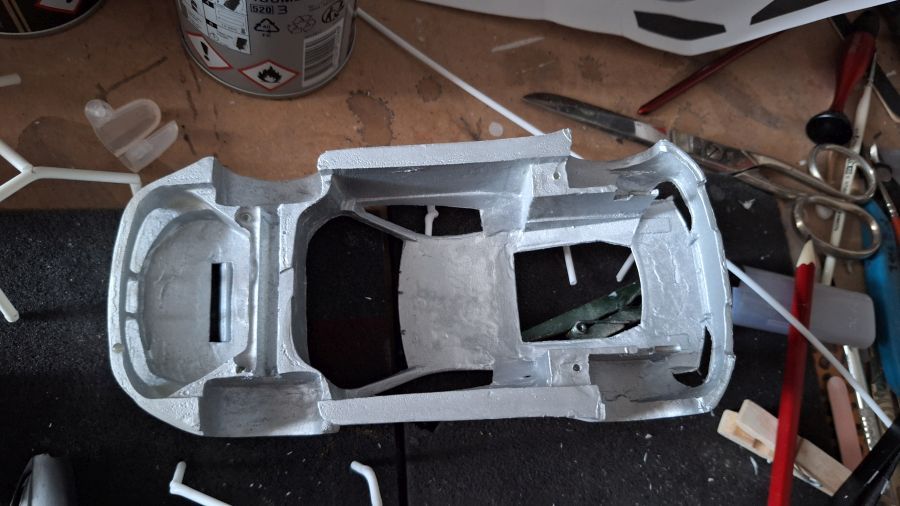
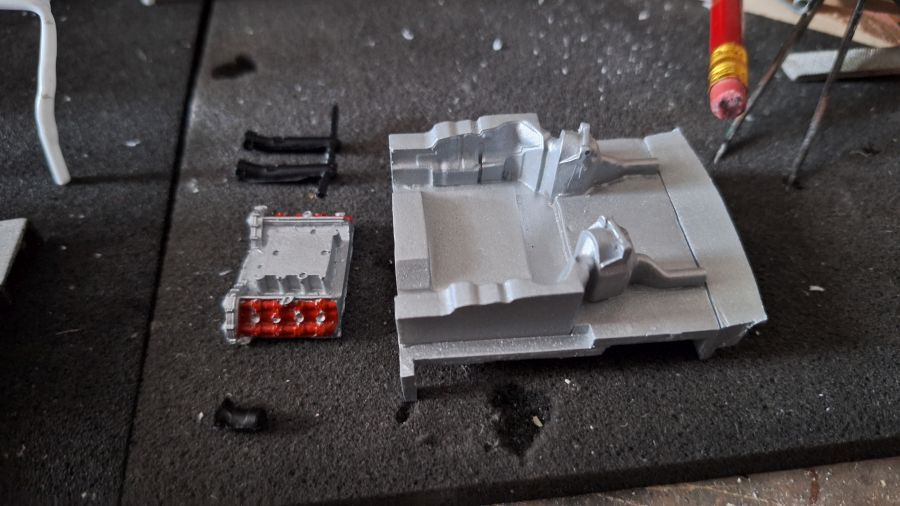
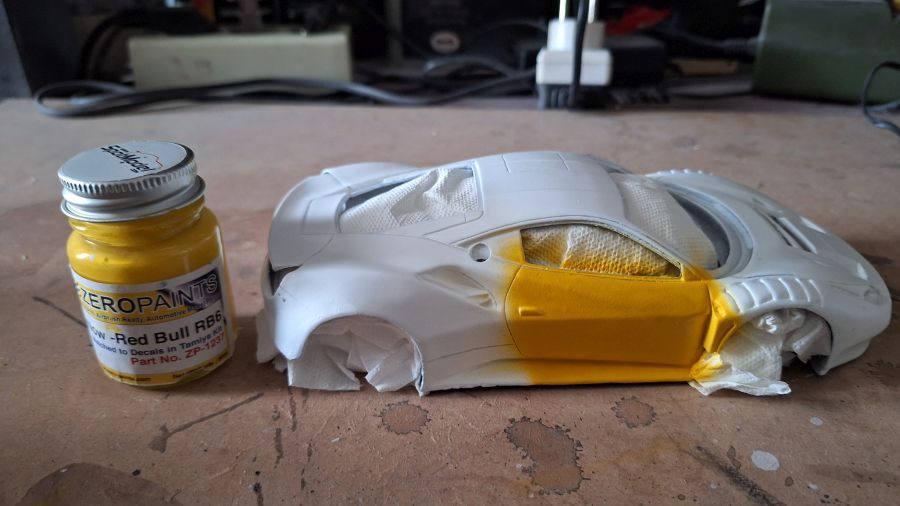
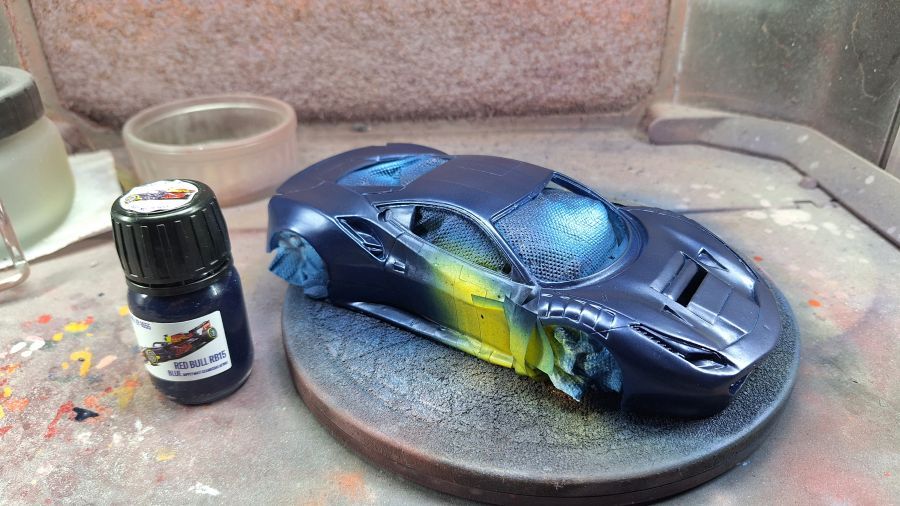
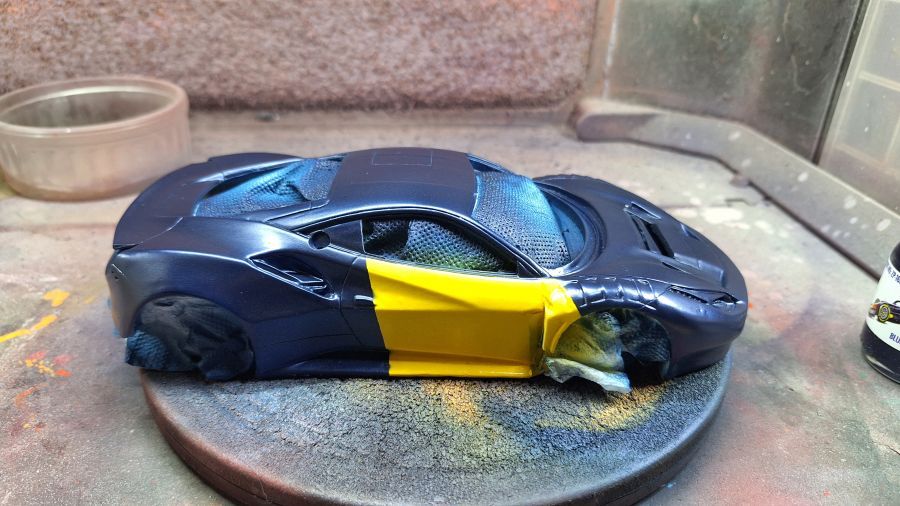
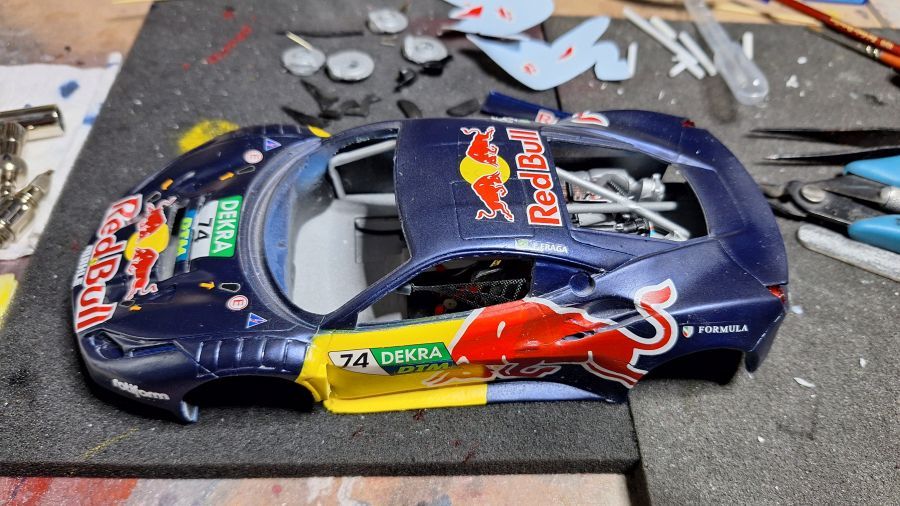
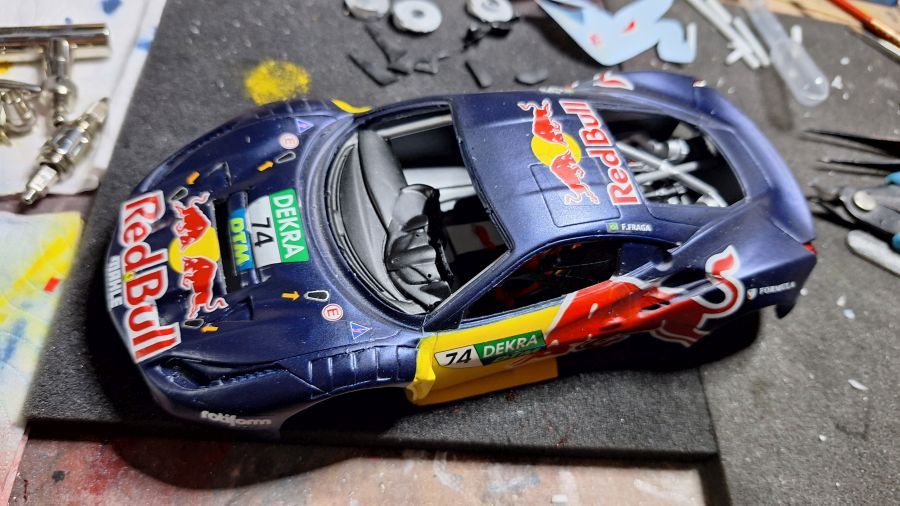
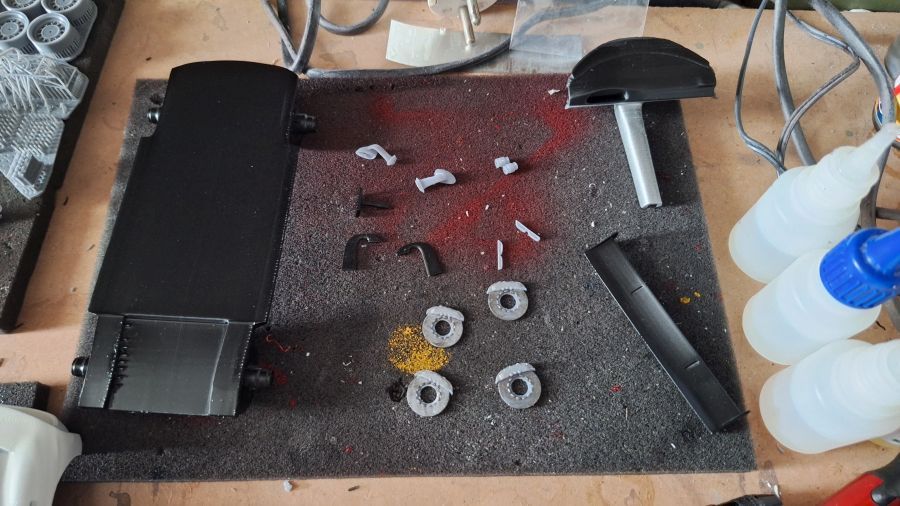
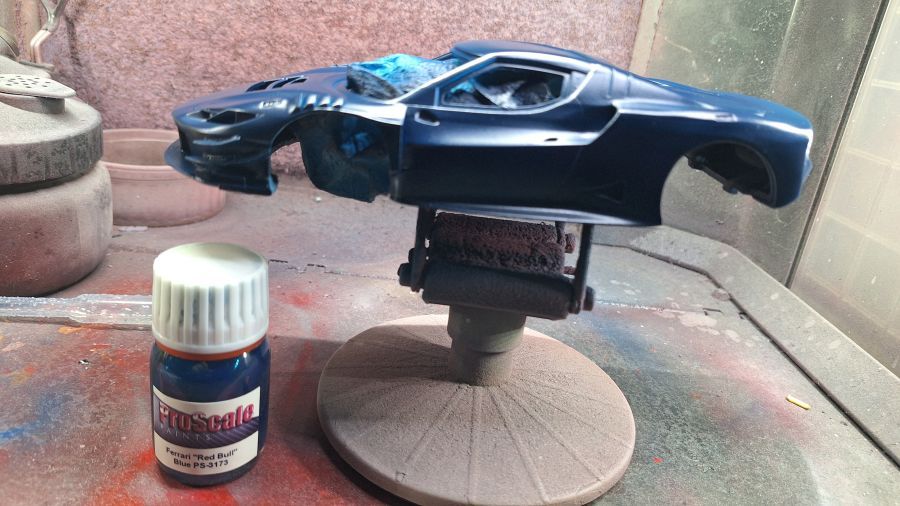
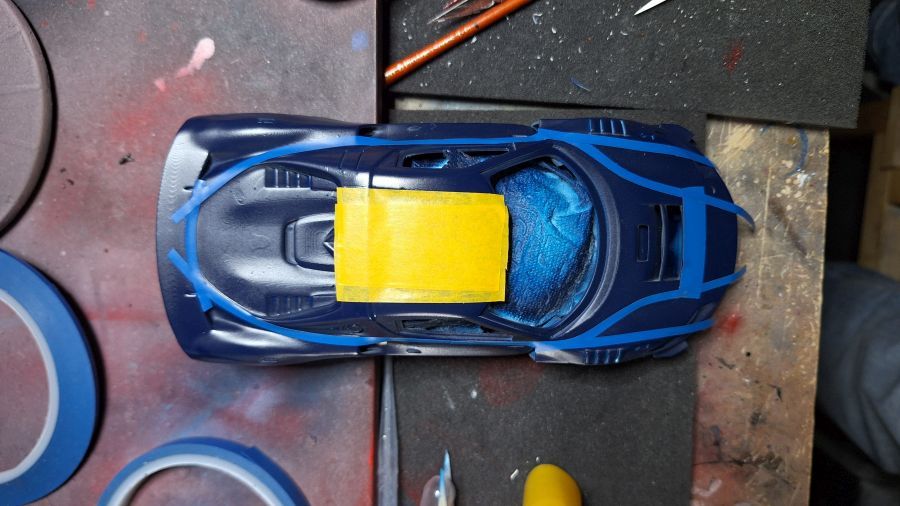
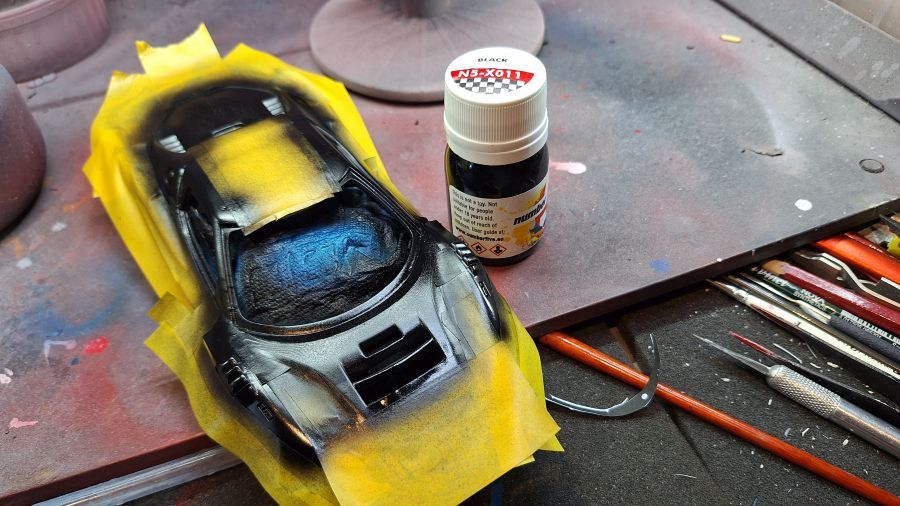
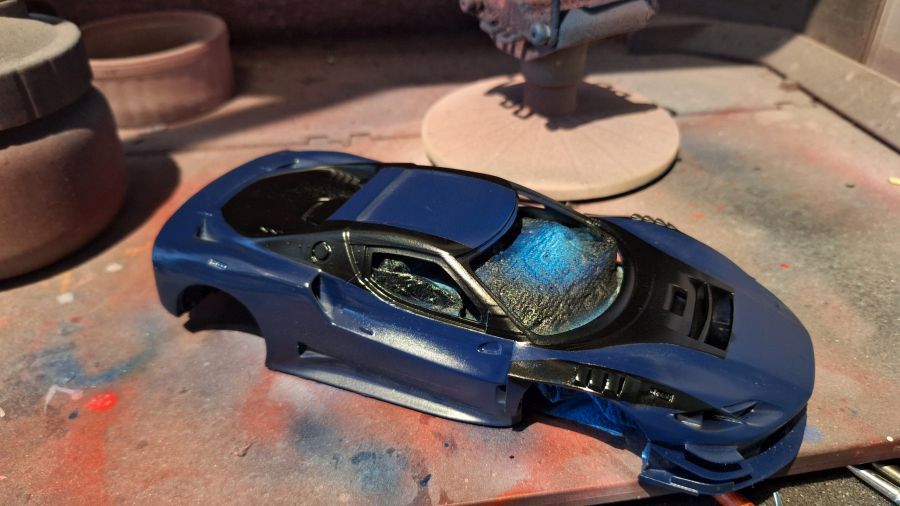
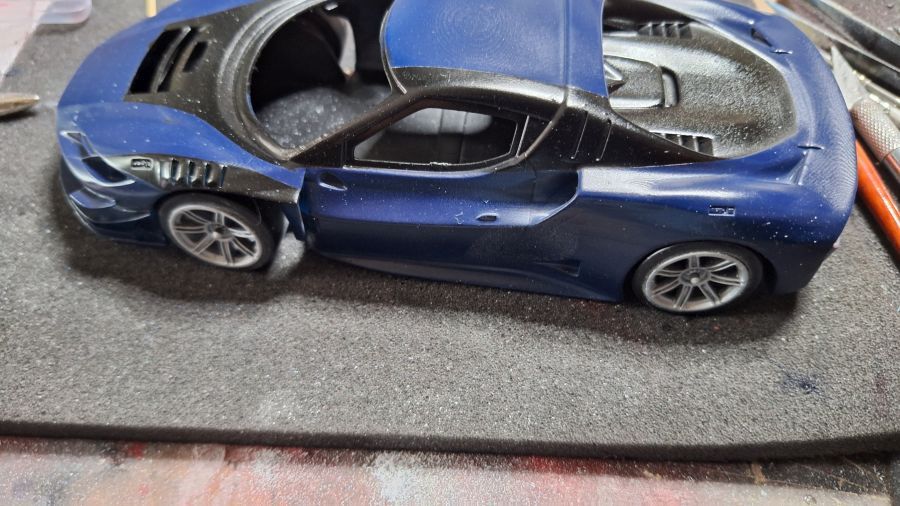
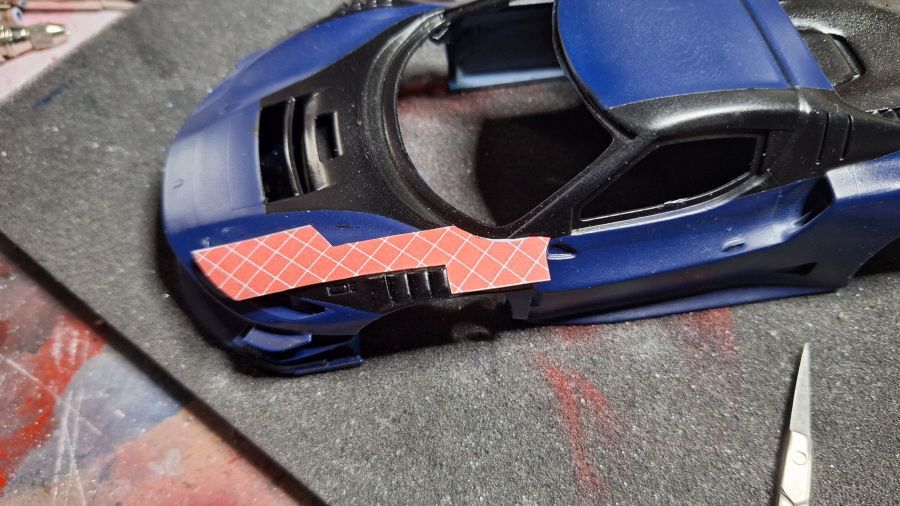
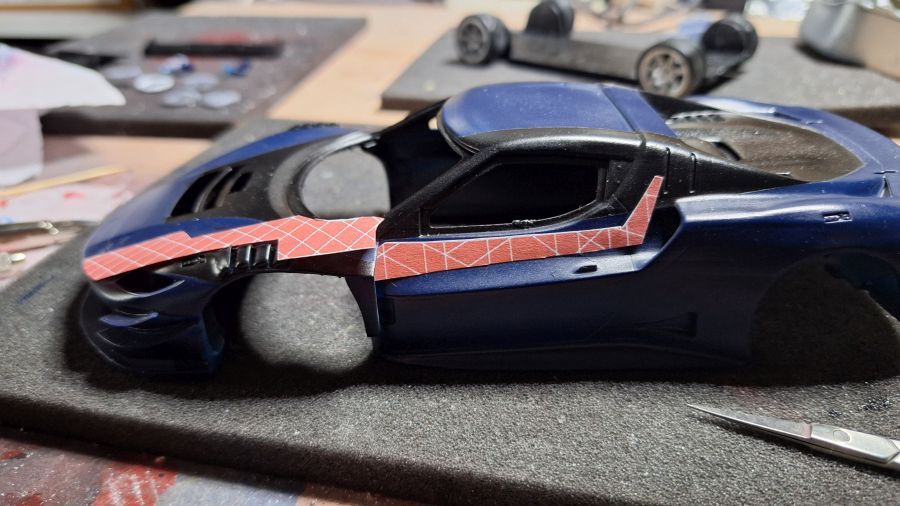
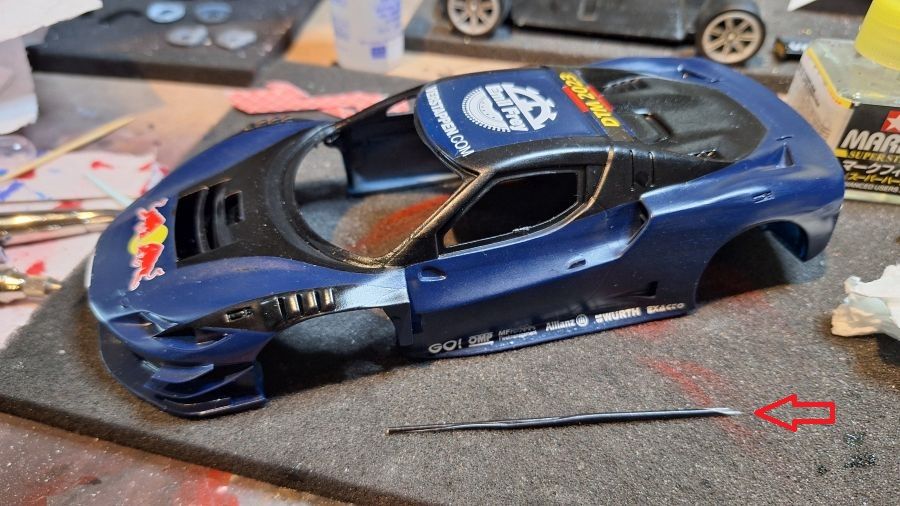
Alles spuiten...
Painting everything...
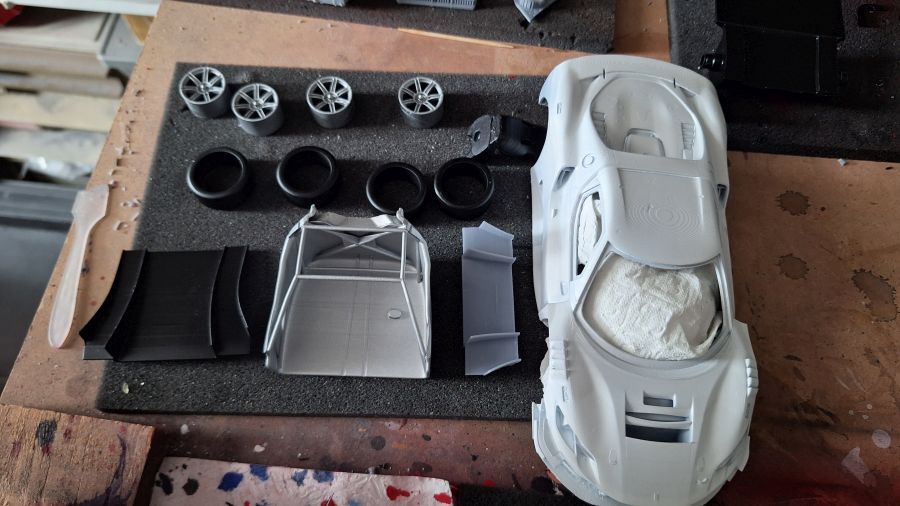
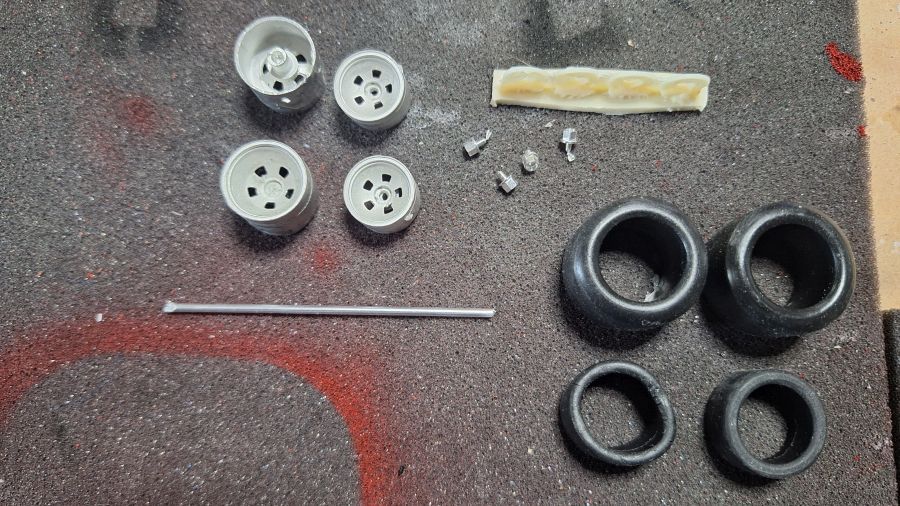
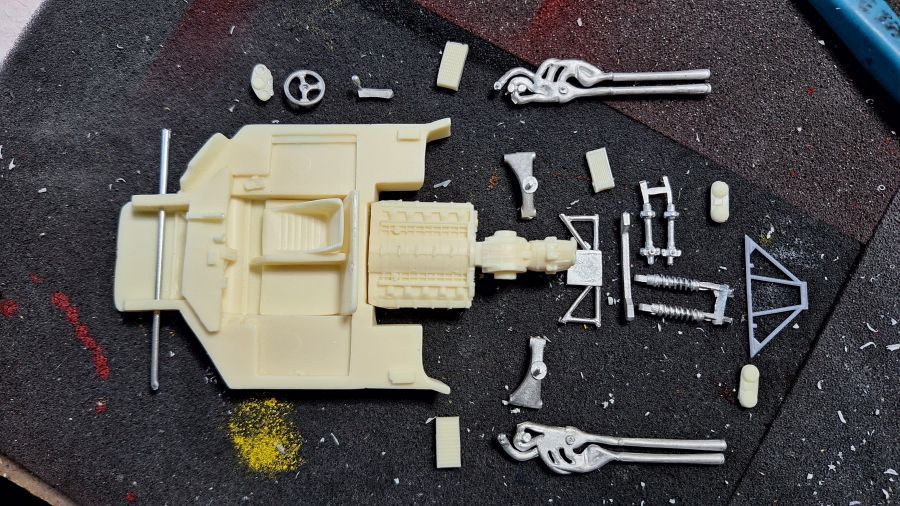
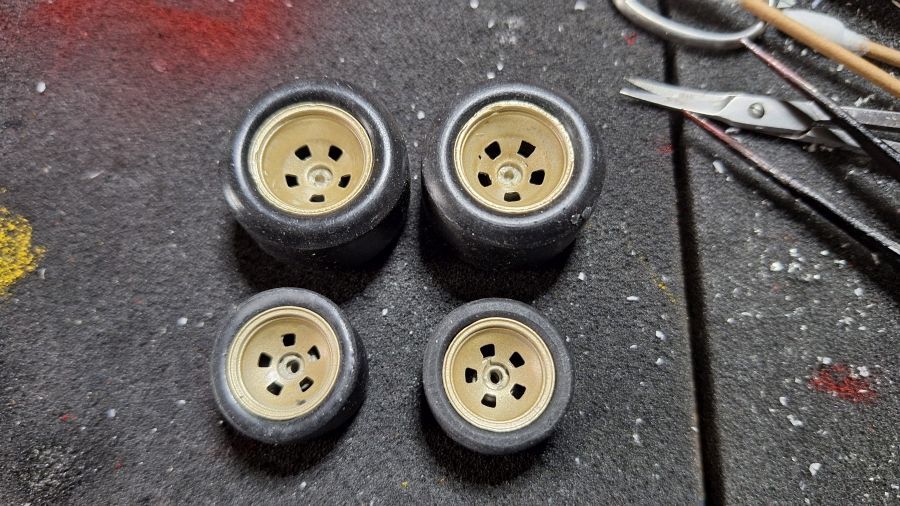
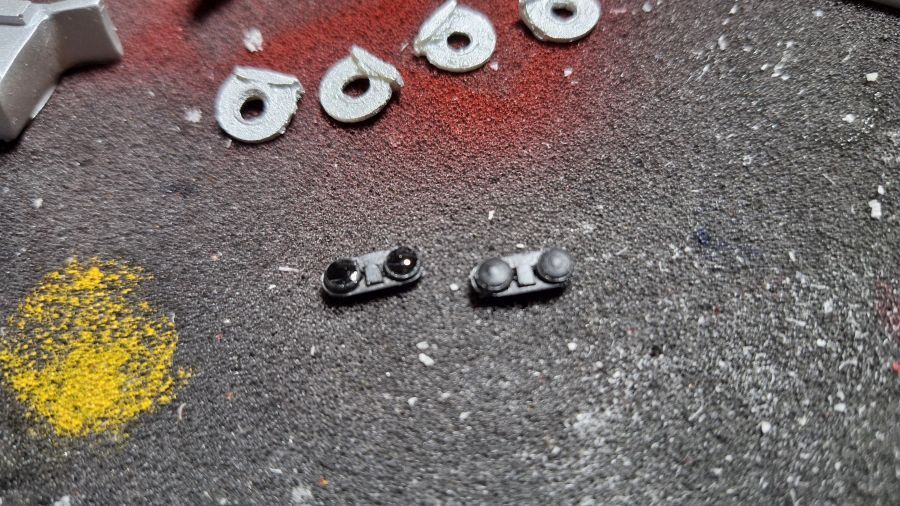
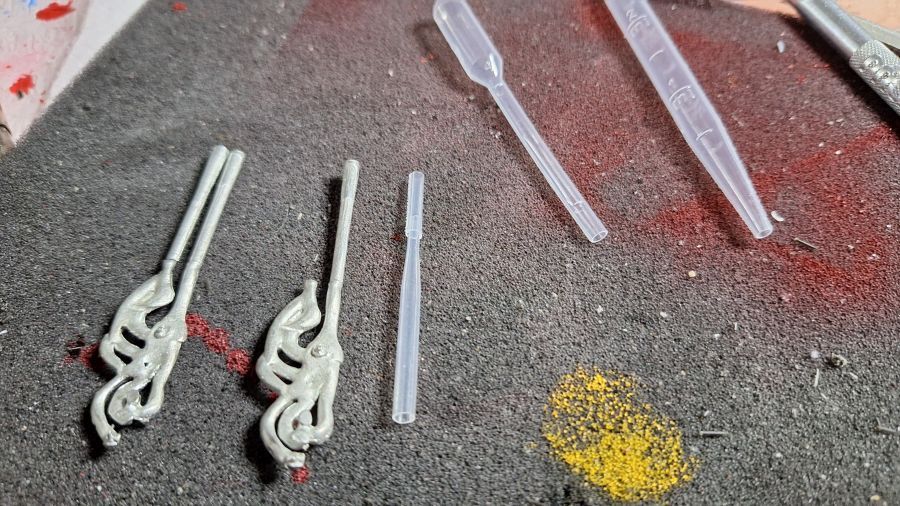
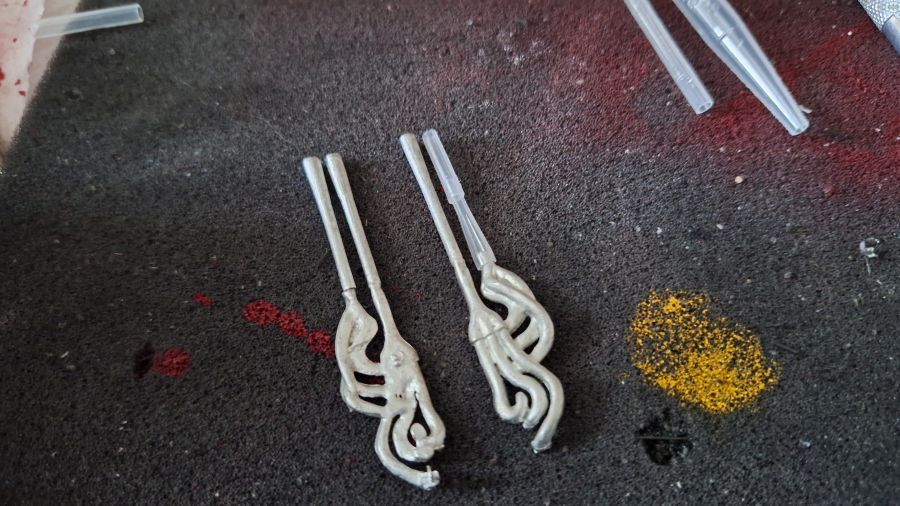
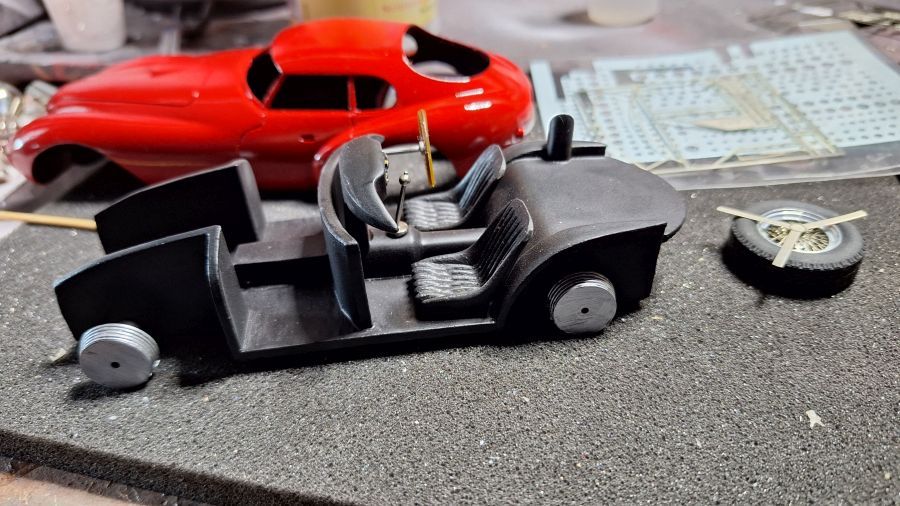
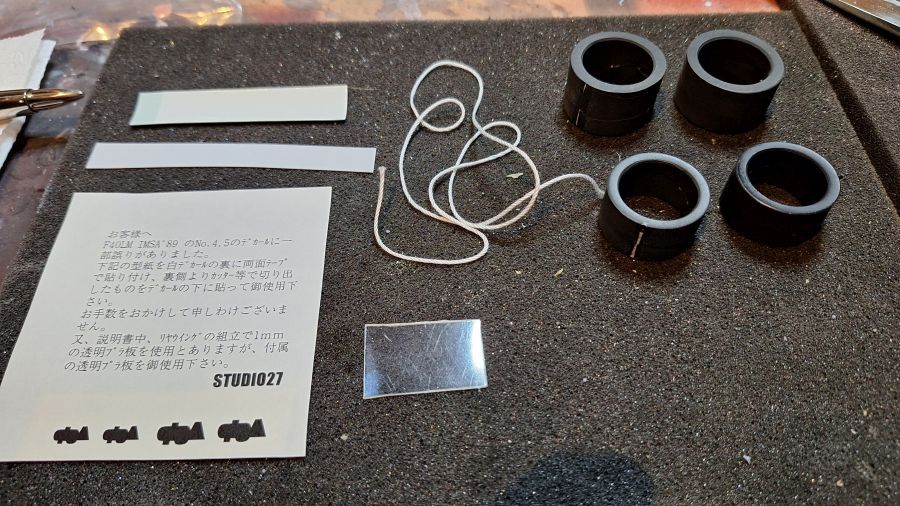
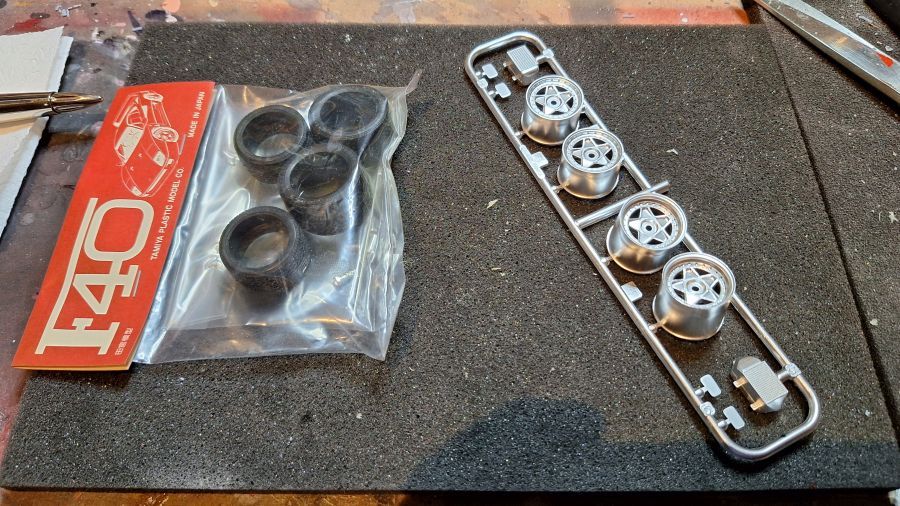
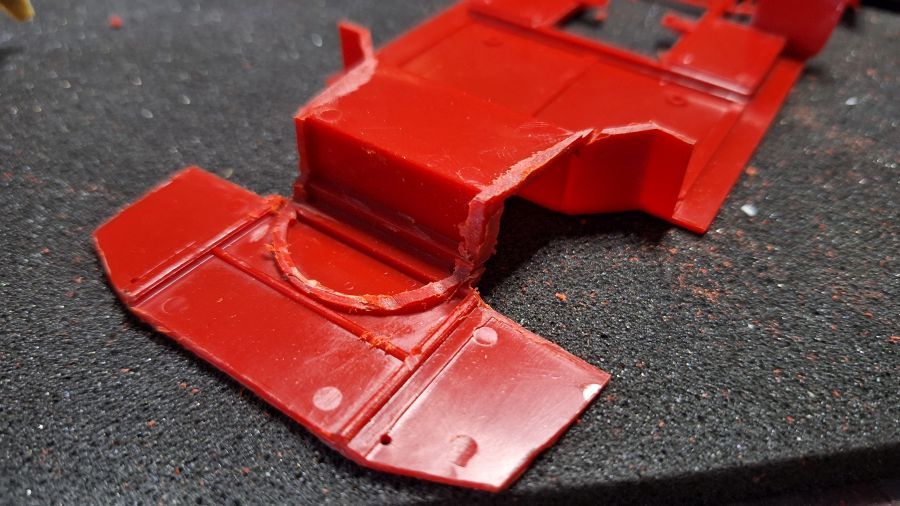
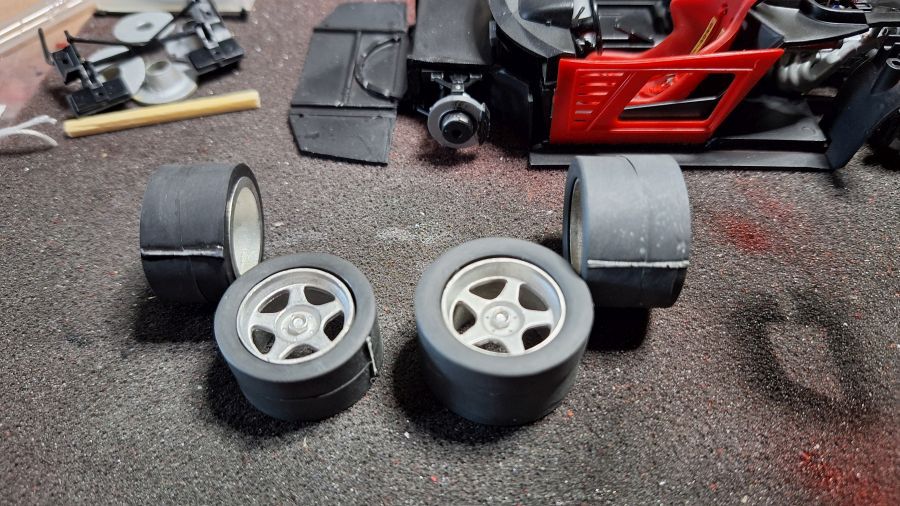
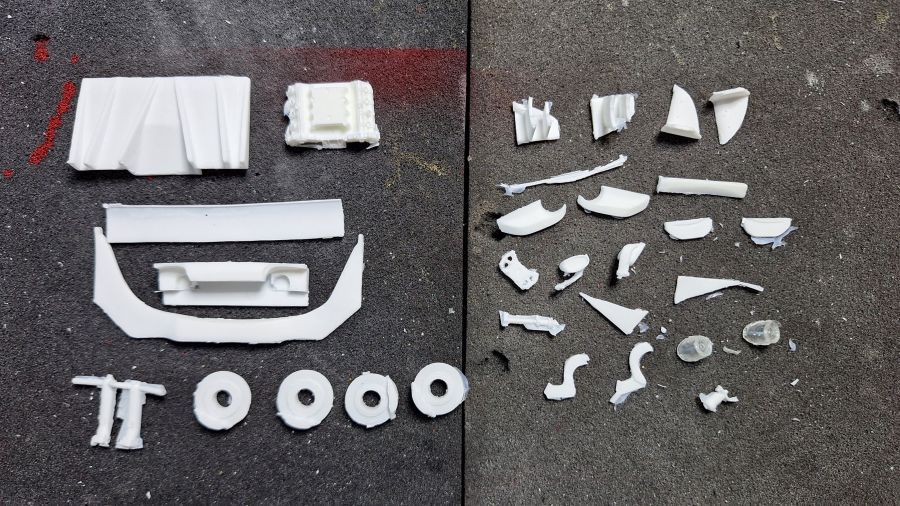
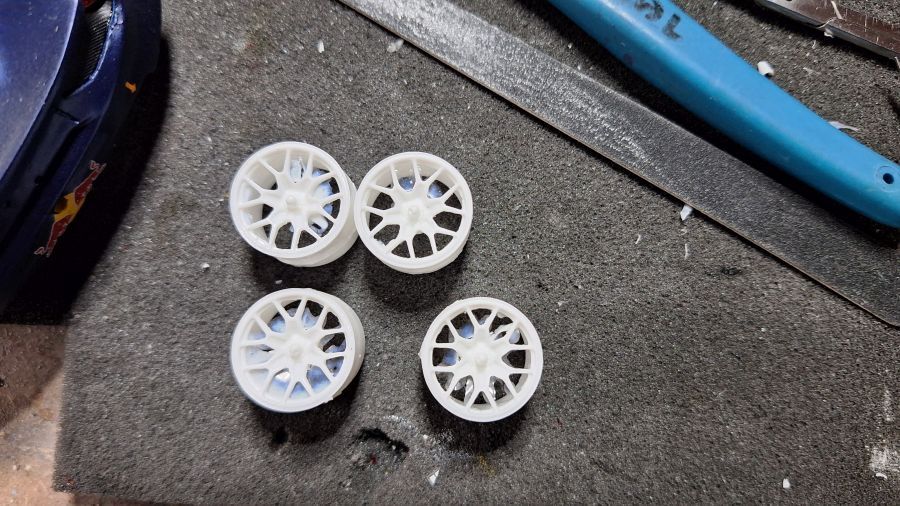
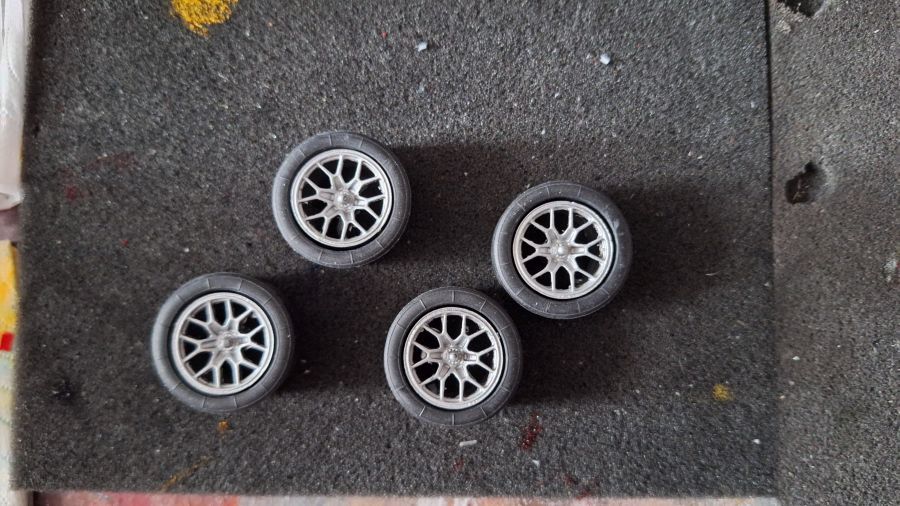
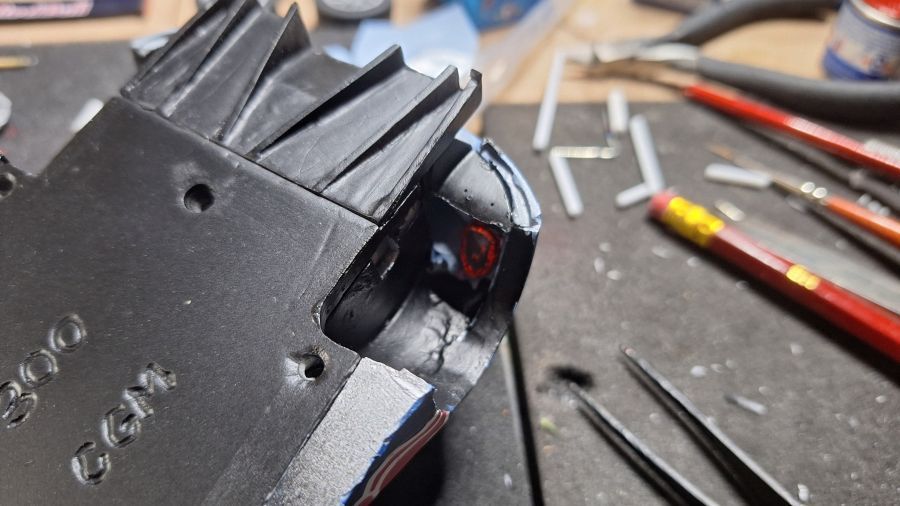
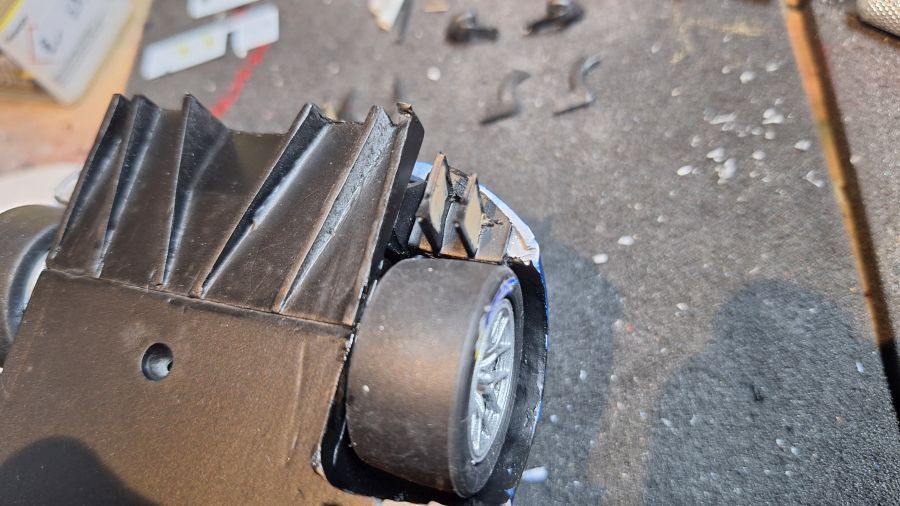
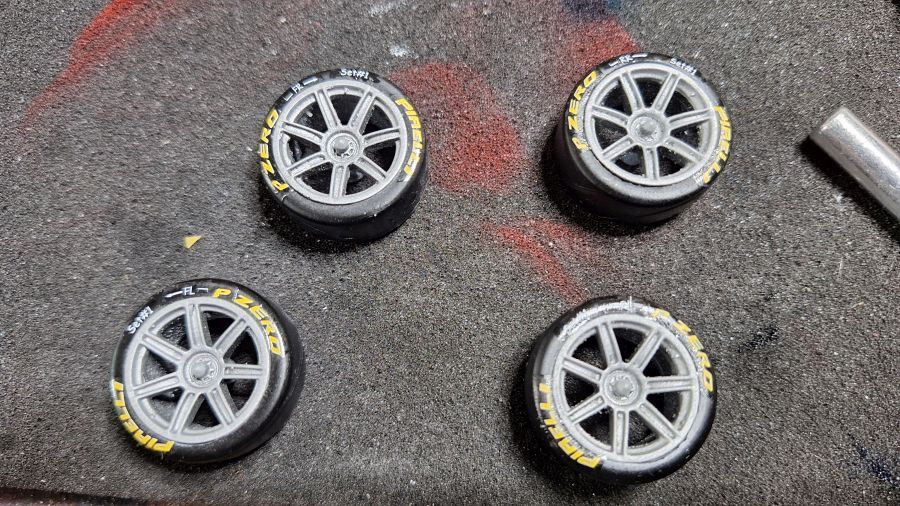
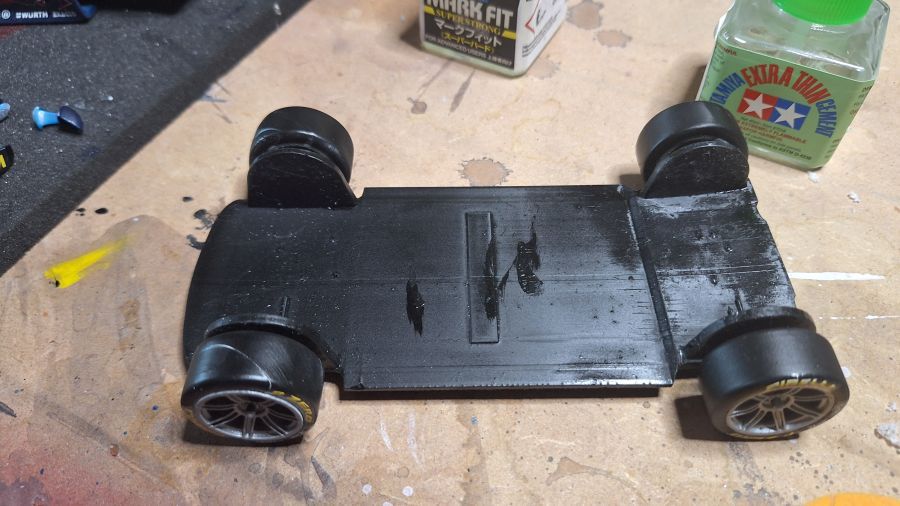
De 'banden' moeten wat ruimer worden gemaakt, voordat de velgen passen.
The 'tires' need some adjustments, before the rims will fit.
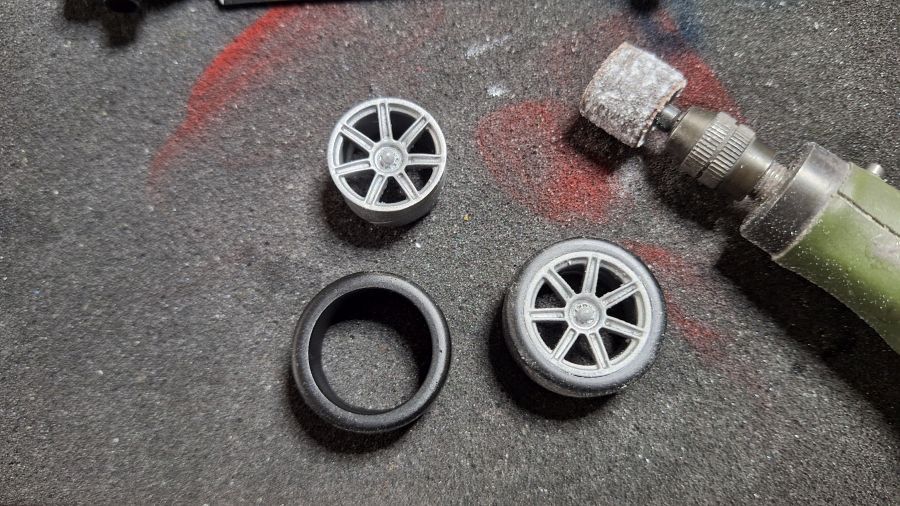
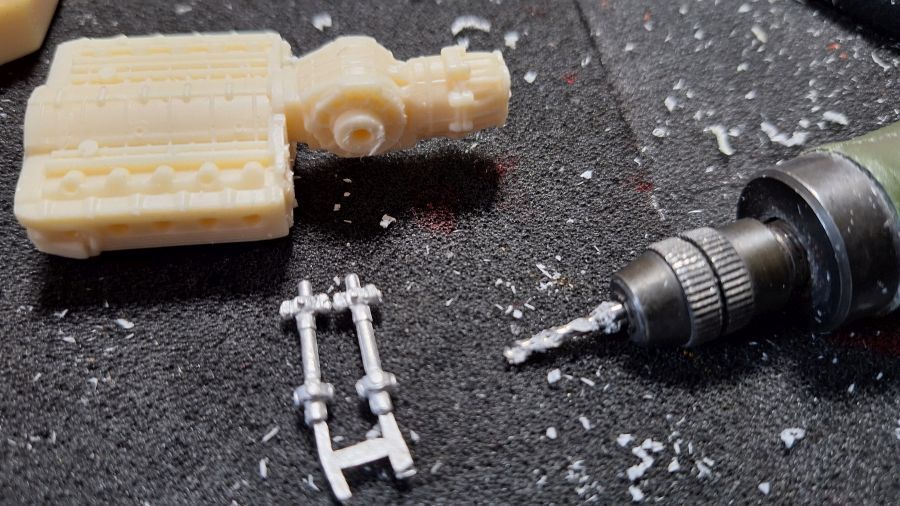
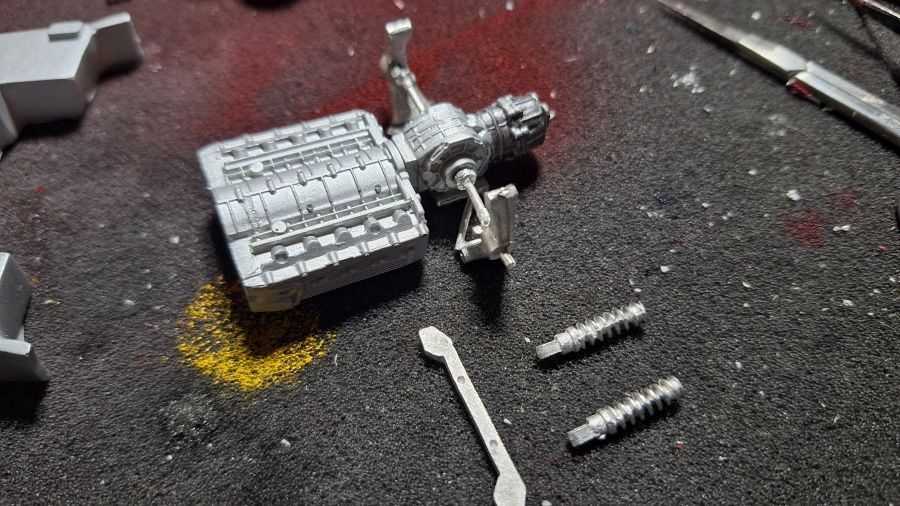
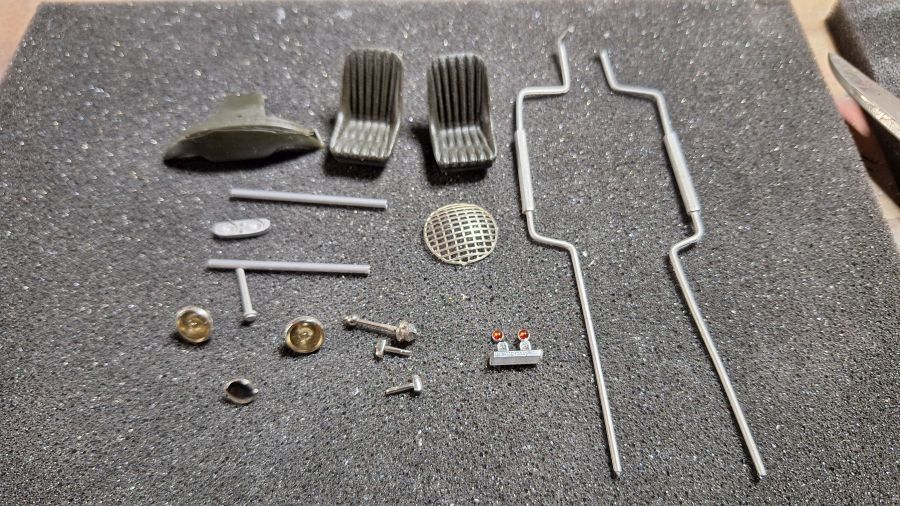
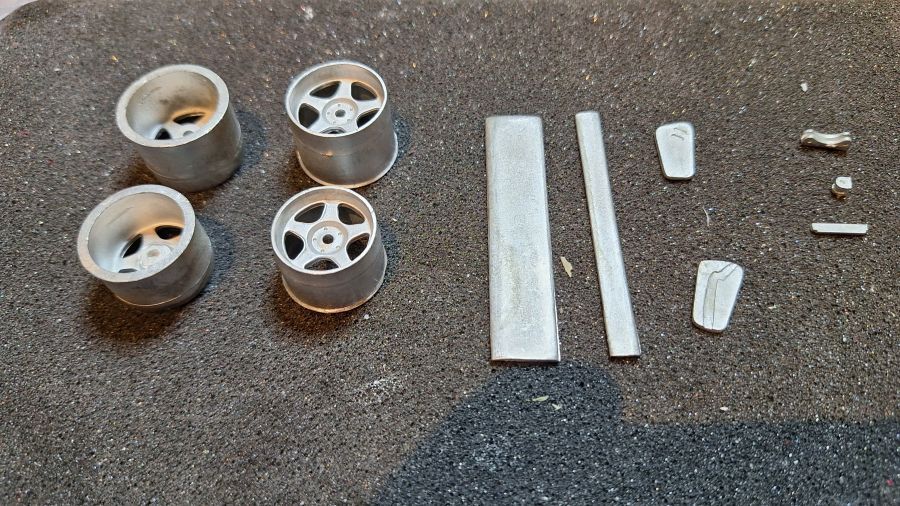
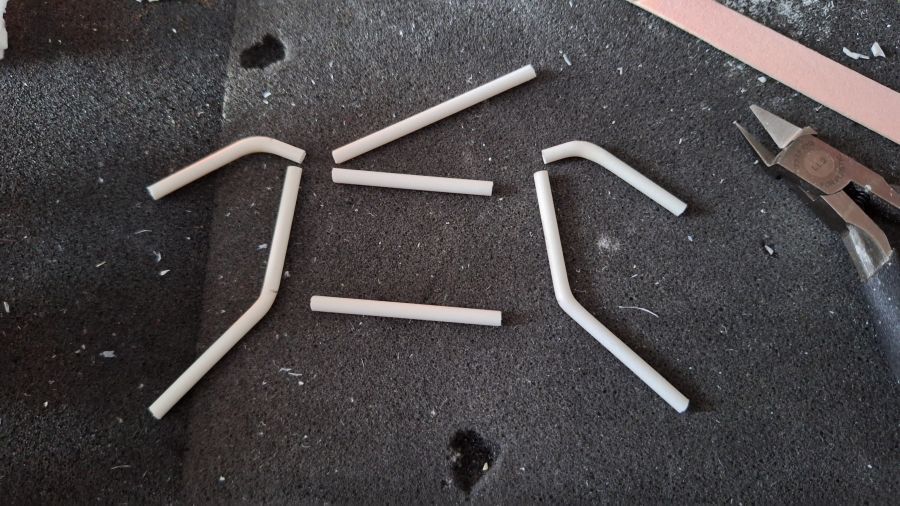
Ook de 'assen' moetn wat bijgeslepen.
The 'axles' need some grinding too.
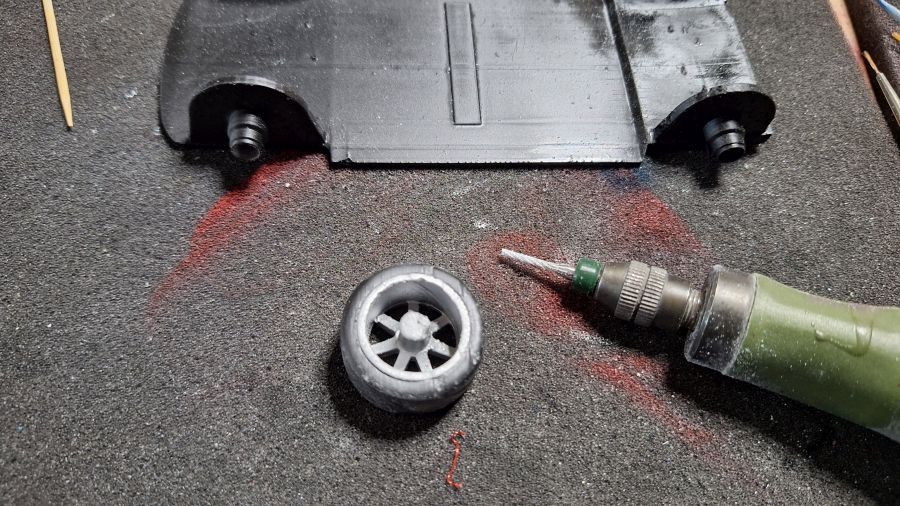
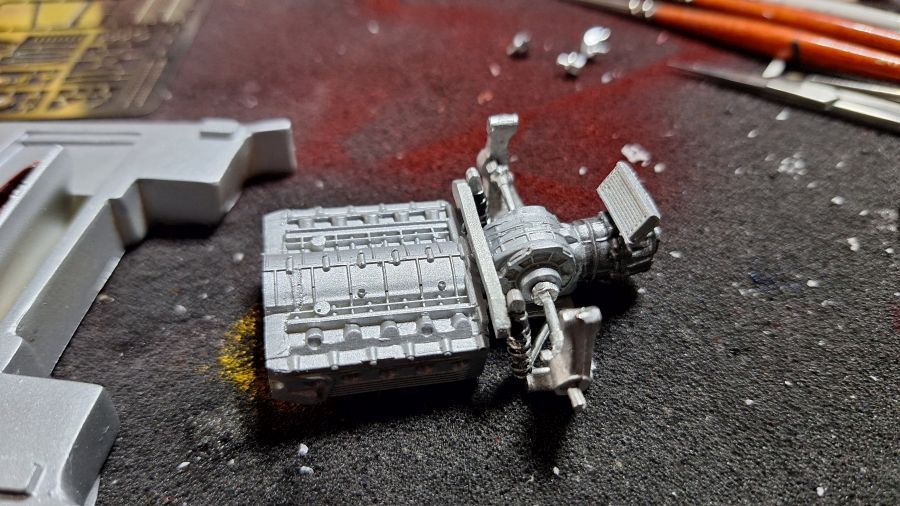
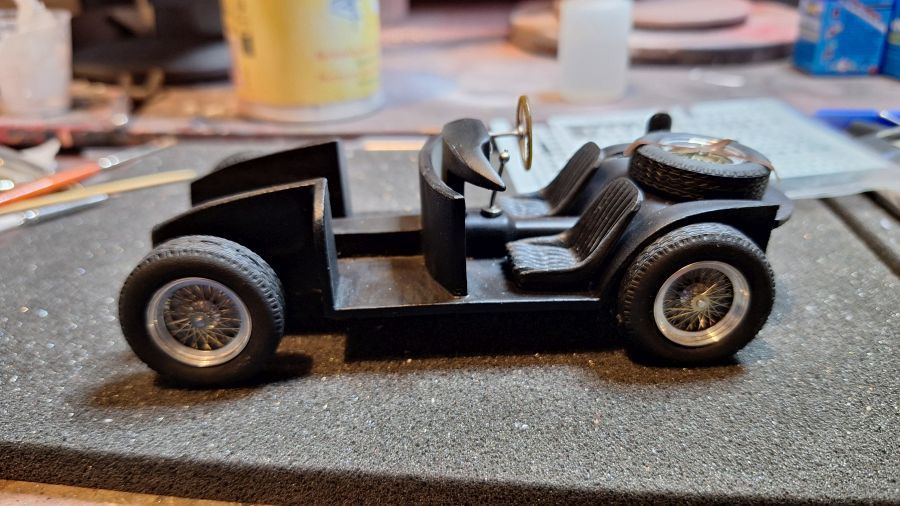
Test.
Test.
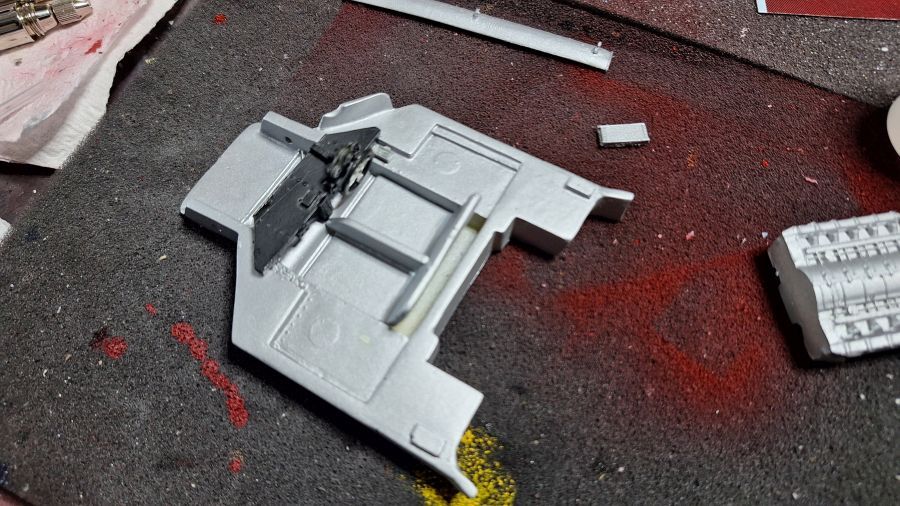
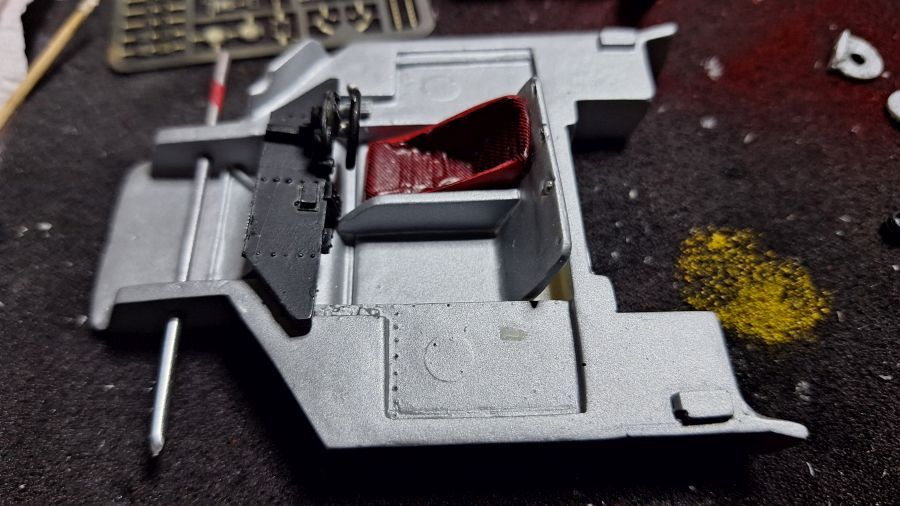
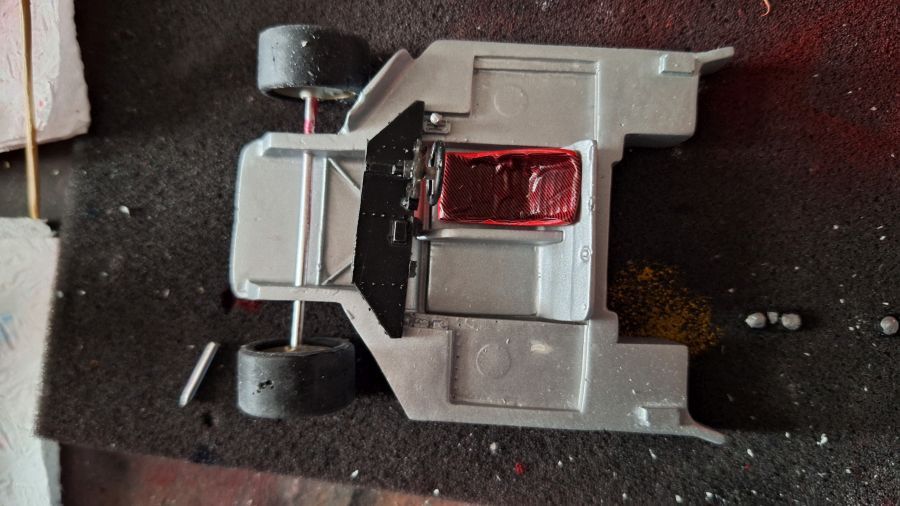
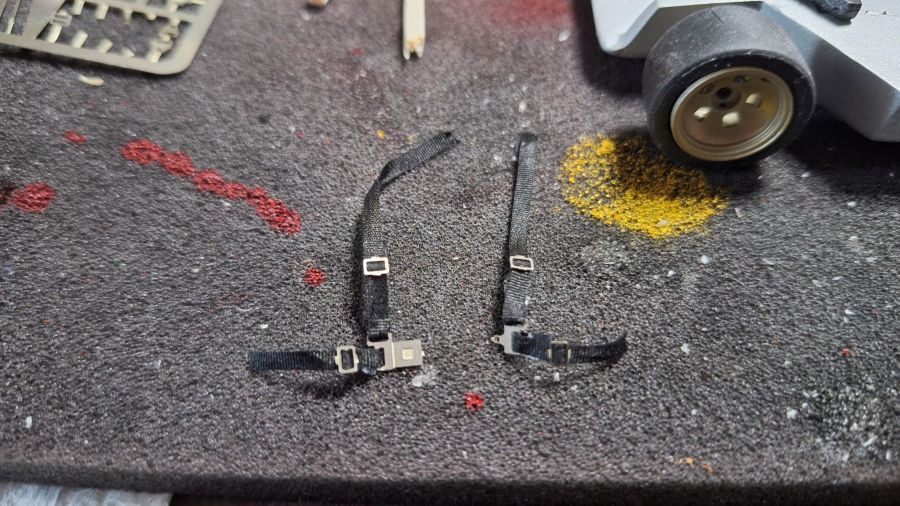
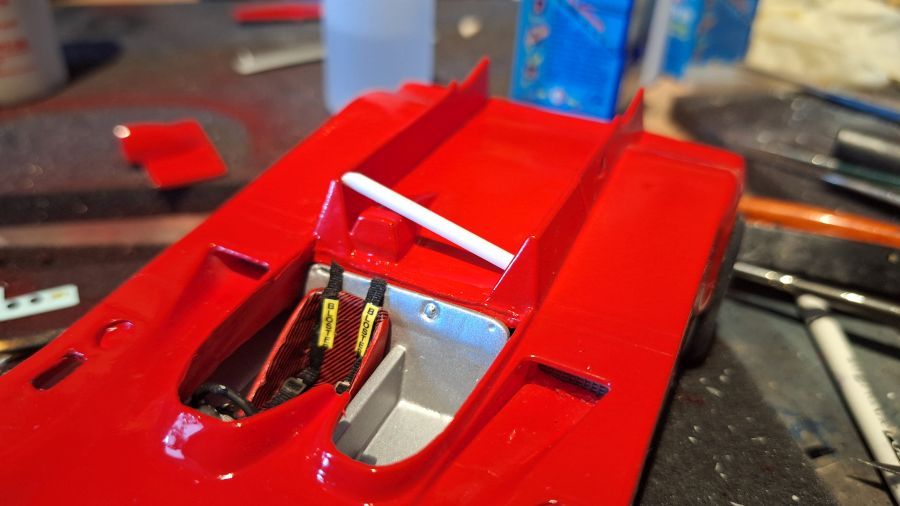
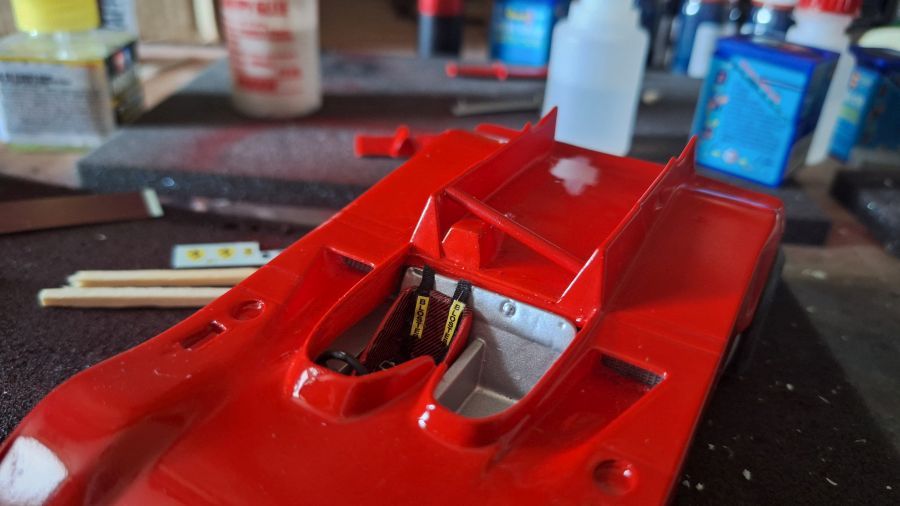
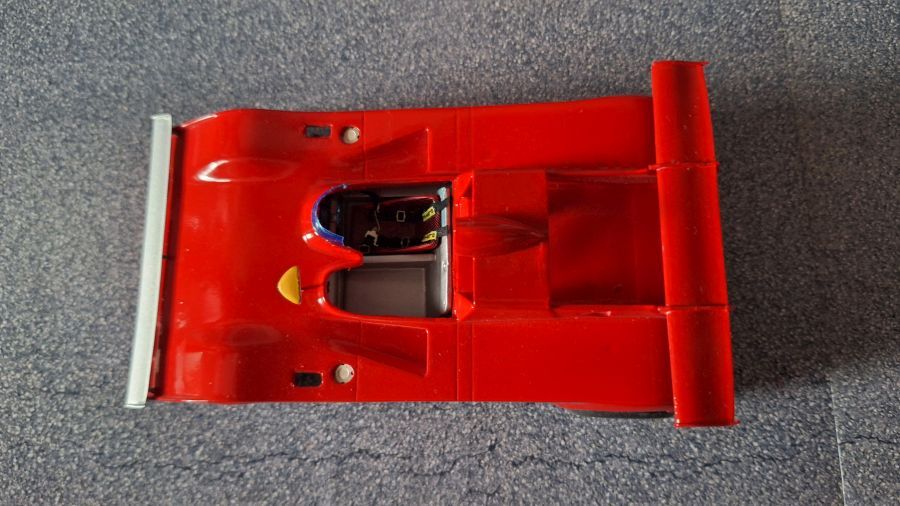
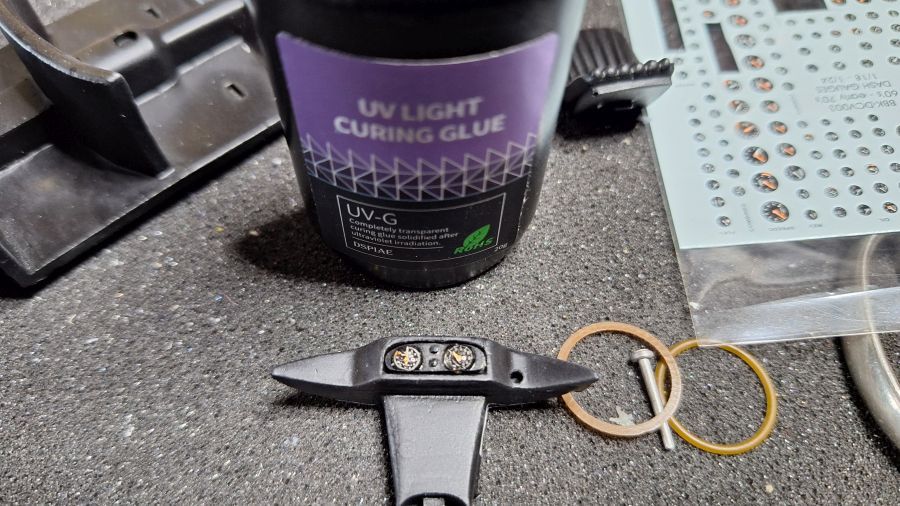
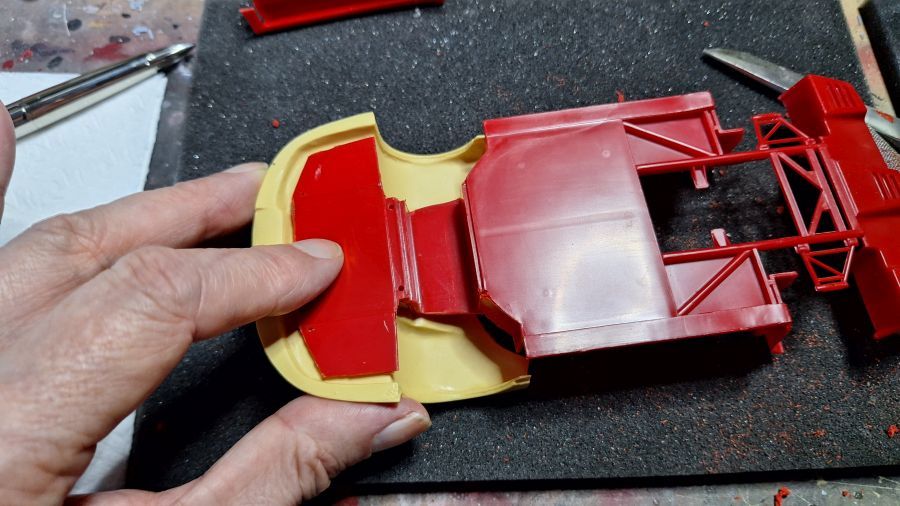
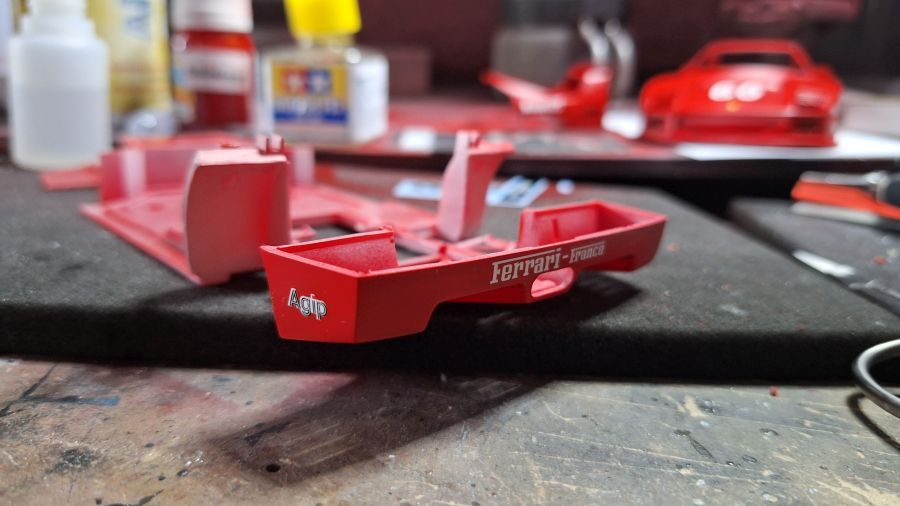
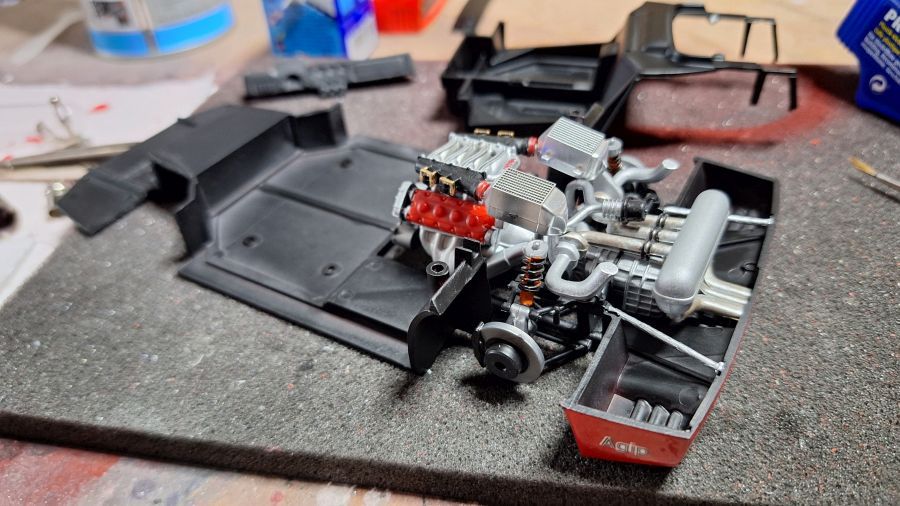
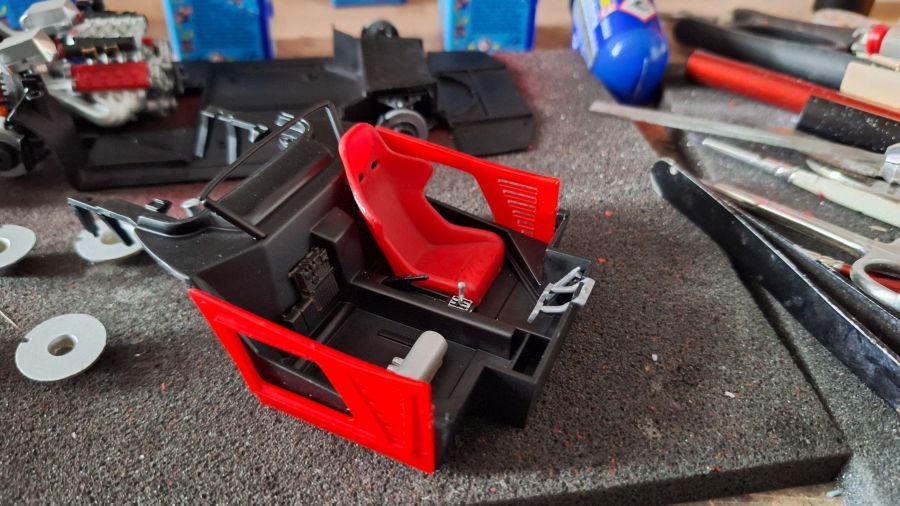
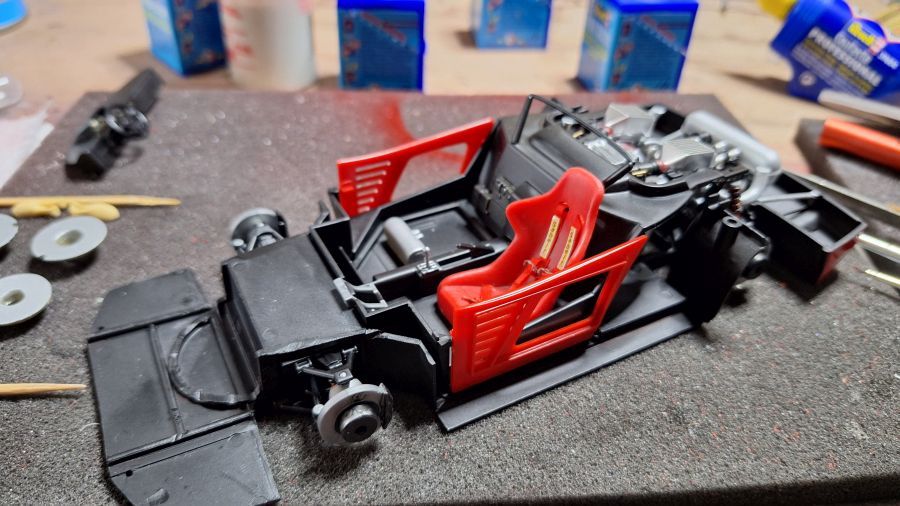
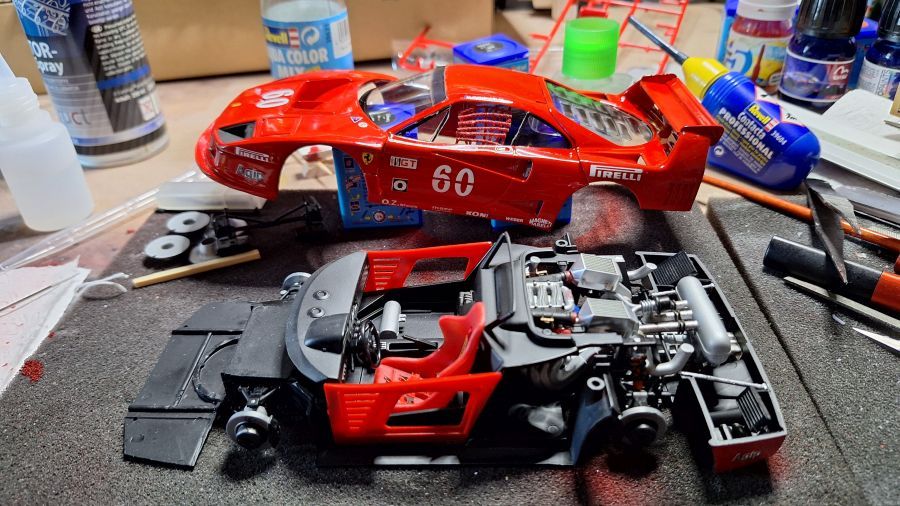
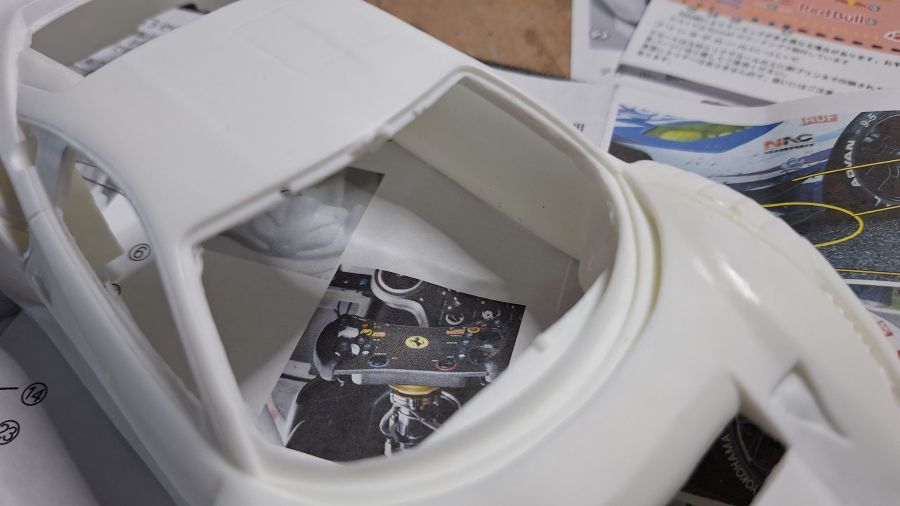
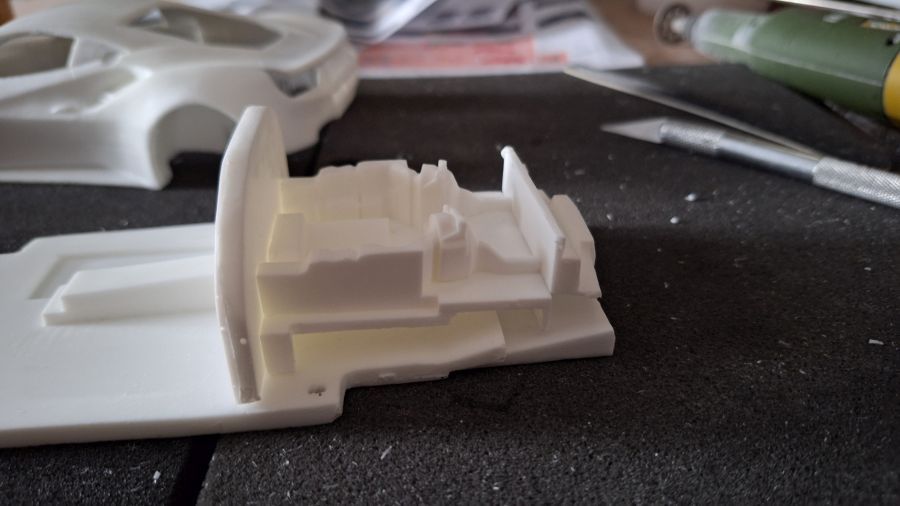
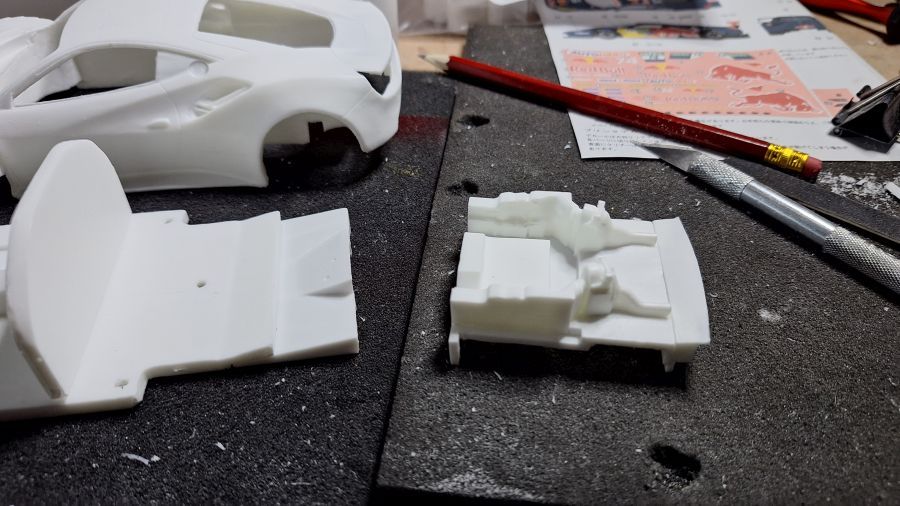
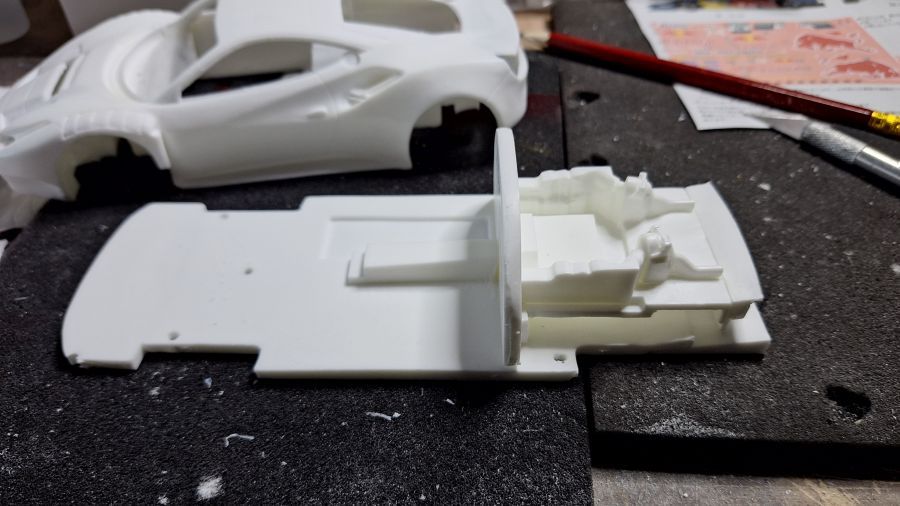
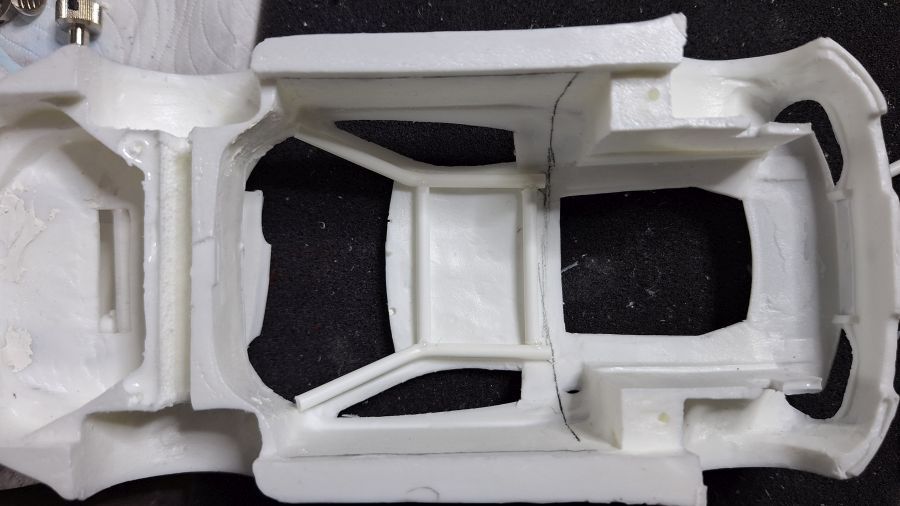
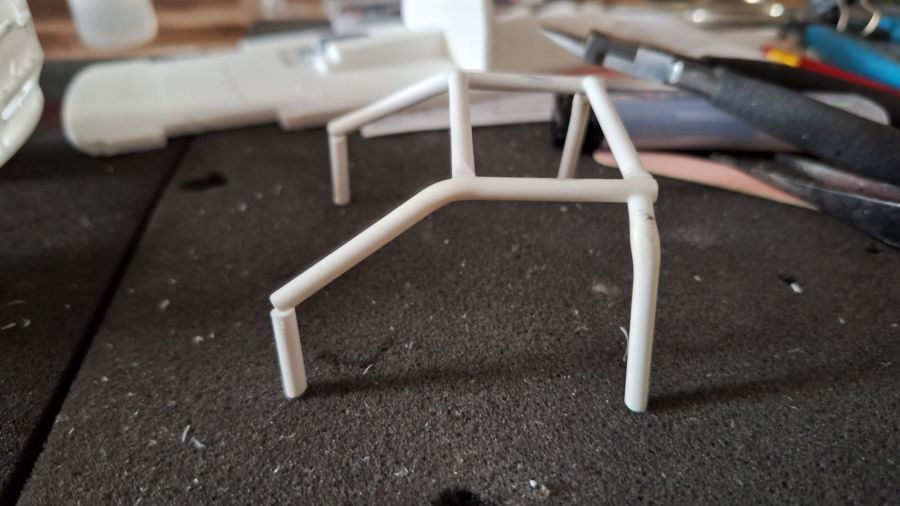
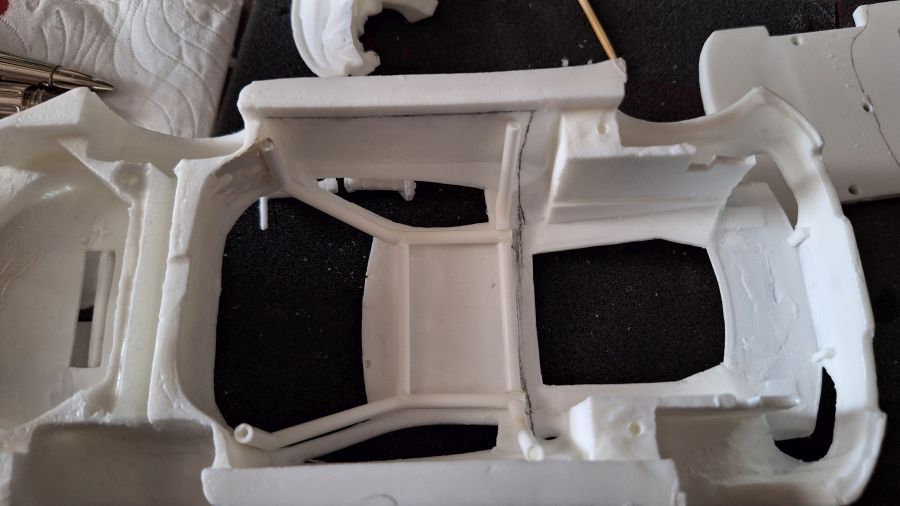
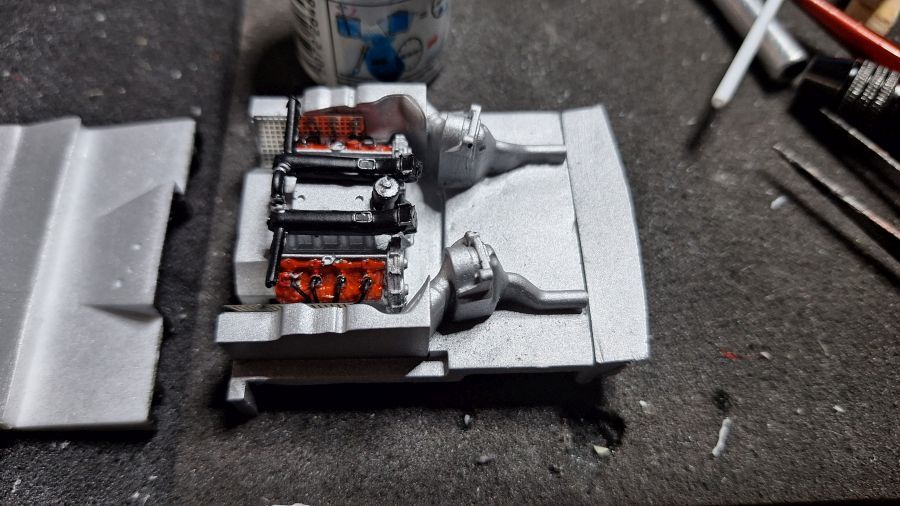
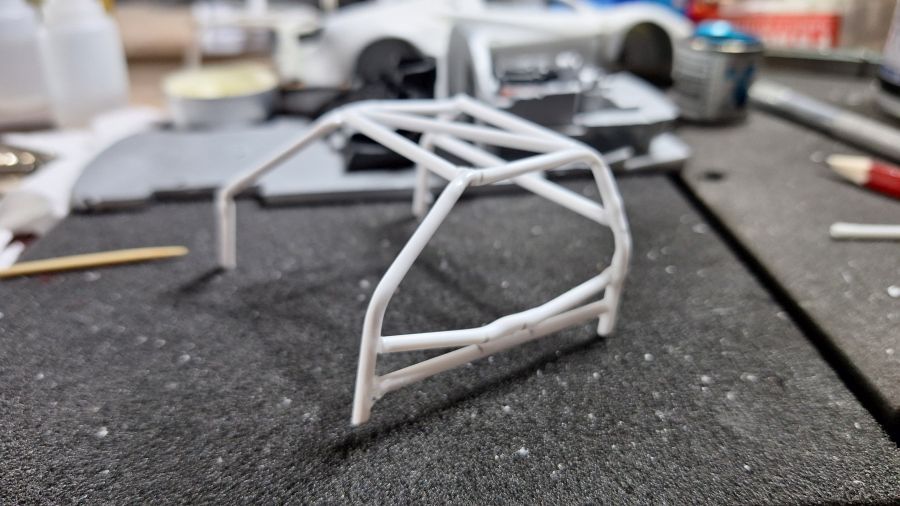
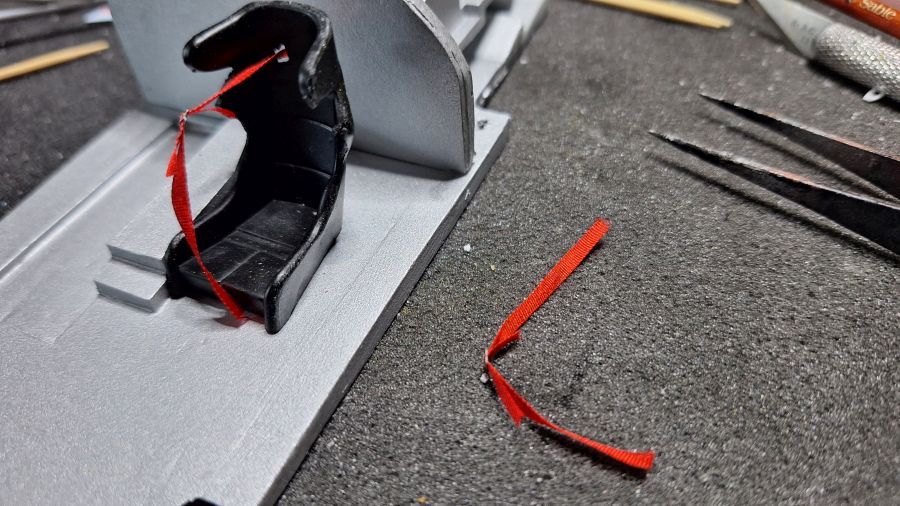
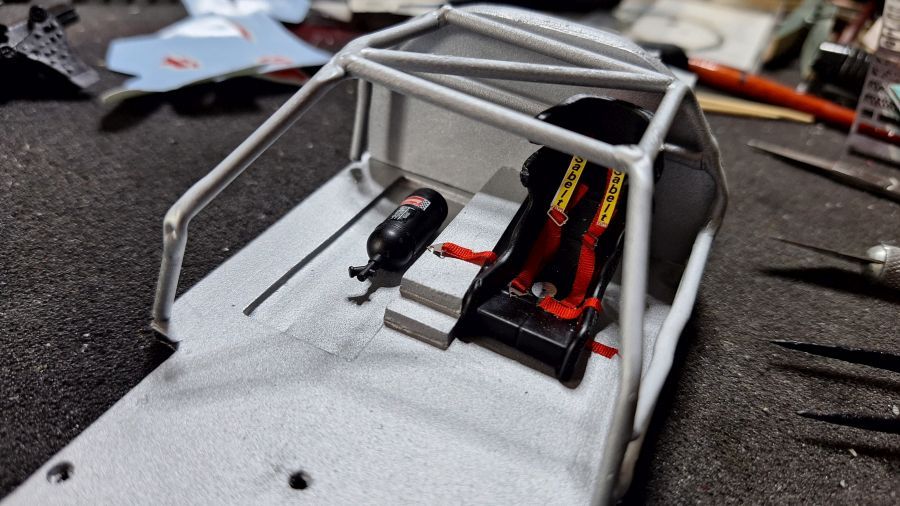
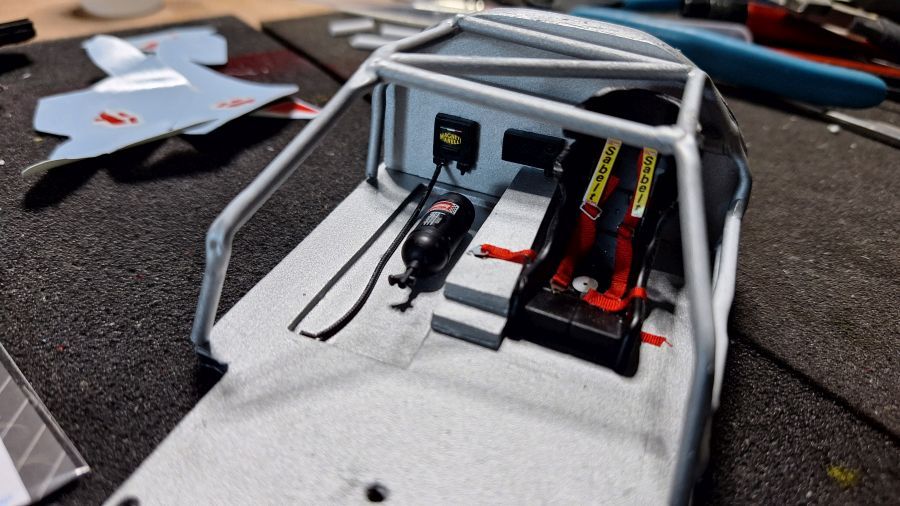
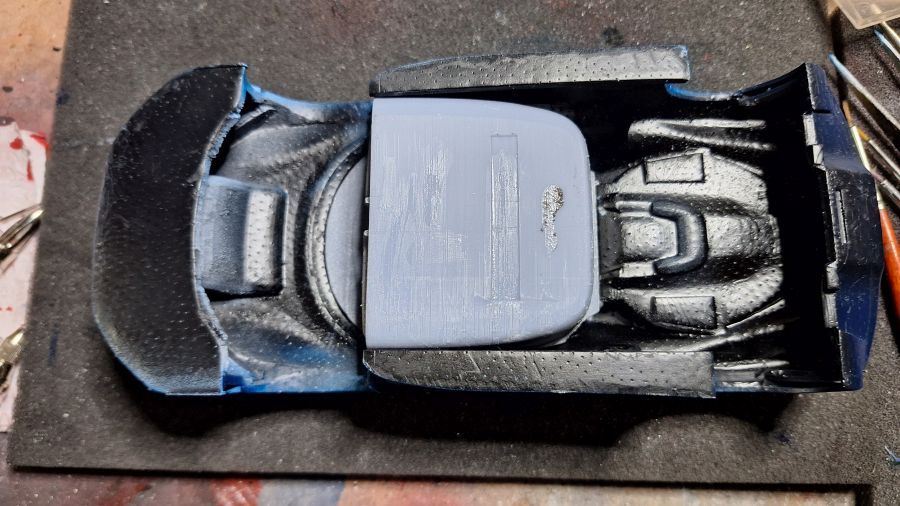
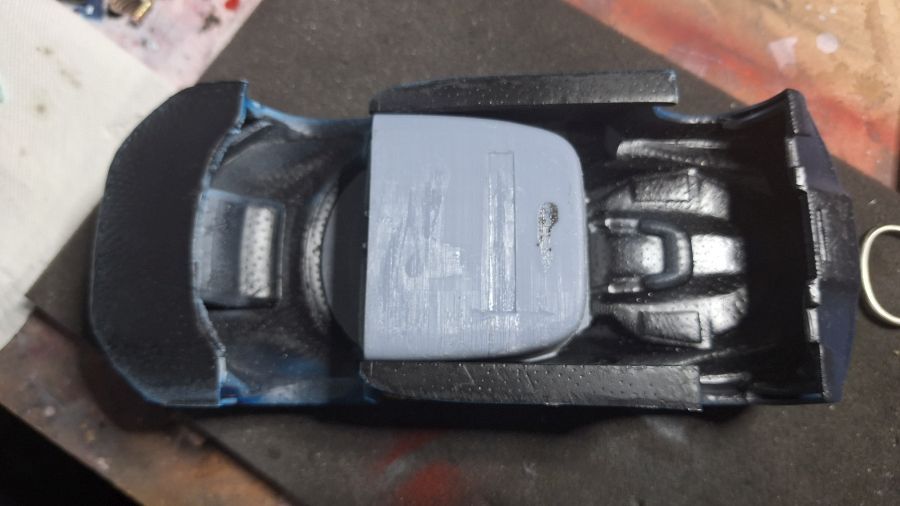
De binnenkant samenstellen. Ik hou het simpel, het gaat me bij deze om curbside.
Assembling the inside. I will keep it simple. i'll stick to curbside.

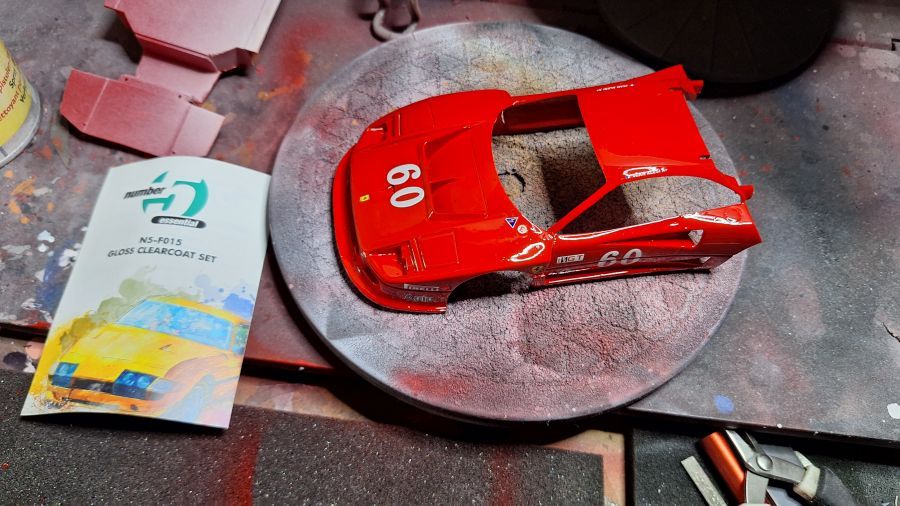
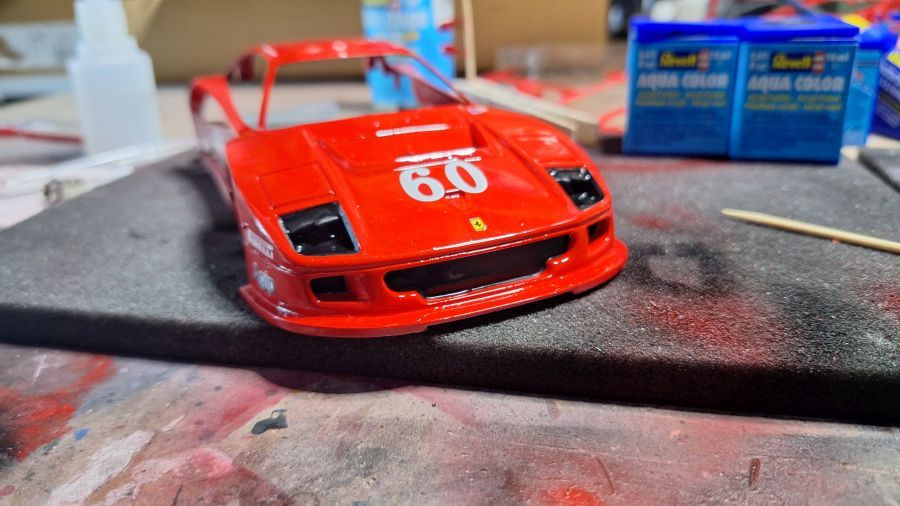
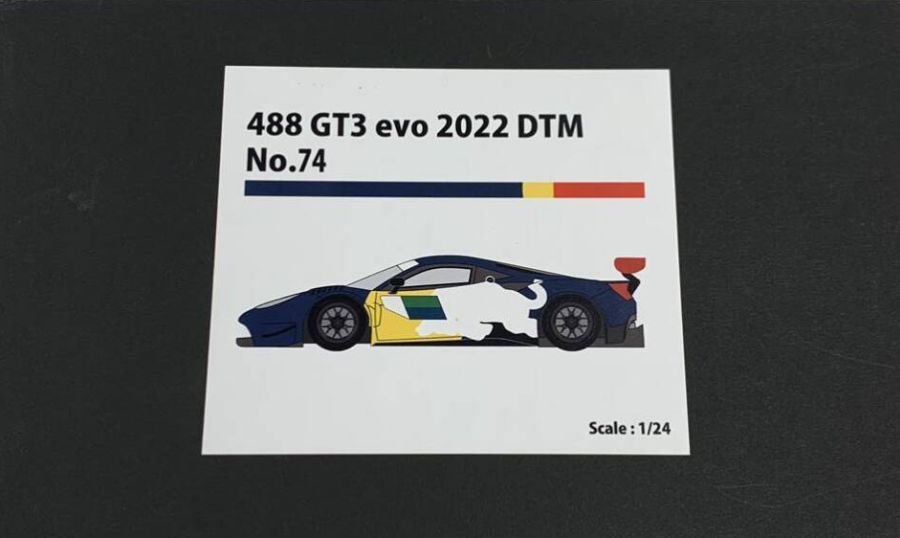
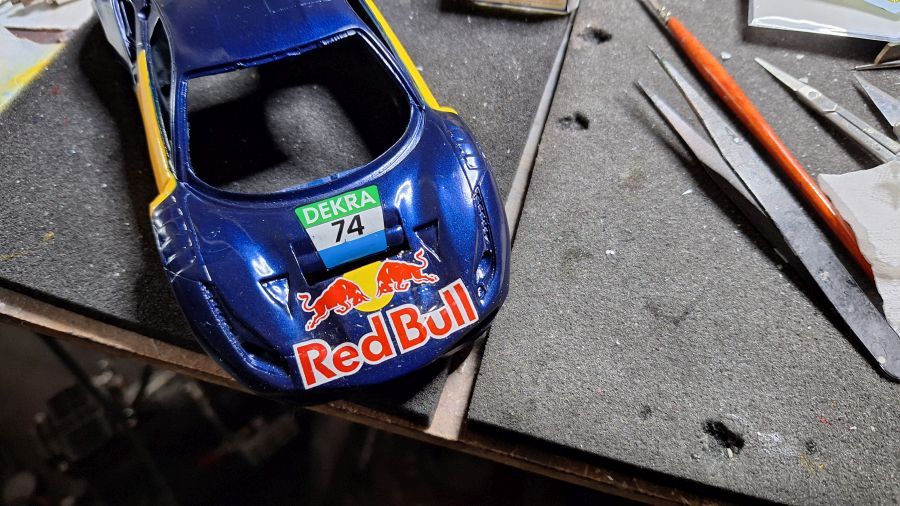
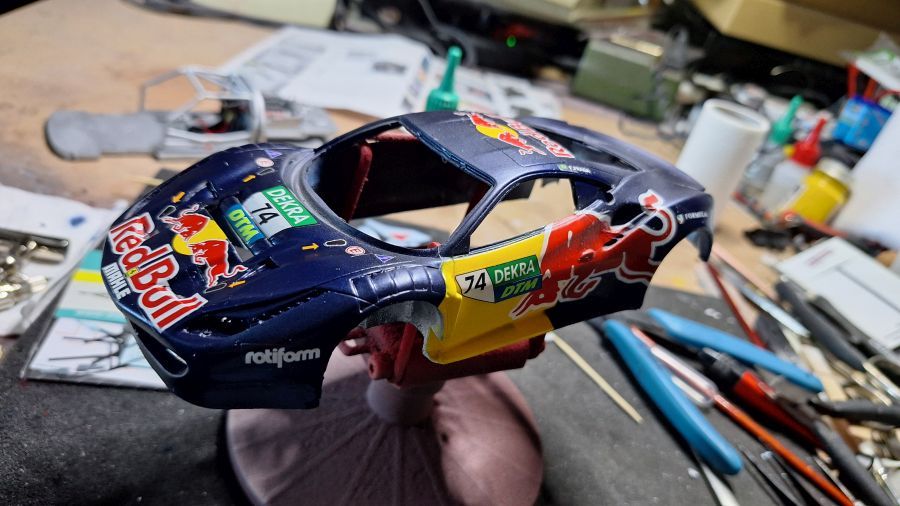
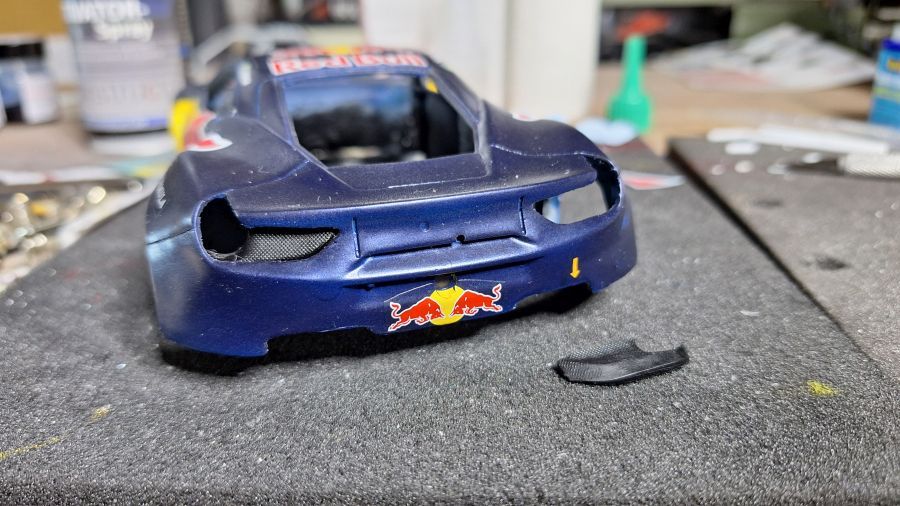
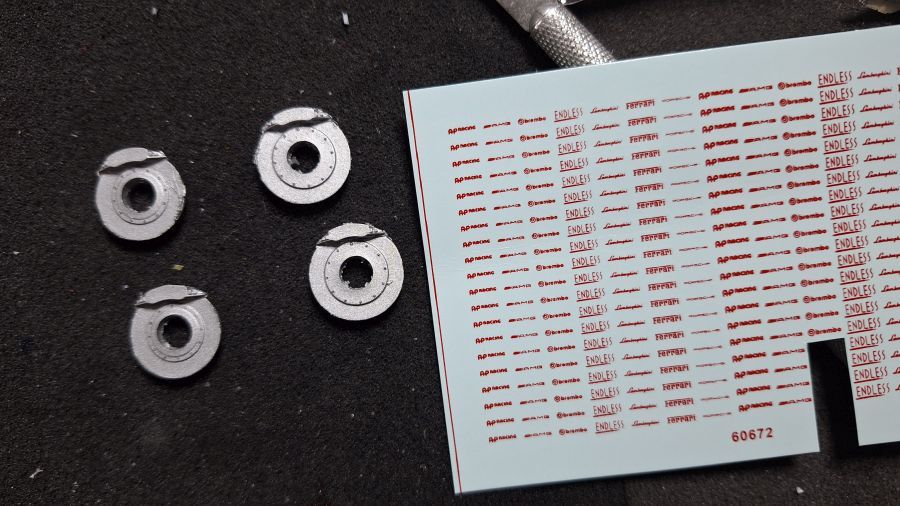
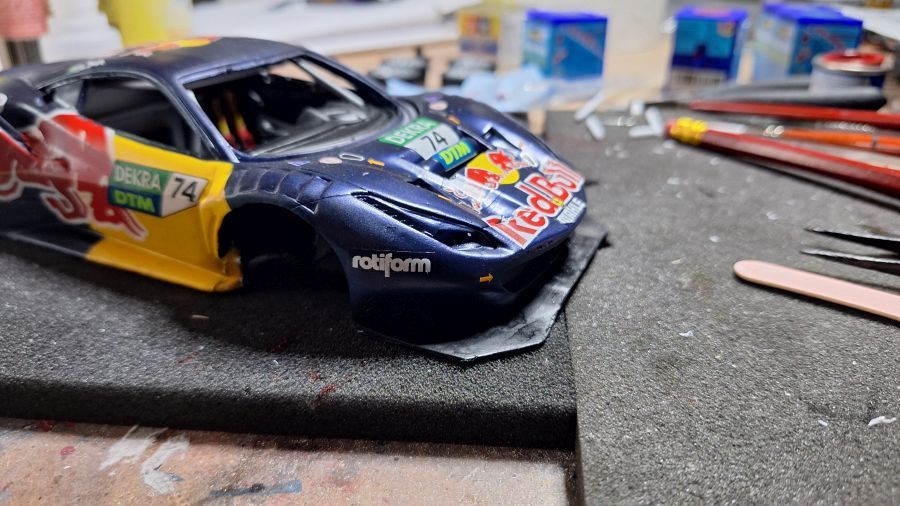
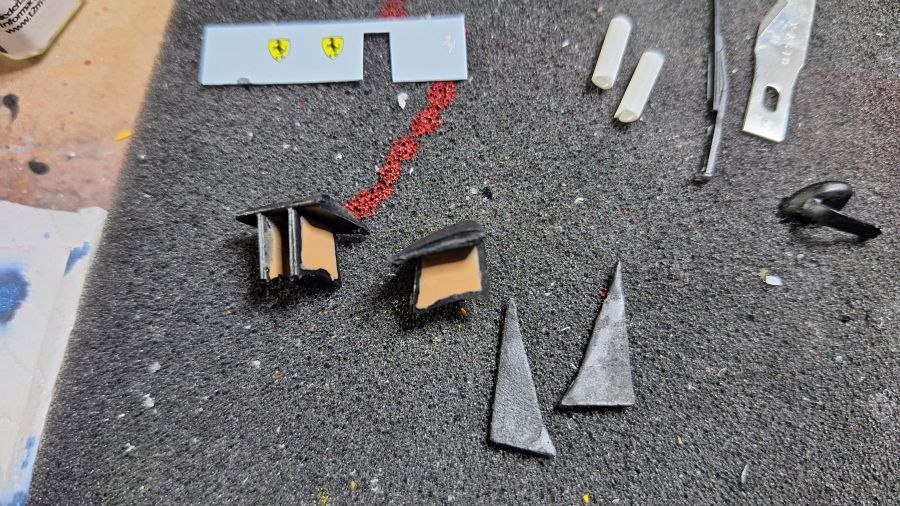
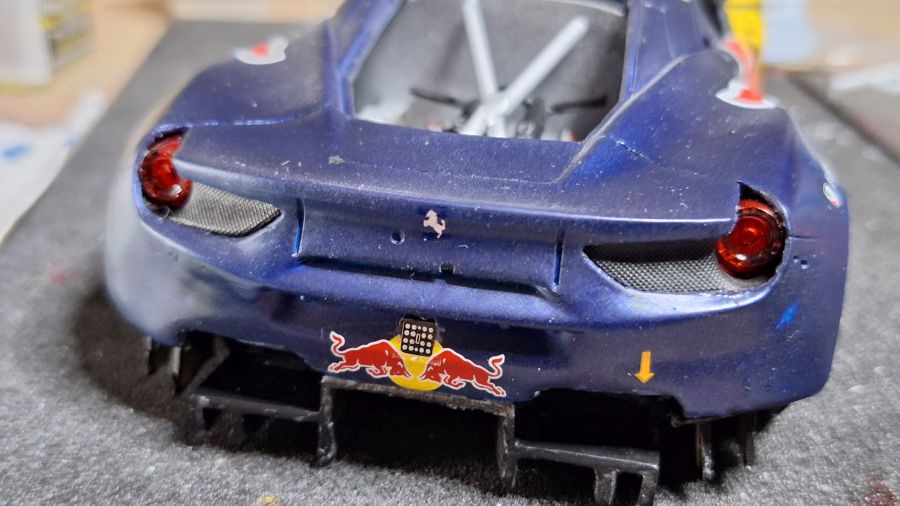
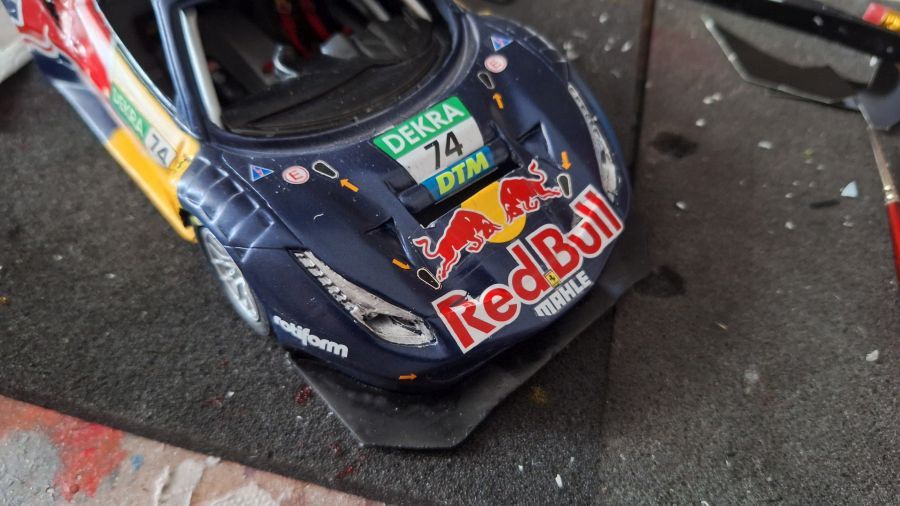
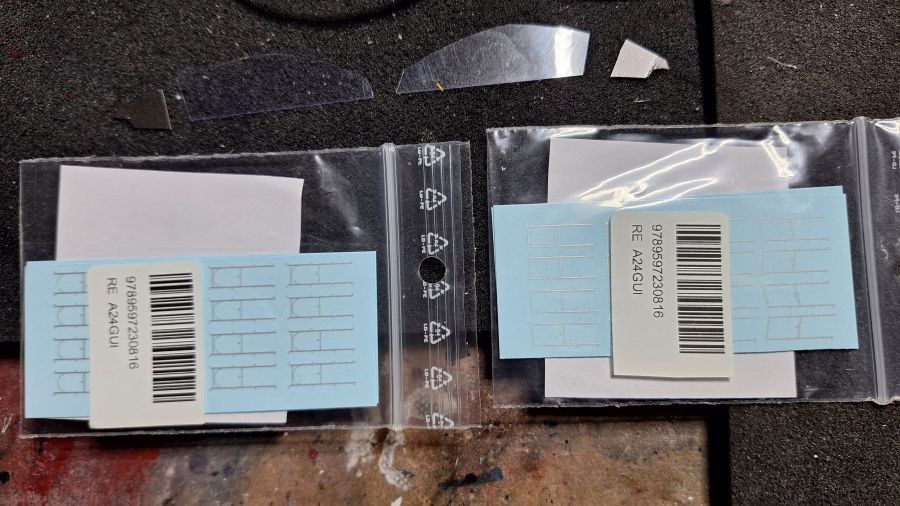
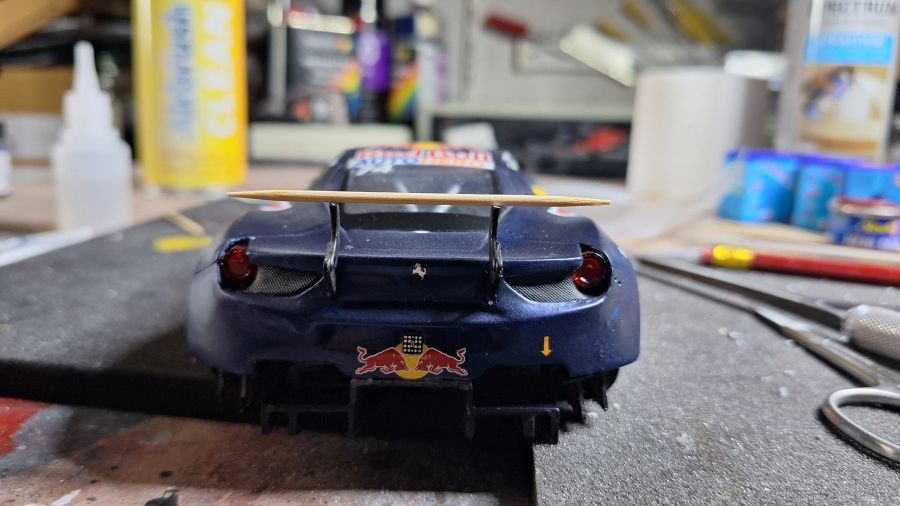
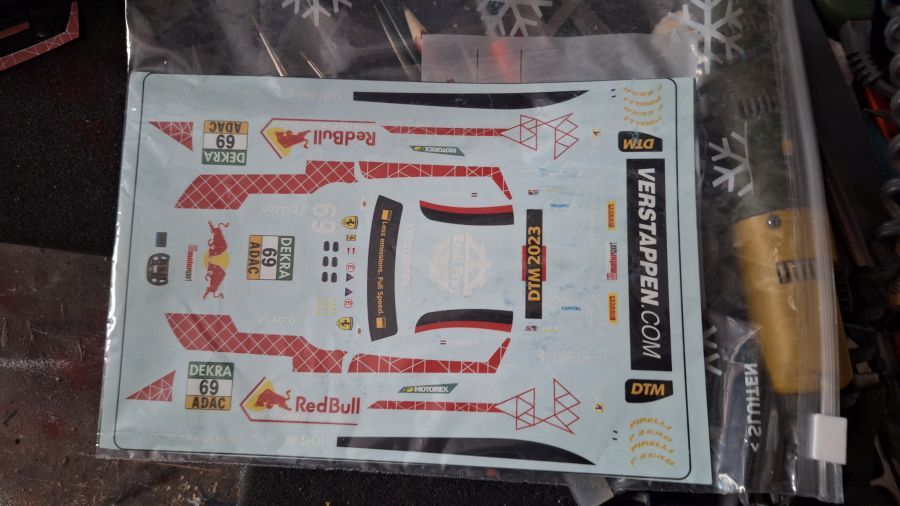
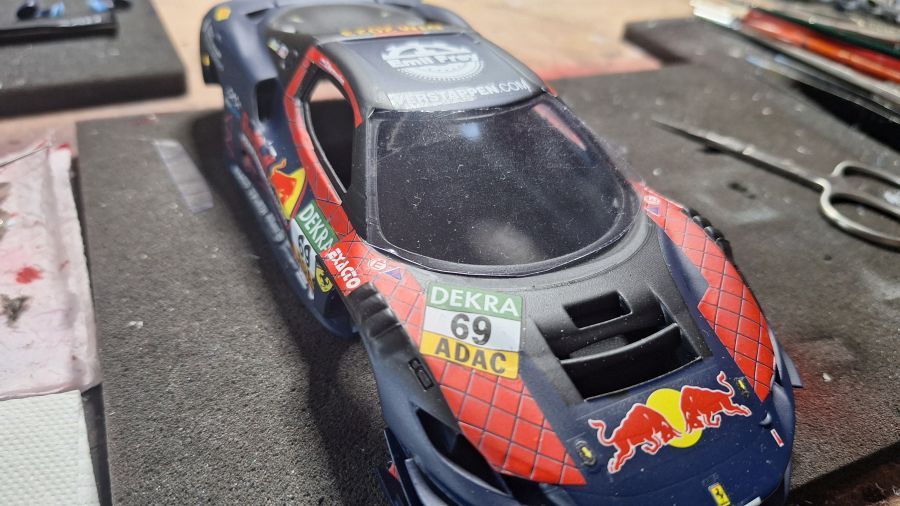
Zoals ik had verwacht passen de decals niet op dit model... Ik moet bezien hoe ik dit ga oplossen. Ook kan ik geen enkele foto vinden waarbij de wagen matched met deze decals.
As I expected, the decals do not fit this model... I will see how to solve this. Furthermore, i can't find any picture of the car that matches these decals.
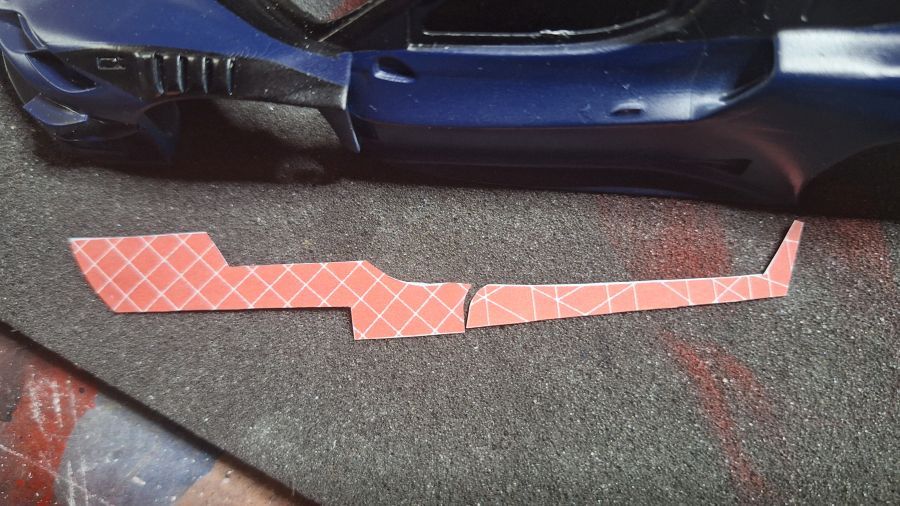
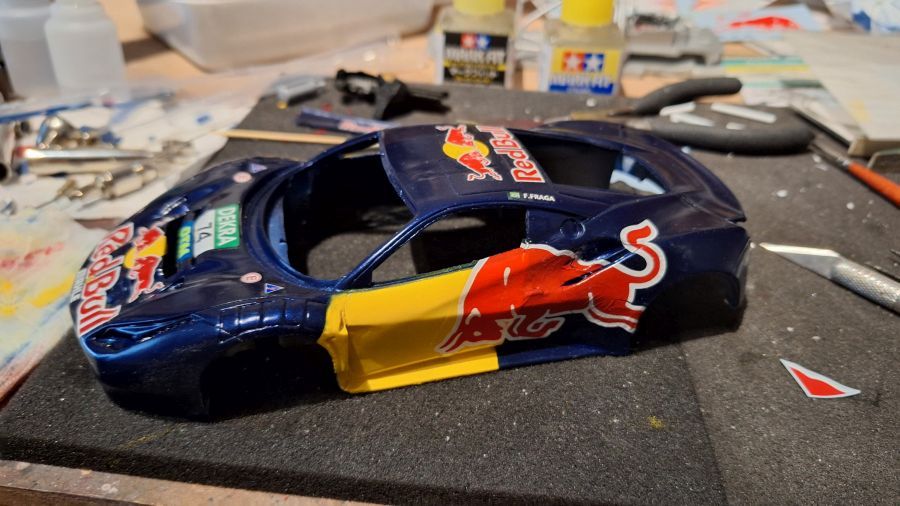
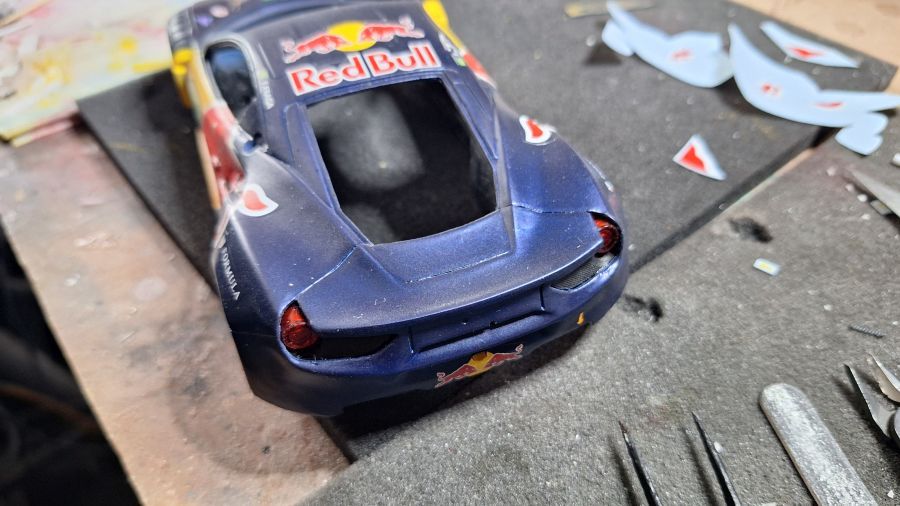
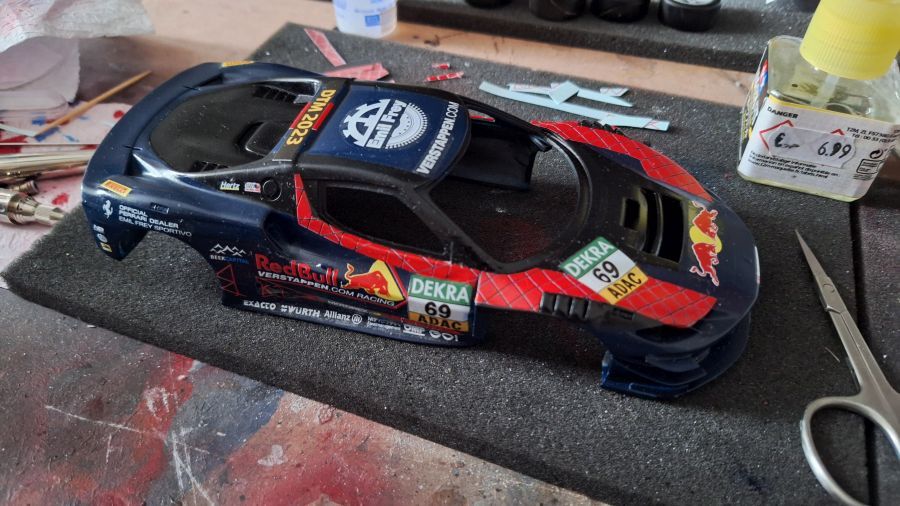
De decals zijn lastig. Vrij dik en ze krullen gauw op, wat ze onbruikbaar maakt.
The decals are tricky. Pretty stiff and they tend to curl, which makes them unusable.
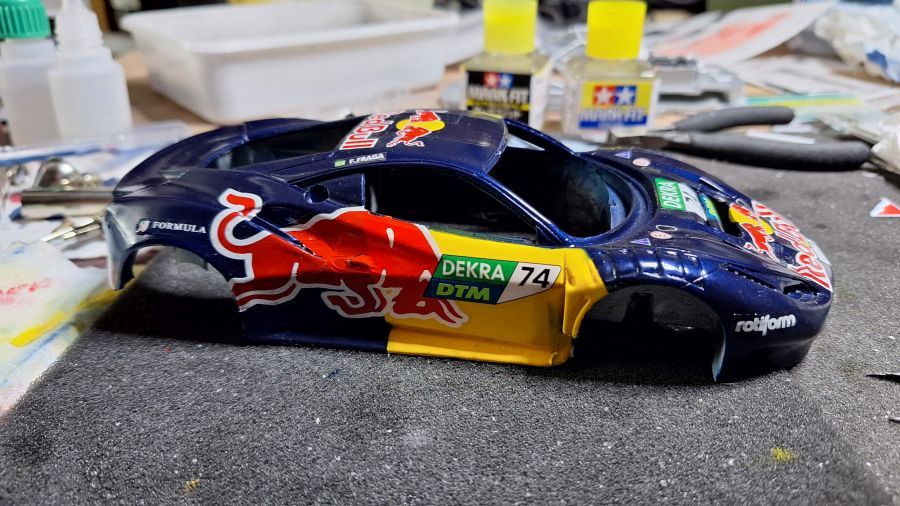
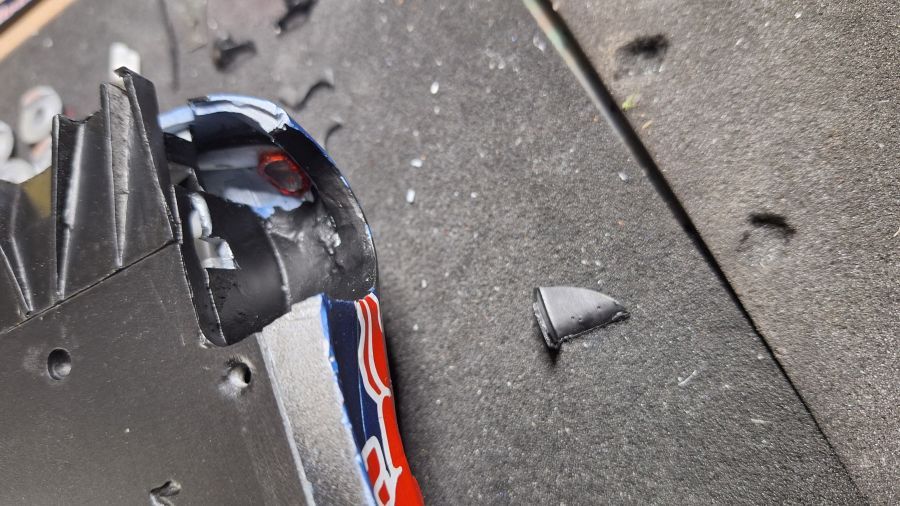
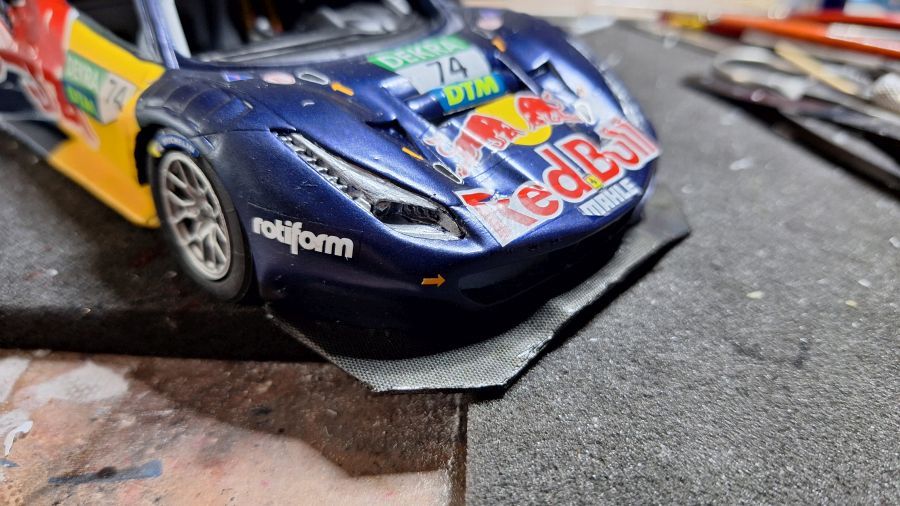
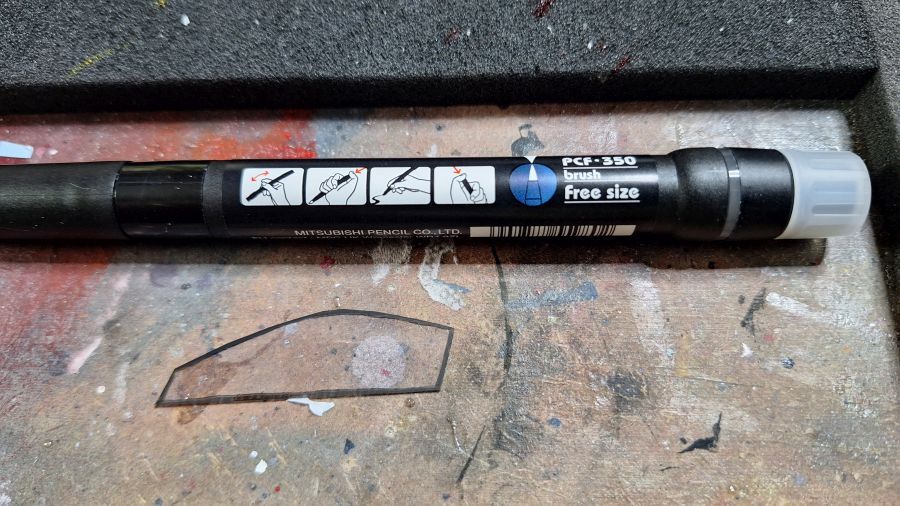
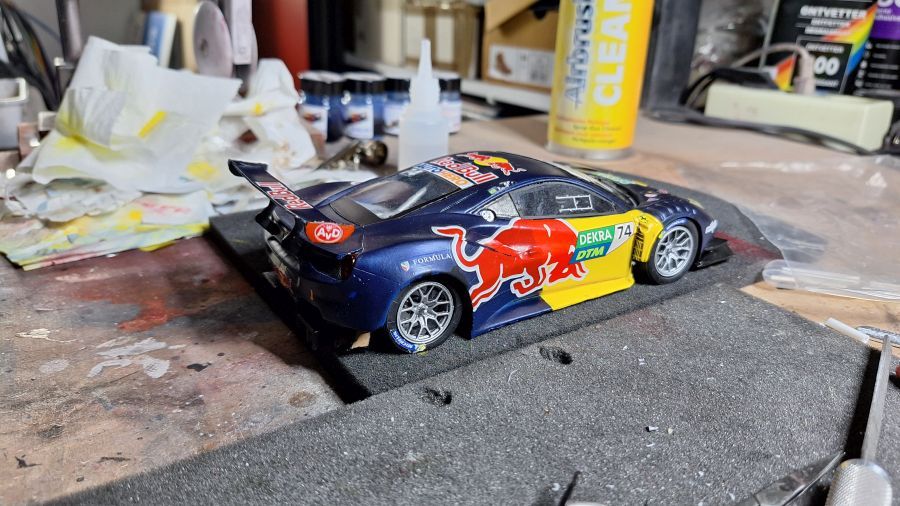
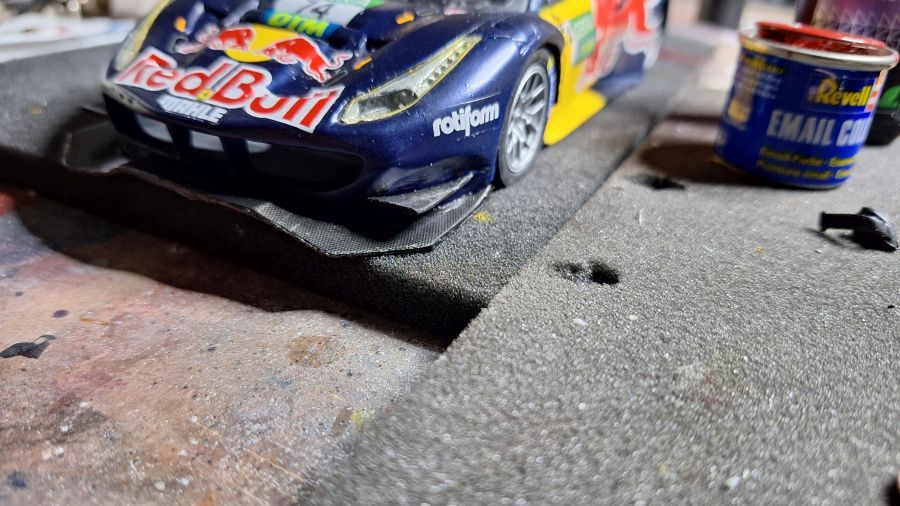
Koud water lijkt iets beter te werken. Óf de decals óf the 3D print lijkt een onjuiste schaal. Improvisatie nodig.
Cold water seems to work a little bit better. Either the decals or the 3D print seems to be out of scale. Improvising needed.

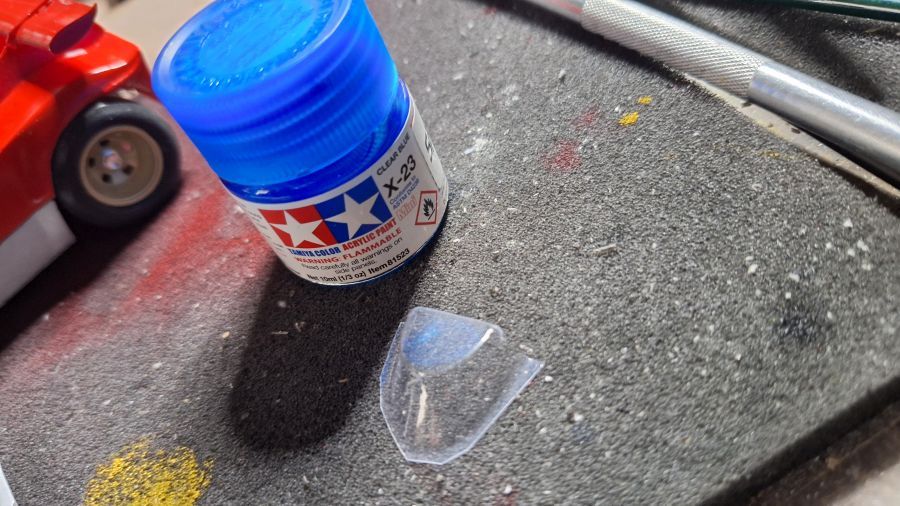
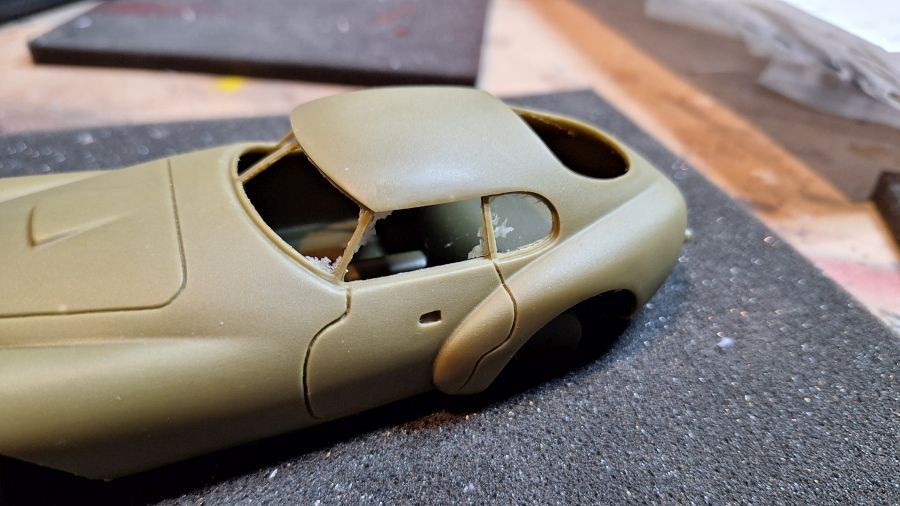
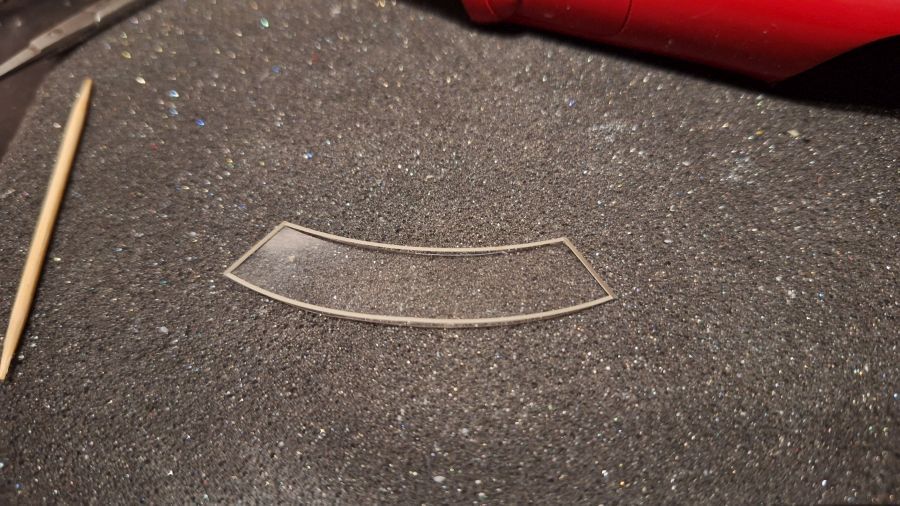
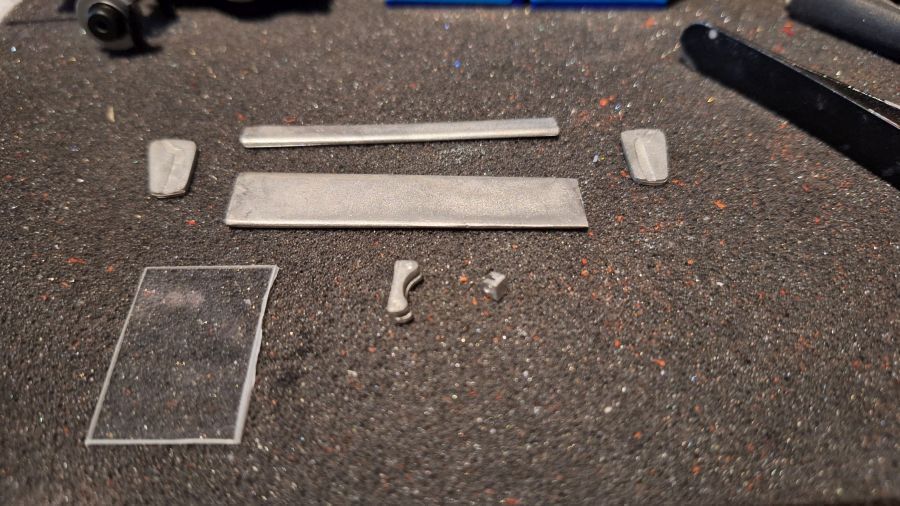
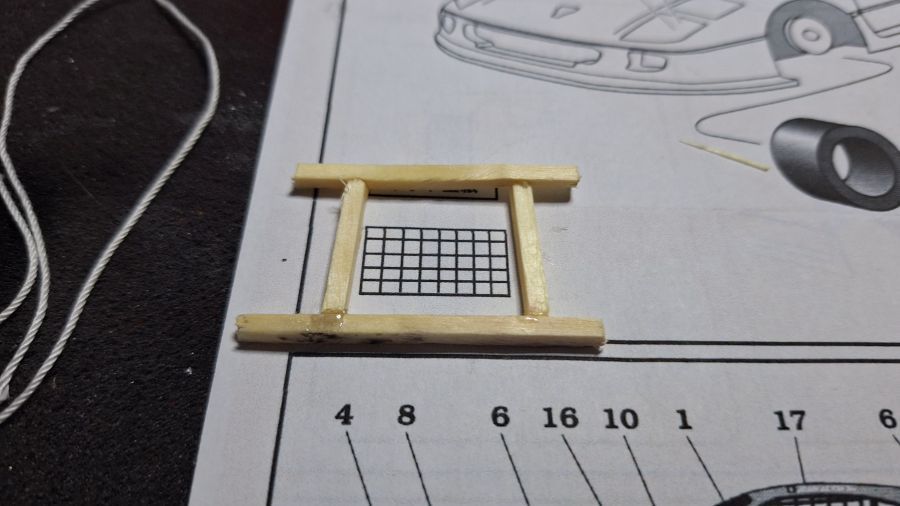
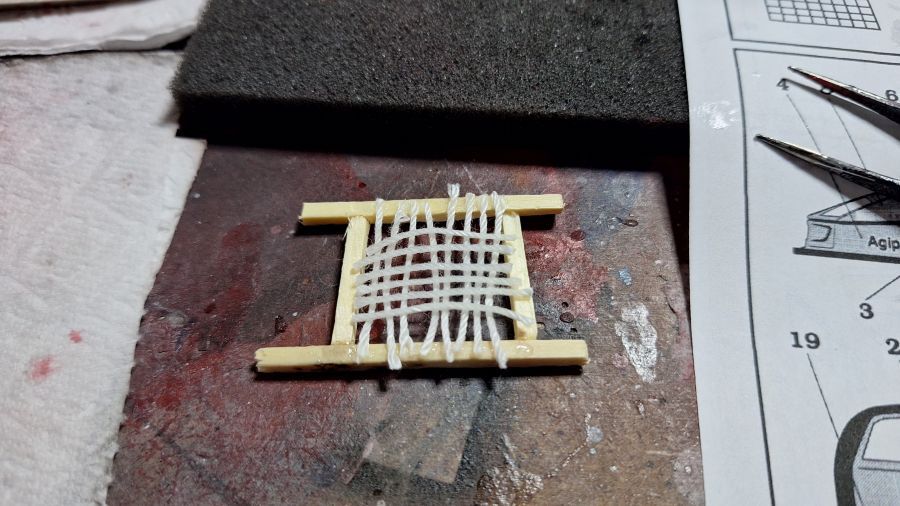
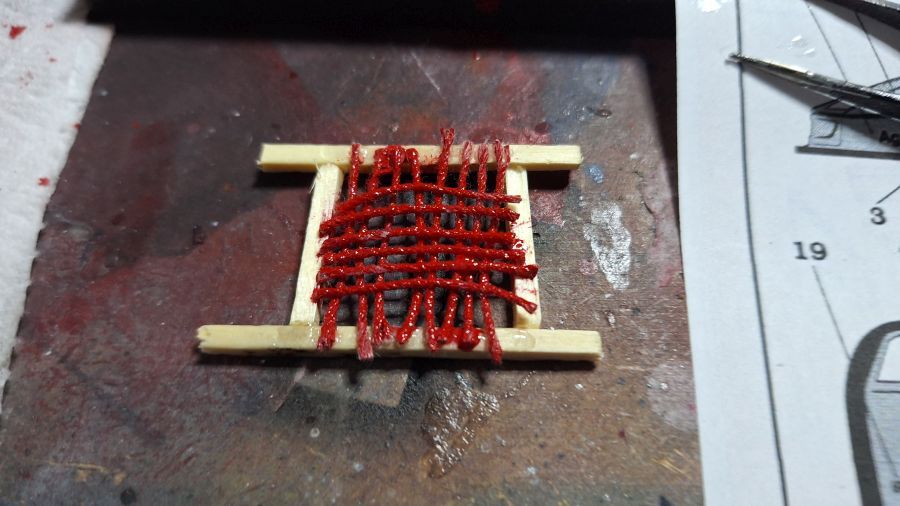
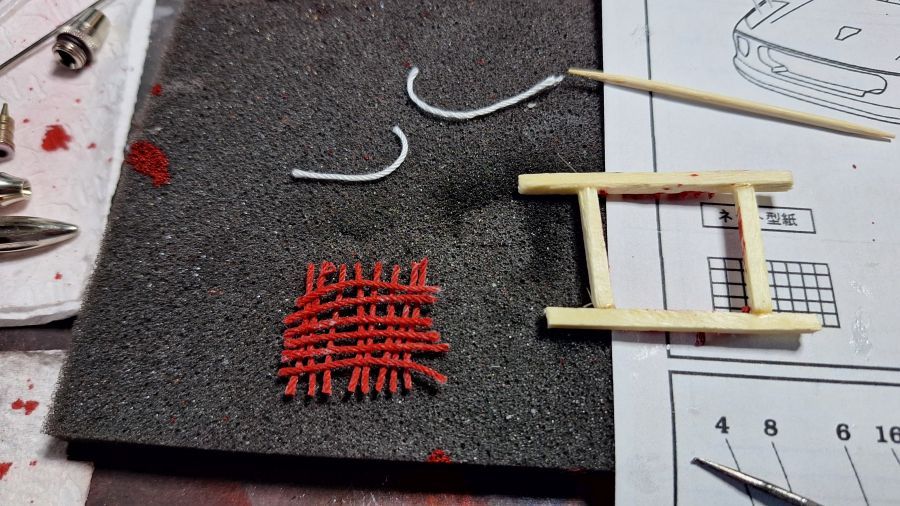
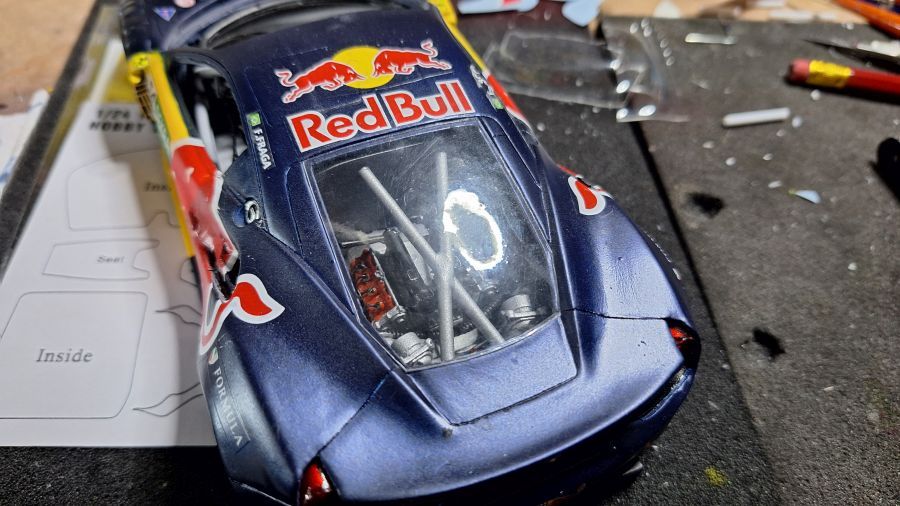
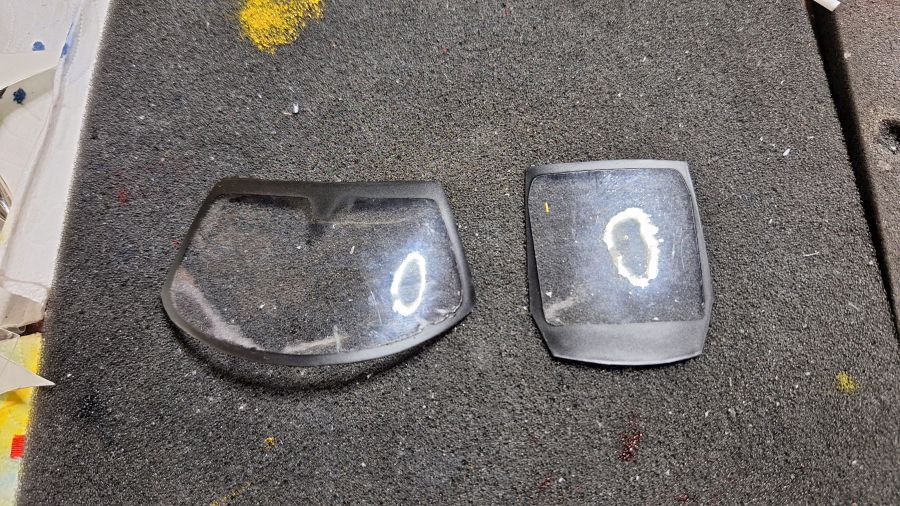
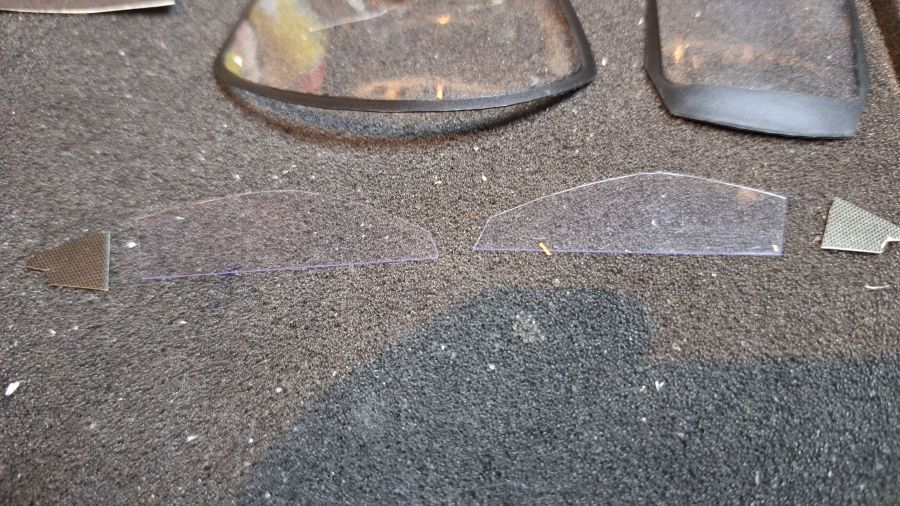
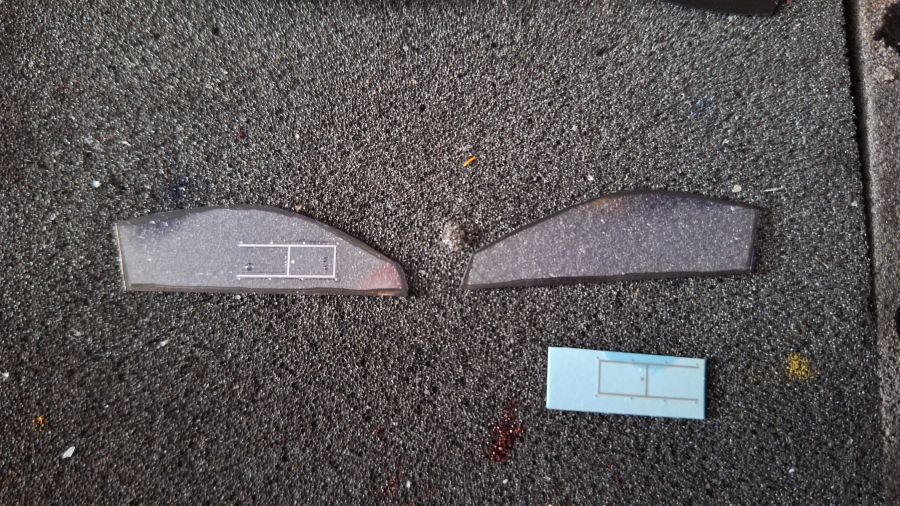
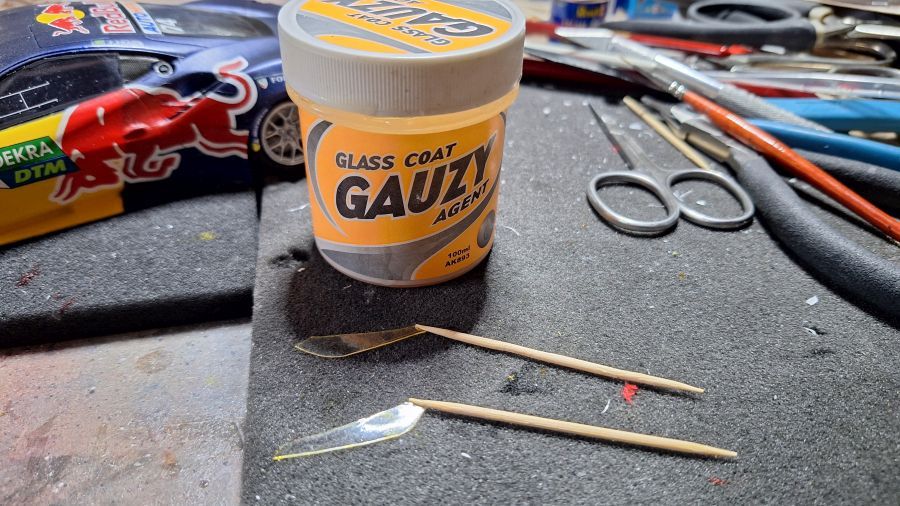
Door naar het glas.
On to the glass.
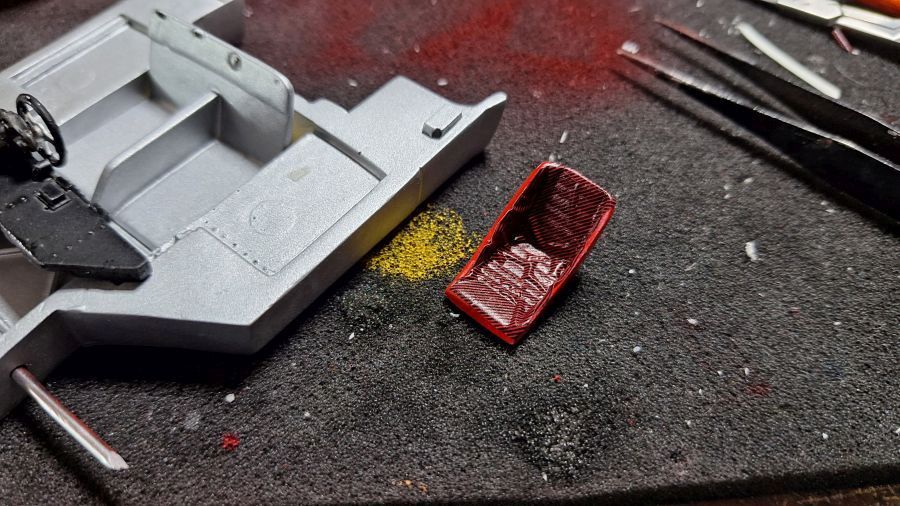
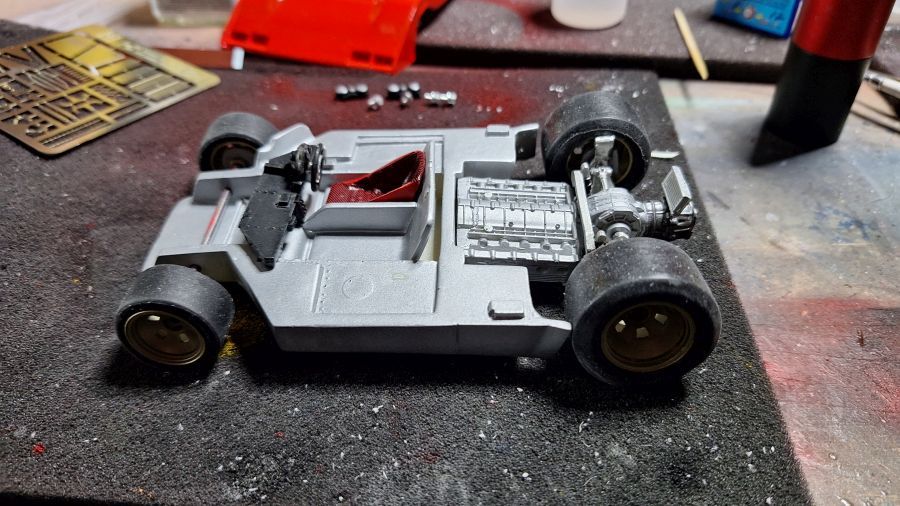
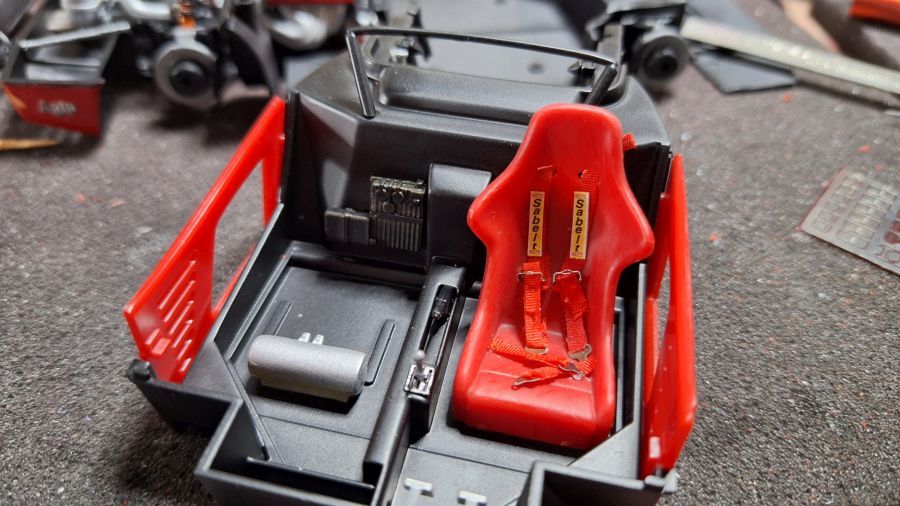
Interieur erin.
Adding the interior.
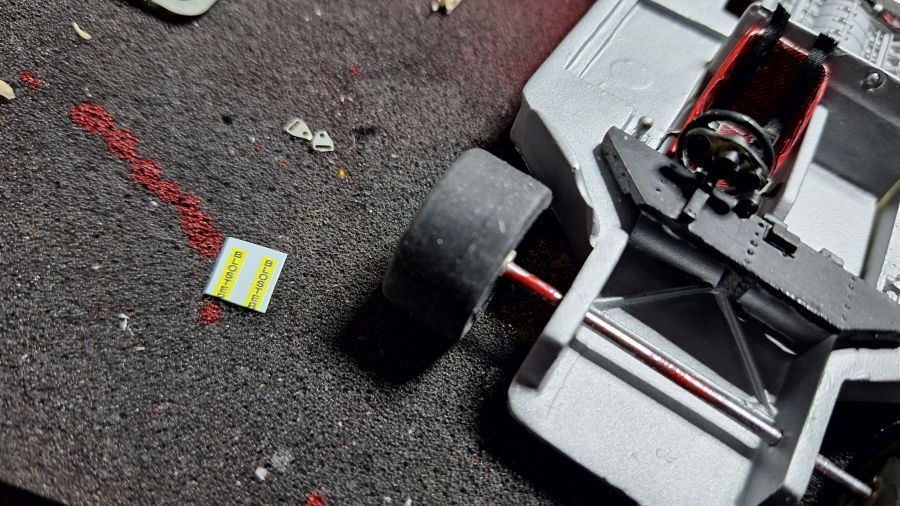
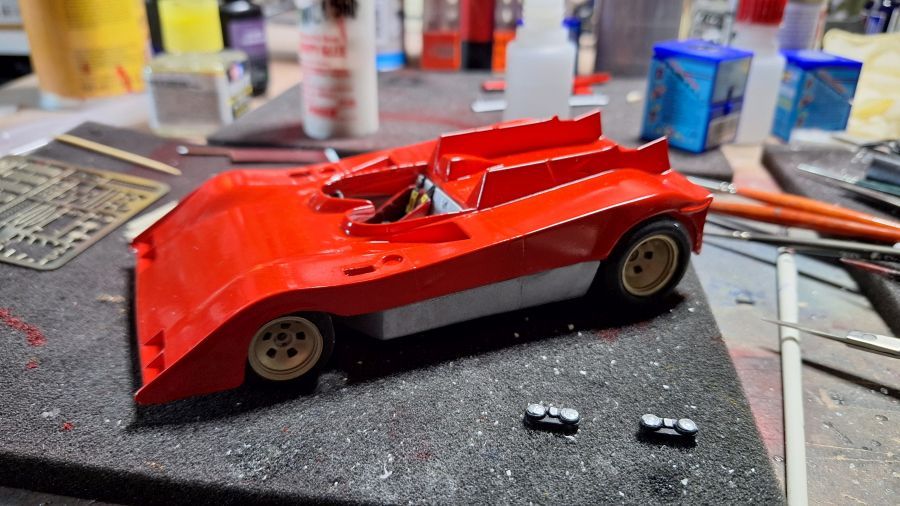
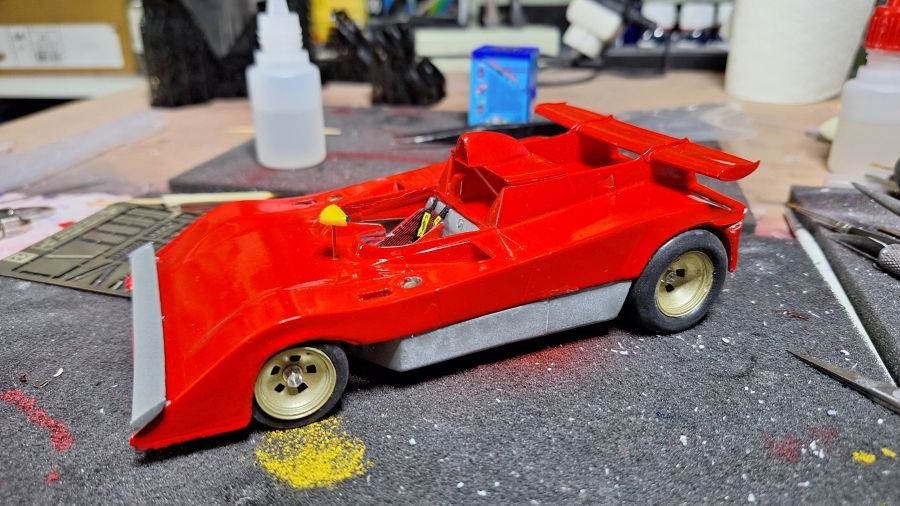
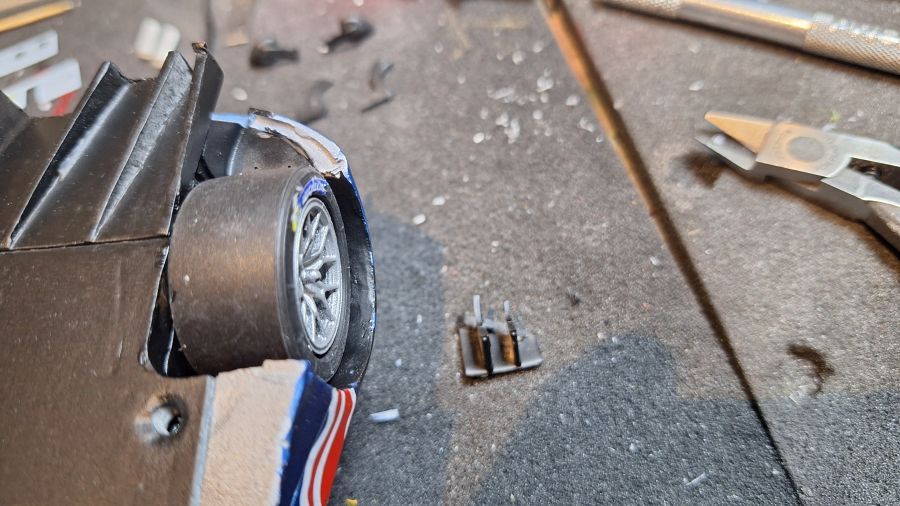
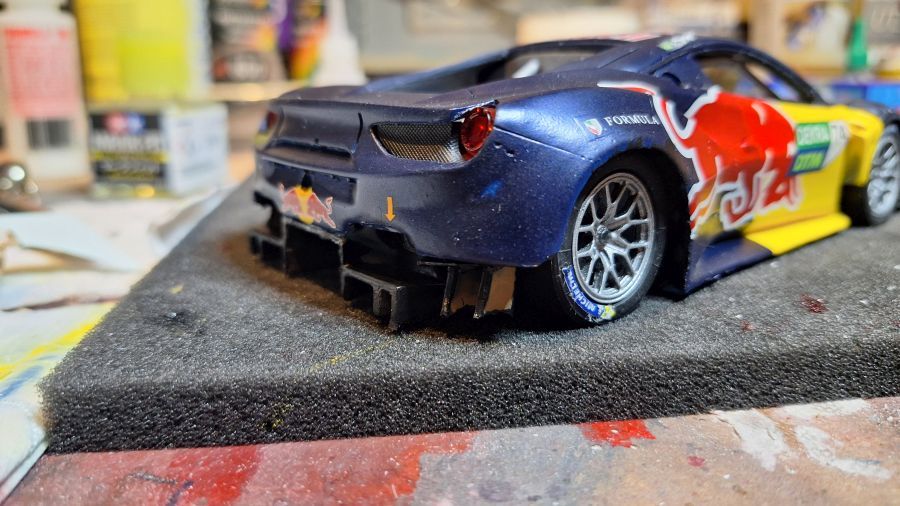
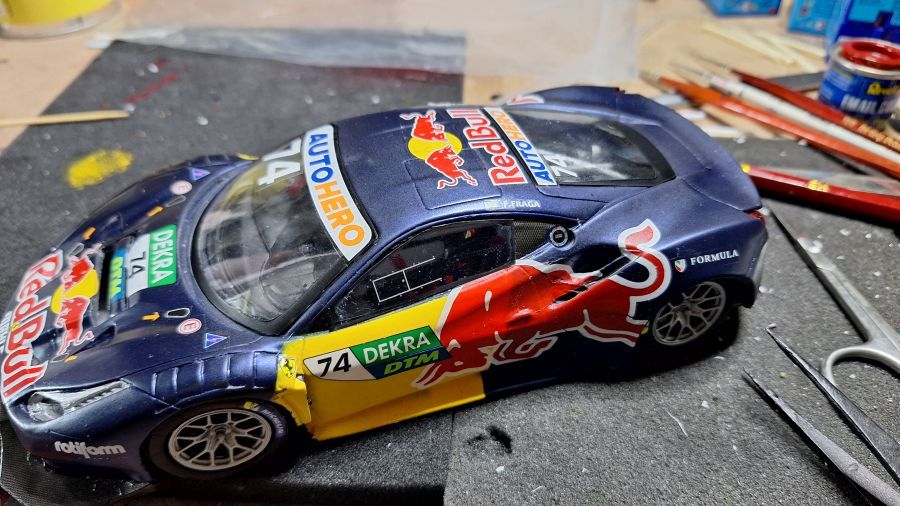
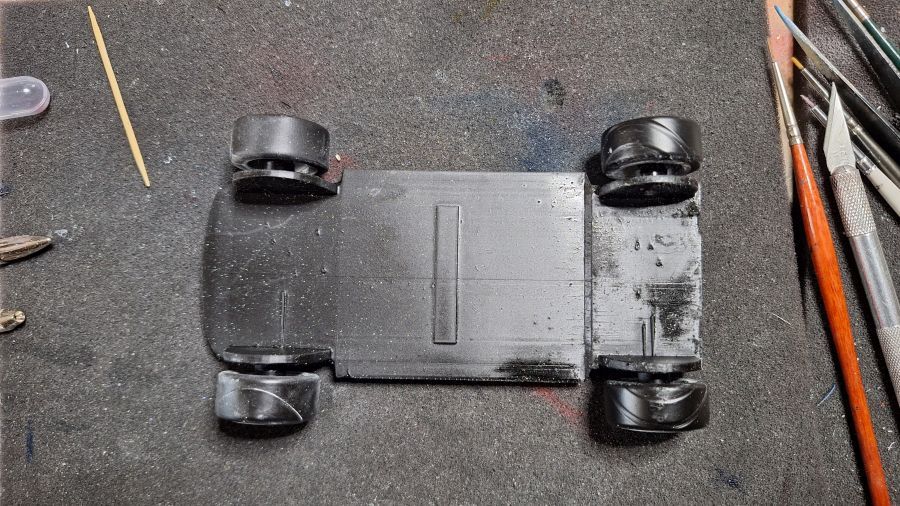
Wielen erop.
Wheels are on.
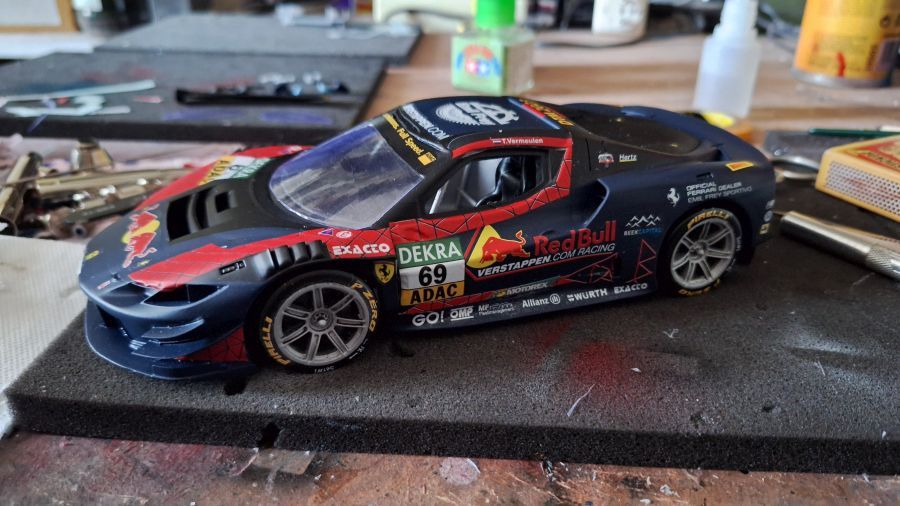
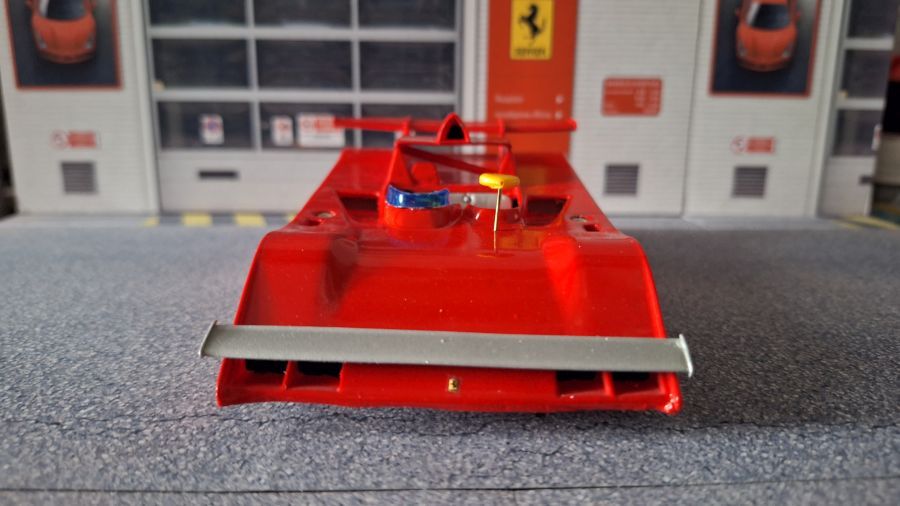
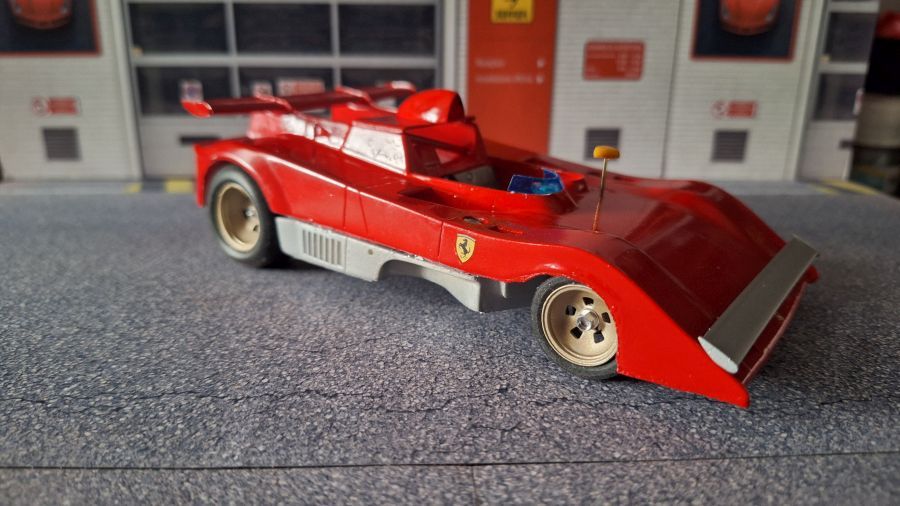
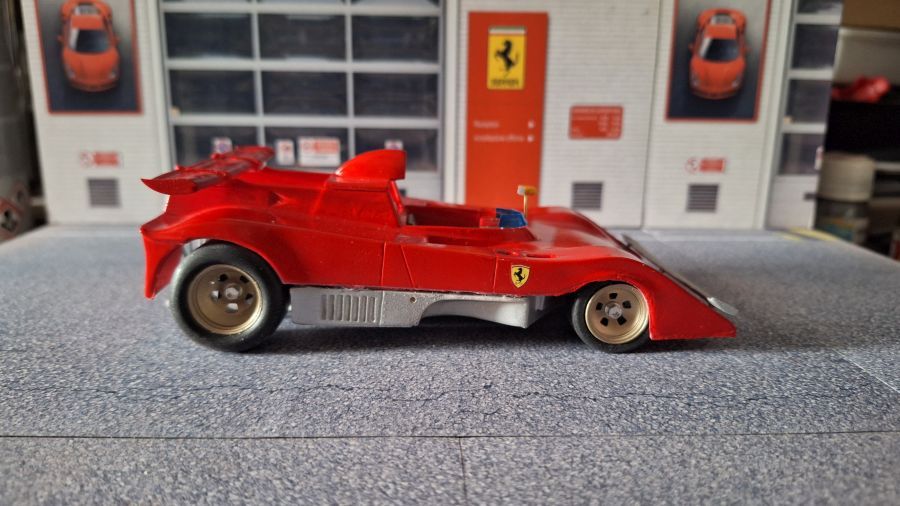
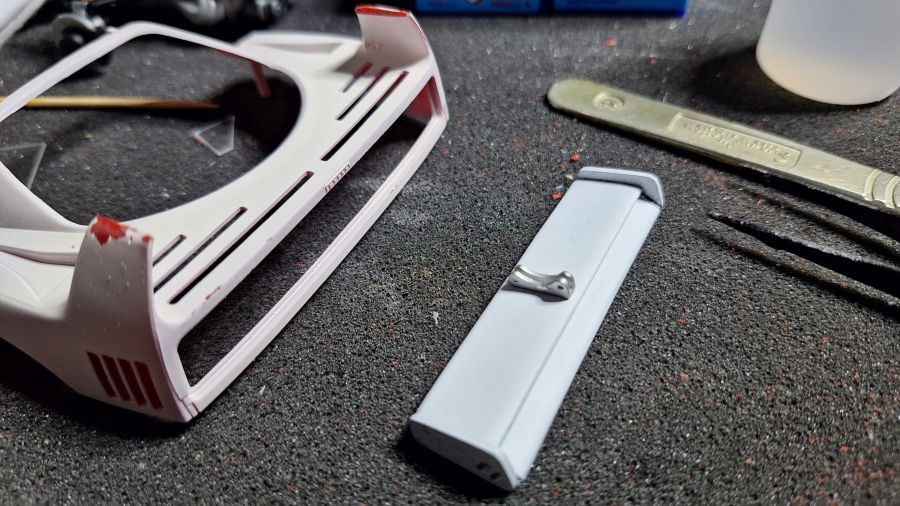
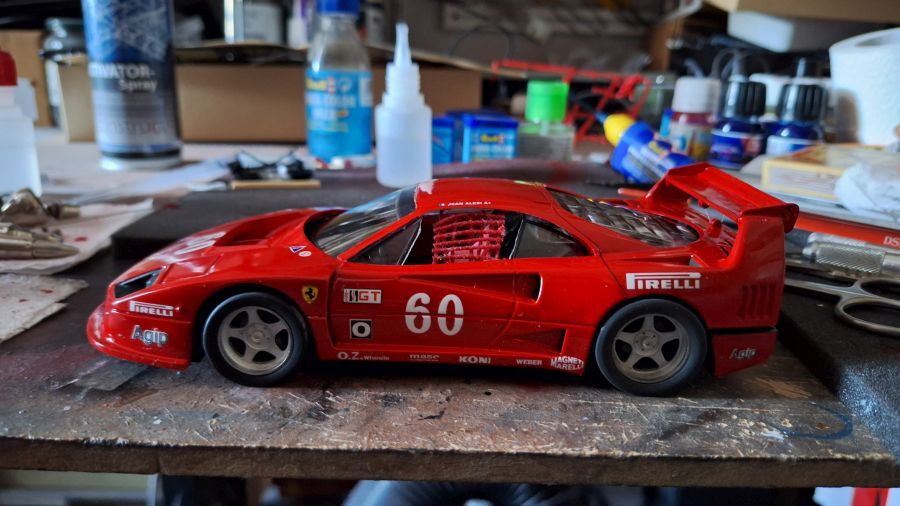
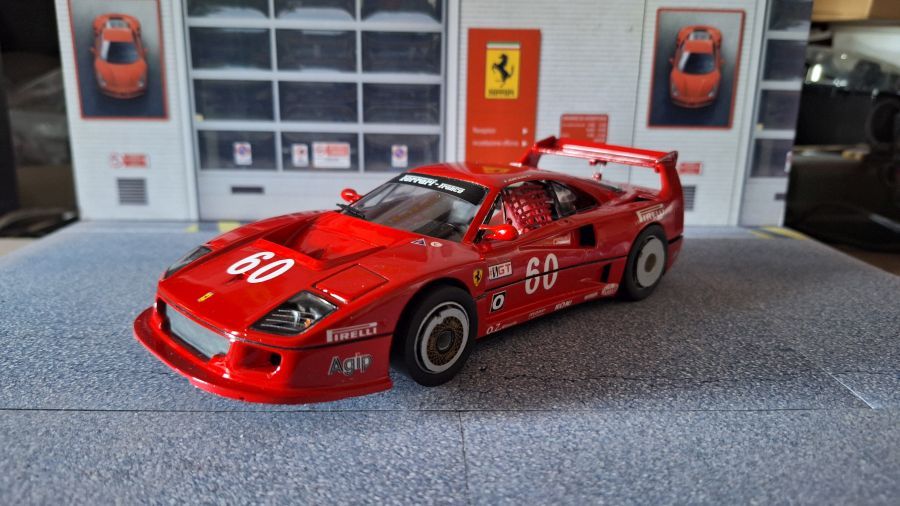
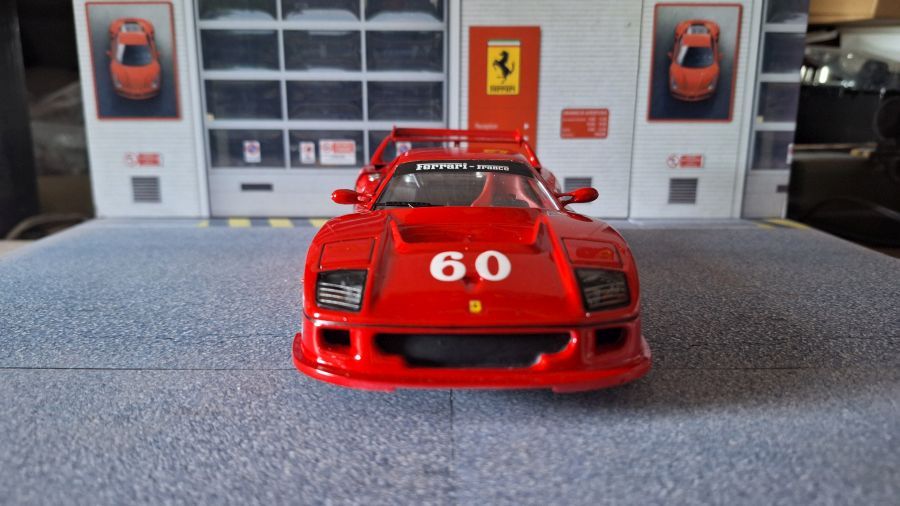
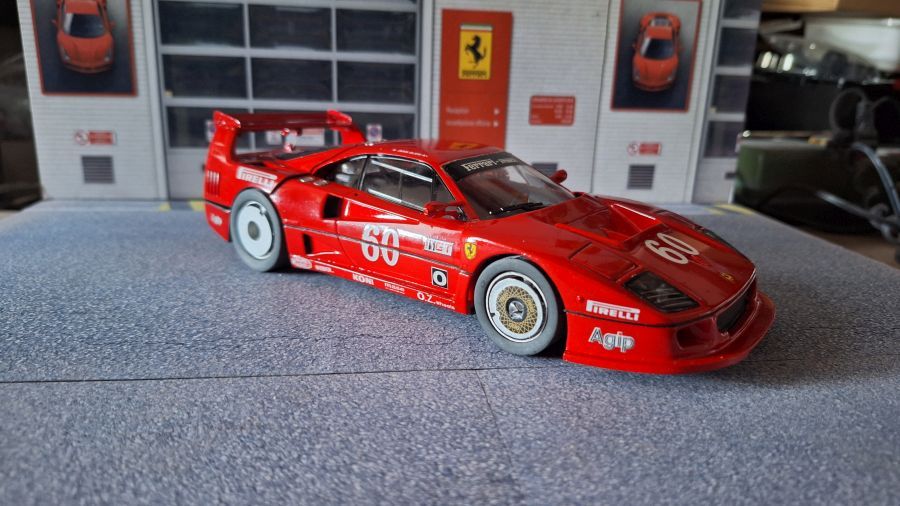
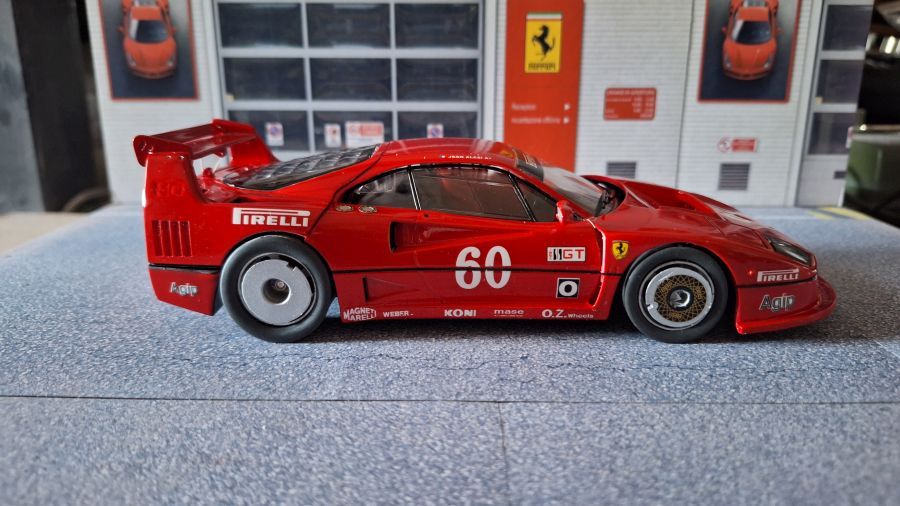
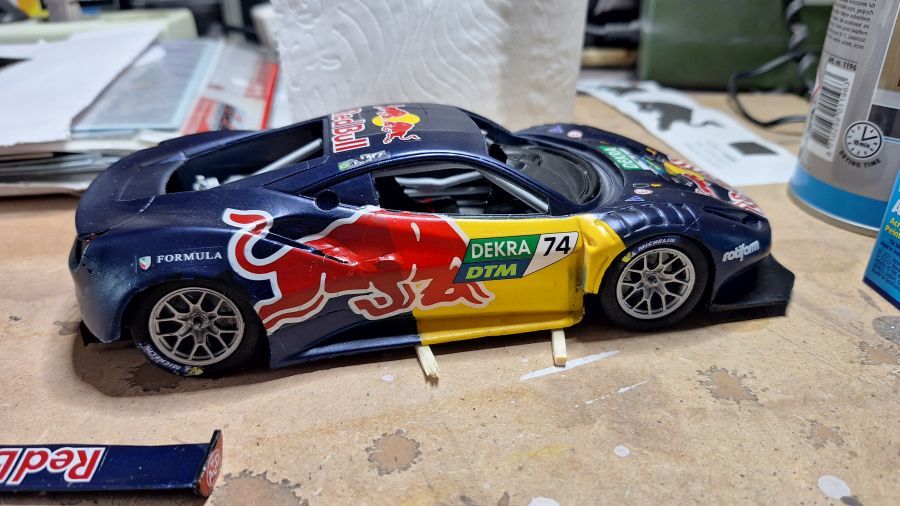
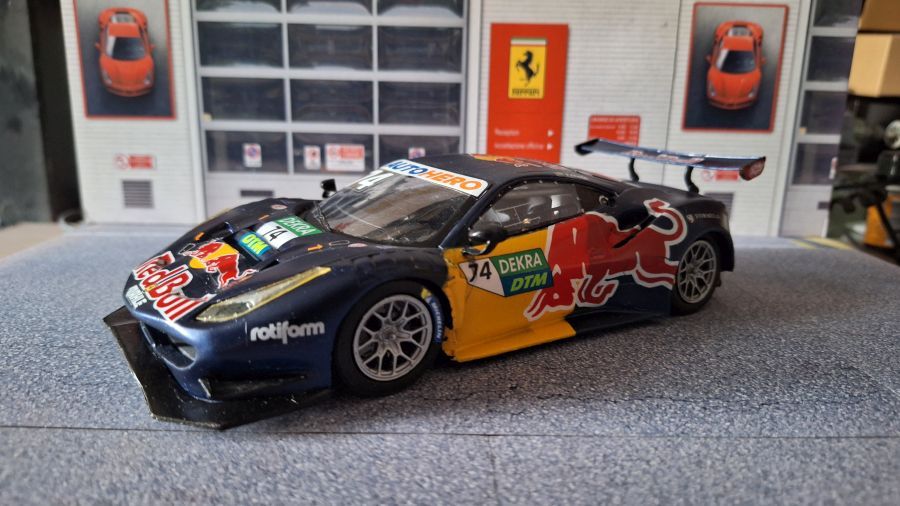
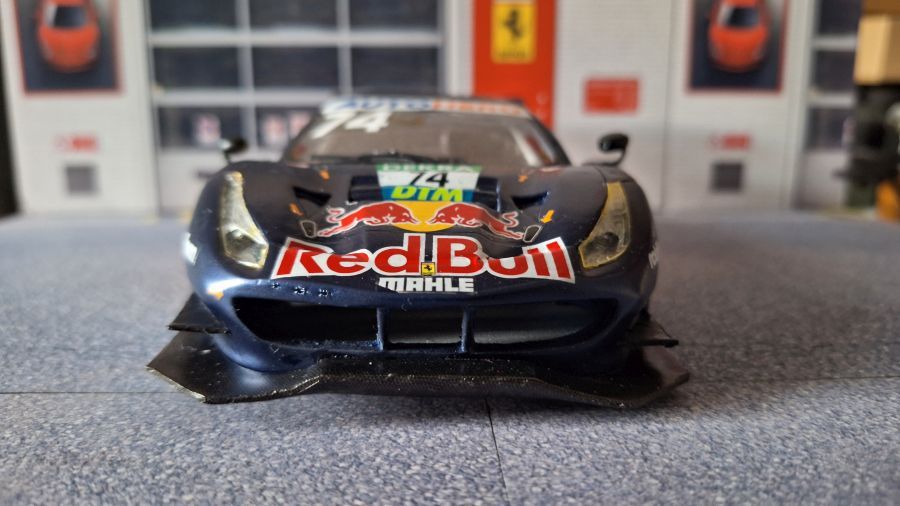
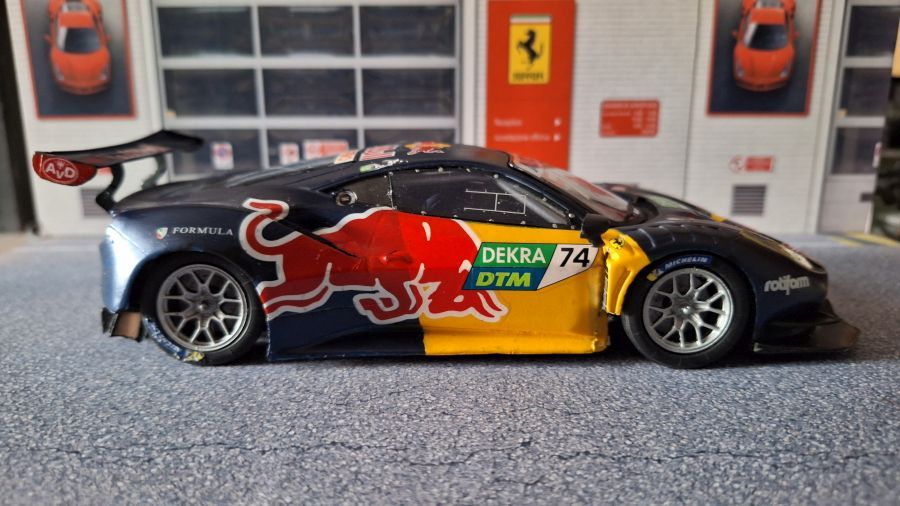
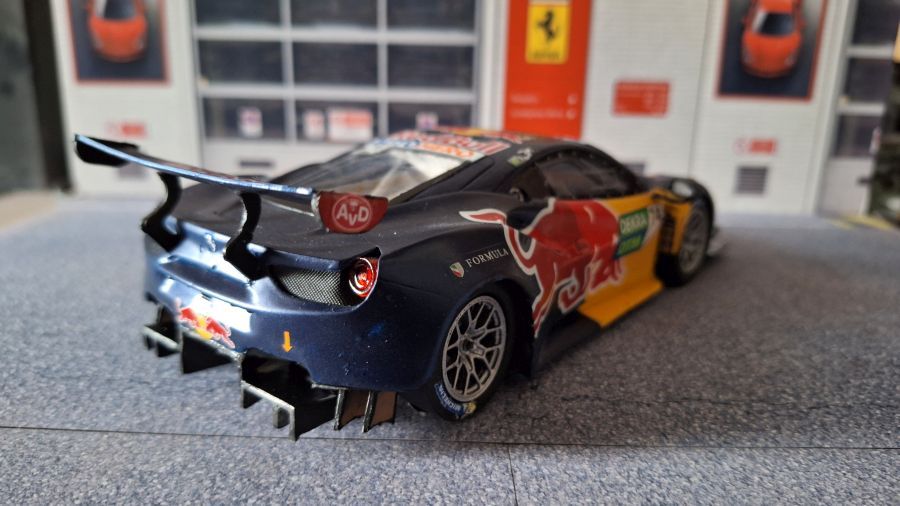
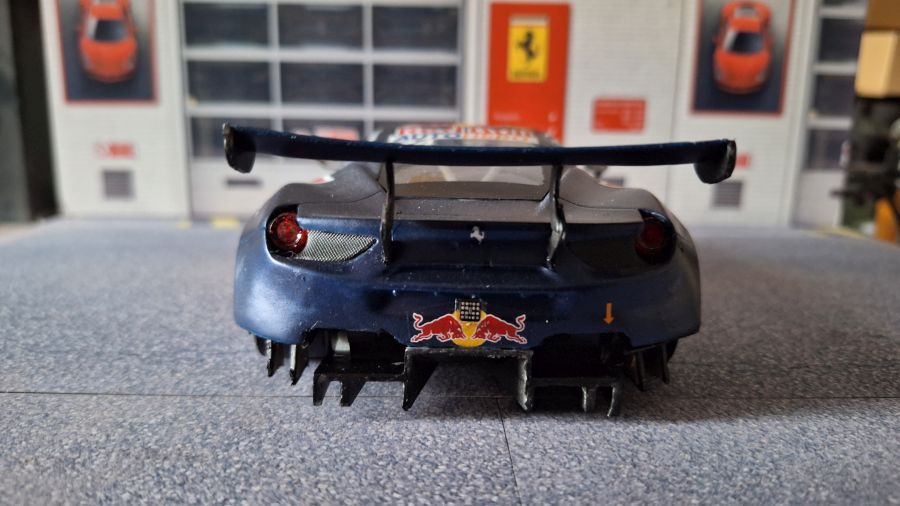
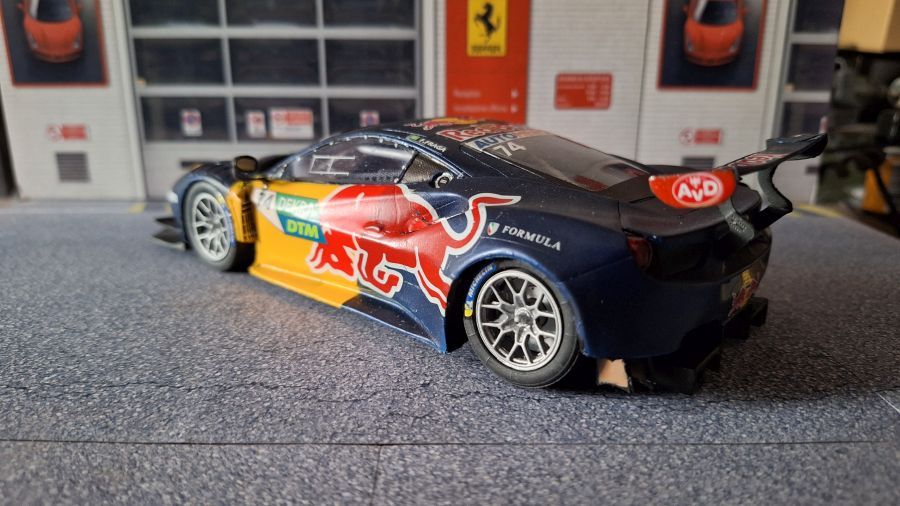
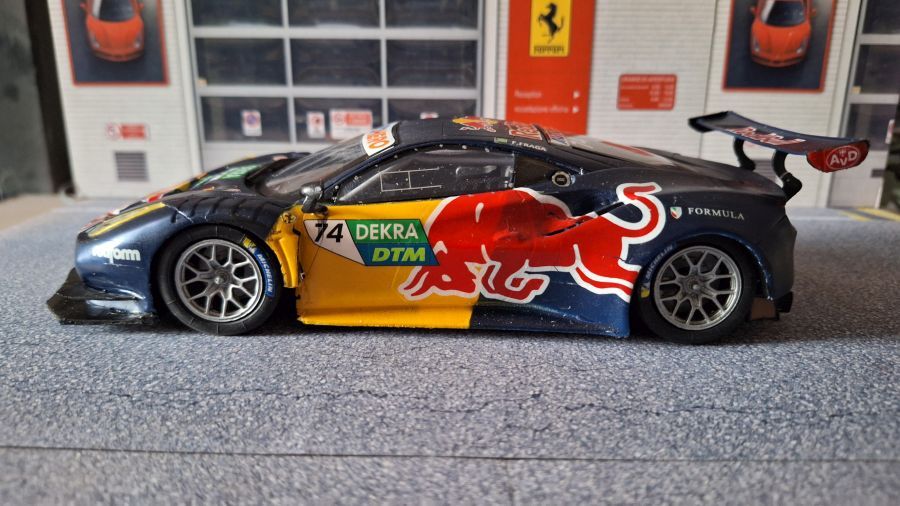
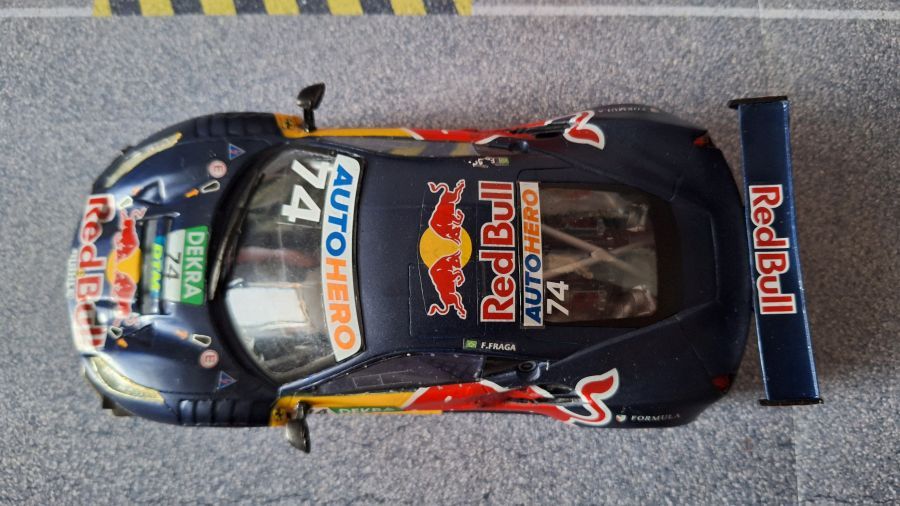
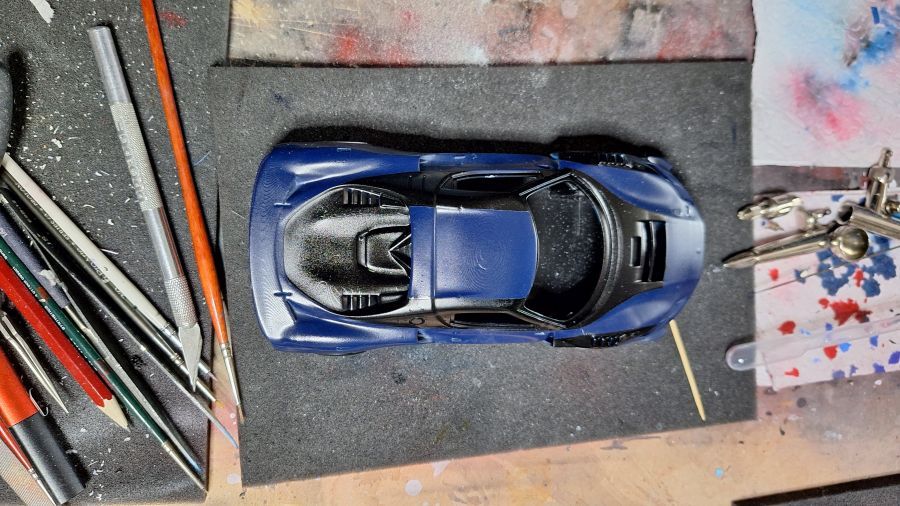
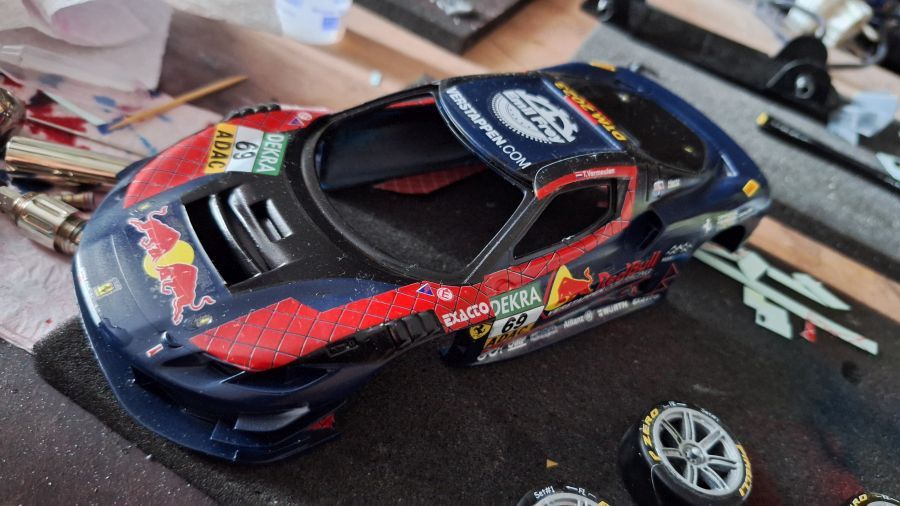
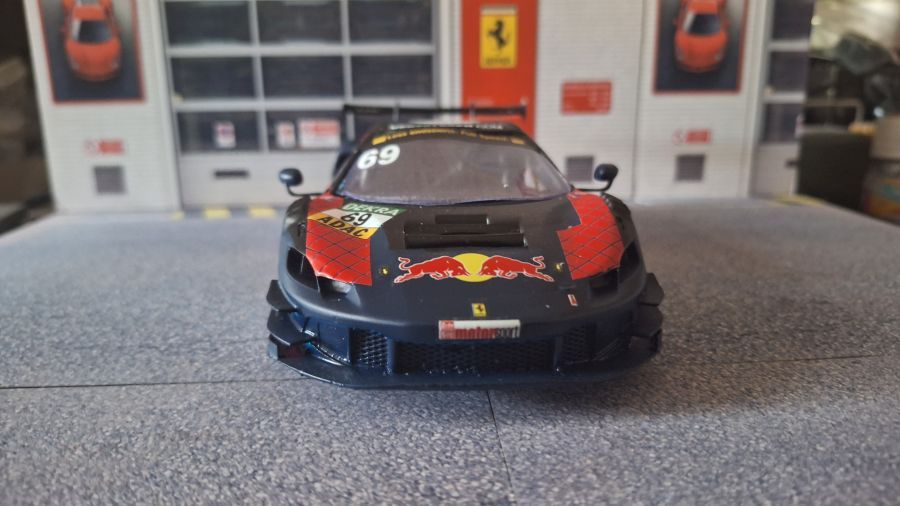
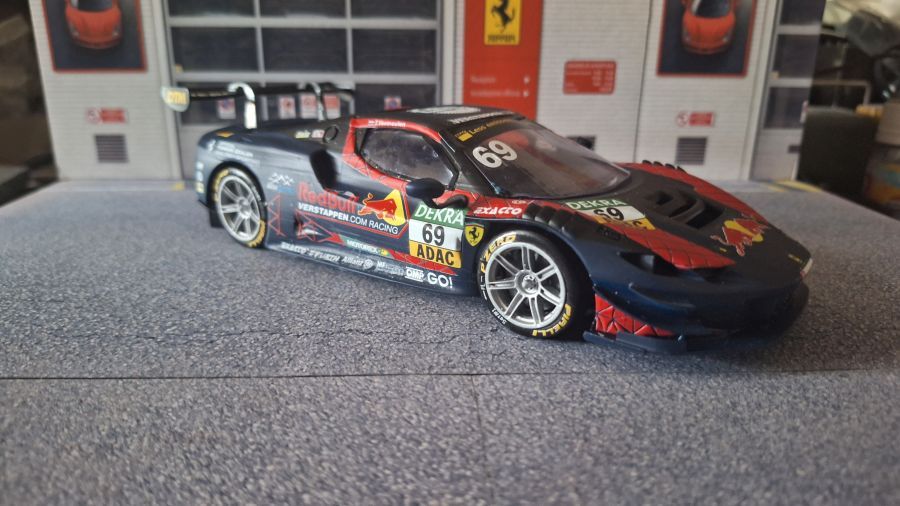
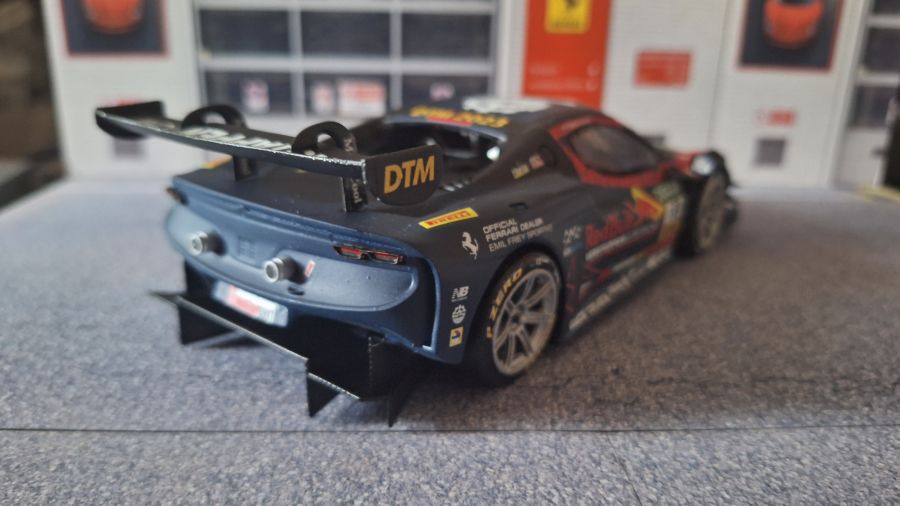
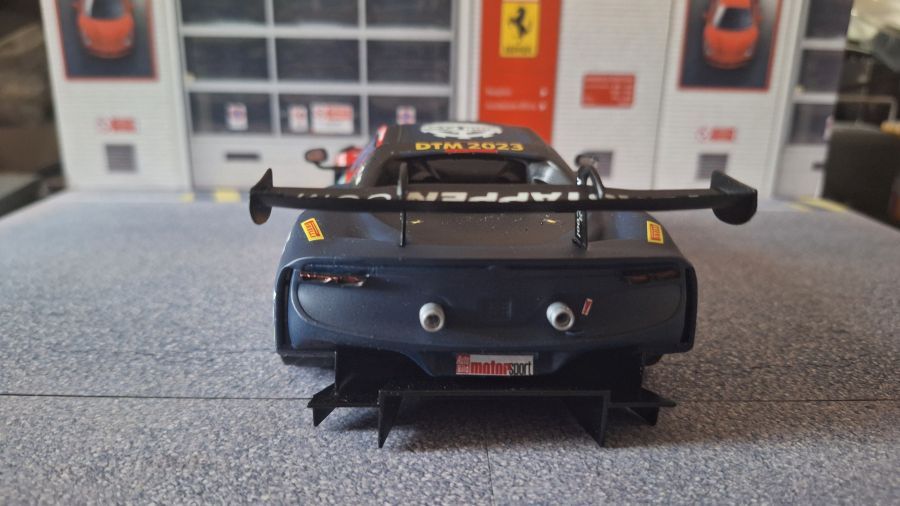
Na het plaatsen van de zijramen en wat kleine onderdelen, vind ik deze klaar.
After adding the side windows and some small parts, i think it's done.
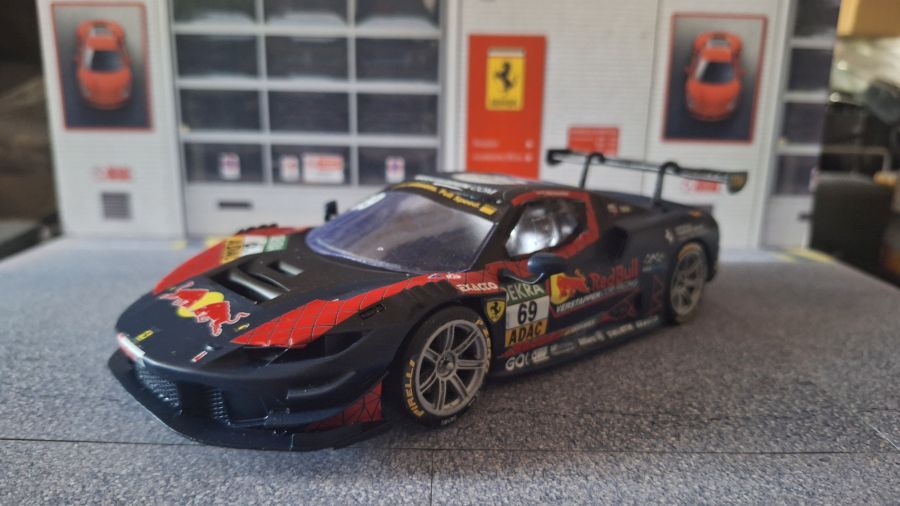
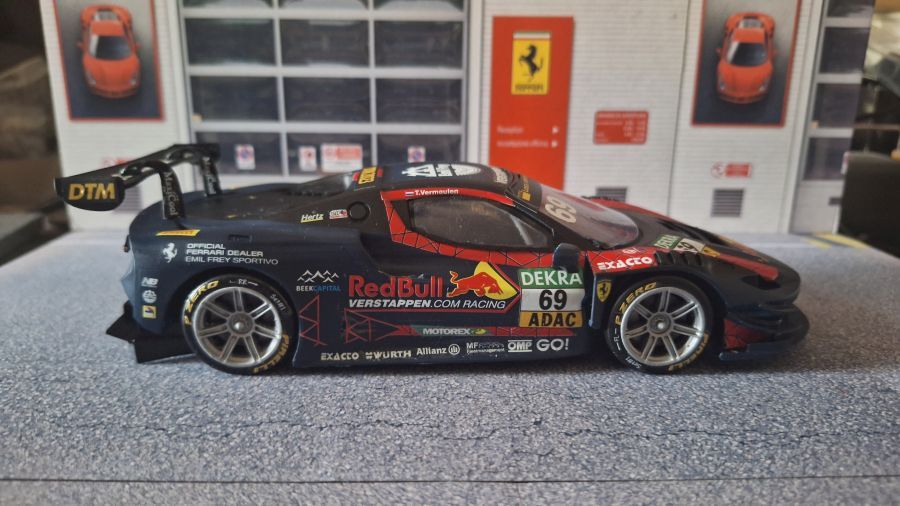
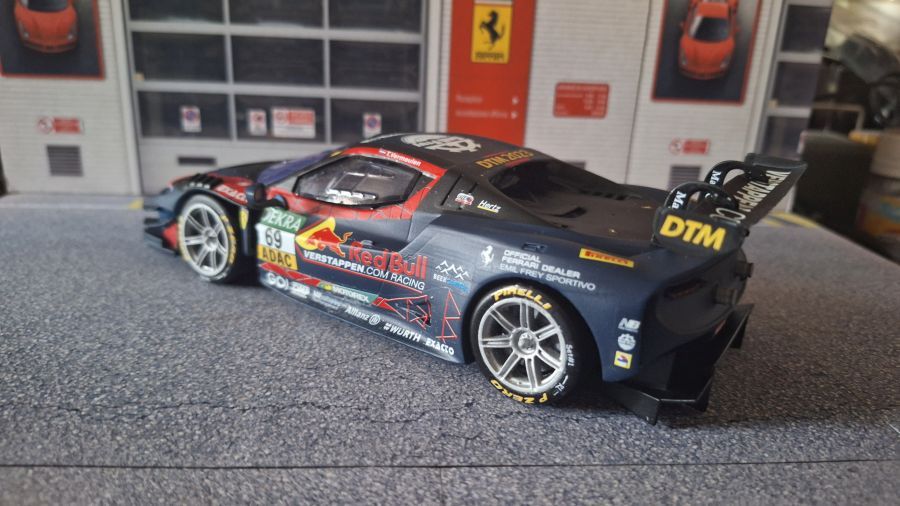
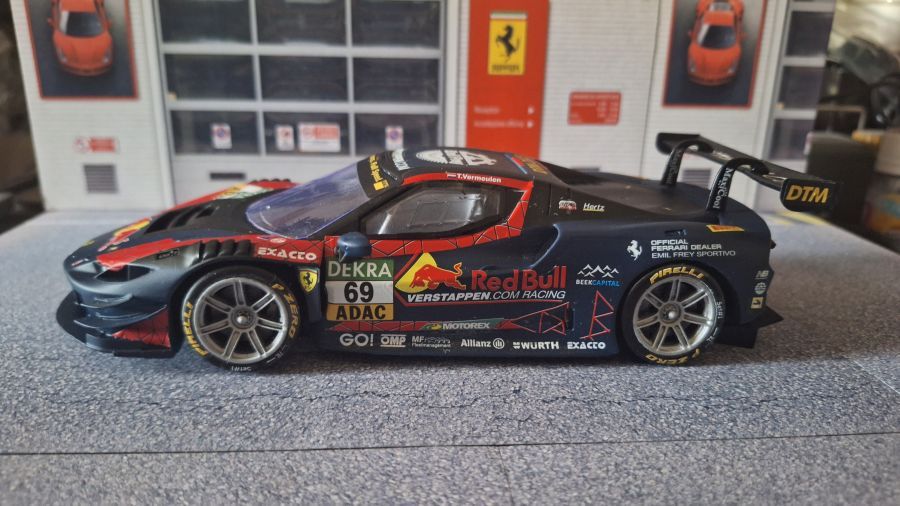
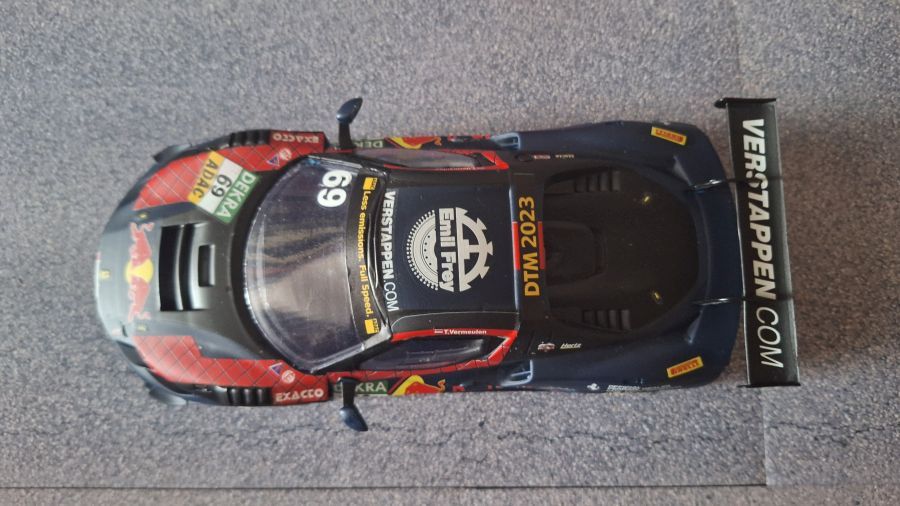
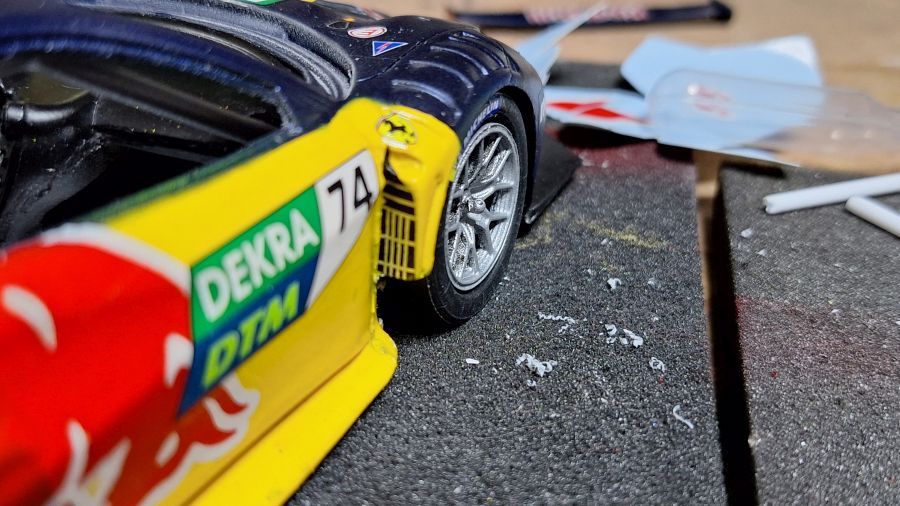
Dit was een 3D kit, vrij eenvoudig van opzet. Voor een echt mooie Ferrari 296 GT3 heb ik een kit van Alpha Model (#31) en 2 kits van PZY-Kitbox (#69 en #3113) gekocht. Die zal ik later doen. De decals waren van Slotfabrik. Ik was er niet blij mee. Ze voelen een beetje aan als vinyl behang. Niet echt lekker, Ik heb nog 2 van deze 3D kits, daar zal ik de extra decals van PZY -Kitbox op loslaten.
This was a 3D printed kit, easy concept. For a real nice Ferrari 296 GT3 i bought an Alpha Model (#31) and 2 kits from PZY-Kitbox (#69 and #3113). I will do these later. These decals came from Slotfabrik. I am not that happy with them. They feel a bit like vinyl wallpaper. Not nice. I still have 2 of these 3D kits. I will use some PZY-Kitbox decals on those.